Scrap Green Felt and a Wood Slice Become a Standing Christmas Tree Without Sewing


A few sheets of green felt, small wood slices, and a glue gun are enough to make miniature Christmas trees that stand without a frame. The felt starts flat, with no branches or trunk, but folding and joining several cutouts gives each tree its three-dimensional shape.
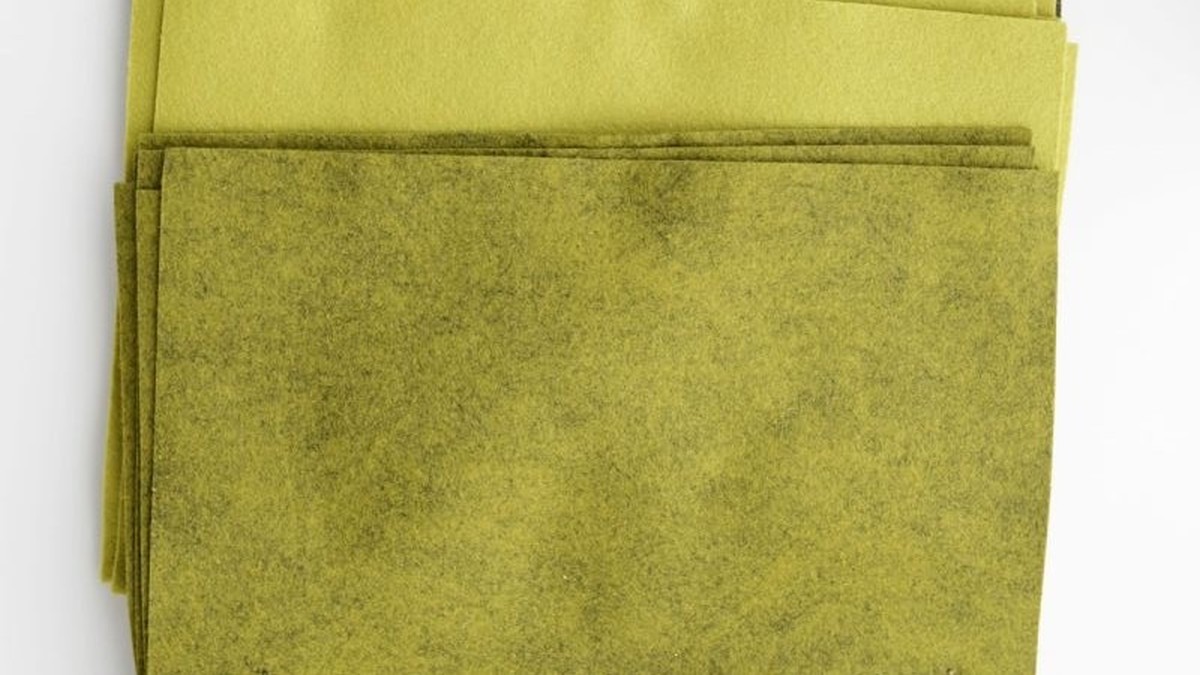
Homedit contributor Chelsea Mohrman created these decorations using four felt pieces per tree and a round slice of wood for the base. No sewing machine, wire, or wooden supports are required, and the finished trees can sit on a mantel, shelf, or holiday table.
Green Felt, Wood Slices, and Hot Glue Form the Tree
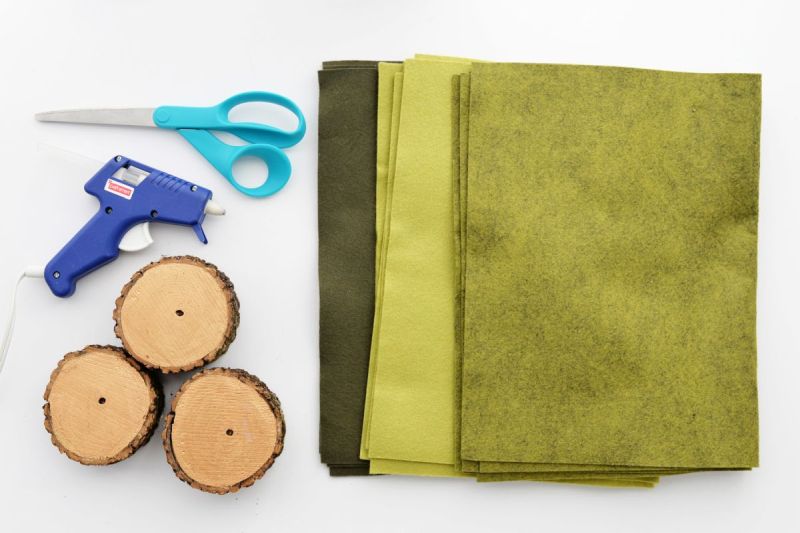
The project uses green felt in several shades, a hot glue gun, scissors, and small round wood slices with their bark intact. Stiff felt works best because it helps the finished tree hold its shape.
Each wood slice needs a flat surface and enough width to support the felt tree. The wood bases shown in the tutorial have small holes in their centers, although the construction uses glue rather than inserting a wooden dowel.
Fold the Felt and Cut Half a Christmas Tree Shape
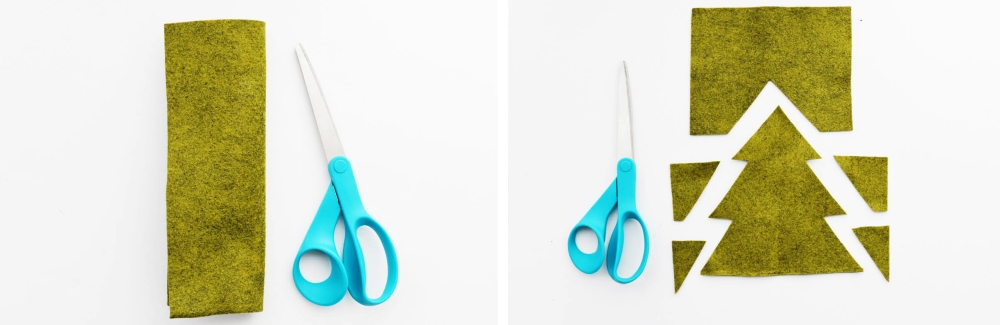
Start by folding a rectangular piece of felt in half. Cut the outline of half a Christmas tree along the folded edge, beginning with a pointed top and working down through the branches to a wide base.
Opening the felt reveals a complete tree with matching sides. The shape can be made larger or smaller depending on the intended display.
Use the First Cutout as a Template
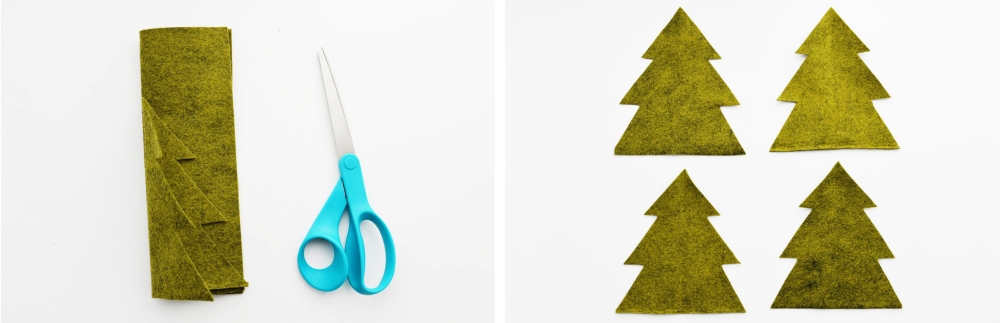
Keep the first tree as a guide and repeat the cutting process to produce matching pieces. Four cutouts were used for the example, although three to six can work.
Matching the outlines matters because the edges need to meet when the felt pieces are joined. The branches and bottom edges should line up before gluing begins.
Glue One Half of Each Felt Tree to the Next
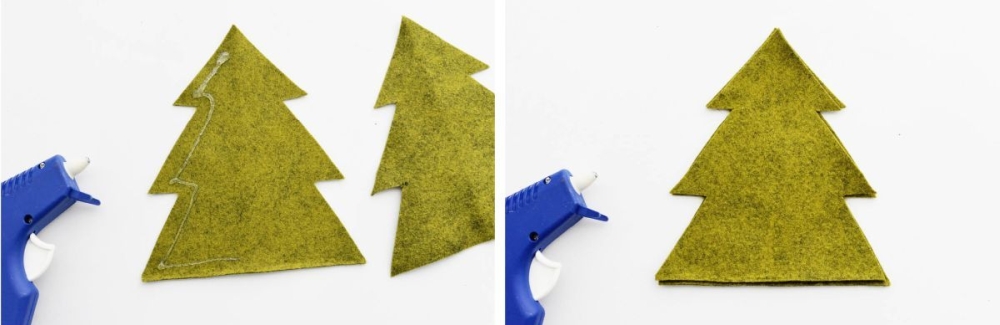
Place one felt tree flat on the work surface and apply hot glue to one half, following the outline from the tip to the base. Press a second tree onto the glued section, keeping the edges aligned.
Leave the other half unattached so it can fold away from the first piece. This creates the first section of the three-dimensional tree.
Join the Remaining Pieces Around the Center
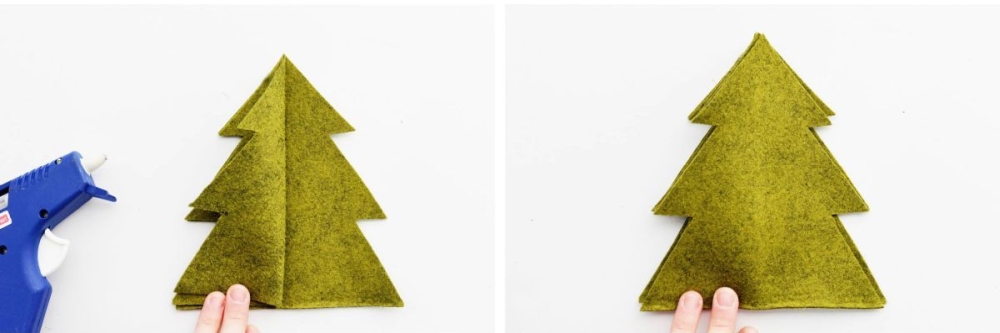
Fold back the loose felt section and apply glue to the exposed half. Add another tree cutout, then repeat the process with the remaining pieces.
Each section connects to the next along the center, leaving the outer halves free to spread apart. Keep the bottom edges aligned so the tree will sit level on its base.
Close the Last Seam to Form the Tree
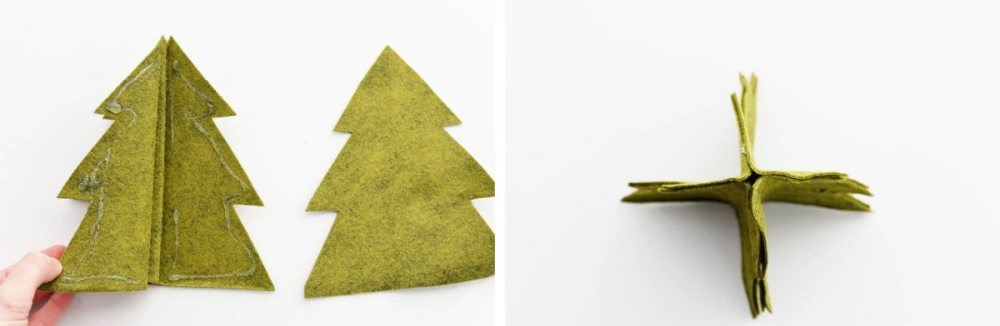
Apply glue to the final exposed sections and bring them together to close the tree. Once the adhesive sets, spread the felt panels apart to form a standing shape.
Viewed from above, the joined sections extend outward from the center. The four green panels create the appearance of branches from different angles without requiring a separate internal frame.
Attach the Felt Tree to a Round Wood Slice
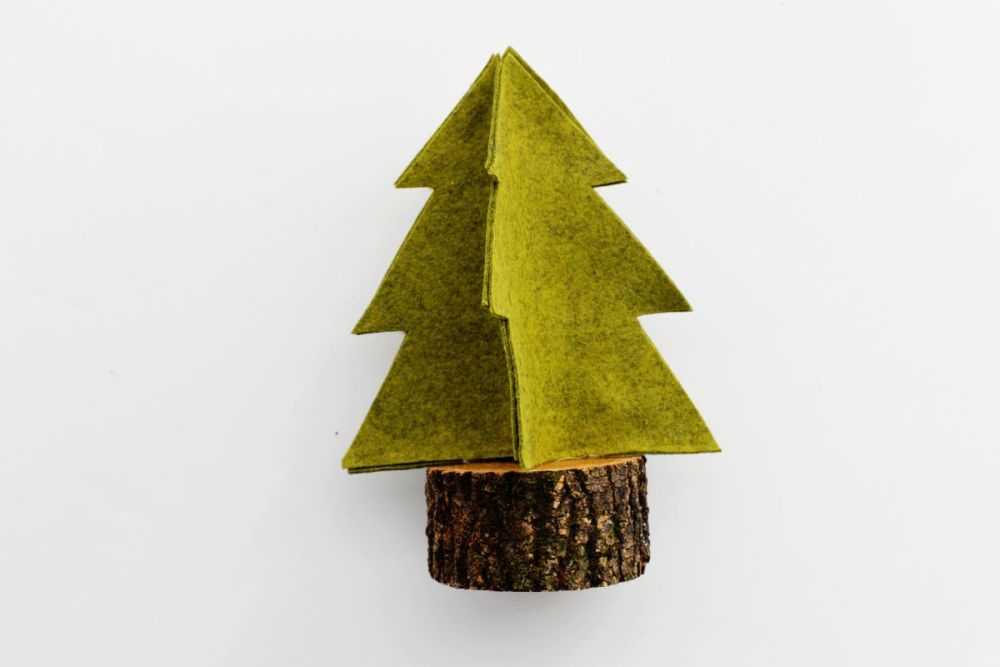
Apply hot glue to the bottom seams of the assembled tree, then press it onto the center of a wood slice. Hold the tree in position until the adhesive sets.
The wood base supports the upright felt panels and adds a bark edge beneath the green tree. The flat bottom also allows the decoration to sit on a shelf or tabletop.
Different Shades of Felt Make a Small Christmas Forest
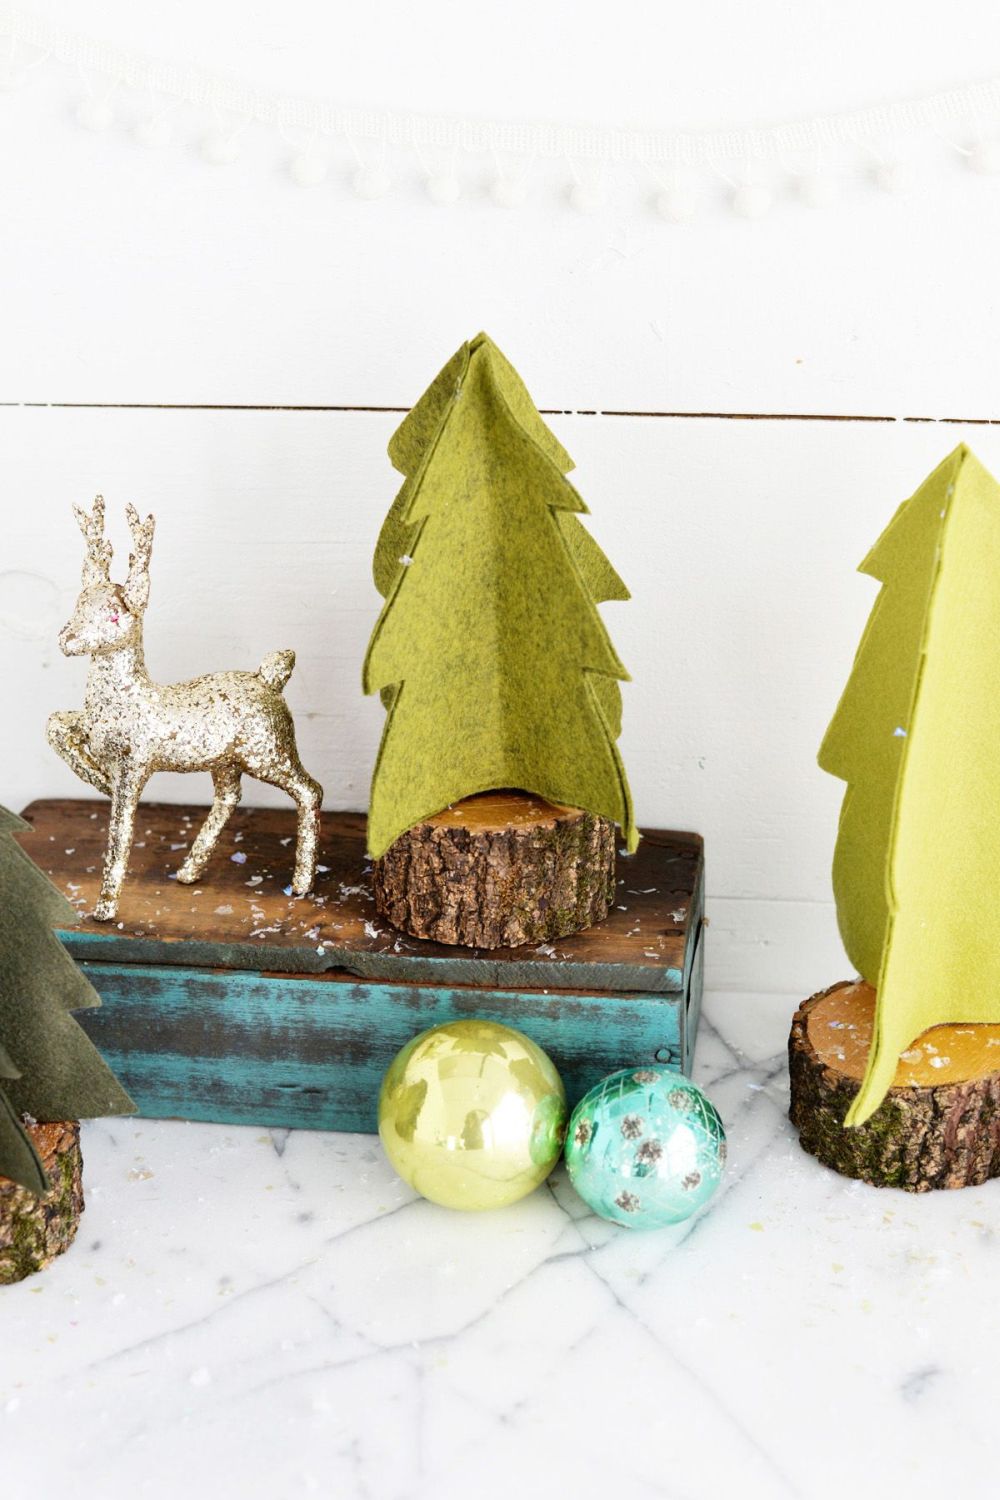
The finished trees can be made in olive, moss, and lime-green felt, with different heights and numbers of panels. Each follows the same cutting and gluing process.
Grouped with ornaments, small figurines, or other holiday decorations, the trees form a miniature forest without taking up much space.
The Trees Stand Without Sewing or a Wooden Frame
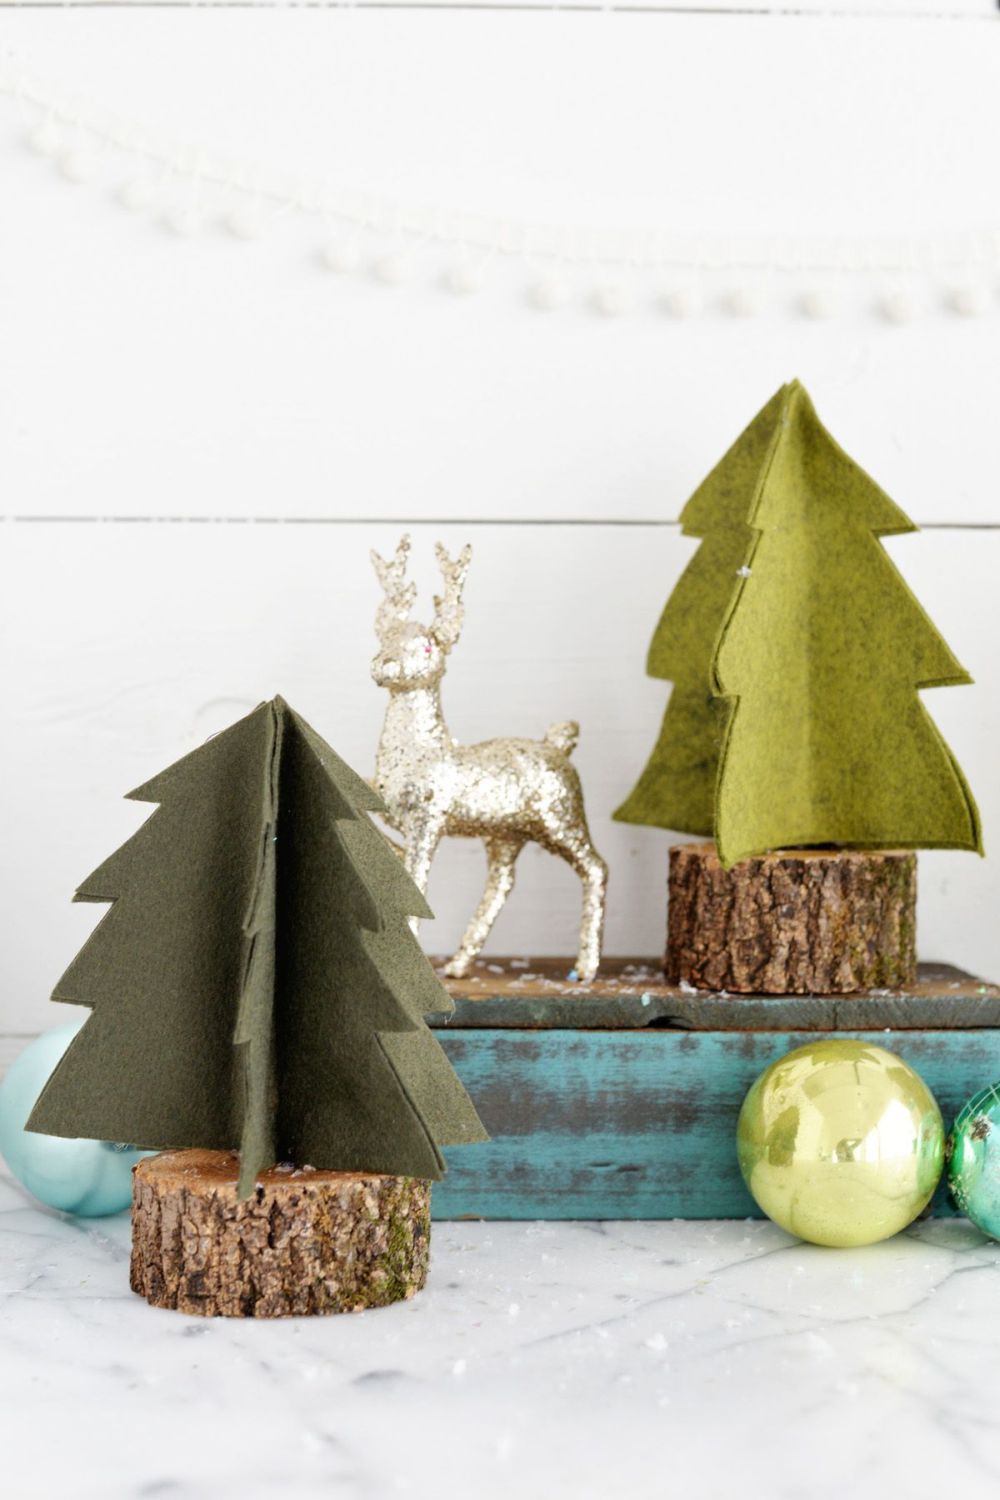
The completed decorations have pointed tops, stepped branches, and wood-slice bases. Their felt panels spread from the center to create the three-dimensional form, while the exposed bark gives each tree a different base.
Unlike fabric ornaments that need stitching or stuffing, these trees hold their shape through the glued felt sections. The same method can be repeated with other colors and sizes.
For another approach, two pieces of plywood slide together to make Christmas trees without glue or screws, creating freestanding decorations with a different material and construction method.
Would you use leftover green felt to make a set of miniature Christmas trees?
Image credits belongs to Homedit.com