She Covered Her Granite Countertop With an Epoxy Kit Instead of Replacing It, Then Checked It 15 Months Later


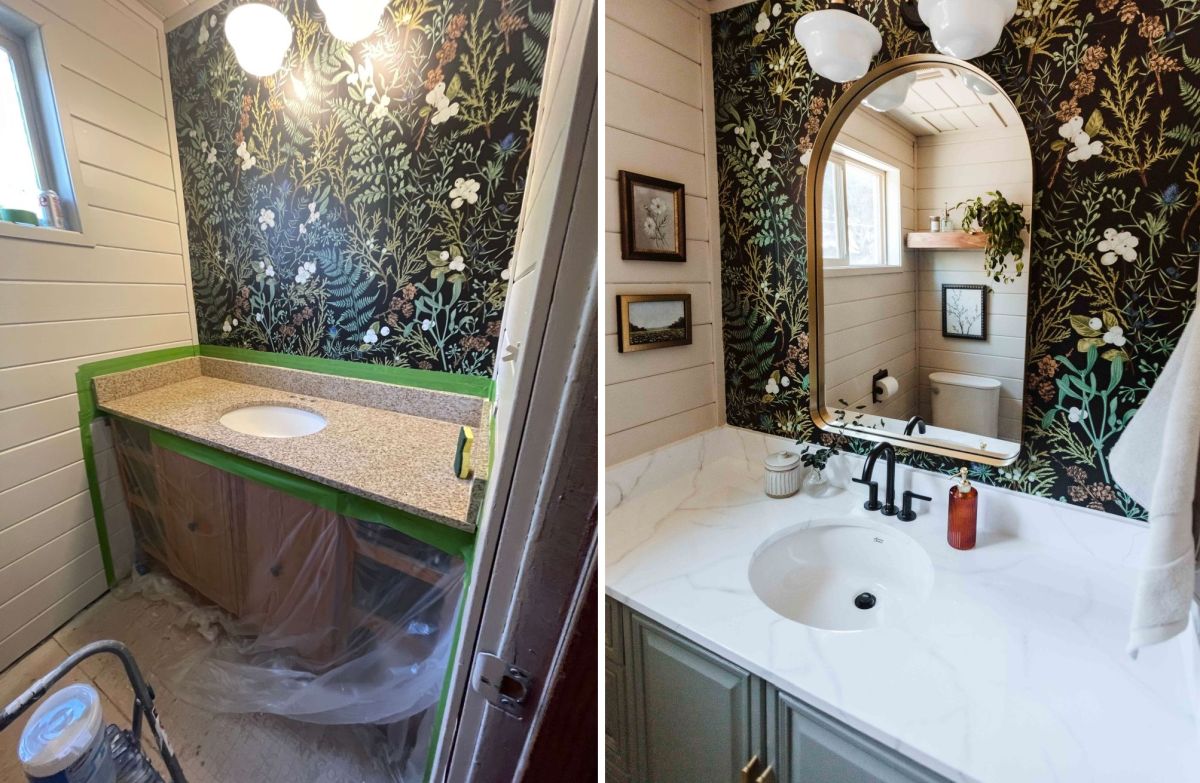
The speckled beige granite countertop didn’t fit the bathroom Kenna of The Flip Hubb wanted. Rather than remove the stone and pay for a replacement, she used an epoxy countertop kit to turn the existing surface into a white marble look with thin gray veins.
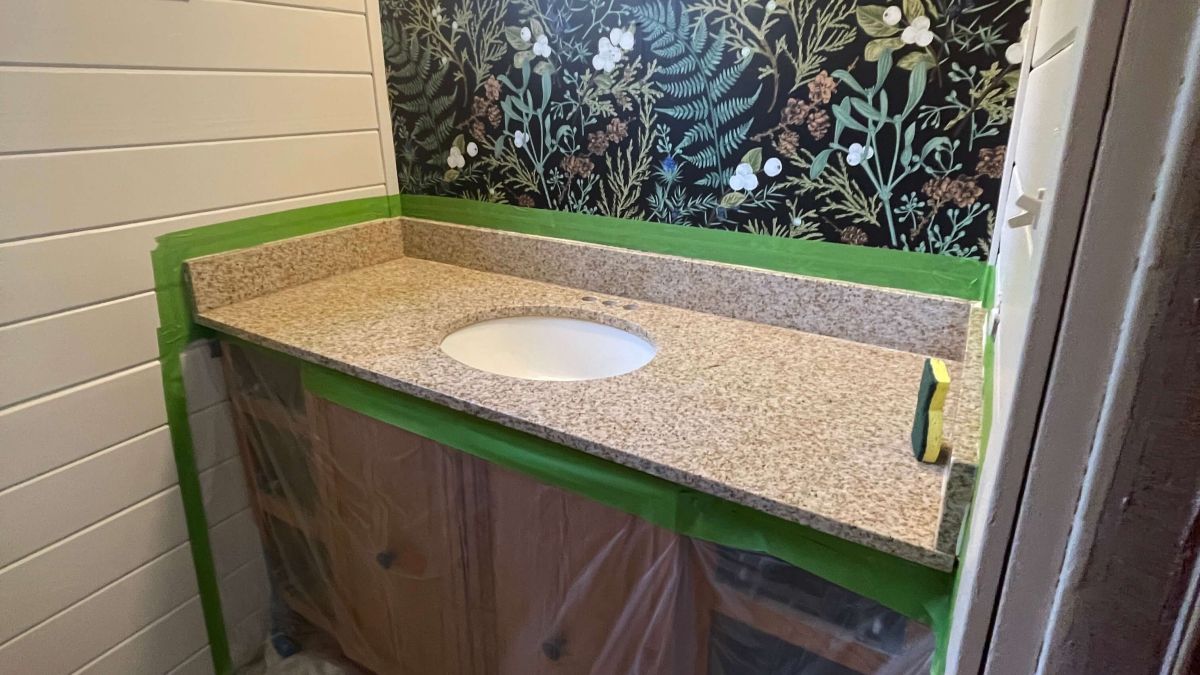
The transformation changed the vanity without replacing the granite underneath. Fifteen months after finishing the project, she returned with an update on how the coating had held up, including one area that showed signs of wear.
She Kept the Granite and Prepared It for Paint
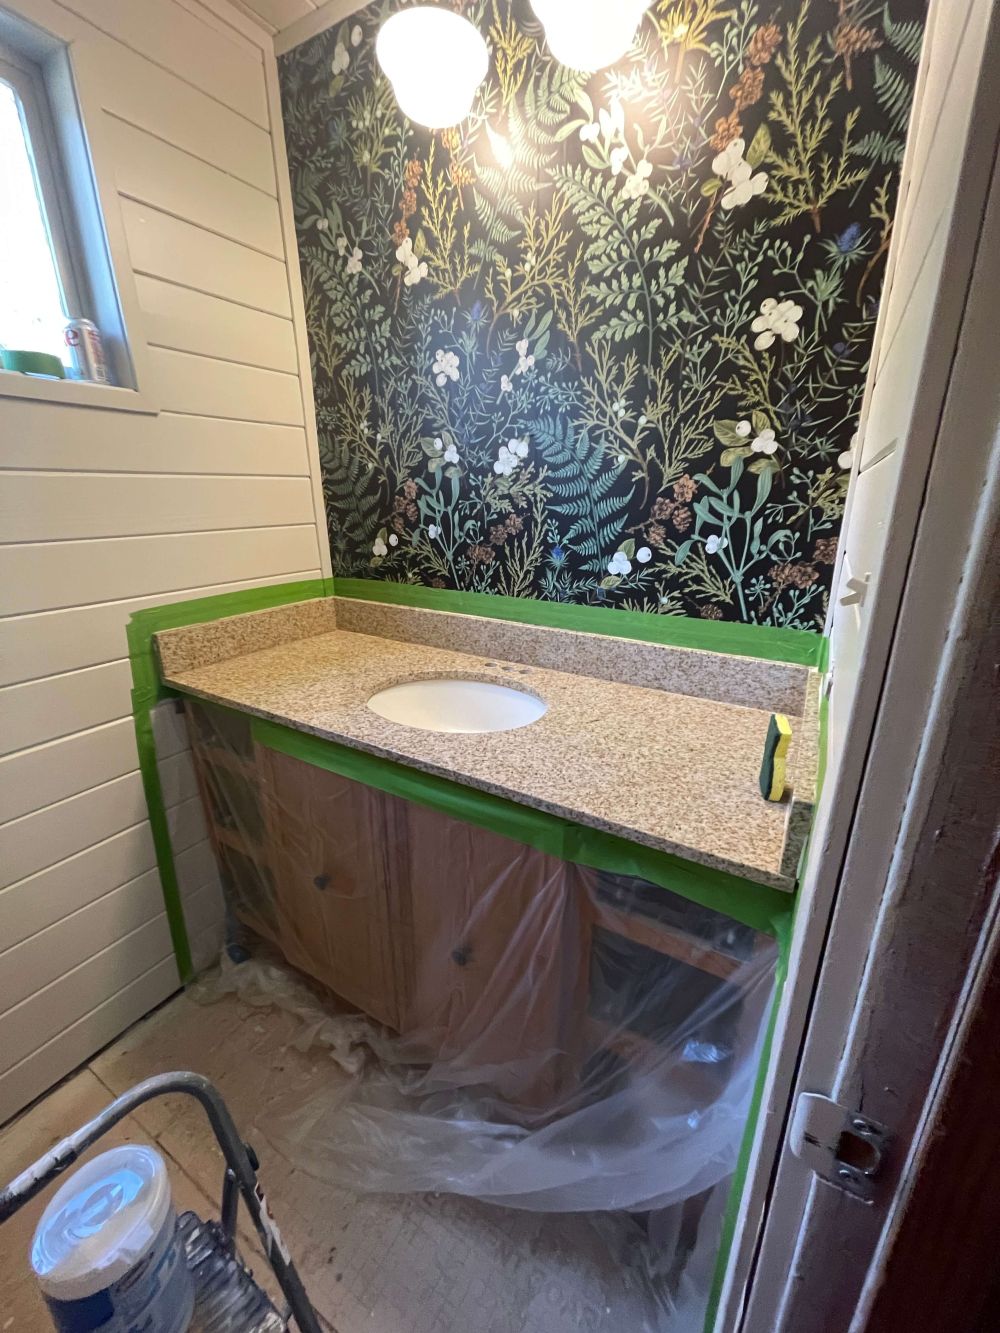
The vanity had a beige granite countertop with brown speckles, an oval sink, and a matching backsplash. The dark botanical wallpaper was already in place, making the tan stone stand out against the black, green, and white pattern.
She covered the cabinet with plastic, protected the surrounding edges with painter’s tape, and cleaned the granite with water and a household disinfectant.
Once the surface dried, she sanded it with the paper supplied in the kit. A vacuum and microfiber cloth removed the sanding dust before painting began.
Two Coats of White Primer Covered the Original Granite
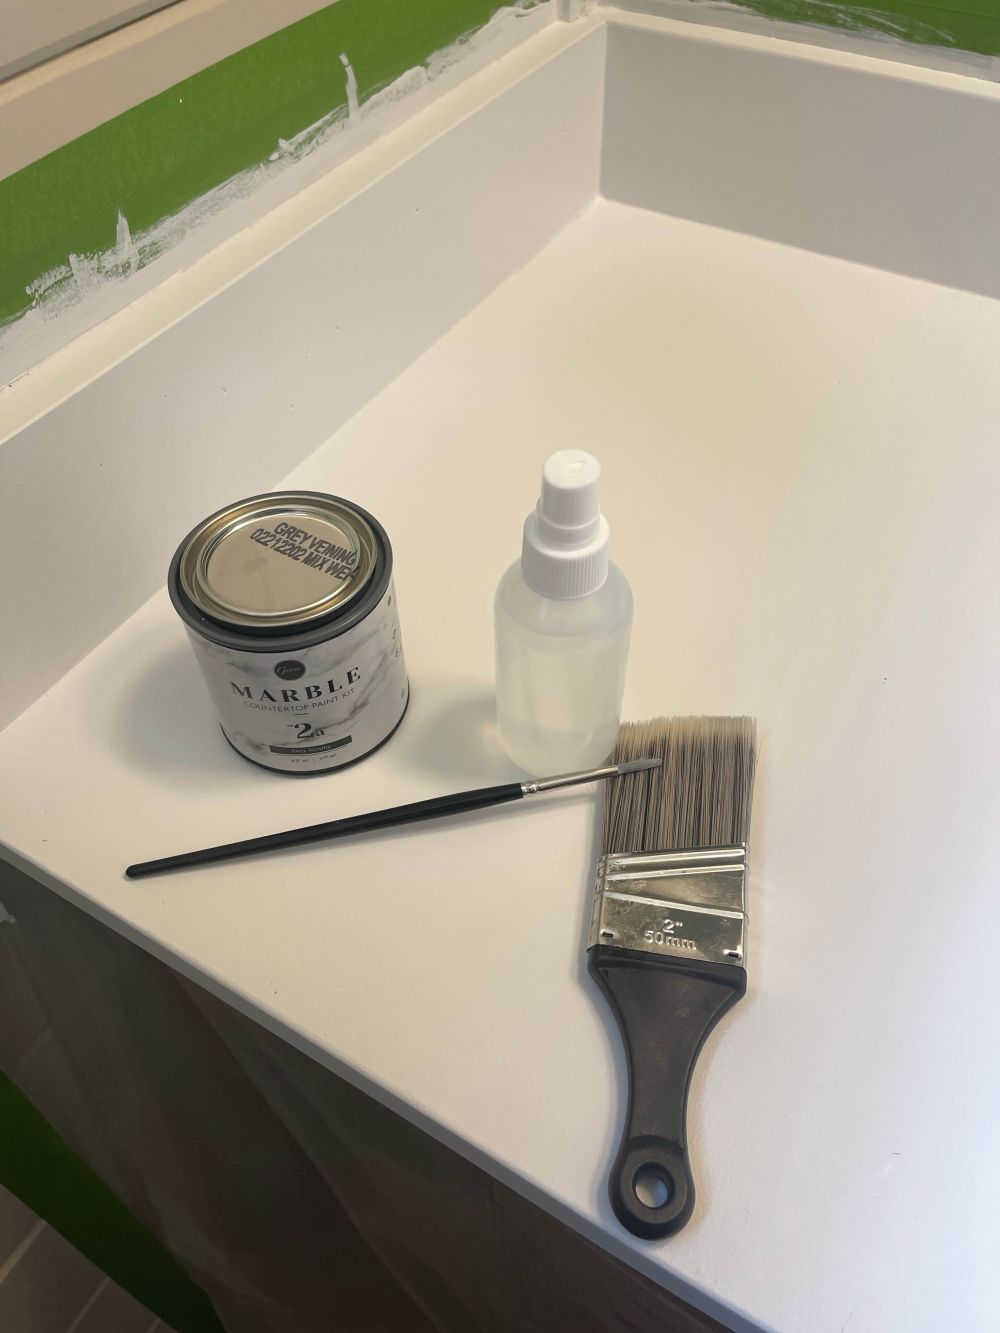
The kit included white primer, gray veining paint, epoxy, and tools for creating the marble pattern. She used a foam brush to coat the corners and edges before covering the rest of the countertop.
She expected the speckled granite to need four coats of primer, yet two were enough to conceal the original color. She waited at least one hour between coats.
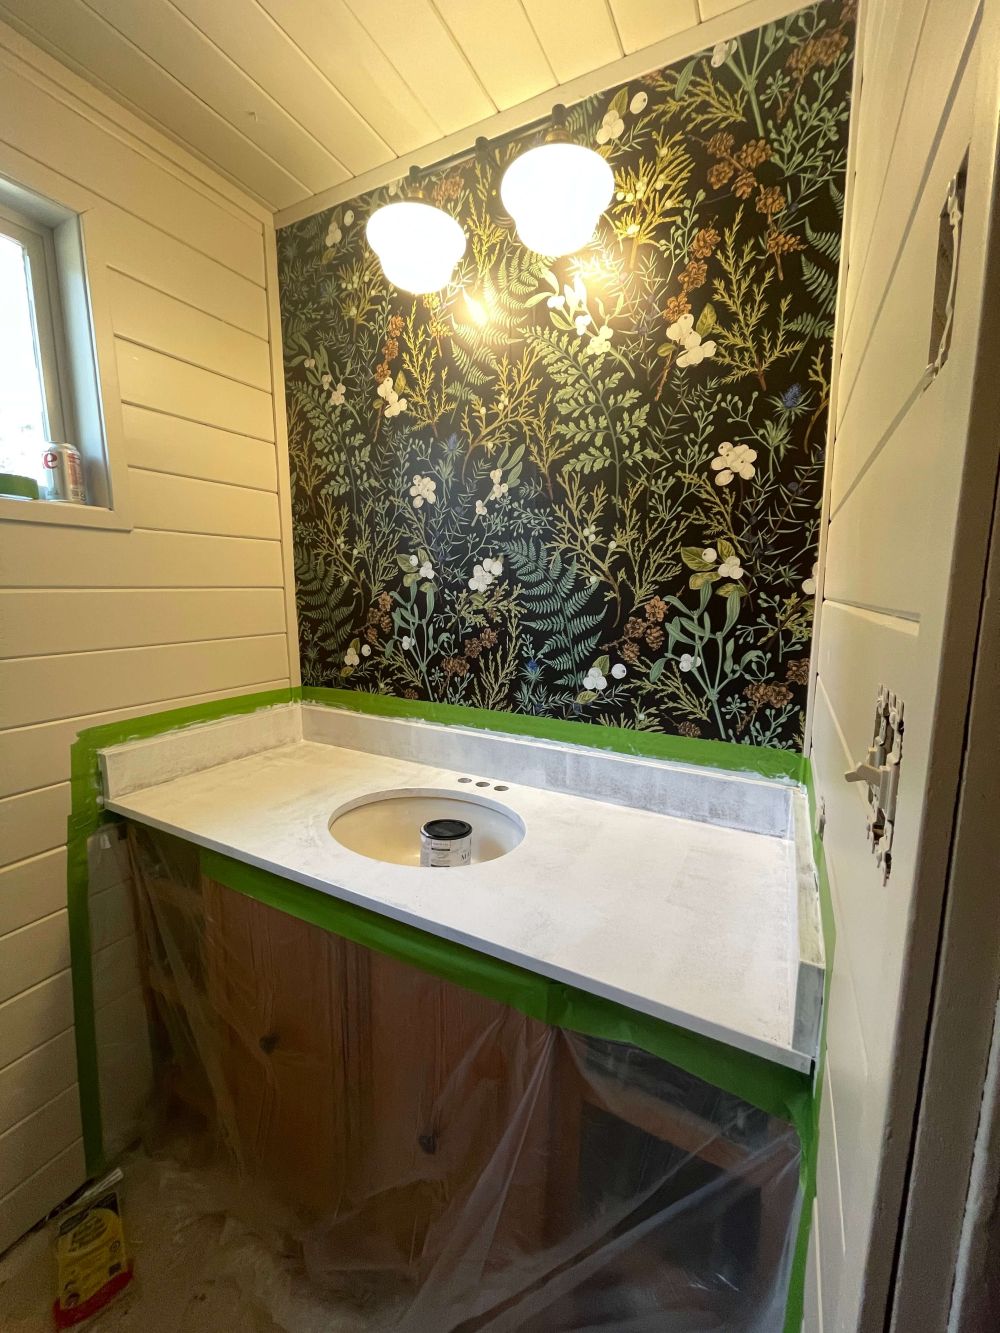
At this stage, the tan surface had become white, with the sink opening and backsplash preserved. The next step was adding the veining that would make the painted surface resemble marble.
She Drew the Marble Veins Before Adding Epoxy
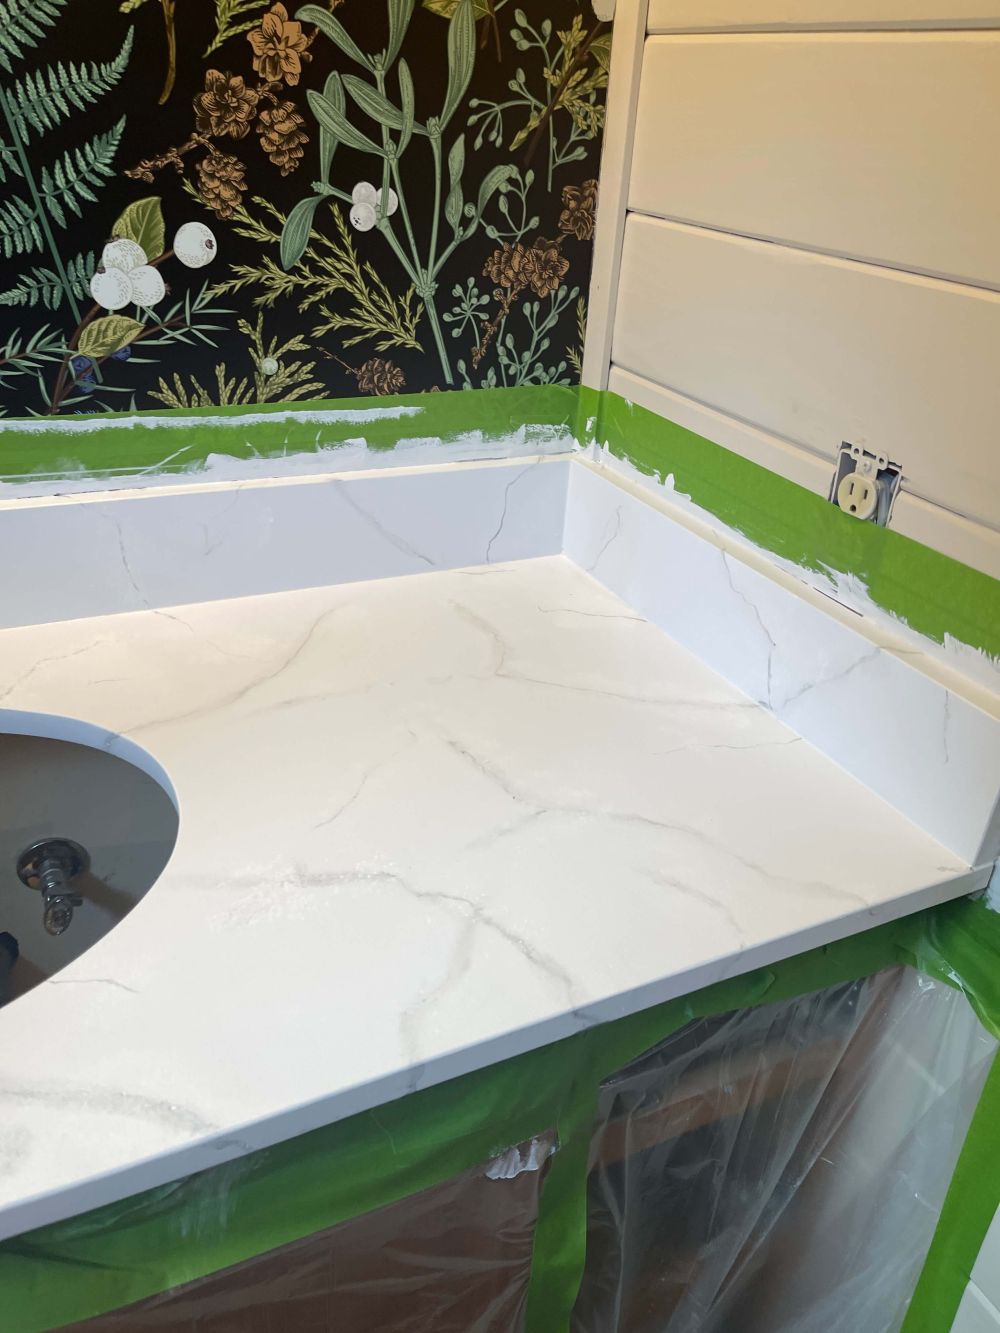
Using a narrow brush, she painted thin gray lines across the countertop and backsplash. She misted the lines with water, worked over them with a brush, and added highlights to soften the markings.
The veins crossed the surface in different directions, with some fading into the white background and others extending across the backsplash.
After the paint dried, she mixed the epoxy with its activator and spread the coating with a foam roller. The mixture gave her about 30 minutes of working time before it began to harden.
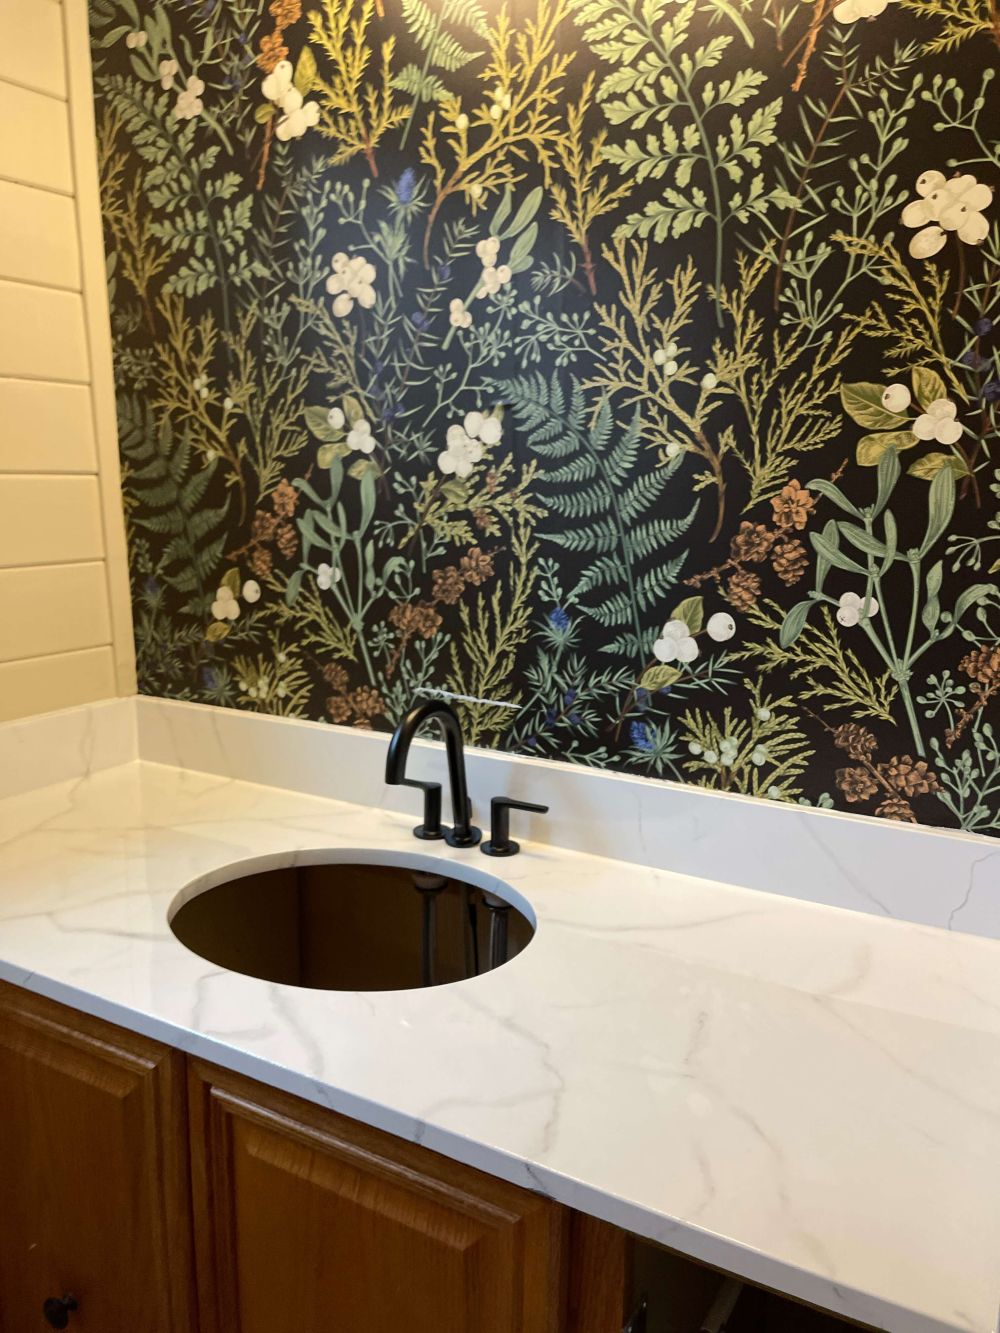
The curing guidance called for about 48 hours before normal use and seven days before placing heavier items on the surface.
The Finished Countertop Looked Like White Marble
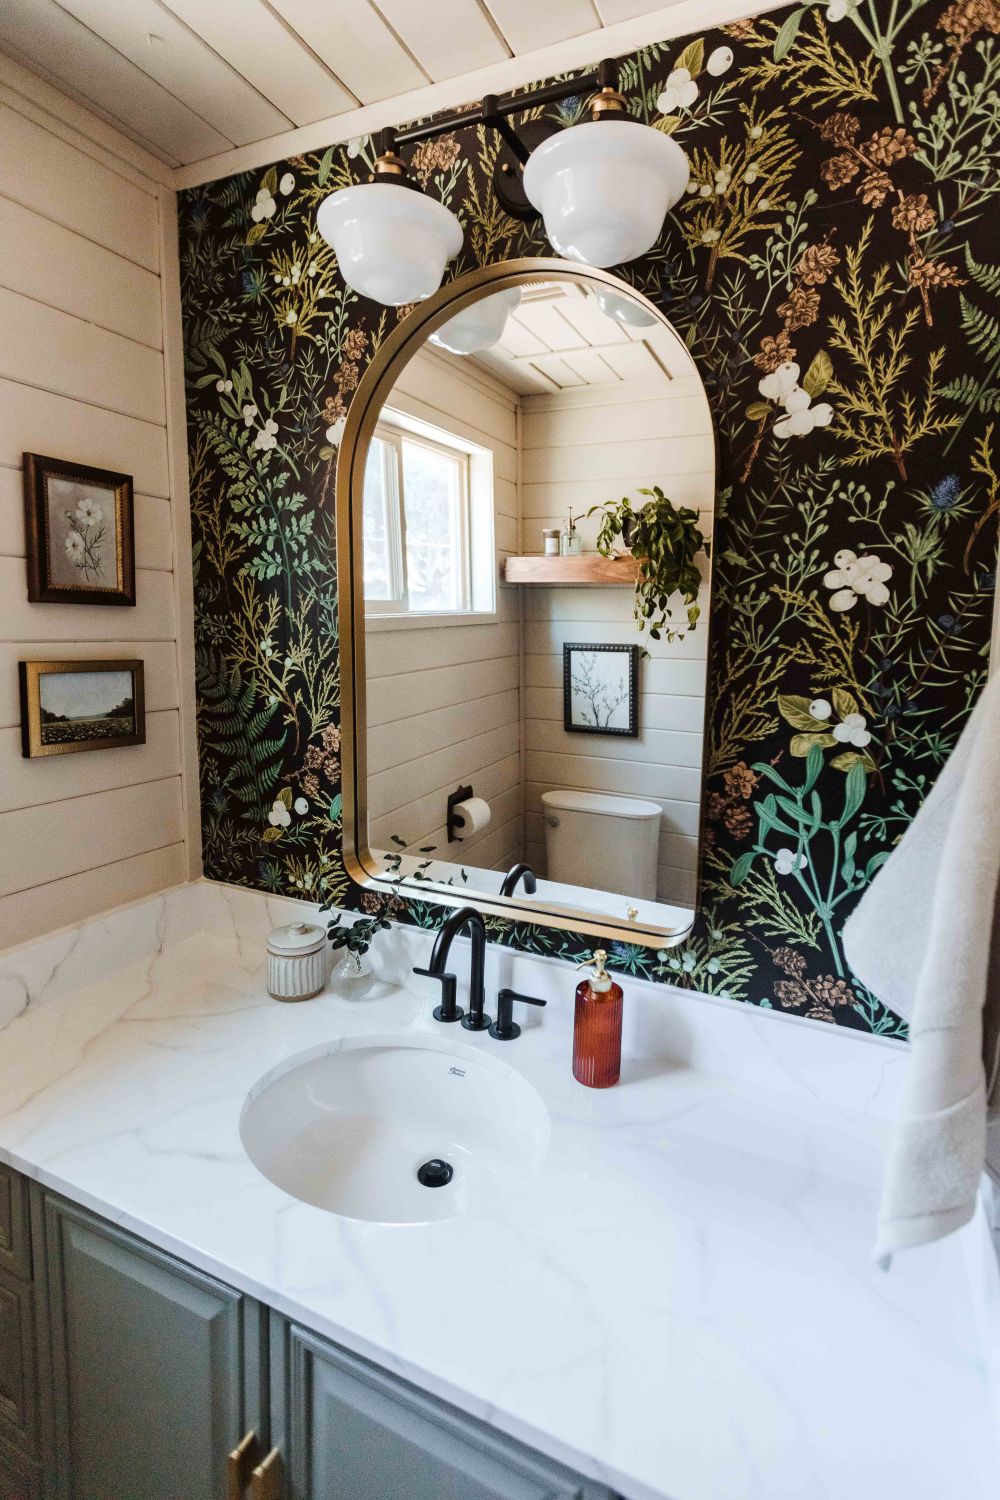
The completed bathroom pairs the white countertop with a matte black faucet, an arched brass-framed mirror, and green-painted vanity cabinets. The dark botanical wallpaper remains behind the sink, while the white shiplap covers the adjoining walls.
Gray veins extend from the countertop onto the short backsplash, giving both surfaces the appearance of the same marble slab.
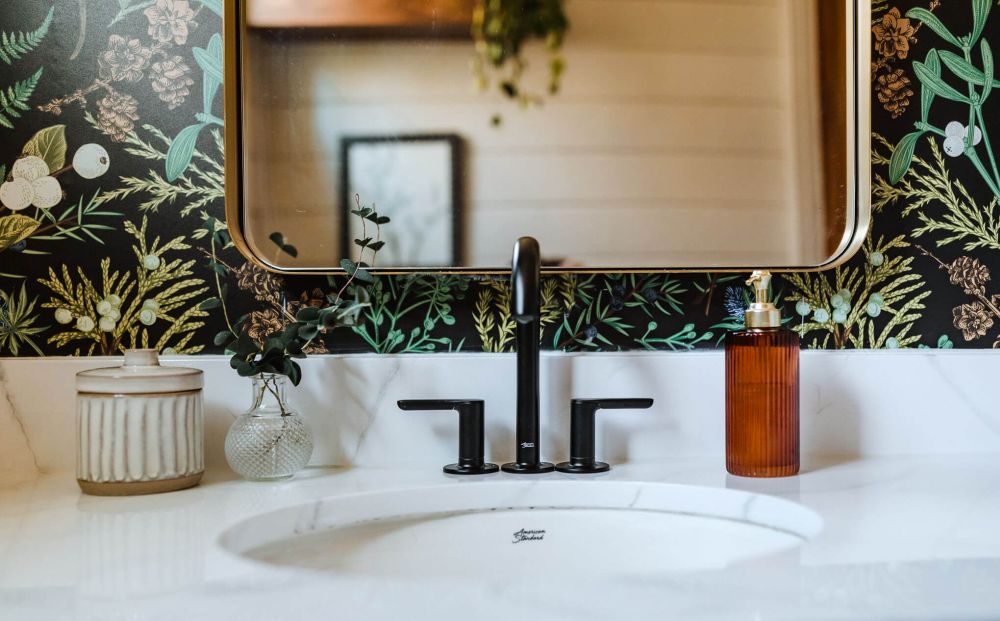
The close-up shows the finished coating around the sink, where the gray markings remain faint against the white background. The epoxy adds a glossy surface over the painted granite.
What Happened to the Epoxy Countertop After 15 Months
After 15 months of use, the countertop still had its glossy finish and white marble pattern. However, small scuffs had appeared along the front edge near the sink.
Kenna suspected the damage came from insufficient curing time, a thin layer of epoxy along the edge, and her children brushing against the counter while washing their hands.
“Other than those minor scuffs, the rest of the epoxy countertops look perfect!” she wrote.
She decided the worn areas could be repaired with touch-up paint instead of another coat of epoxy.
The project avoided the cost of replacing the granite, though the front edge needed attention after more than a year of use.
Would you paint an existing granite countertop or replace it?
Image credits go to @thefliphubb.