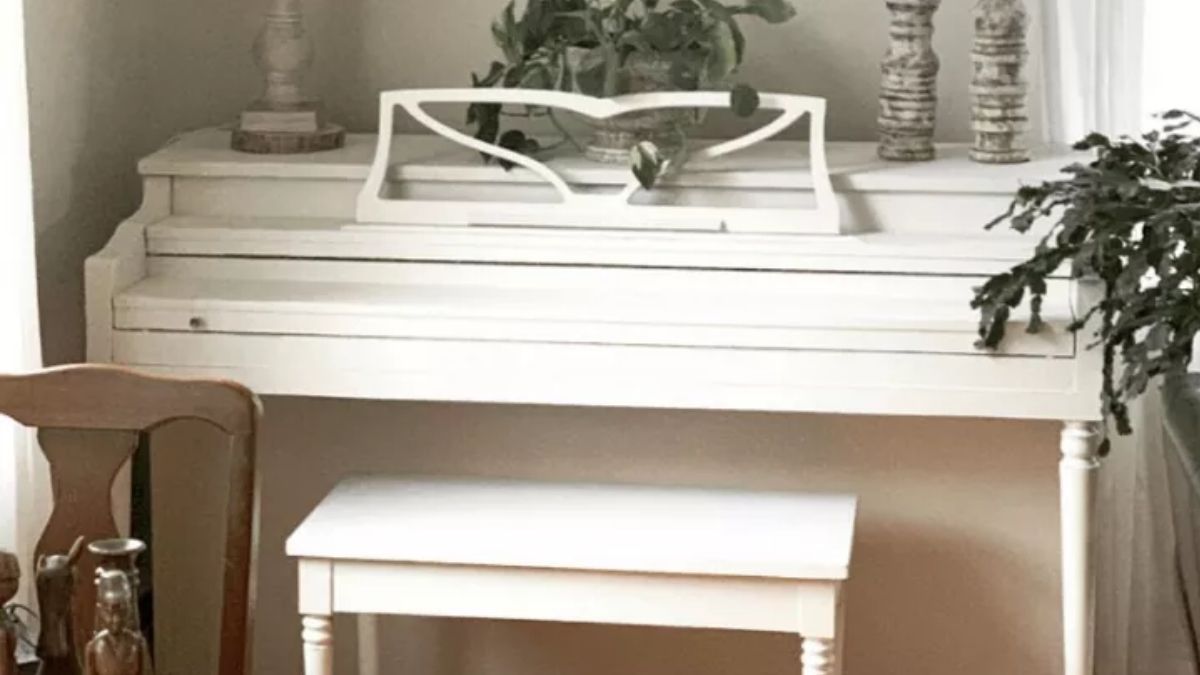
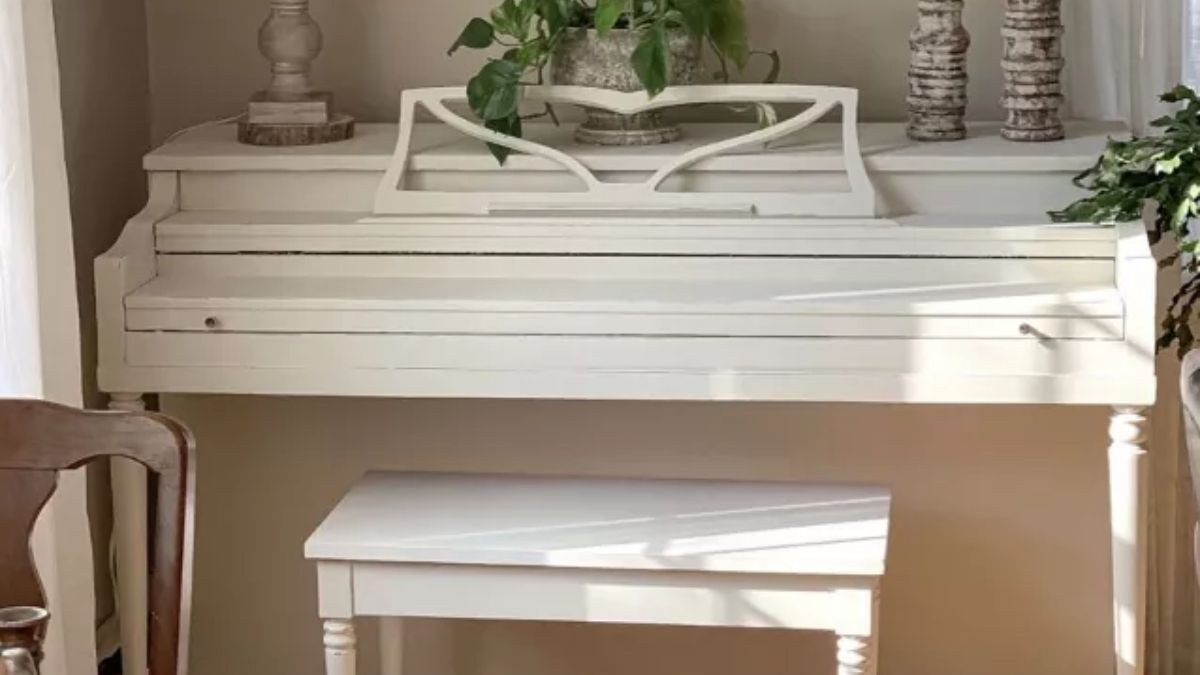
Instead of keeping this dark piano, she painted it Raw Silk, and it looks so much lighter


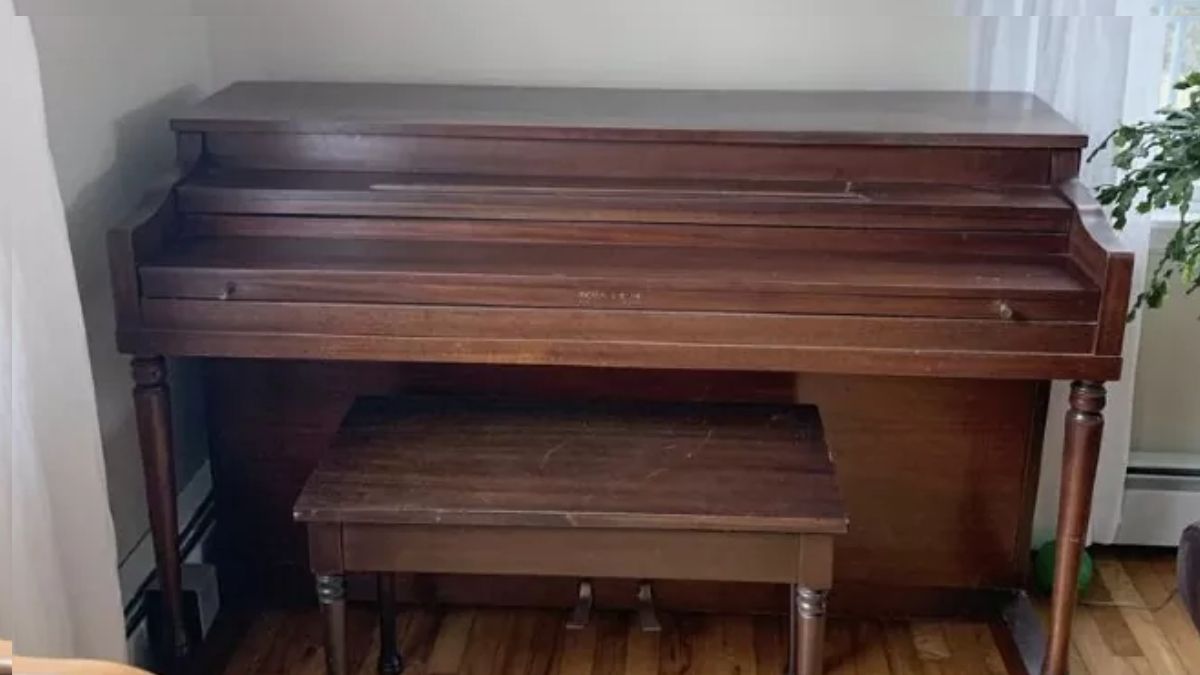
Some furniture is too important to give away and too heavy-looking to keep as it is. For Stacy Ling, that was the upright piano from her childhood, a family heirloom with a matching bench. In the living room of her 1850 farmhouse, next to dark brown leather couches, the dark wood made the whole corner feel heavy.
Up close, it was worse. She describes the finish as “dark, dinged, and absolutely damaged”: nicks, scratches, missing trim, a broken music rack and a permanent sweat mark. The piano itself was fine. The finish was what dated it, and a dark finish next to dark furniture doubles the weight a room has to carry.
Why she skipped sanding the whole piano
Stripping a piano is a big job, with curves, legs and a keyboard to work around. Stacy wanted a low-prep option, so she chose Fusion Mineral Paint over chalk paint: it doesn’t need full sanding and has a built-in topcoat, so there was no wax step. Her color was Raw Silk, a soft off-white.
Her supply list was short: a paintbrush, painter’s tape, a sanding block, a dry rag, a drop cloth, some corrugated cardboard and an optional antique glaze. Here is how she did it:
- Remove any hardware you don’t want painted.
- Raise the bench off the floor, on paint cans for example, so the legs are easier to reach.
- Lightly scuff the whole surface with the sanding block, then wipe it down with a dry rag.
- Paint, letting each coat dry before the next. Because the original finish was so dark, she needed three coats.
- Open the lid, lightly sand any drips, then paint around the keys, using cardboard to hold them down and protect them.
- Let it dry for a few days, and wait at least 24 hours before distressing.
- Lightly sand the edges for a worn look, wipe clean, then brush on the glaze with a damp cloth or brush and wipe it back off for an aged finish.
She estimates about half a day of active time, plus drying, and admits it was “a little more time-consuming than I expected.” The keys were the trickiest part. A wet cloth within reach helps if paint lands where it shouldn’t.
Light paint is one way to rescue dark wood, but not the only one. A reddish-brown china cabinet went the other direction: after sanding and an oil primer, it was coated in a glossy deep green, and the high shine now reflects the room like glass while its brass pulls and moldings still show.
What paint can’t fix on an old piano
Paint changes how a piano looks, not how it plays. Stacy says painting didn’t change the sound of hers, and she notes that many pianists and tuners believe it makes little difference as long as you leave the back alone, where the soundboard sits. Even so, a musician friend disapproved, and she tells readers to “proceed at your own risk.” If the piano is valuable or plays well, talk to a piano technician before you paint, and have it tuned and repaired on its own schedule.
Old finishes need care too. The EPA lists refinishing old furniture among the jobs that can expose you to lead, and notes that homes built before 1978 are more likely to have lead-based paint. If a piece may carry paint from before 1978, have it checked first. If you must sand, the agency’s advice to wet the area first, sand the minimum and clean up thoroughly is a good rule.
A painted finish also chips at the edges where hands and feet hit it most. Light distressing makes those marks look intended. Years later, Stacy says the paint “has held up beautifully, even with daily use.”
“I love how much lighter it looks!” she says. It now “looks so much lighter and brighter in this corner of the living room.” That’s the trick.