Thanksgiving Sign: DIY Wooden Gobble Gobble

In the mood to create something for the Thanksgiving holiday but aren’t sure what to do? This very fast, the Thanksgiving sign is perfect. Not only is the size and “gobble” customizable, but the time it takes is pretty minimal (other than drying time).
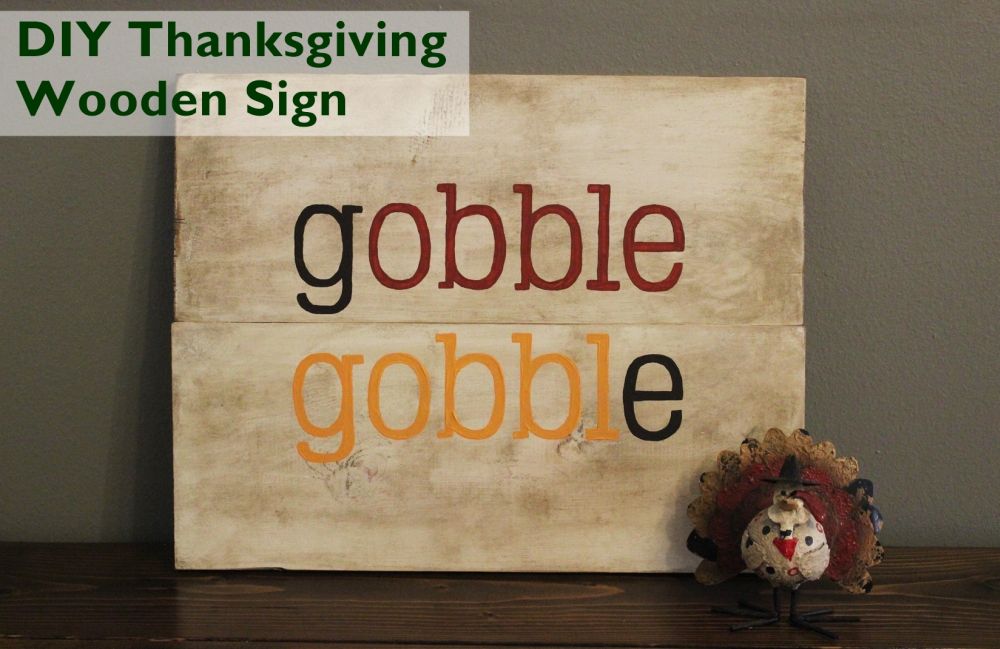
Hand painting takes the longest amount of time by far, but it’s a perfect solution for the guilt you might otherwise feel while binge-watching Netflix. Let’s gobble this thing up. (Sadly, pun intended. Apologies.)
DIY Level: Beginner Thanksgiving Project

Materials you’ll need for the Thanksgiving Sign:
- Two (2) 1×8 boards, cut to 18” long
- White paint (spray paint or brushable)
- Wood stain (use whatever you have on hand; example shows Dark Walnut)
- Graphite transfer paper
- “Gobble” printed out in a large size in the font you prefer
- Three fall-ish colors of acrylic paint
- Slim-tip paintbrush
- Sandpaper
- Kreg jig + three 1-1/4” kreg screws
- Painter’s tape
Step By step instruction to make the Thanksgiving Sign:

Step 1: Drill pocket holes
Without sanding your wood or doing anything to it, drill three or four pocket holes into the back of your board, on the long edge.

These will be for connecting the two boards later on. If you don’t have a kreg jig, you can simply use metal brackets to attach the two boards together, but don’t do that yet.

Step 2: Painting process
Still without sanding, place the boards front-side-up on a drop cloth. Paint the front and all side faces of each board. Don’t worry about the back.
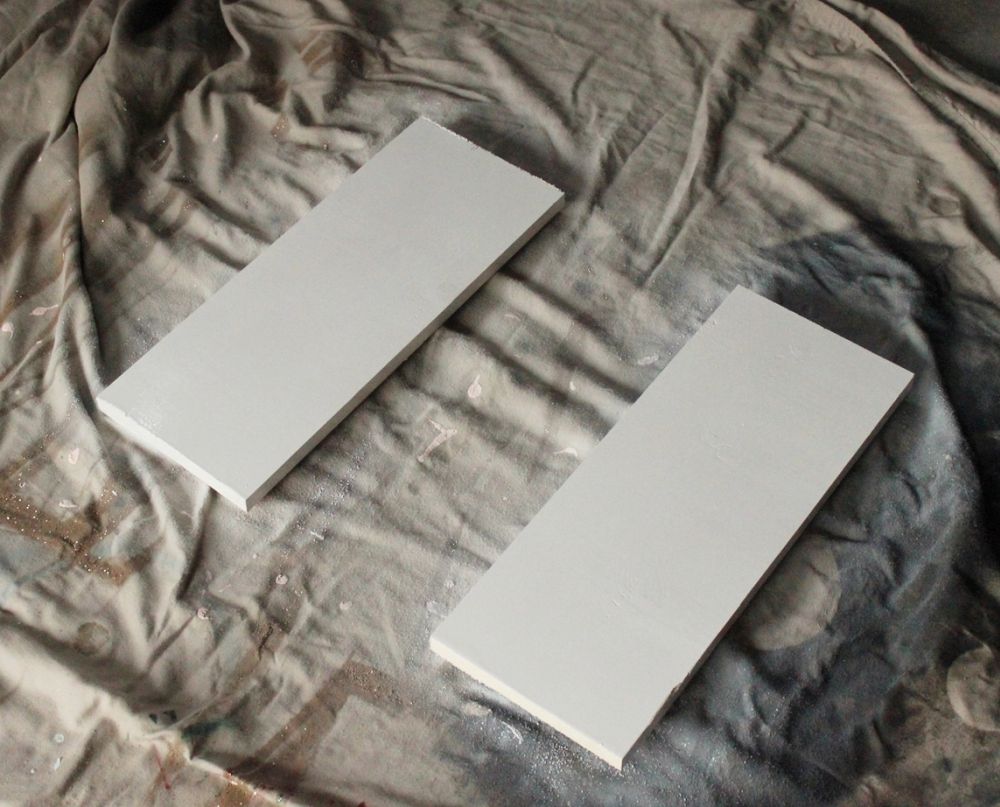
Do another coat if you want. Let the paint dry thoroughly.

Step 3: Sanding
Sand the boards – faces and sides. To achieve a more rustic, farmhouse look, you’ll want to hit the board corners/edges fairly well, along with any knots on the board faces. It’s best to even get down to wood in random places, so it doesn’t look too careful or contrived.

Dab a clean, dry cloth into a bit of wood stain.

Smear the stain onto the wood board, working in small sections.

Without letting the stain dry, quickly wipe it off with a different clean, damp cloth. Try to make sure the stain gets into any knots or raw wood areas, as this provides a weathered aesthetic.

When you have the boards looking how you want (don’t forget the sides, tops, and bottoms of both boards), let them dry from the damp cloth.

Personally, I don’t particularly love overly rustic décor. But because it’s the fall season, I wanted this piece to look a little beaten up. I kept the sides free of splinters but not smoother than that for this purpose.

Step 4: Attach
When the boards are dry to the touch, go ahead and attach them with 1-1/4” kreg screws. Make sure the boards are aligned before attaching.

With your two boards attached, you now have your single piece ready to paint.

If necessary, tape your wordage papers together so it’s straight and lined up.

Step 5: Create your design
Position on the top board of your piece, and carefully tape into place using painter’s tape. Slide the graphite transfer paper between your paper and the boards, with the dark (graphite) side facing down.

Use a sharp pencil to trace the outlines of your printed letters.

You can carefully check your work by pulling up the paper and graphite paper to make sure you’re pressing hard but not too hard on the wood. Some places on my board didn’t accept the graphite transfer as much as I expected, but the wood was soft enough that even gentle pressing of the pencil gave me enough of an outline to go with.

Grab a fine-tipped paintbrush and a few drops of each of your chosen acrylic paints.

Start filling in the outlines of your letters with bits of paint.

If you’re right-handed, work from the top left corner to the right, then move down to the next line and work from left to right. (Left-handers go from top right, working left.) This helps to prevent smearing and smudging.

You may notice, as I did, that the paint didn’t have an even coverage with such a slim paint surface. That’s okay. Just finish up your first coat as precisely as possible, but don’t sweat the inconsistencies in coverage.

When all the paint has dried, go back and apply a second coat as carefully as you did your first coat. This should even up the coverage beautifully.

I had thicker “walls” of paint on the edges of my letters, where the edges of my brush hit, and it’s totally okay. (Translation: Don’t try too hard to “fix” it, or it could mess the letters up completely. And that would be sad.) This thickness isn’t as apparent after the paint dries after the second coat, because of the better coverage that that second coat of paint provides.

Let the paint dry completely, then place it wherever you want to have a fresh piece of Thanksgiving décor displayed.

Done! That was pretty easy, right? Feel free to customize your words and colors in whatever way you want. That’s the beauty of DIY projects, really.
