DIY Embroidered Map: The Most Thoughtful GiftEver

This might be one of my favorite DIY gifts of all time. It’s intensely personal, it’s relatively easy, very inexpensive, and it means so much to the recipient. It’s a perfect gift for someone who is moving away, for someone who lives far from you, for someone who shared a special vacation destination with you, and so many others. It would make a lovely gift this holiday season for any number of people who live far from you. Let’s do this.


DIY Level: Beginner to Intermediate (requires care to sew trail without damaging map)

Materials Needed:
- Map, sized to fit a frame (example uses a state highway map printed onto regular office paper)
- Lightweight fusible interfacing
- Embroidery floss in the color of your choice
- Sharp needle
- Iron
- Frame for map (not shown)
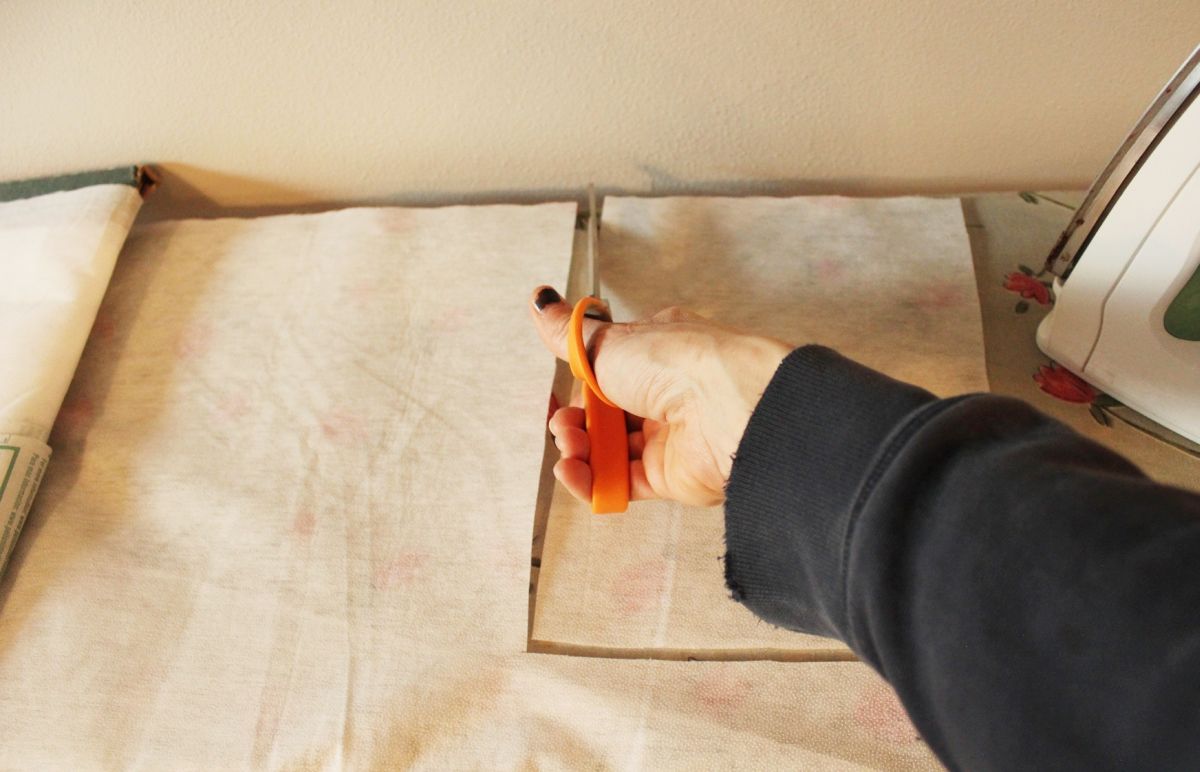
Begin by cutting a piece of fusible interfacing that’s slightly smaller (1/2” smaller on all sides) than your map.

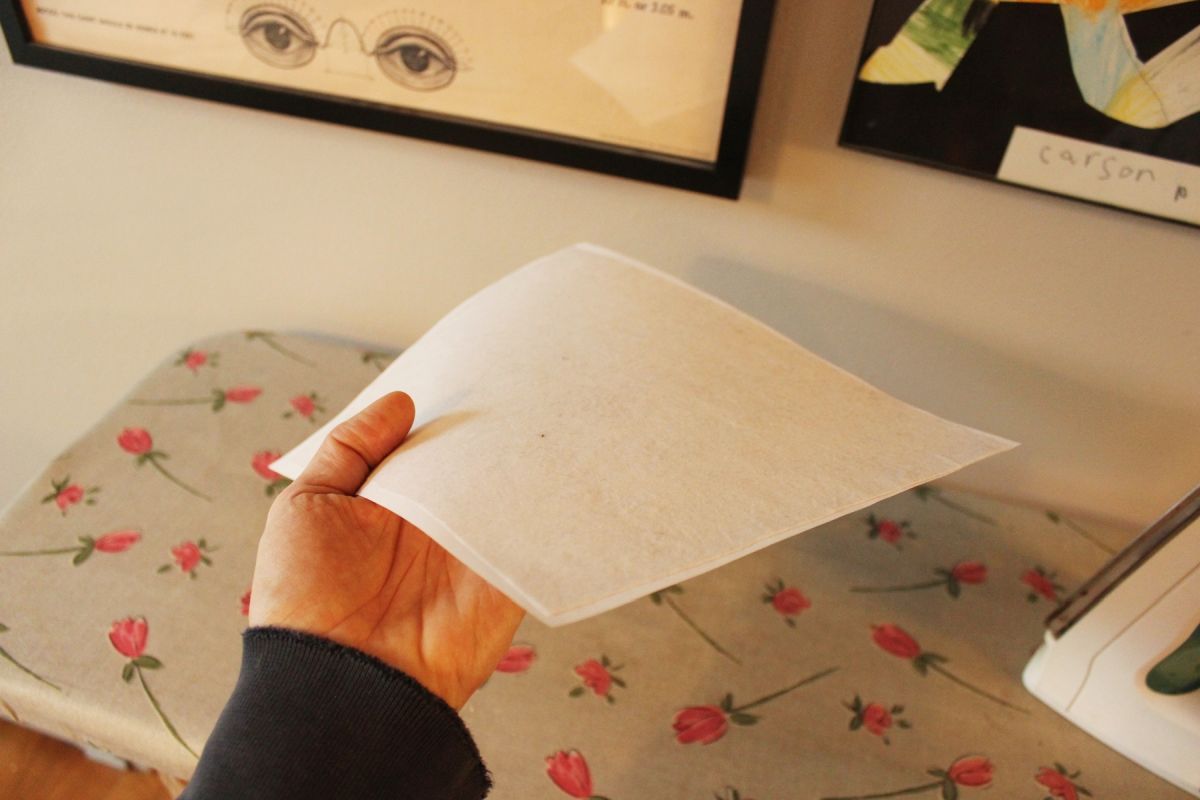
Determine which side of the interfacing has the textured bumps. These are the fusible bits to attach the interfacing to the paper.

Lay your map right side down onto your ironing board. (Try not to drool with envy at this ironing board cover. It’s a lovely specimen, I know.)

Center your interfacing fusible side down onto the back of your map.

Use a steam iron to fuse the interfacing to the map.
Take care not heat your interfacing for too long, but rather just enough to fuse the two pieces together.

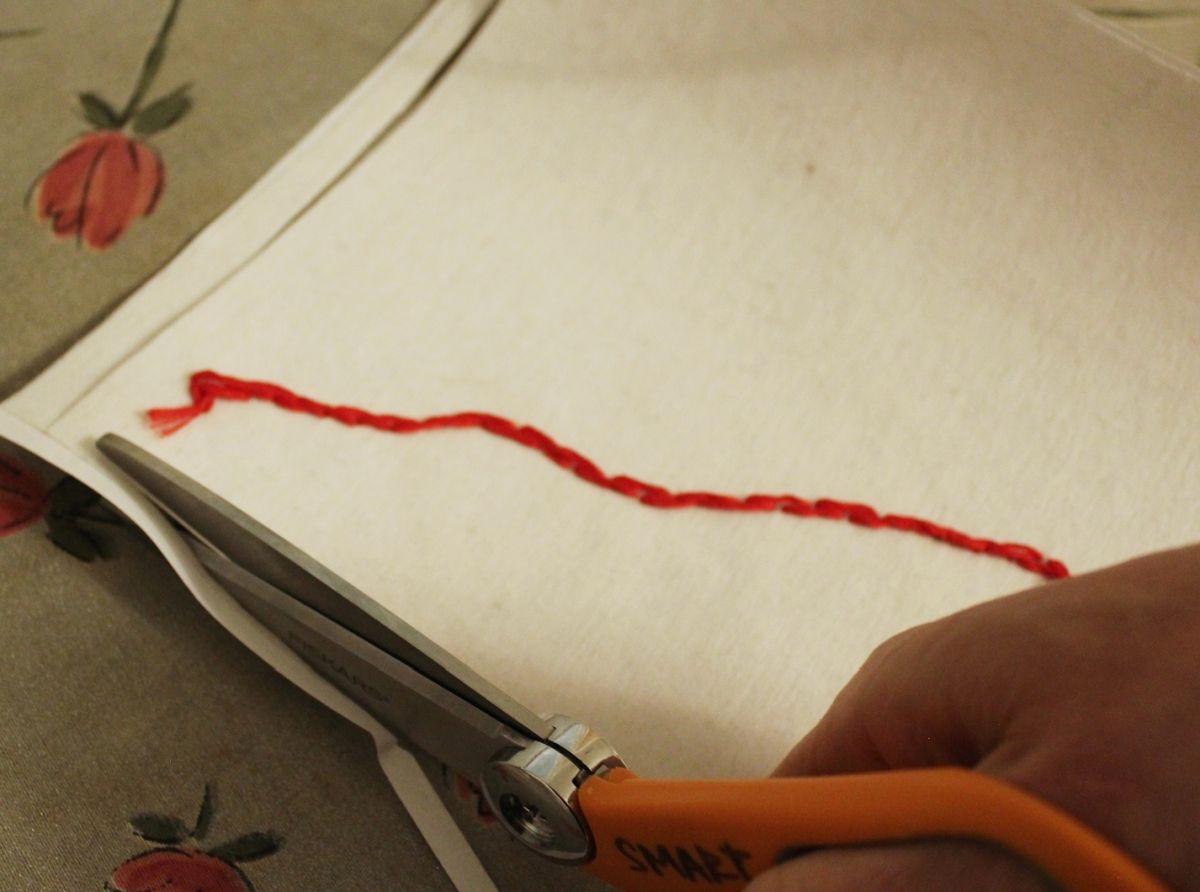
Set your map aside for a minute and prepare your embroidery floss. As a rough estimate, you’ll need floss that’s about eight times the length of embroidered trail on your map. The floss will be doubled over, so your doubled-up length will be about four times the trail length.

Tie a knot at the end of your floss. Make it as flat as possible. Keep in mind that a small knot here is fine; the map is going in a frame and won’t be moved when done, so it’s not like you need a heavy duty knot here.

Make a small diagonal stitch at either the starting or ending point of your trail; this will be part of a heart. If the location is labeled on your map, try to keep the name visible.

Make another small diagonal stitch, leaning the other way and connecting at the bottom point, to create the middle part of your heart. Aww. I really loved this project at this point.

Now, you’ll want to beef up your heart so that it stands out a little more from the trail. To do this, simply stitch two diagonal stitches directly outside the first two. Basically, you’re doubling up the heart width.

With the heart complete, it’s time to begin stitching your trail. We’ll be using a gently modified backstitch here. A true backstitch creates a fully solid line; the trail we’re stitching here does have slight gaps, but they are nominal. To sew a backstitch, you want to bring your needle up through the map at the forward point of your stitch.

Pull the needle and floss all the way up through your stitch, then push the needle back down through the map at what will become the back point (like the “caboose”) of your stitch.

The process looks something like this. I found it helpful to hold the map up to a light so as to find the point where I wanted to push the needle through; once you create the needle hole in paper, it’s there to stay (unlike sewing in fabric, where you have a bit of weave forgiveness in the fabric). So you want to get the needle poke right the first time. Also, work with controlled bursts of pressure when you’re first poking through the map and then one more time when you’re bringing the eye with floss through the map. If you’re too gentle and slow at these two critical stitch points, you run the risk of ripping, creasing, or damaging your map.

So, just to refresh you on the backstitch: you’re moving forward in your trail (yellow line), but your individual stitches (green arrows) are sewn backwards, in the opposite direction.

Here’s what the back side of your map will look like. Each part of the trail is covered with two halves of floss stitches.

If you find yourself partway through your map without enough floss to finish it, don’t worry. You can simply tie off a flat knot, then re-thread your needle, double it up, tie off the end, and start up with your backstitch pattern wherever you left off.

At the end of your trail, you’ll stitch a heart in exactly the same way as you began your trail. Then tie off a knot at the back of your map and trim the floss.
Cut the map paper down to the correct size for your frame (if you haven’t done this already).

Place the map of your heart in the frame.

Viola! Done. A map that connects two separated hearts, memories, experiences, whatever.

I love how this gift idea is all about connection on a very personal level.

It’s interesting that the best gifts really don’t have to cost a lot. This particular one is so simple, takes a relatively short amount of time, and yet is priceless.

You can customize the color of floss that you use to stitch your trail. Consider using metallic gold floss or whatever color matches the recipient’s space.

One aspect that’s so sweet about this gift is that the trail of love flows both directions. Like, both ends are sending and receiving love.

I find that two-directional flow aspect comforting, especially for people physically separated from loved ones, especially at this time of year.

I hope you enjoy this DIY project to your core. Happy gift-giving.