DIY Jewelry Holder out of Spice Rack – IKEA Hack

You’ve probably seen a number of ways to use IKEA’sBekvam spice rack for things other than, well, spices. Today’s DIY project features this versatile piece as a chic DIY jewelry holder. Whether for yourself, for a daughter, a friend, or a neighbor, this makes a fabulous addition to any jewelry collection. And the best news of all is that it’s one of the easiest and quickest hacks you’ll ever do.
This article features three different options for those of you who have a hard time picturing a final outcome: a stained jewelry holder, a white jewelry holder, and a two-tone jewelry holder. The possibilities, though, are endless. Enjoy!
DIY Level: Beginner

Materials Needed:
- IKEA Bekvam spice rack(s)
- Hooks
- Spray paint / wood stain in the color(s) of your choosing
- Drill, paint brush, screwdriver, and measuring tape (not shown)

Note: This tutorial shows a step-by-step guide for creating a walnut-stained jewelry holder out of the IKEA spice rack. Modify the instructions as needed if you choose a different finish or treatment.

Apply wood stain onto your wood pieces: entire shelf piece, both side pieces EXCEPT the edges with the metal hanging plates and three holes, and the dowel piece EXCEPT the smaller ends. (Photo shows the staining of two extra side pieces and one extra dowel piece, which will be used on the two-toned jewelry holder.)

Wipe off the wood stain with a clean, dry rag shortly after applying. (Tip: The longer the stain sits on your wood, the darker it will be.) This tutorial shows Minwax wood stain in walnut.

Allow all stained pieces to dry thoroughly.

If applicable: prime and paint your wood pieces and allow to dry thoroughly. (Photo shows an extra shelf section for the two-toned example, in addition to an entire set for the white example.)

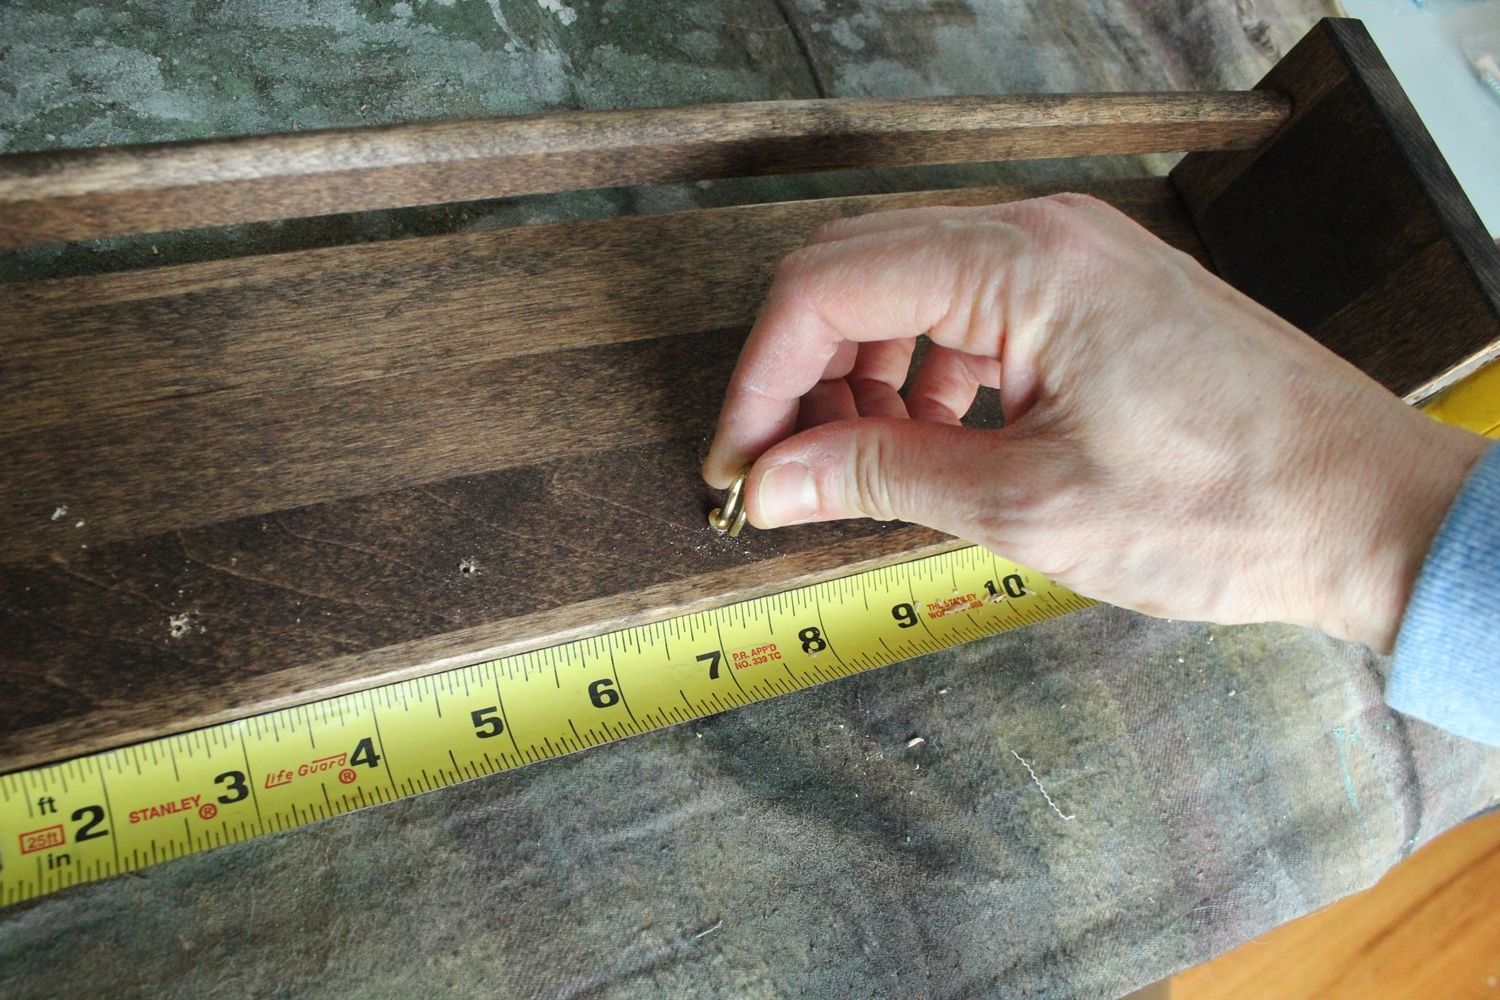
When shelf is dry, it’s time to predrill your hook holes. Temporarily attach the two side pieces onto the face of the shelf WITH three holes by using the small wood pieces provided in the Bakram assembly bag. Lay a measuring tape across the BACK END of the shelf piece (nearest the wall hanging plates) directly between the insides of the side pieces – this will be 14-1/2”. Measure in from the back edge of the shelf piece as far as you’d like (example shows about 3/4″) every 2-1/4” at the points shown in this photo. Drill a shallow hole at each point, perpendicular to the wood, taking care not to drill all the way through the shelf piece.
Screw your hooks into the predrilled holes.

Tip: When screwing a hook into a hole and it starts to hurt your fingers, hook the end of a screwdriver into the hook and continue “ratcheting” the hook into place.

Your hooks should all face the same direction, with the open end facing away from the back edge of the shelf piece.

Next, you’ll want to predrill hook holes into your dowel piece. Measuring from where the actual dowel part starts (not the insertable ends), mark points every 3-1/2” as shown in the photo – at 2”, 5-1/2”, 9”, and 12-1/2”. You will have four hooks on this dowel part, which will allow the five hooks on the shelf part to show through in a kind of “window” formation.

Hold the dowel on its narrow side and drill the holes carefully. Don’t drill all the way through.

Screw in your four hooks, keeping the open ends facing the same way.

With your hooks installed, it’s now time to assemble your spice rack-turned-jewelry holder. Put the small wood connectors into the center holes on the shelf piece ends.

Install one end piece, taking care that the hole for the dowel is facing toward the inside and the wall hanging plate is facing the back (closest the shelf hooks).

Insert your dowel, with all hooks facing the same way, into the installed side piece.

Insert the open end of your dowel into the second side piece, then install that side piece onto the wooden connector on the other side of your shelf.

Flip the jewelry holder over and insert then tighten the provided screws.

You’re just about done. Because you will be mounting the spice rack “upside down” as a jewelry holder, you’ll need to rotate the wall hanging places 180 degrees.

Unscrew the wall hanging plate screws and spin it 180 degrees so the narrow end of the wall hanging hole is nearest the shelf piece.

Screw it back on. Repeat for the other wall hanging plate.

This spice rack is actually designed with a standard 16” stud framing space in mind, so you can probably screw directly into the studs when you mount it. If not, though, simply use drywall screws to install your jewelry holder wherever you want.

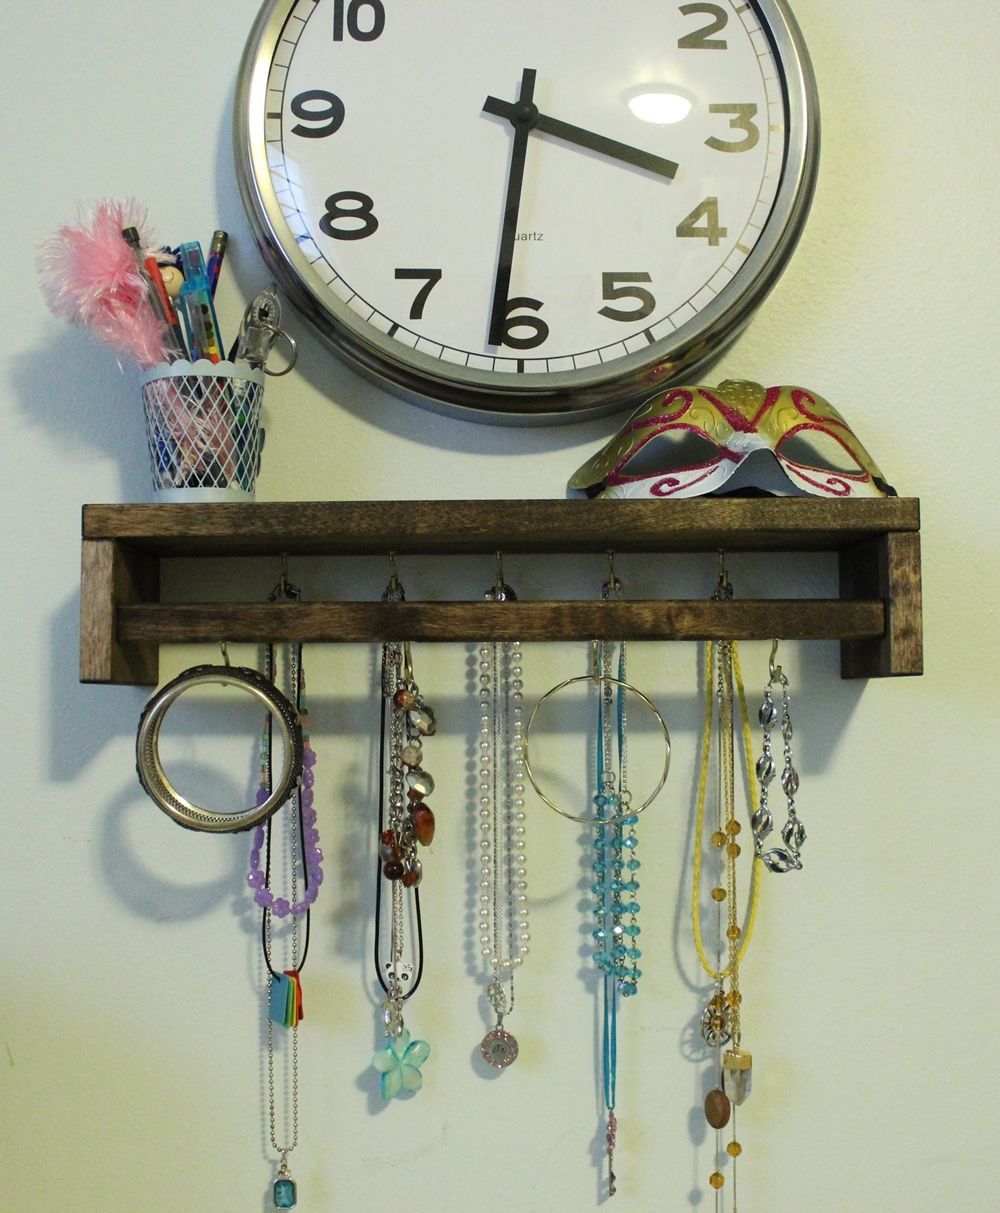
Load it up with the jewelry you want to organize.

Congratulations! You’ve finished a pretty simple DIY jewelry holder. Bonus: it’s got a shelf to store functional or decorative (or both!) items.
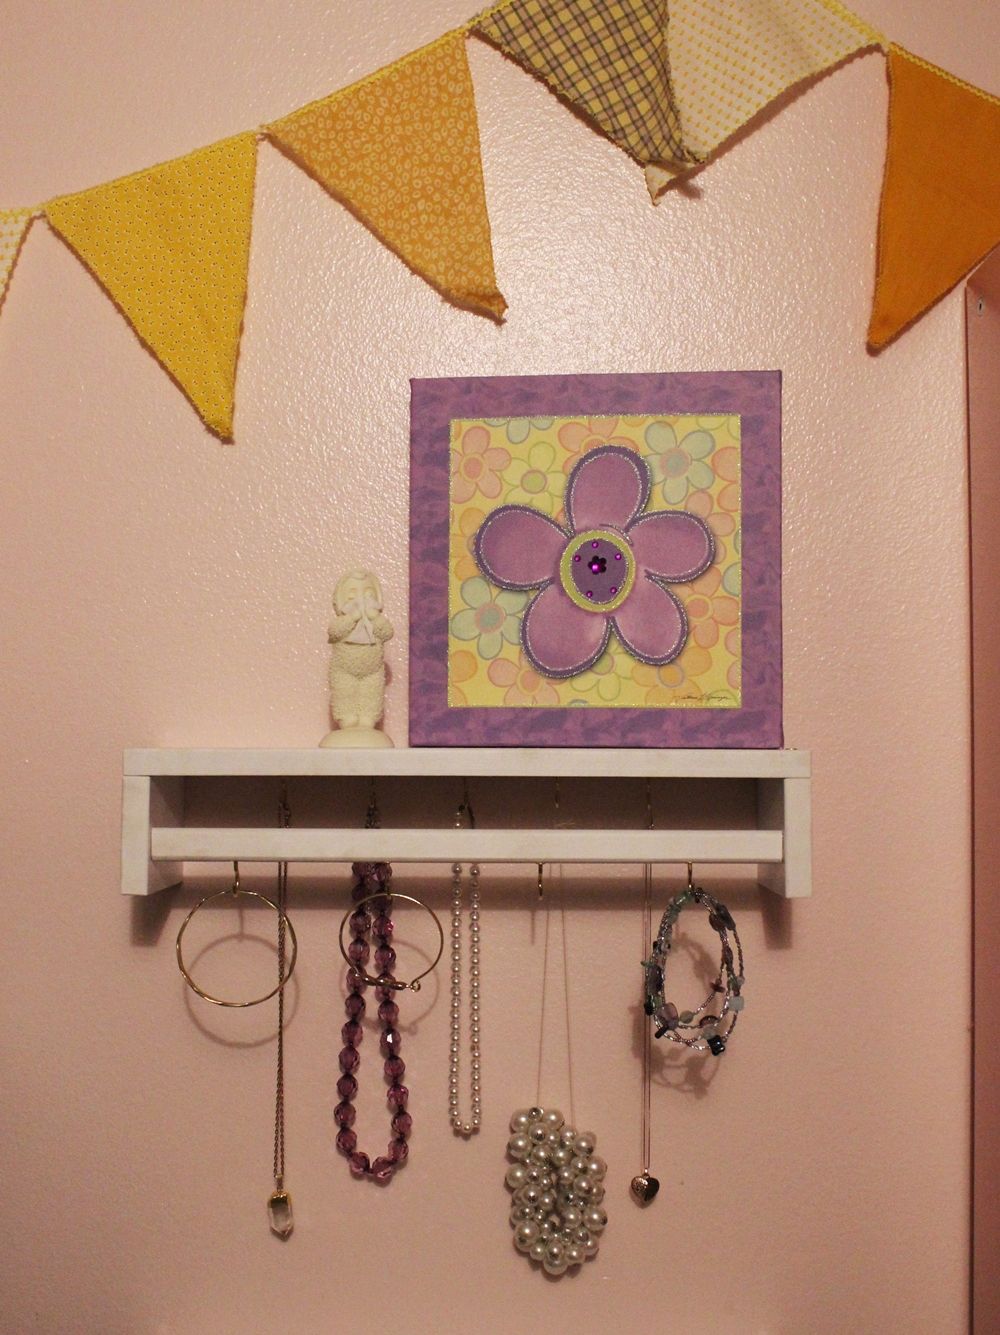
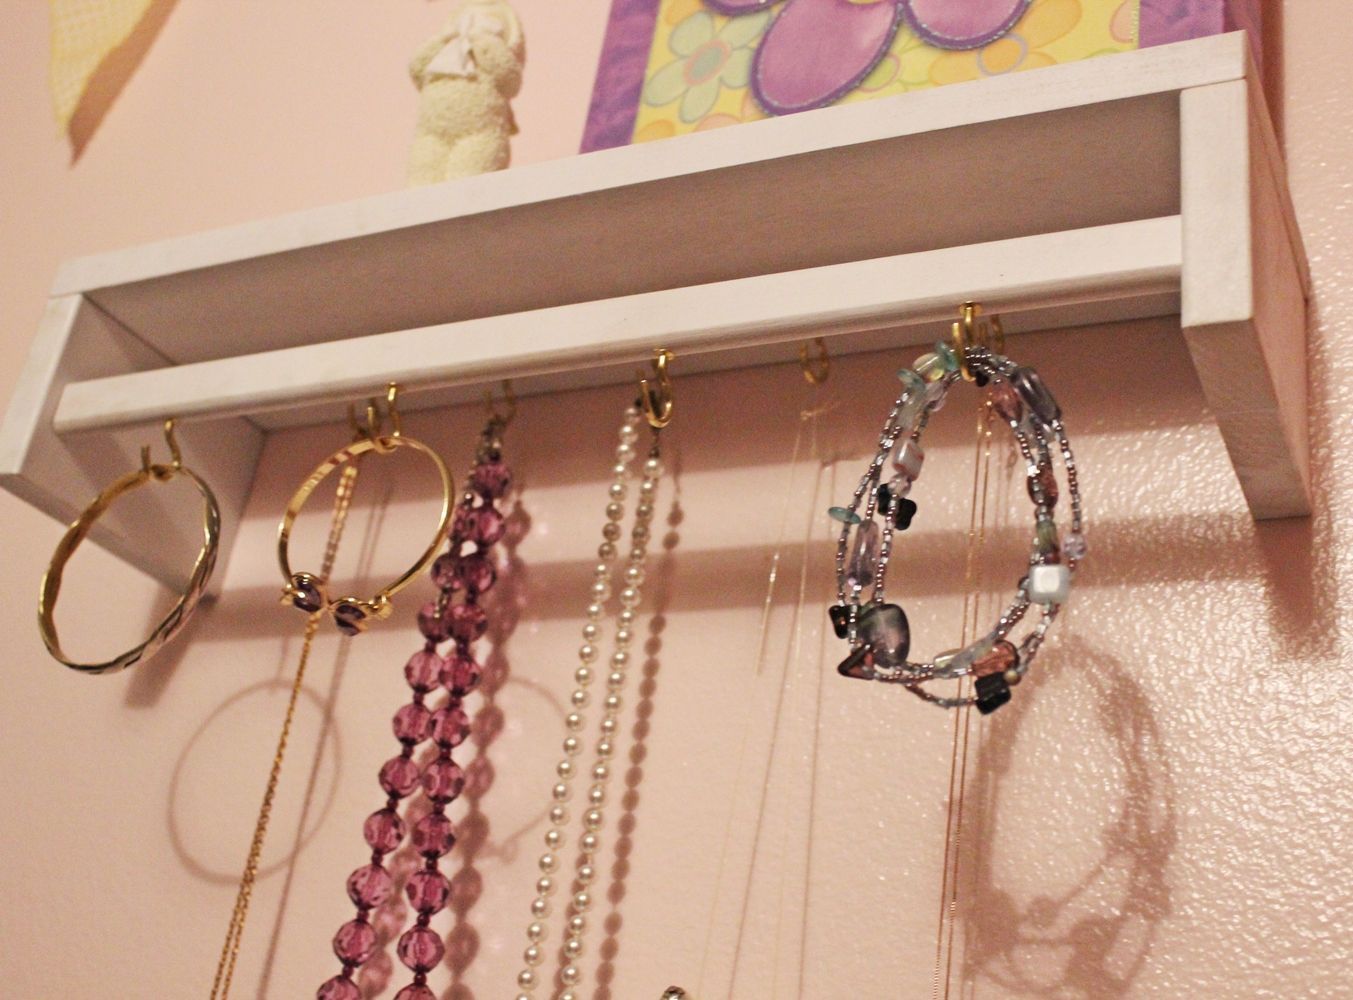
Here is what the all-white jewelry holder looks like. You really can’t go wrong with a white jewelry holder, really. It shows off the jewelry quite well.

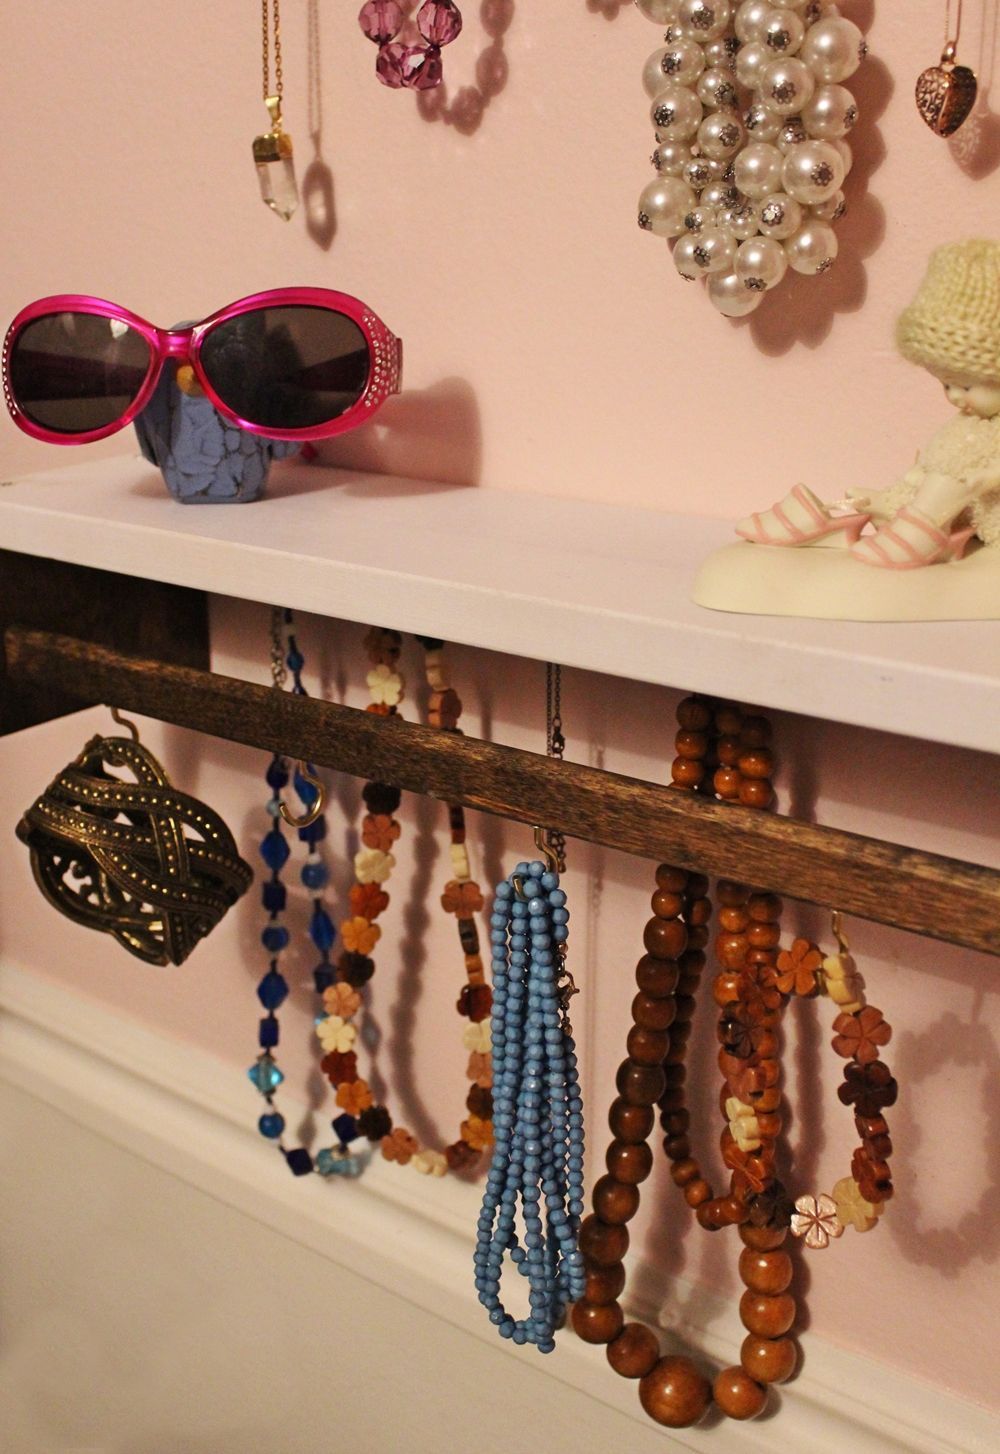
Notice how the longer necklaces hanging on the five back hooks are visible between the bracelets hanging from the four front hooks?
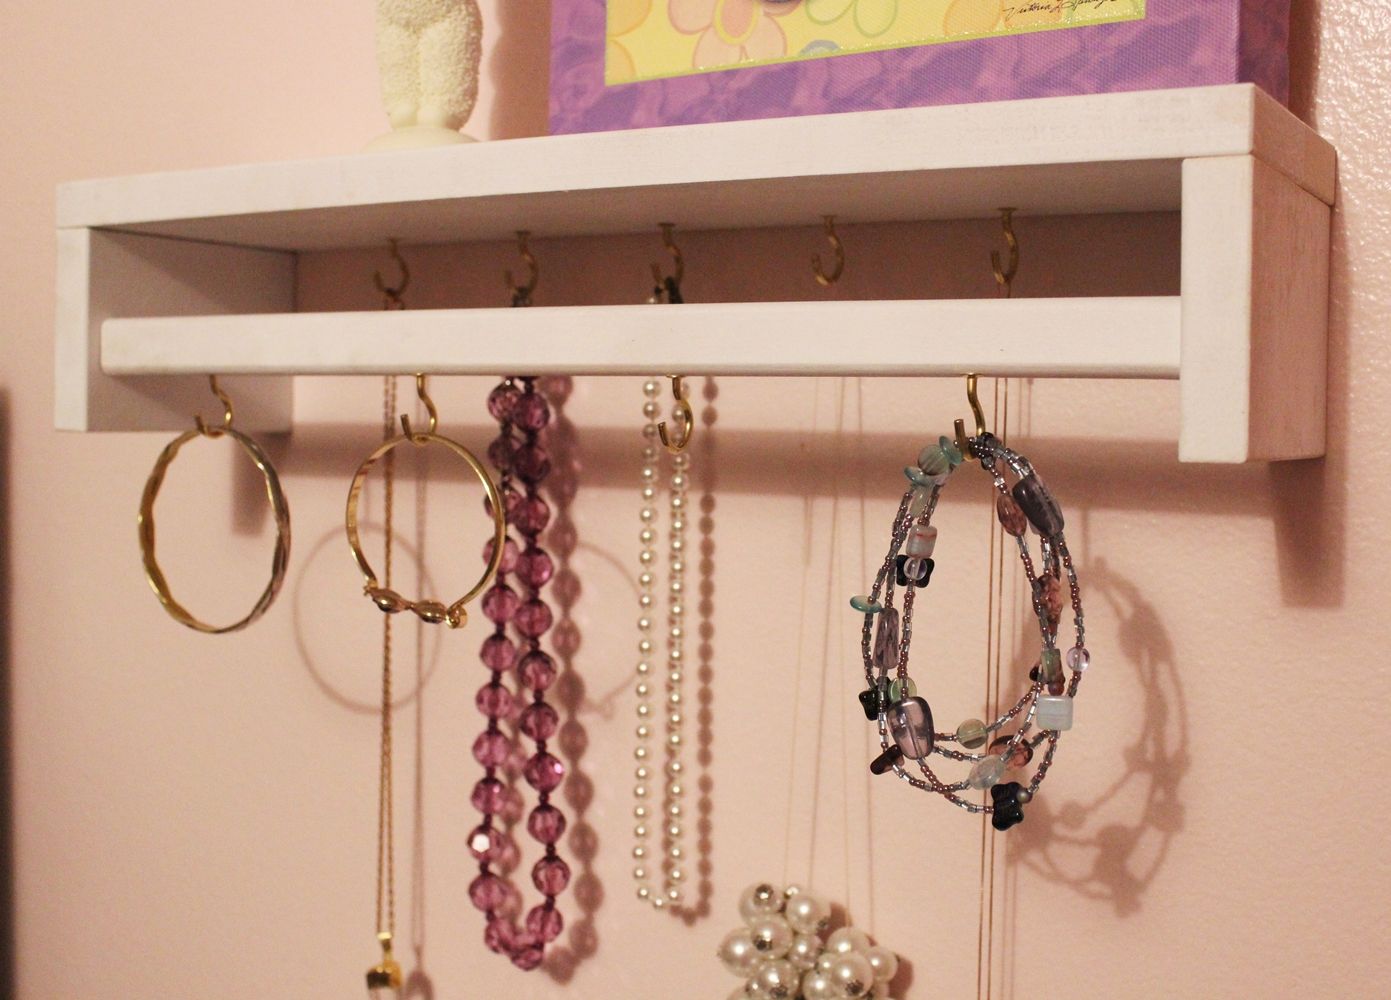
This not only makes your jewelry easier to see, it makes it easier to access as well. Form and function is always the best sort of design, don’t you think?

This two-toned jewelry holder is quite lovely in person.

It encourages a sort of bohemian, eclectic vibe…with class.

And don’t forget that your jewelry can say a lot about you. These DIY jewelry holders are customizable to facilitate just that idea.

Which version is your favorite – stained, white, or two-toned?