They Removed the Old Wood Paneling and Replaced It With Boards From 10 Pallets


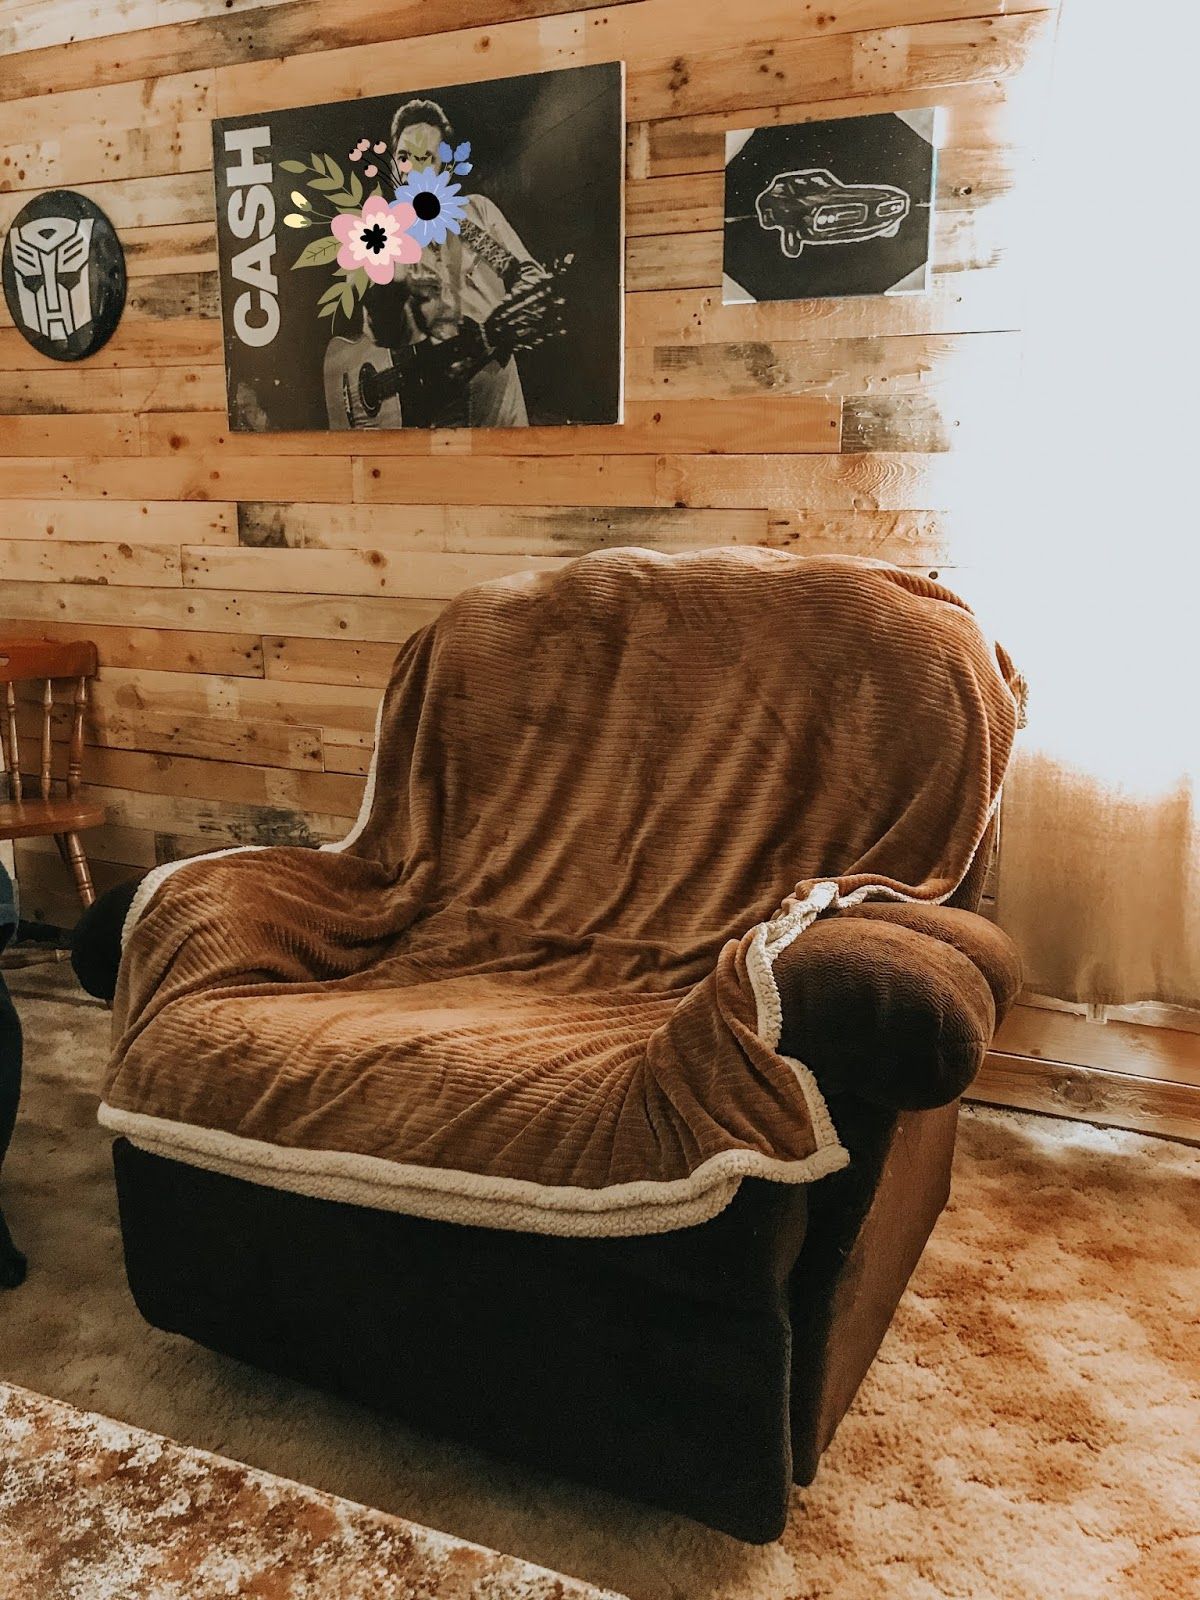
Old wall paneling gave this room a dated look, so the homeowners decided to remove it rather than cover it with paint. Once the panels came down, they chose an unexpected source for the replacement: a stack of discarded wood pallets.
Clover House blogger DeeDee and her husband collected about 10 pallets and left them outside to weather for two months. Her husband then took them apart, removed the old hardware, and prepared the boards for the exposed wall.
Nail holes, stains, knots, and changes in wood tone stayed visible across the finished surface. Staggered horizontal rows replaced the uniform vertical panels, turning free pallet wood into a new wall without hiding the marks left from its previous use.
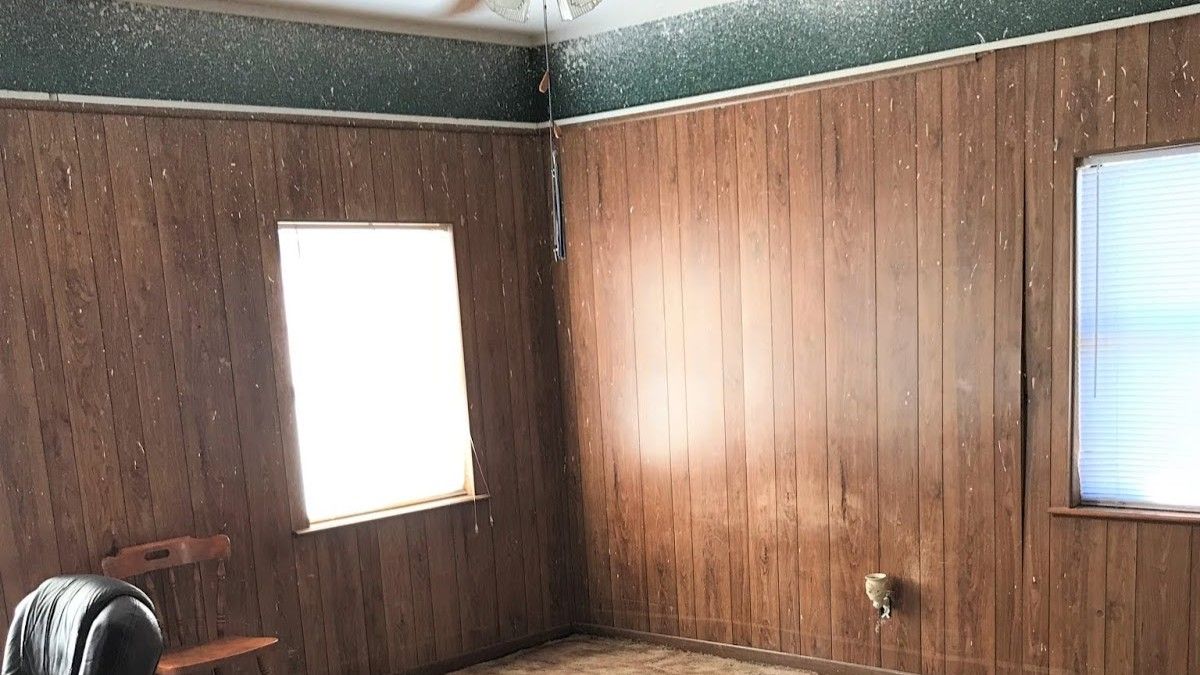
Dark Paneling Came Off First
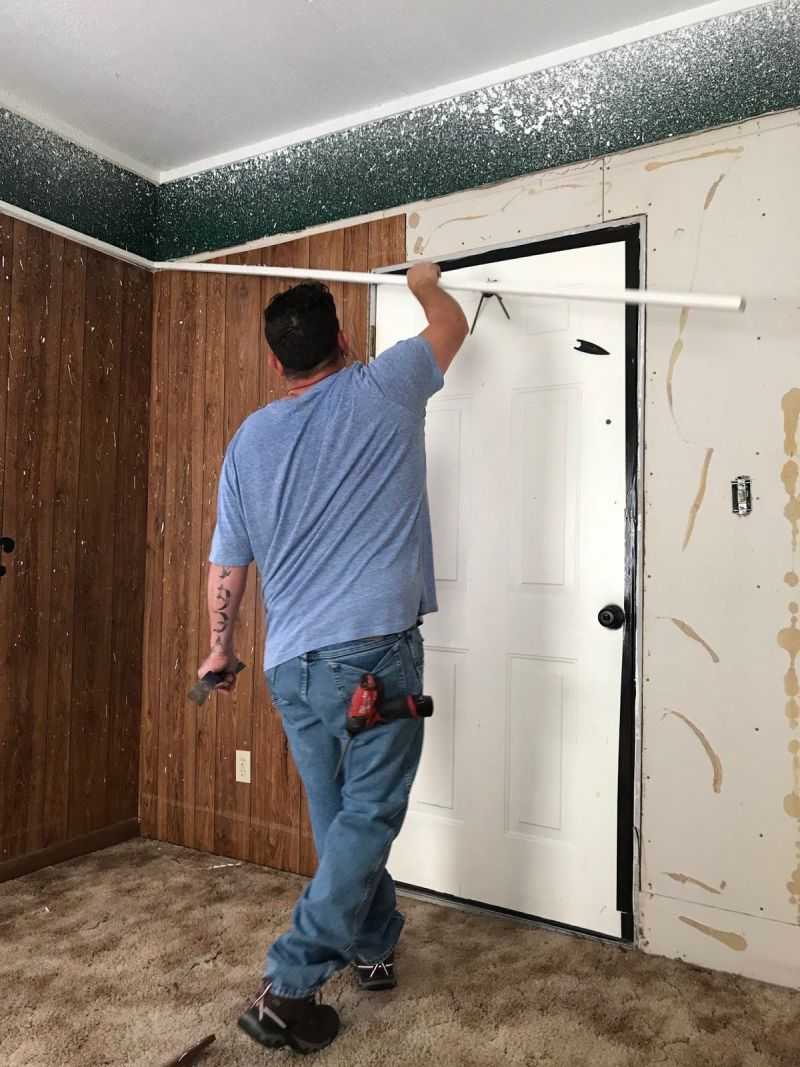
Old vertical paneling covered the room when work started. White marks across its surface came from earlier ceiling work, and the homeowners planned to remove it rather than preserve or refinish it.
Pulling the panels down exposed the plain wall underneath. That bare surface would become the backing for rows of reclaimed pallet boards.
About 10 Pallets Supplied the New Wood
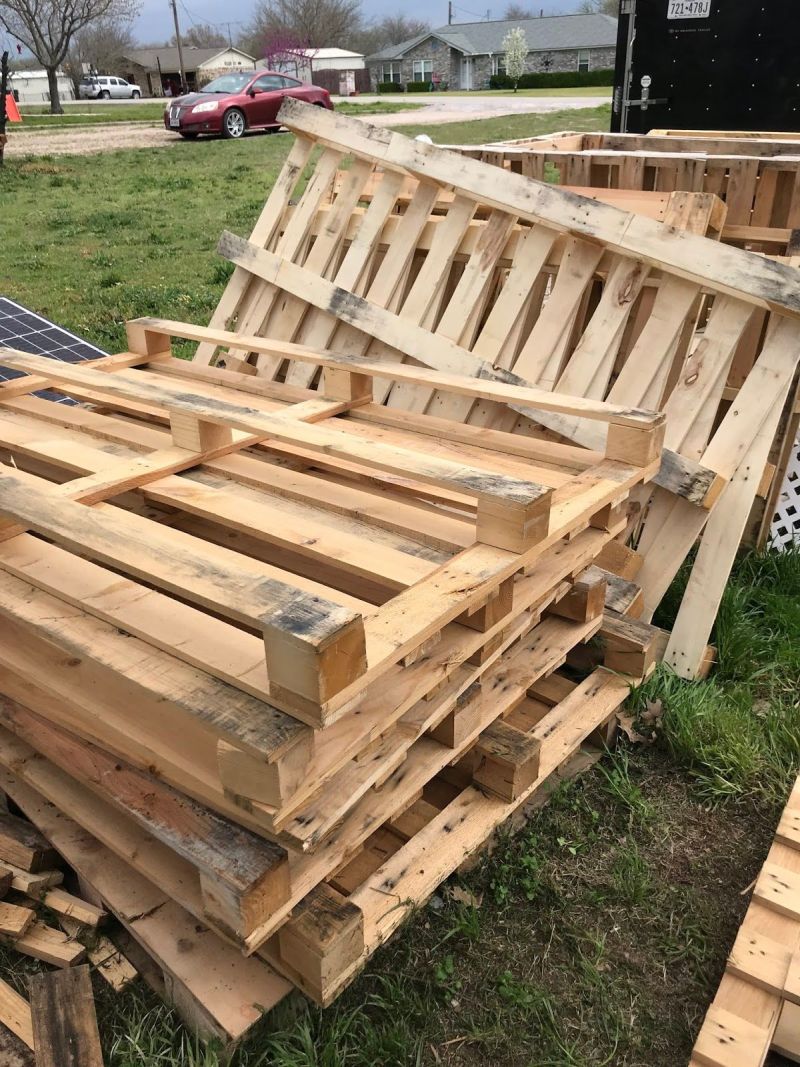
Pallets collected for the project sat outdoors for about two months before installation. Exposure changed some of the boards, creating gray patches, dark marks, and color differences that would become part of the finished wall.
Keeping those differences was part of the plan. Matching new boards were not needed because variation between pieces gave the replacement wall its character.
Taking the Pallets Apart Without Losing Their Character
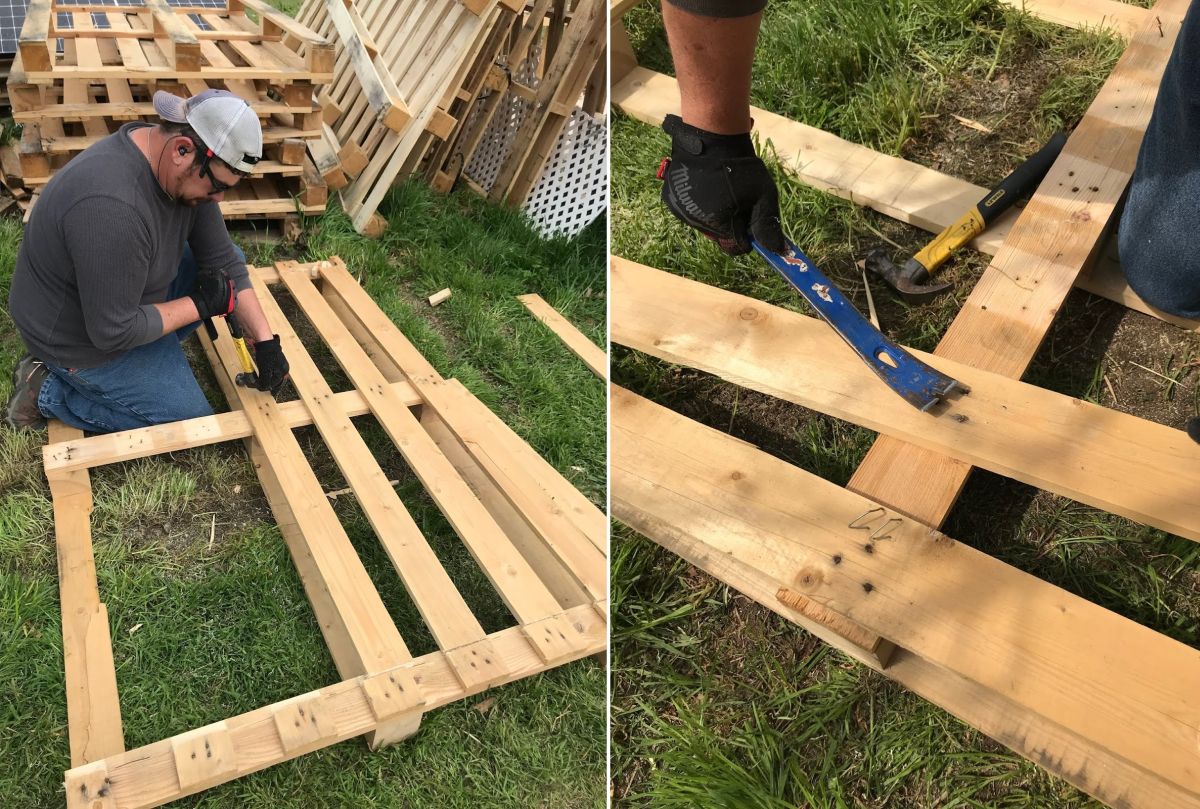
Dismantling each pallet meant separating the boards without destroying the pieces they wanted to reuse. Hammer and pry bar handled much of the work, while a circular saw helped with stubborn sections.
Cutting through every pallet would have saved work, but it also meant losing board ends with old nail holes. They kept as many of those marks as possible, then removed the remaining nails and staples before bringing the wood indoors.
Cleaned boards were stacked on the porch as the pile grew, leaving them with different lengths, tones, weathered patches, and old fastener marks to choose from during installation.
One Pallet Became a Pile of Wall Boards
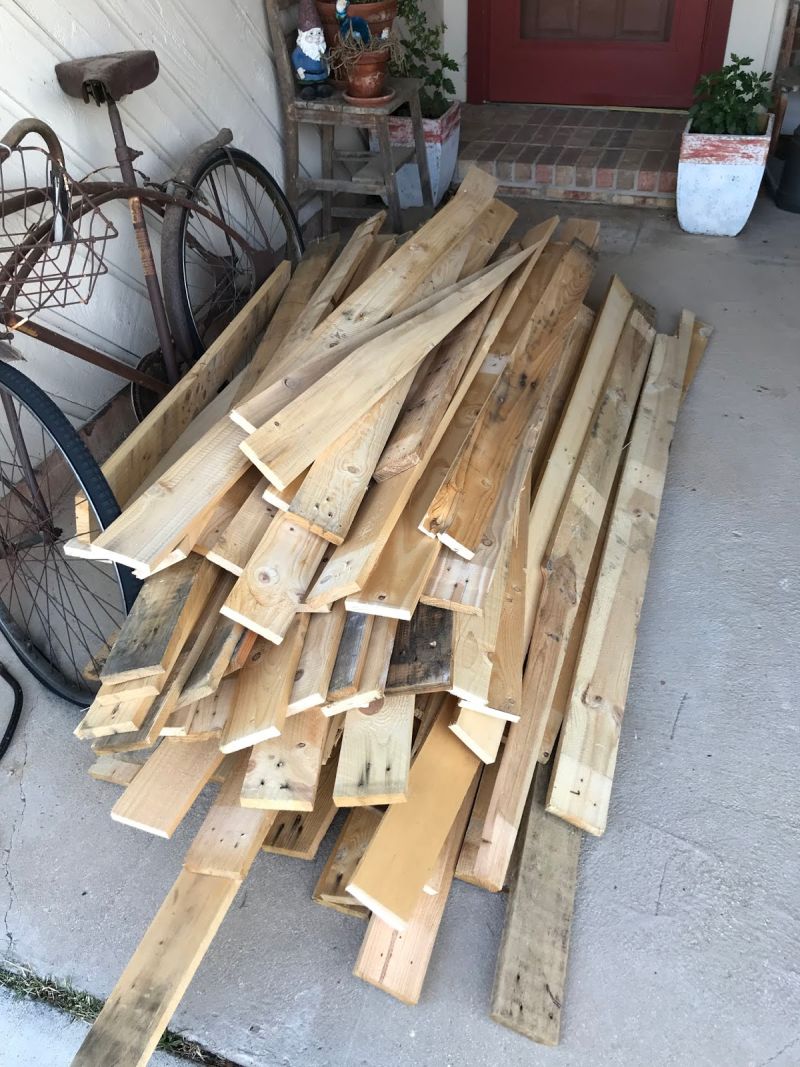
Once dismantled, the pallets no longer looked like shipping material. Long planks, short sections, pale boards, weathered pieces, and wood marked by previous use formed the material for the wall.
Uniformity was not the goal. Instead of sanding every board until the wood matched, the project kept much of the variation that showed where the material came from.
Rows Started at the Top of the Wall
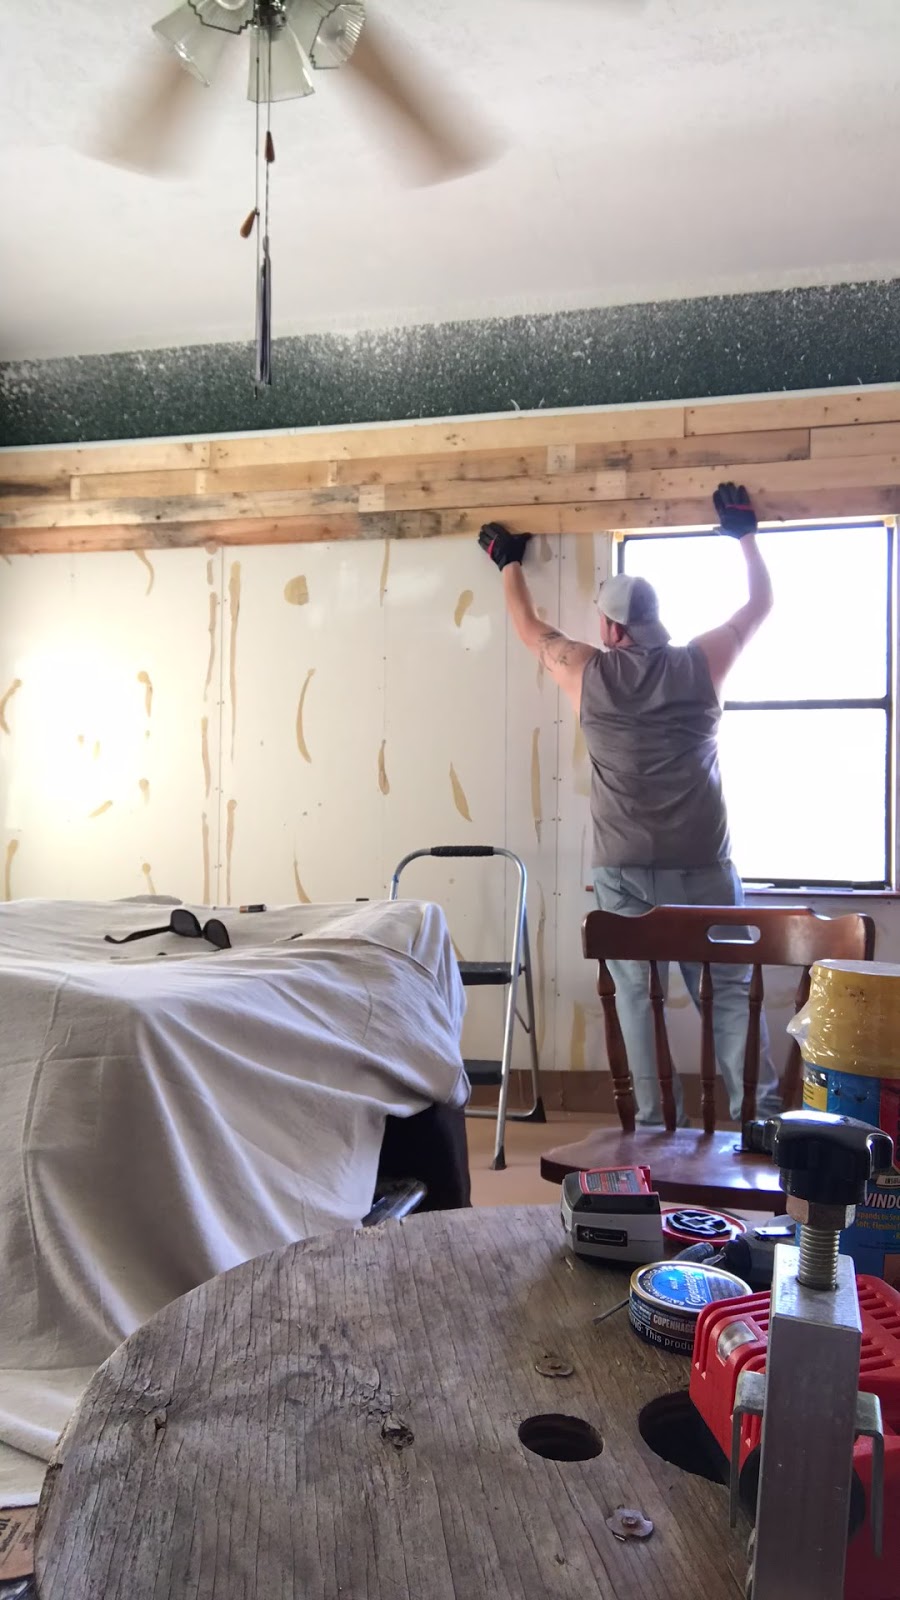
Installation began beneath the ceiling, where the first boards established a horizontal line across the room. Stud locations were marked with a chalk line so the boards could be fastened into solid backing.
Boards were attached with two-inch brads after shorter fasteners failed to hold them as securely as needed. A screw was added when a warped piece needed more force to stay against the wall.
Window Openings Changed the Board Lengths
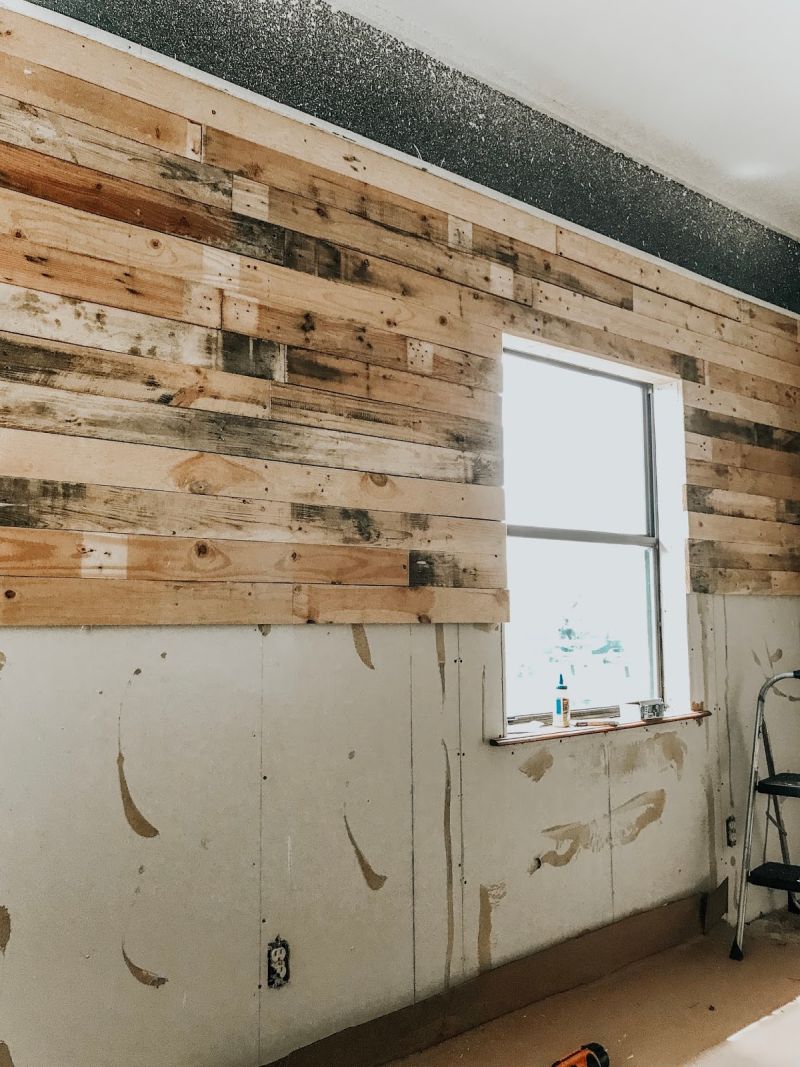
Reaching the window meant the boards could no longer run uninterrupted from one side of the room to the other. Pieces were measured and cut to stop at the opening while maintaining the horizontal rows.
Jigsaw cuts created space around the window and electrical outlets, allowing the pallet wood to continue without covering features that still needed access.
Small Gaps Were Hidden Before More Boards Went Up
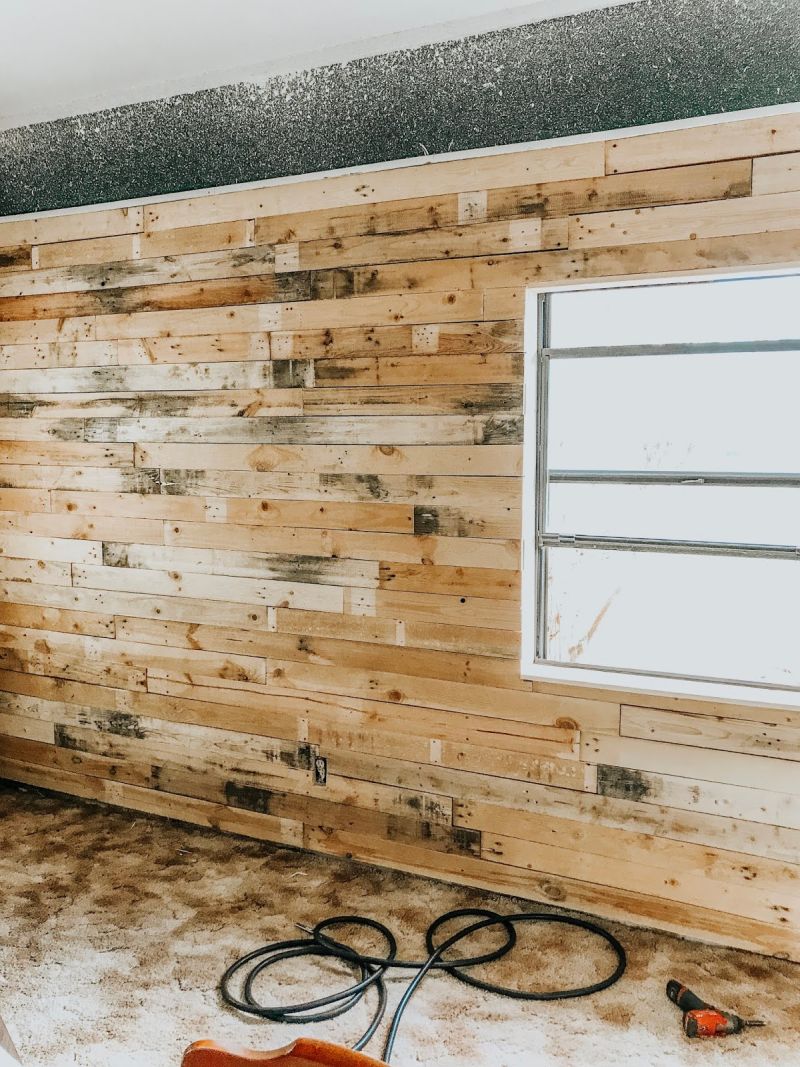
Pallet lumber does not behave like manufactured wall paneling. Widths and edges vary, and boards can shrink after moving from outdoor conditions into the house.
Dark paint went behind larger gaps so the pale unfinished wall would not stand out between boards if the wood shifted. No adhesive held the planks in place; brads and occasional screws secured them instead.
Old Pallets Replaced the Paneling They Removed
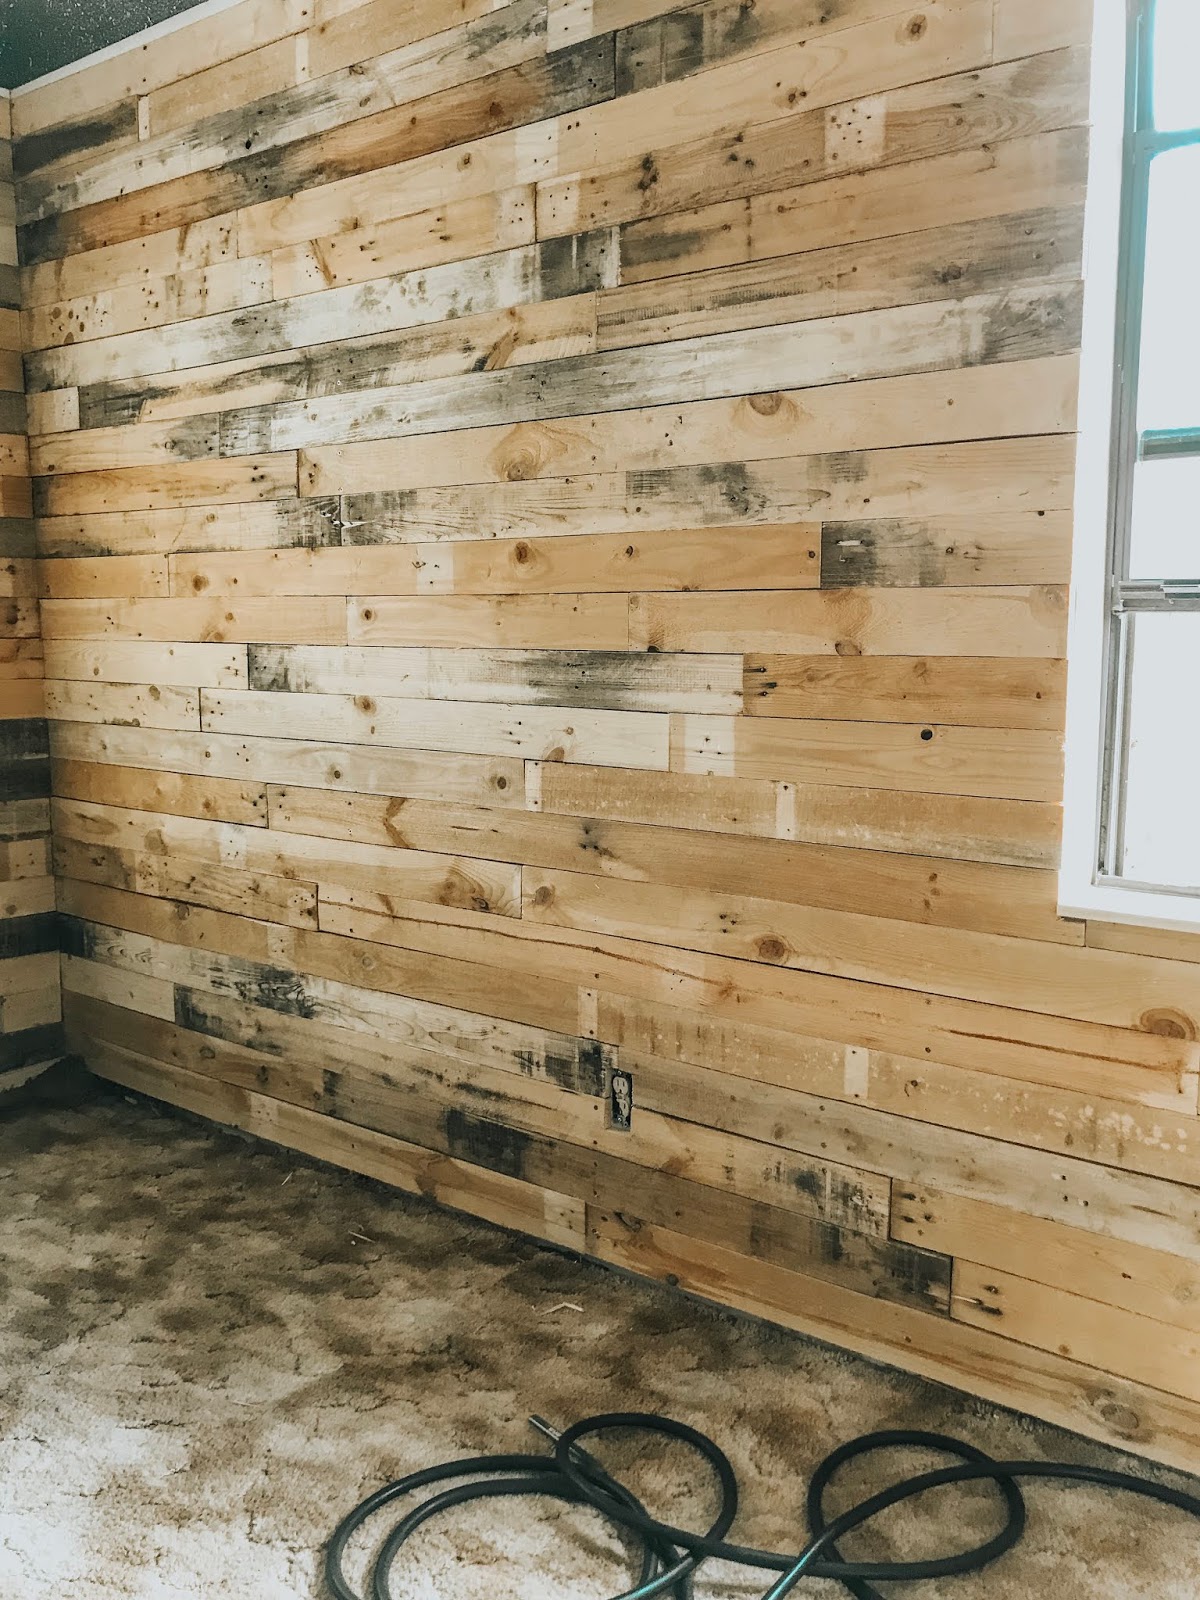
Once the rows reached the floor, the wall looked nothing like the dark vertical paneling that had covered the room. Horizontal pallet boards brought a mix of raw wood tones, dark weathered patches, knots, and old fastener marks across the same surface.
Instead of replacing one manufactured wall covering with another, the homeowners used wood that had spent months sitting outside as pallets. Around 10 of them supplied enough material for the transformation.
Finished Wall Kept Its Pallet Wood Imperfections
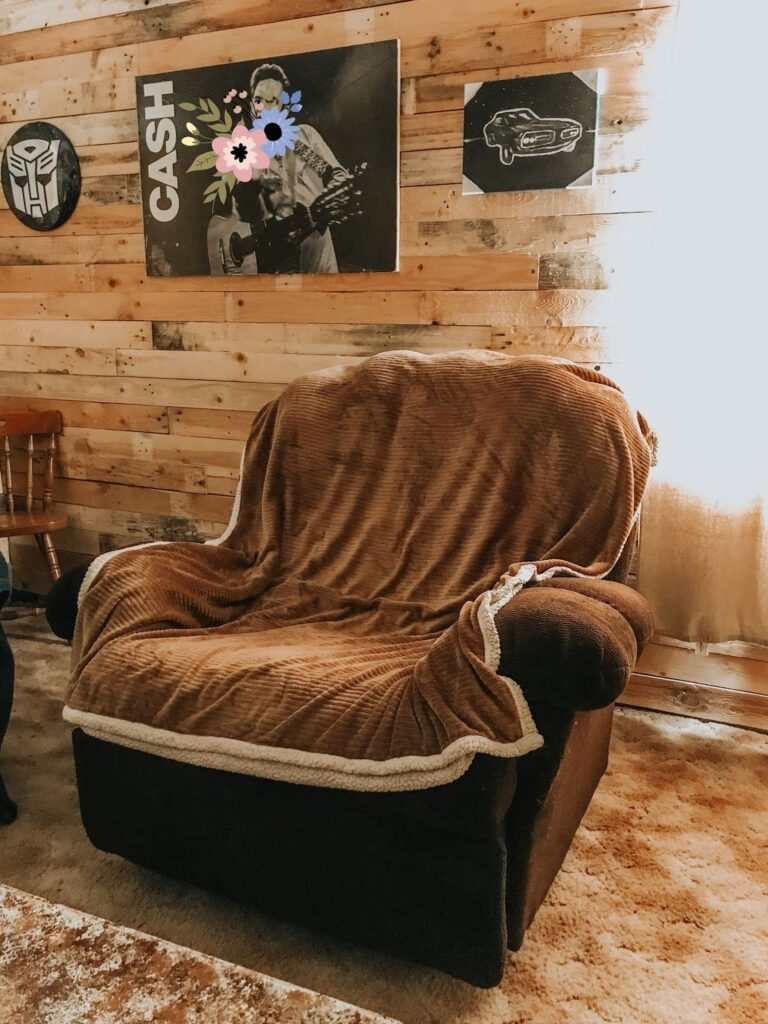
Furniture and artwork went back against a wall that still shows where its wood came from. Dark patches were not stained to match neighboring boards, old holes remain visible, and short pieces sit beside longer planks.
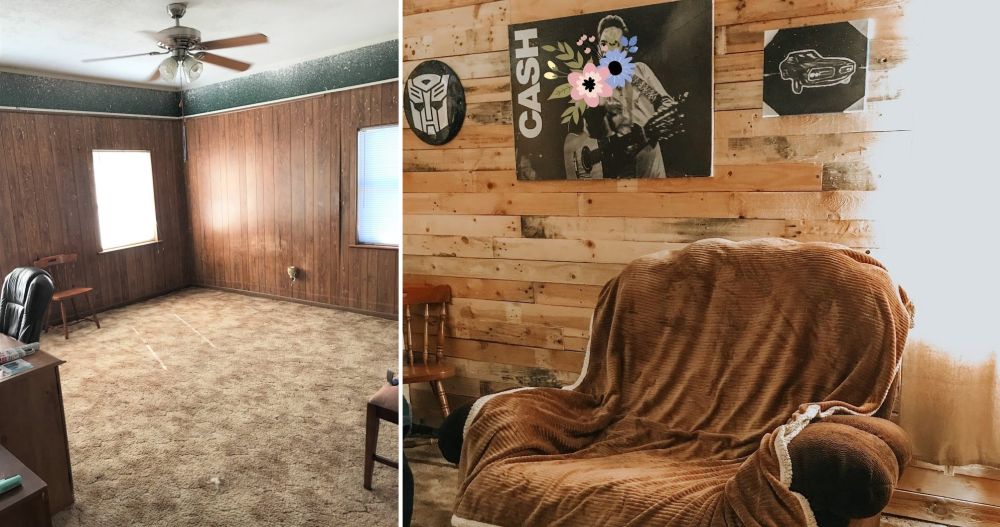
Those differences separate the finished surface from new wood paneling. What once arrived as stacked pallets now covers the room where the old dark panels had been removed.
Would you keep the weathered pallet marks visible or sand the boards before putting them on a wall?
Image credits go to @DeeDee.