Stained and Painted DIY Plywood Art

Art can be expensive, but this stained plywood and metallic gold art is a cheap way to DIY yourself a piece that looks much pricier than it is! Plywood is cheap but still looks good dressed up, and it’s so thin that it makes the perfect item for wall decor. Many home improvement stores also carry pre-sanded plywood for very reasonable prices, making this DIY even easier on you. This piece can also be easily customized using different stains, paint colors, and patterns. If you’d like to learn how to make stained plywood and metallic gold art, read on!

Supplies:
- Plywood—I used 1/4-inch thick 2-foot by 2-foot piece of pre-sanded pine
- Stain and polyurethane
- Disposable chip brushes
- Tack cloth, rag, gloves
- Fine sandpaper
- Painter’s tape
- Metallic gold spray paint
Instructions:
1. If your plywood is not pre-sanded, sand it to achieve the smoothest possible surface. If it is pre-sanded, take a look at the edges to ensure there are no rough spots you need to touch up with a light sanding.
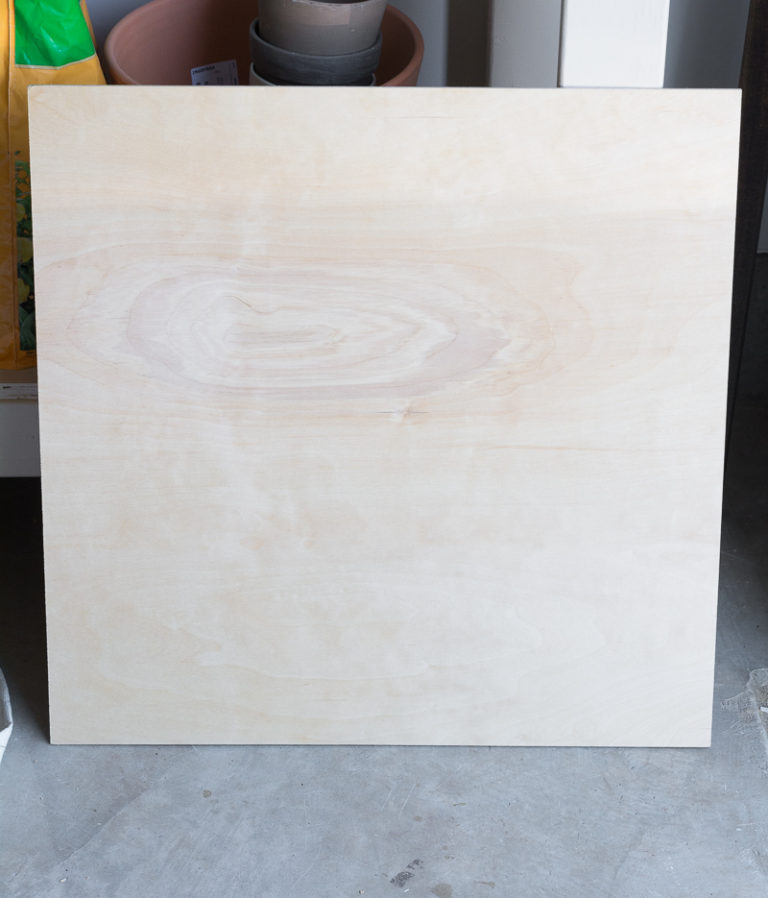
2. Clean the plywood off thoroughly and apply your stain using a disposable chip brush. I like to use disposable chip brushes with oil-based stains so that I can throw them out afterward. Let your stain soak in according to the instructions on your specific brand’s label, and wipe the excess off accordingly.


3. Once the stain is sufficiently dry, wipe the plywood down with tack cloth to clean it and apply the first coat of polyurethane. When that coat dries, lightly sand the plywood using fine sandpaper to break up any air bubbles, clean the entire thing with tack cloth, and apply a second coat. Repeat for a third coat if necessary.


4. Now you’ve got a lovely stained and finished piece of plywood. It’s pretty on its own, but I wanted to add a bit more to it. To do so, I created a geometric design using painter’s tape. There’s no specific way to do this; I just made it up as I taped and eyeballed the design. Then sprayed the entire piece with metallic gold spray paint. Remember to spray in several light coats to avoid the paint dripping or pooling.


5. After painting, peel off the tape to reveal your design! You can prop this up against wall, or you can add simple mounting hardware to the back to hang it. Depending on the size and thickness of your plywood piece, you might even be able to hang it using something like heavy duty velcro command strips for a no-hole hanging solution.
What do you think?