Instead of Painting Wood Slices, She Used Nails and Thread to Make Christmas Ornaments


Wood slices are common Christmas craft supplies, but most projects involve painting snowflakes, trees, or holiday messages onto the surface. Brittney Smart took another approach, hammering small nails into the wood and wrapping colored thread around them to form Christmas designs.
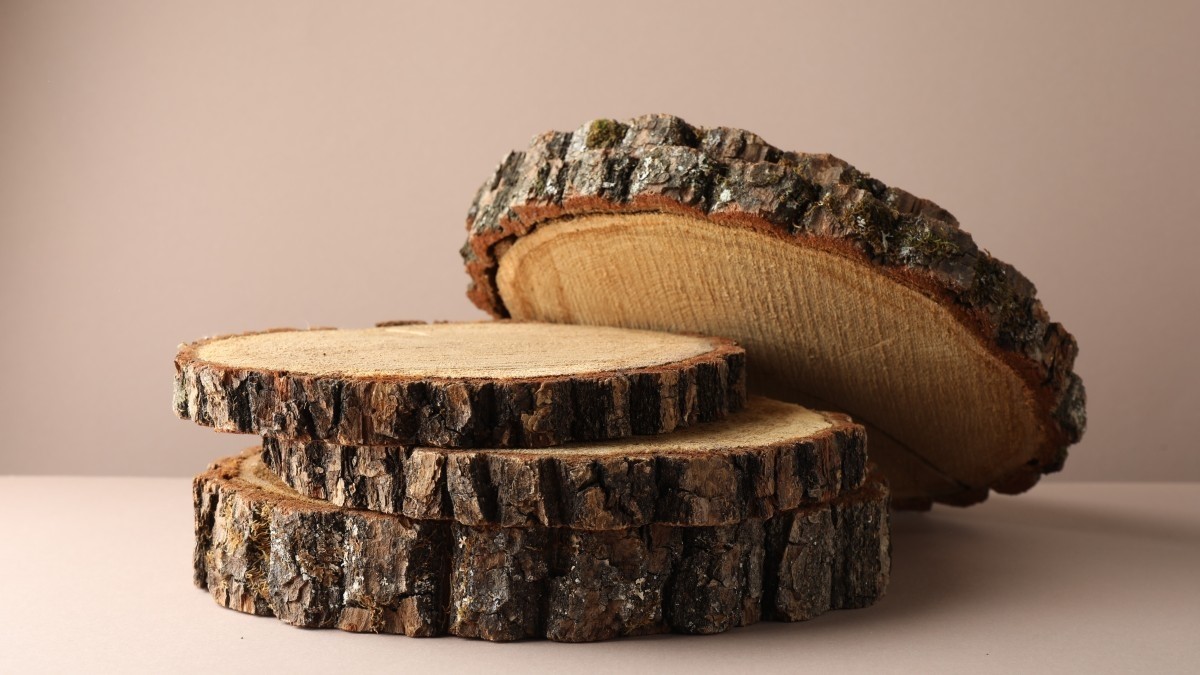
The nails don’t hold the ornaments together or attach them to the tree. They serve as anchor points for embroidery floss, allowing the thread to form Christmas trees, stars, and hearts without paint or carved details.
For this Homedit project, Smart used bark-edged wood rounds, small nails, a hammer, embroidery floss, and needle-nose pliers. A paper clip and hot glue provide the hanging attachment once each ornament is finished.
Hammer Small Nails Into a Wood Slice
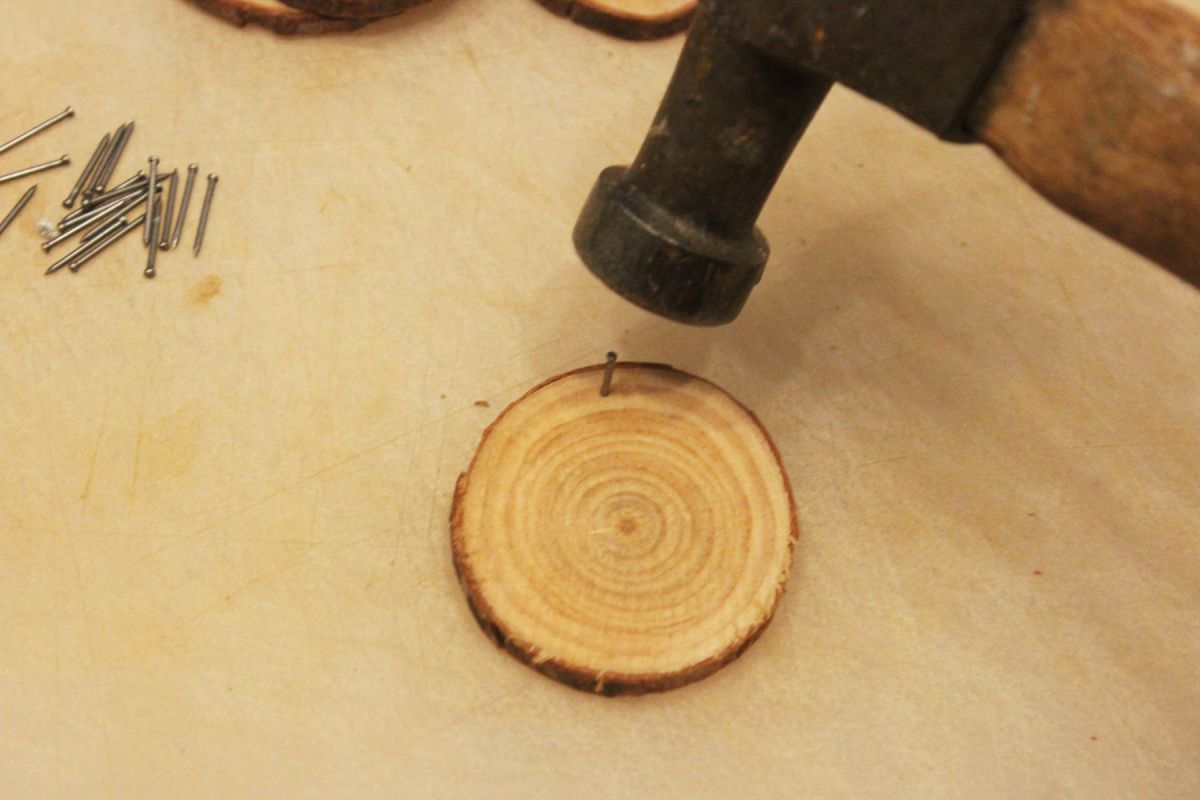
Choose a wood round thick enough to hold short nails without their points coming through the back. Set it on a firm work surface and tap the first nail into the face, leaving enough of the shaft exposed to hold several loops of thread.
Space the nails according to the shape you want to create. Their positions determine where the thread changes direction, so there’s no need to draw the finished design onto the wood.
Arrange the Nails Into a Christmas Tree Shape
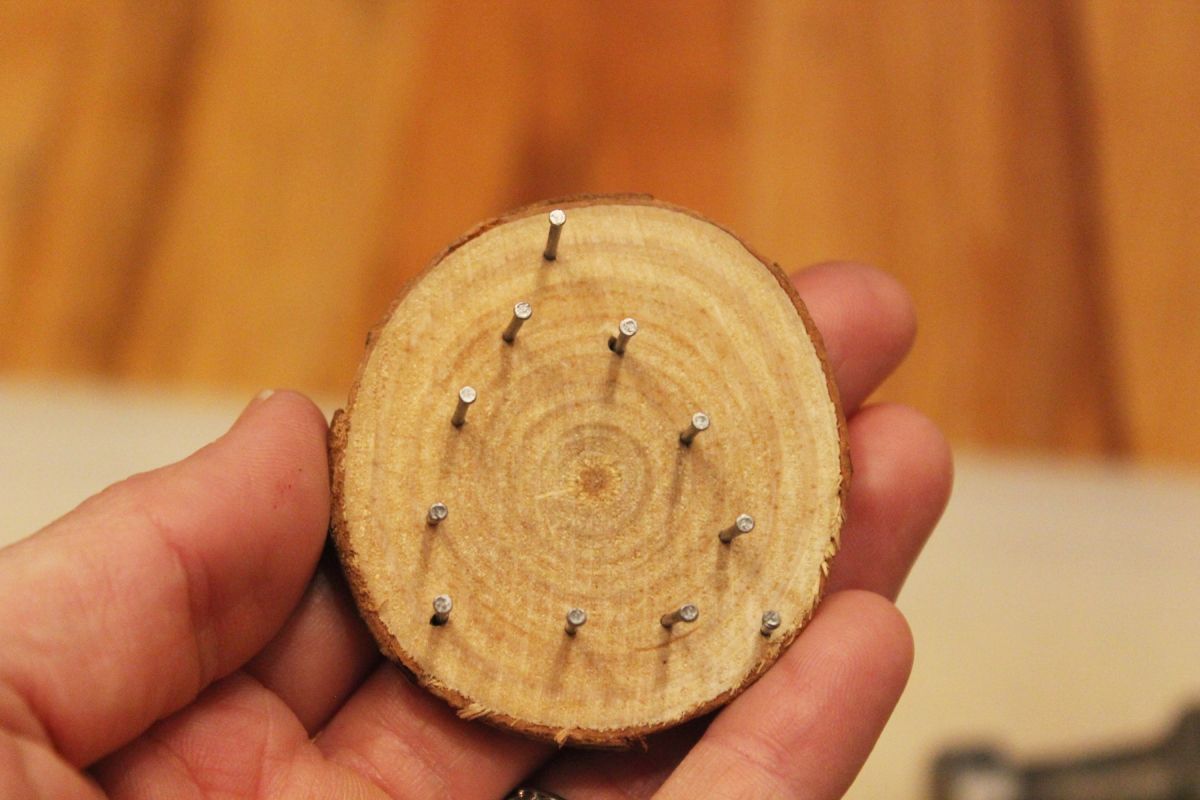
For a Christmas tree, place one nail near the top and arrange the remaining nails in a widening triangular outline. The bottom nails form the broadest part of the tree, while the top nail creates its pointed tip.
Keep the nails upright and leave their heads above the wood so the thread can pass around each shaft.
Make a Loop at the End of the Embroidery Floss
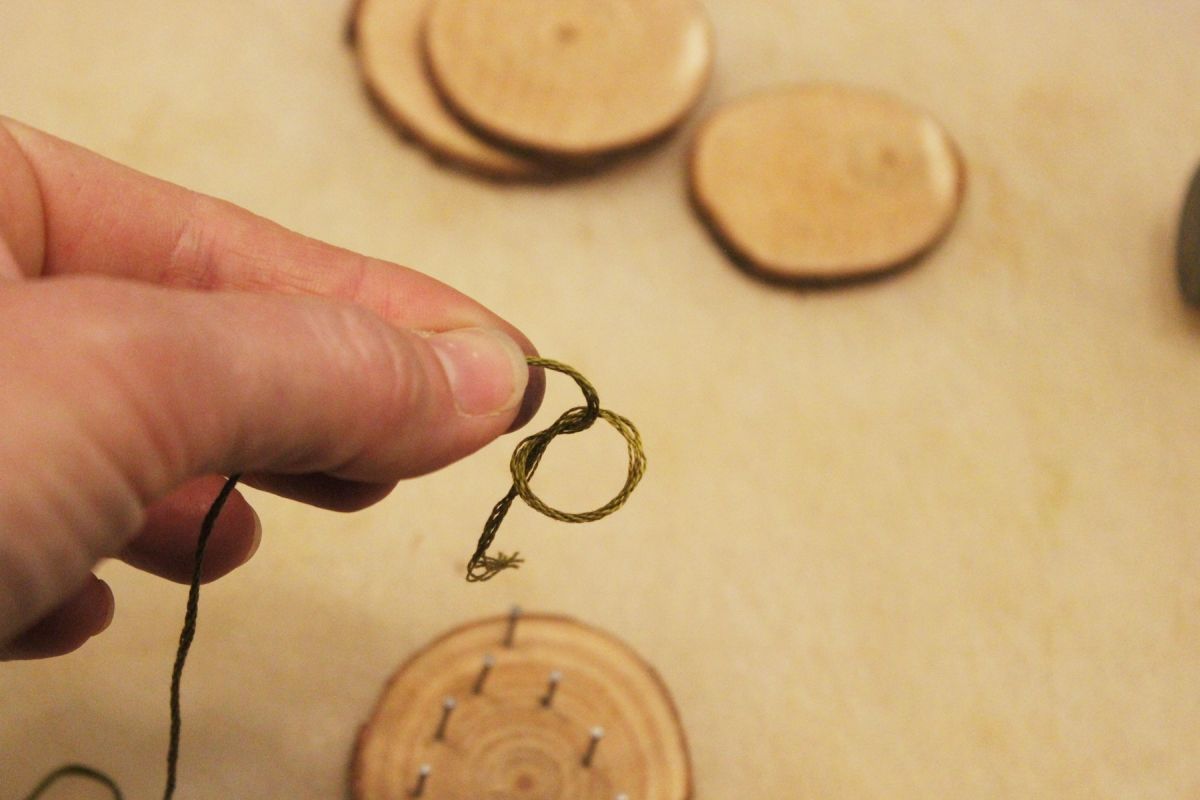
Select green embroidery floss for the tree and make a loose loop at one end. There’s no need to cut a separate length for each branch, since one continuous strand can connect the nails.
The loop will become the starting knot, securing the thread before it crosses the wood.
Tie the Thread Around the Top Nail
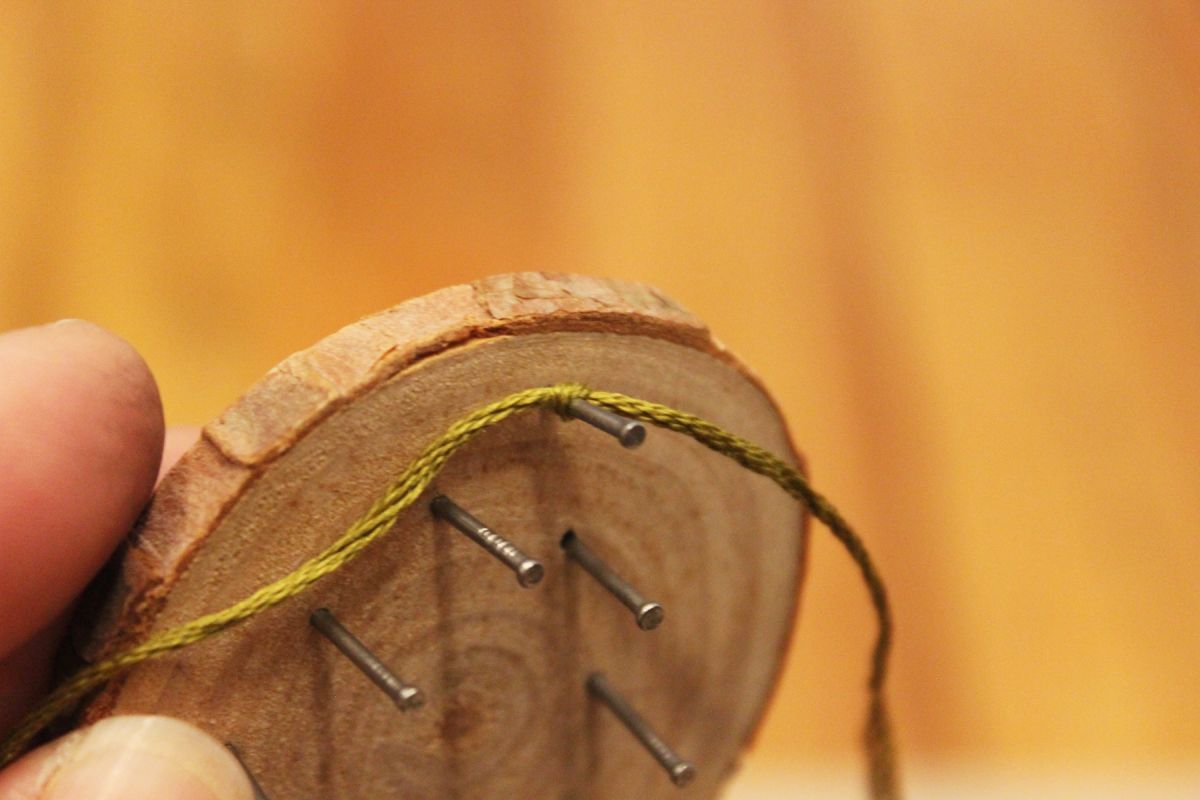
Slip the loop over the upper nail and pull it tight against the shaft. Add a second knot to secure the starting point, then trim the excess thread or leave a short tail to tuck beneath the pattern.
Keep the floss below the nail head so it doesn’t slip off when tension increases.
Wrap the Thread Between the Nails
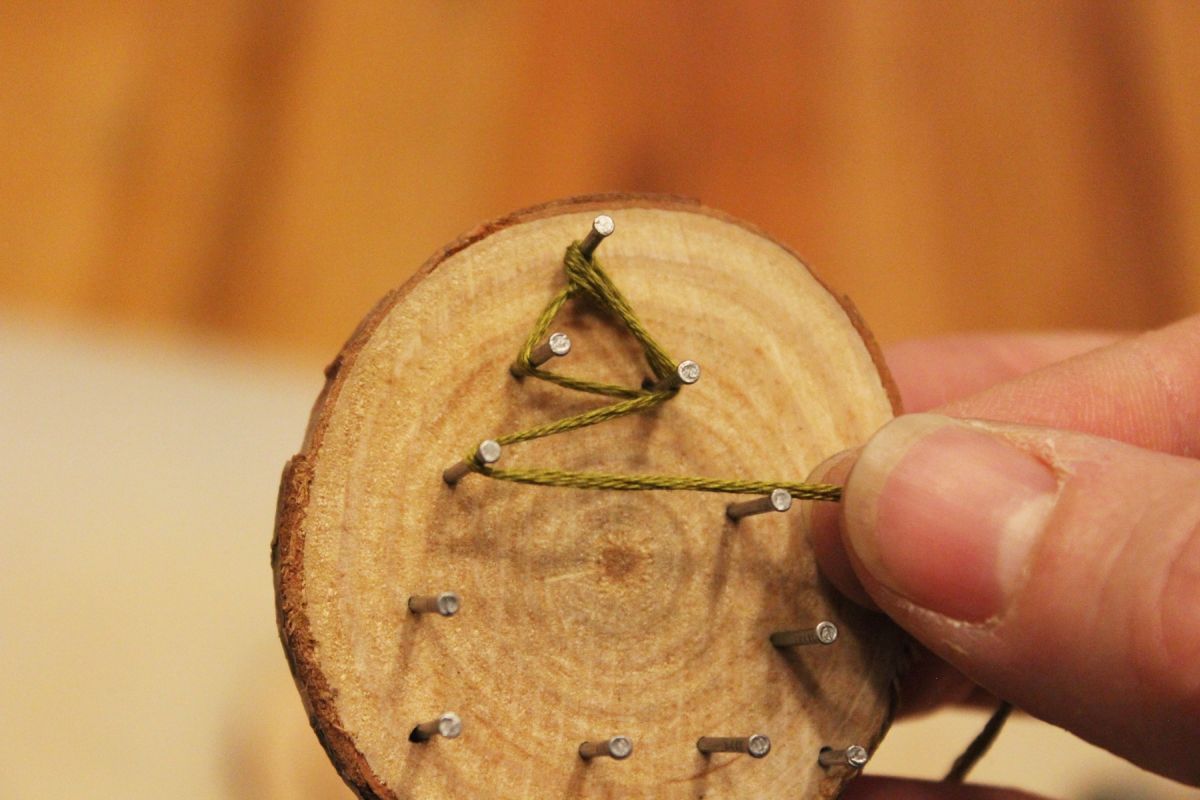
Guide the green floss from one nail to another, working down the triangular arrangement. Loop it around the outside of each nail before crossing to the opposite side.
For the first tree design, the thread forms diagonal sections that widen toward the base. The exposed wood between the strands becomes part of the pattern rather than a surface that needs covering.
Secure the Final Knot With Pliers
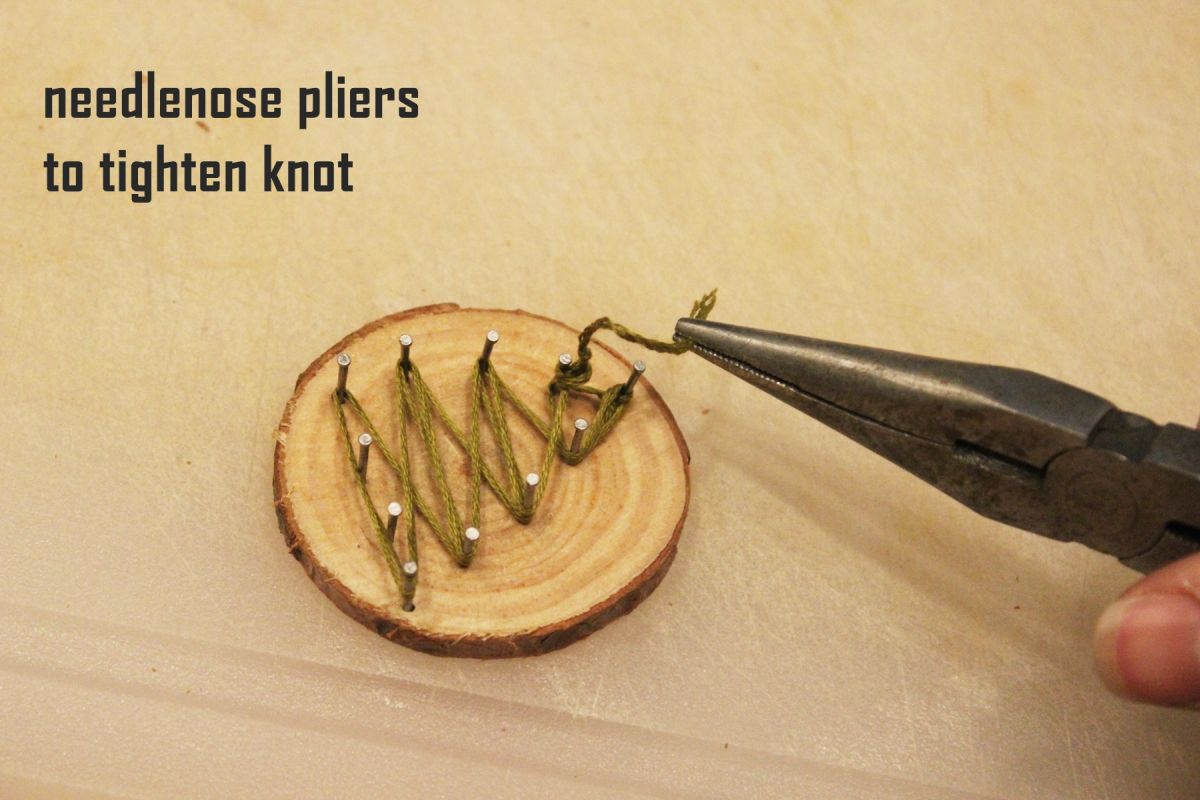
When the pattern is complete, make a loop around the last nail and pull the floss through to form a knot. Needle-nose pliers help grip the thread where the nails sit too close together for fingers.
Tie a second knot and trim the end, leaving about ¼ inch beyond the knot.
The First Design Forms a Green Christmas Tree
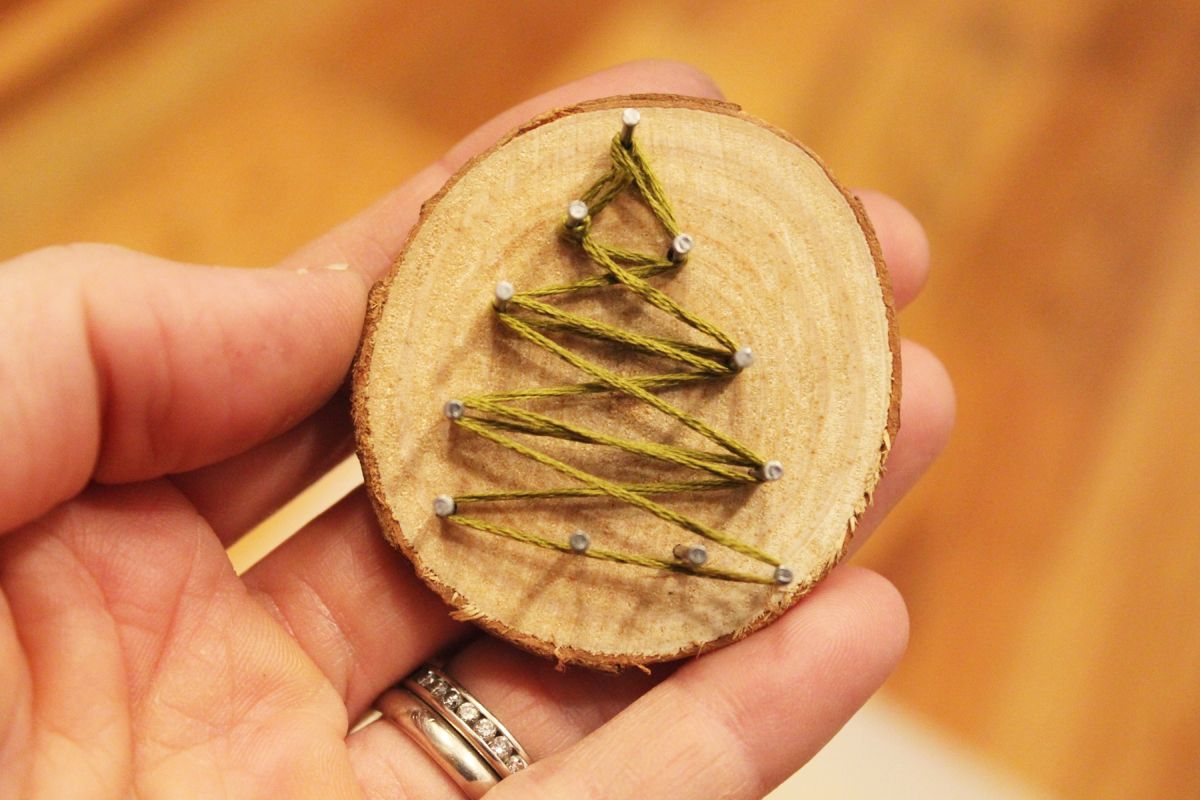
The finished tree has a pointed top, diagonal green branches, and a narrow trunk section near the bottom. Small silver nail heads mark the corners, with the wood grain visible between the strands.
The bark remains around the edge of the round, framing the tree without paint or a separate border.
Crossing the Thread Creates a Second Tree Pattern
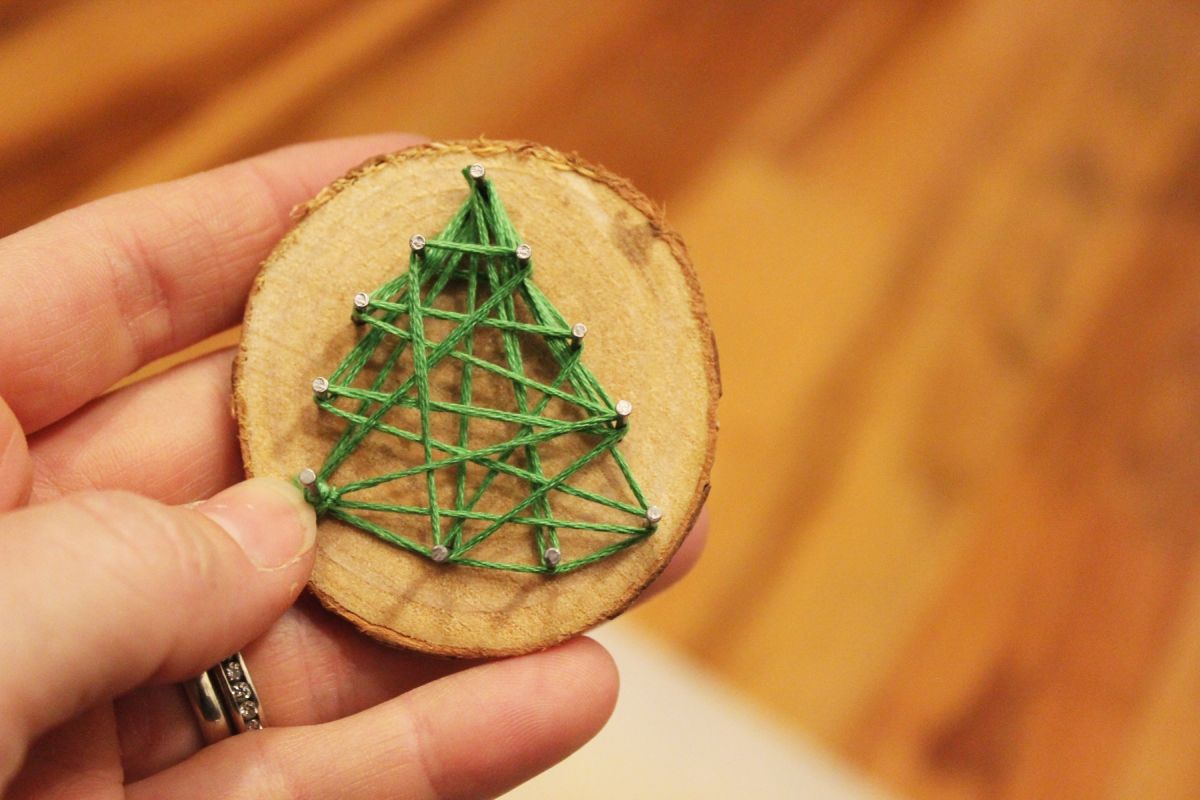
The same nail arrangement can produce another Christmas tree without moving the nails. Instead of forming separate diagonal sections, pass the floss back and forth across the center to create overlapping lines.
Smart used a brighter green thread for this version. More strands cross the middle, giving the tree a filled-in appearance while leaving parts of the wood visible.
Ten Nails Can Form a Christmas Star
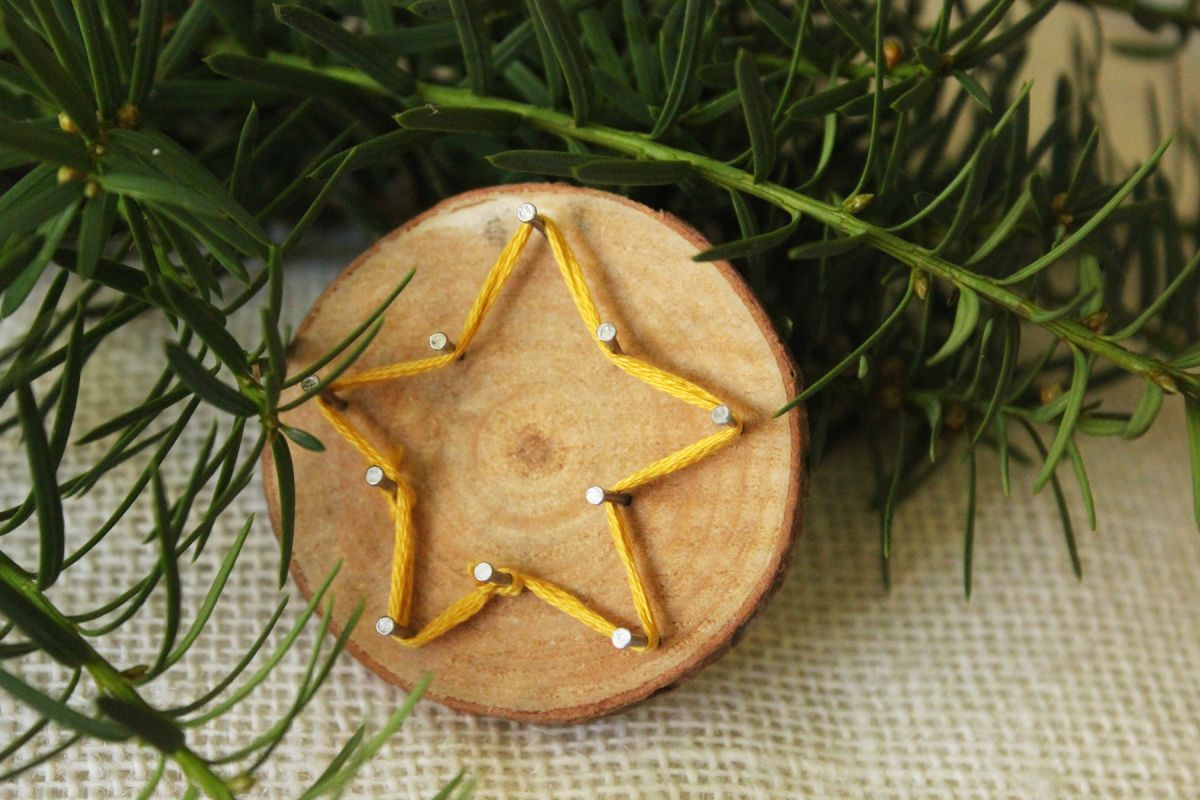
For a five-point star, arrange ten nails around the wood round, marking five outer tips and five inner corners. Yellow embroidery floss runs around the outside of the points and inside the recessed angles.
The finished star has a hollow center, with the thread tracing its outline rather than covering the entire shape. The same method can create a four-point Bethlehem star with one elongated lower point.
Add a Paper Clip to Hang the Finished Ornaments
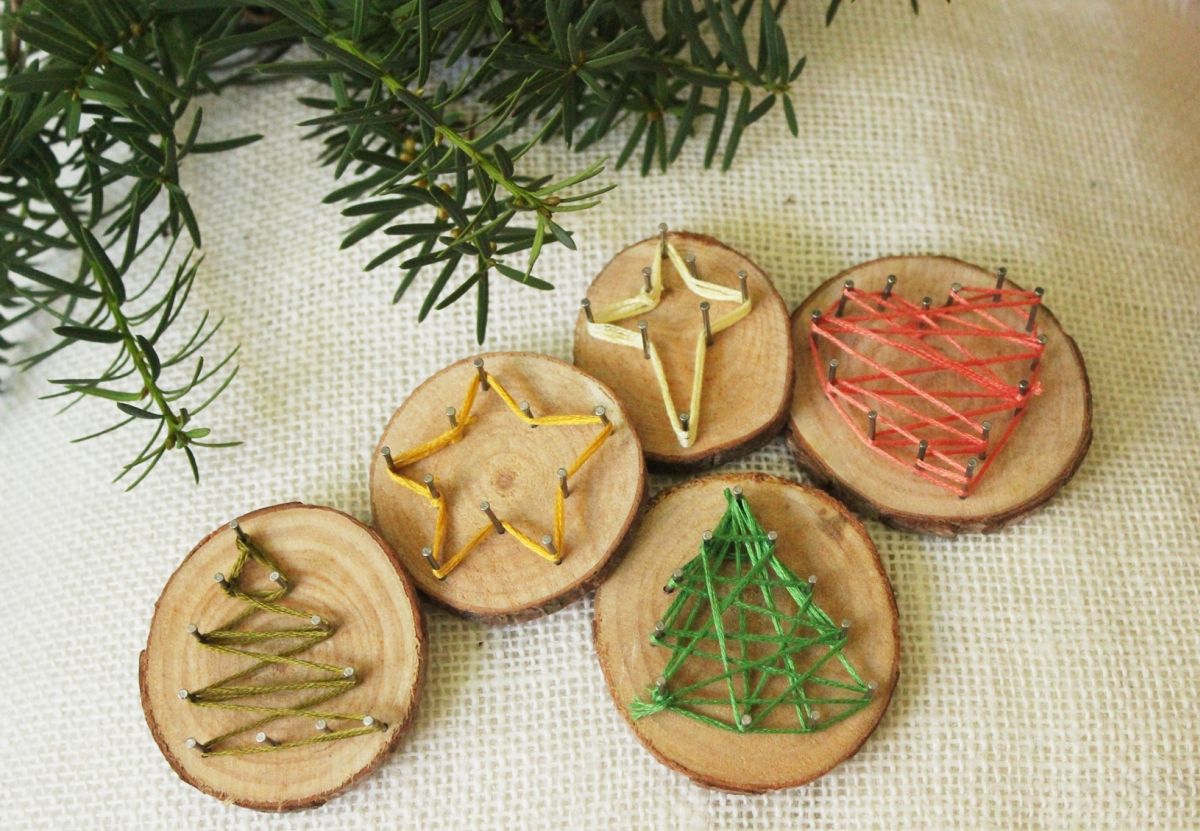
The completed collection includes two green Christmas trees, a yellow five-point star, a cream Bethlehem star, and a red heart. Each uses the same wood rounds and nails, with the thread arrangement determining the shape.
Smart attached a small paper clip to the back of each wood slice with hot glue, creating a hook for hanging the ornaments on Christmas tree branches without drilling through the wood.
Would you choose the simple green Christmas tree, or try the star design with yellow thread?