DIY Gold Painted Crockery

Decorative items for the home are some of my favourite DIY projects to do. Especially if they involve metallics! This painted crockery project is really affordable, but gives some really stylish results.

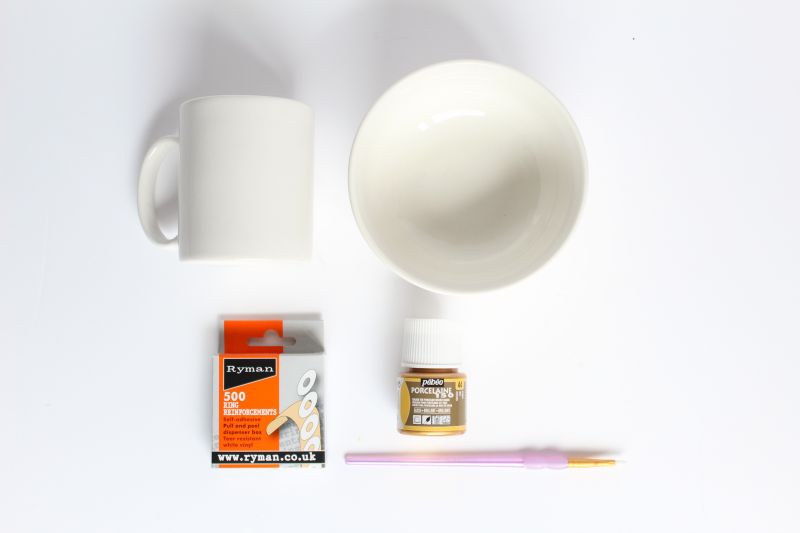
Here’s what you will need to make a painted polka dot mug and a scalloped bowl:
- Plain white mug
- Plain white bowl
- Gold Porcelain Paint (food safe)
- Paintbrush
- Ring Reinforcement stickers
If you have rubbing alcohol, you can wipe the surface of the crockery to ensure it is free from dirt and grease. Or wash the mug and bowl with hot soapy water and dry thoroughly.
Begin by sticking the ring stickers onto the surface of the mug. I placed mine randomly, but fairly evenly spaced.

For the bowl, I cut each ring sticker in half and placed them along the rim of the bowl, all the way around.

Paint around 4 coats of the porcelain paint in the middle of each ring. For the bowl, I also painted the inside.
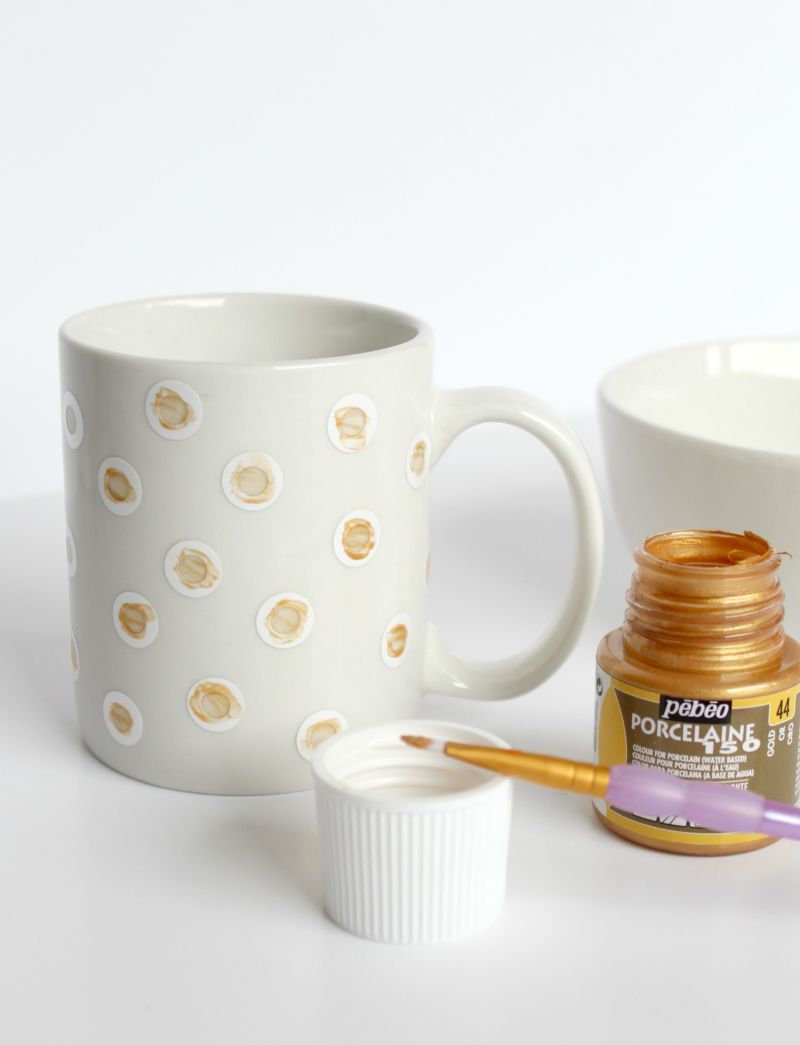
At first, it might look a little streaky. Keep applying coats of paint allowing each one to dry and the saturation will build.

Once all your paint is dry, carefully peel off the ring stickers and touch up any mistakes with a fine paintbrush. After 24 hours, you should bake the crockery in the oven according to the instructions on the paint pot. This baking will set the design and allow it to adhere permanently to the crockery.

You can use your bowl for jewellery if you like!

I love this project as you can really transform plain ceramics with metallic paint – they look a lot more expensive once you have finished!

You could even try this project with children and choose some primary colour paints for a cheery juice cup or plate.
I hope you have enjoyed this DIY today! I also tried a gold striped vase with this paint which you can find here.