Baked Sharpie Plates: An Easy, Family-Friendly DIY
If you’re looking for a family-friendly DIY that can bring everyone in the house together and still turn out something super functional and adorable, why not dress your plain, dull white plates up a bit? Create a pair for your parents or send them off to college with your daughter who needs some dishes for the dorm room. All you need to do is grab some of your favorite Sharpies, of all colors, to make this work. O, and preheat the oven! Check out this super easy DIY: Baked Sharpie Plates!

Materials:
- white dishes
- Sharpie markers/pens
- an oven


Step 1.
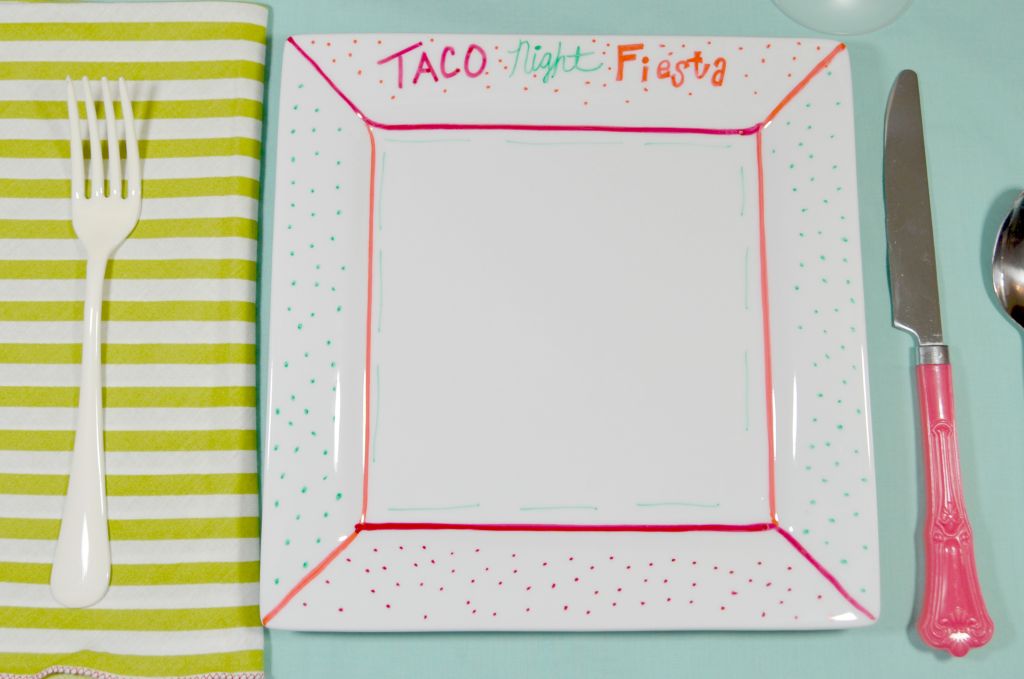
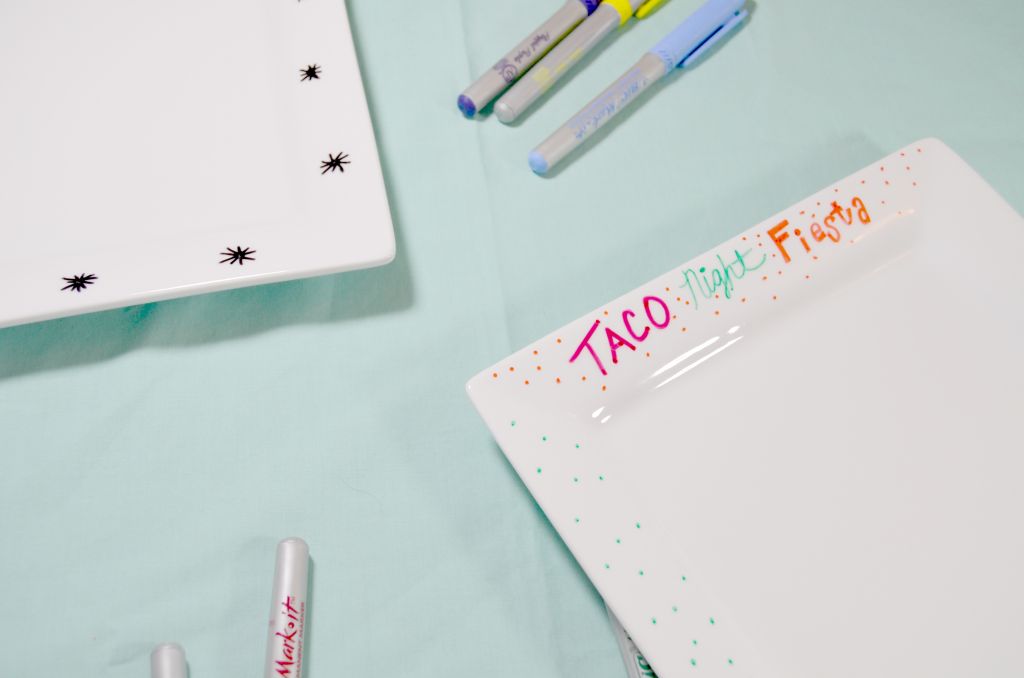
Decorate! Decorate! Decorate! I decided to try out one strictly black-and-white dish and then jazz another one up with color for our weekly taco night! A modern starburst design on one and an explosion of polka-dots on the other, I had a blast experimenting with my Sharpie pens and markers. In the meantime, I made sure the oven was preheated at 350 degrees. The kids will love this part – and you’ll treasure their creations!
Step 2.
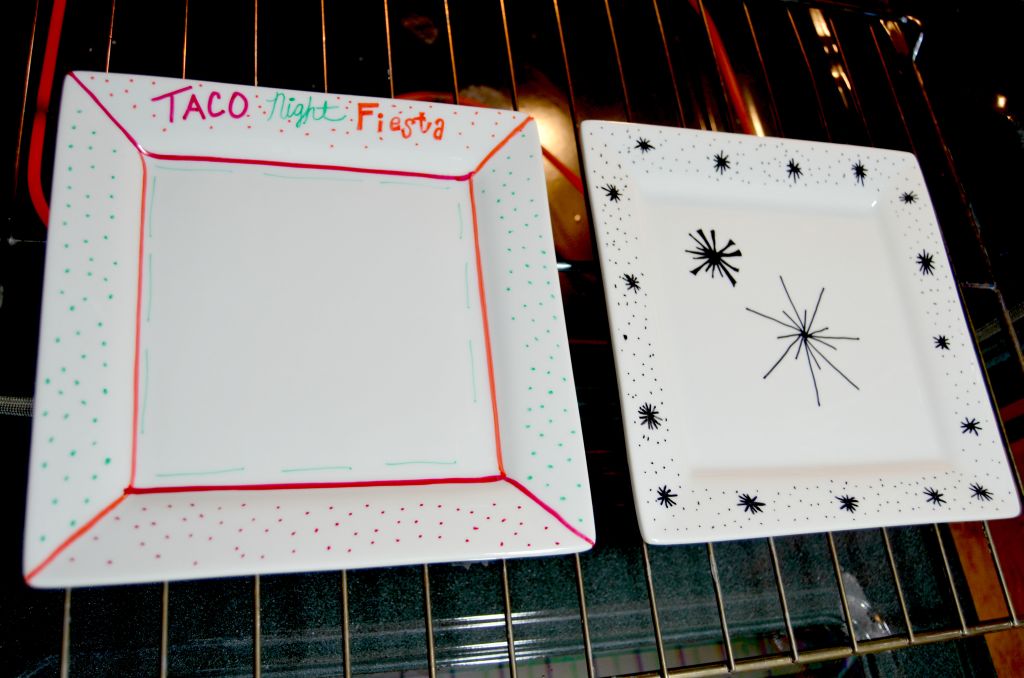
Once you know that your designs are completely dry. Mine actually dried instantly, but I’d double check. I put them right into the oven. Make sure you’ve preheated the oven at 350 degrees and keep them in for at least 30 minutes. Don’t use them for another 24 hours either. We want to make sure your design is ready for action!
Step 3.
Style them and start using them! When designing, think about what you’ll be using them for. Is this the set designated for Friday night pizza? Or will this be what you set the table with for your next friendly dinner party? Whatever the case, we suggest hand-washing your plates to conserve the designs for as long as possible!