DIY Clay Pumpkin Candy Bowl for Halloween

Learn how to make this pumpkin candy bowl to serve up all your Halloween candy this year! I always like to be extra festive around Halloween, which means adding pumpkins, witches, and skulls to pretty much everything I own. I typically hand out candy in a plain bowl but this year I wanted to spice things up with a fun pumpkin bowl!


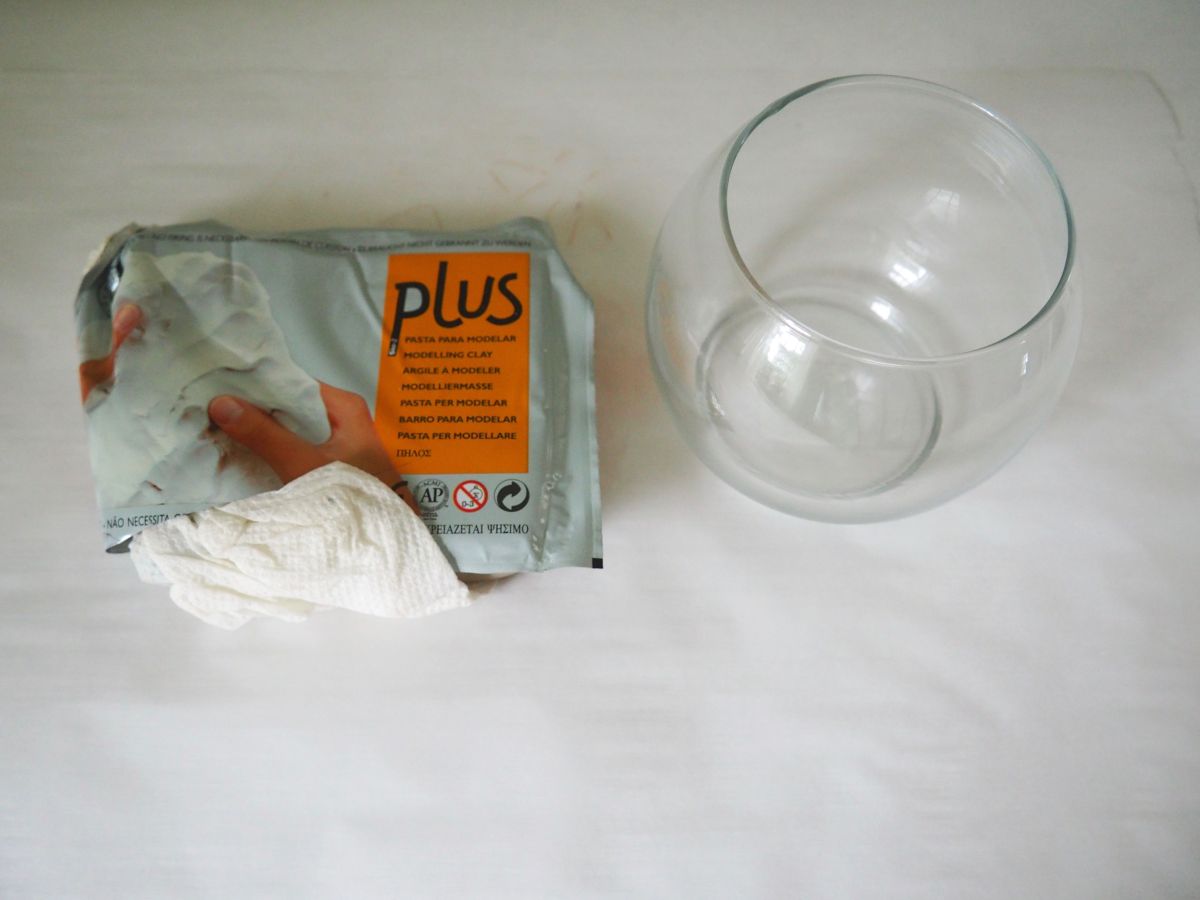
Materials:
- Air drying clay
- Glass bowl
- Plastic knife
- Paint
- Paint brush
How to make this pumpkin candy bowl:
Start by making 6 oval shaped slabs of clay. You can do this by either rolling out clay and using a plastic knife to cut them, or, like what I did, you can rip off pieces of clay and flatten them in your hands and then shape them into ovals.

Roll out a much smaller oval and then place this in the middle of each of the larger ovals, this will allow the pumpkin to be curved.

Put one of the slabs onto the glass bowl so that it overhangs on the top. Gently press down the sides of the oval into the glass. Do this on all sides.

Put another piece of clay slightly overlapping the first where you pushed it down. Push down both the sides, making sure to smooth out the one that overlaps your first slab.

Continue adding on the slabs of clay until the whole bowl is full. Smooth out any rough areas and then let dry overnight.

To make the lid I just took a large piece of clay and formed it into a bowl shape. At the peak of the bowl I pulled the clay up to make the stem. Let dry overnight.

Paint your pumpkin using paint and a paint brush. This may take several coats to get an even layer.

Now you have an awesome pumpkin candy bowl to serve all your candy in this year!