This Hand-Painted Thanksgiving Sign Started With a Drill, Not a Paintbrush


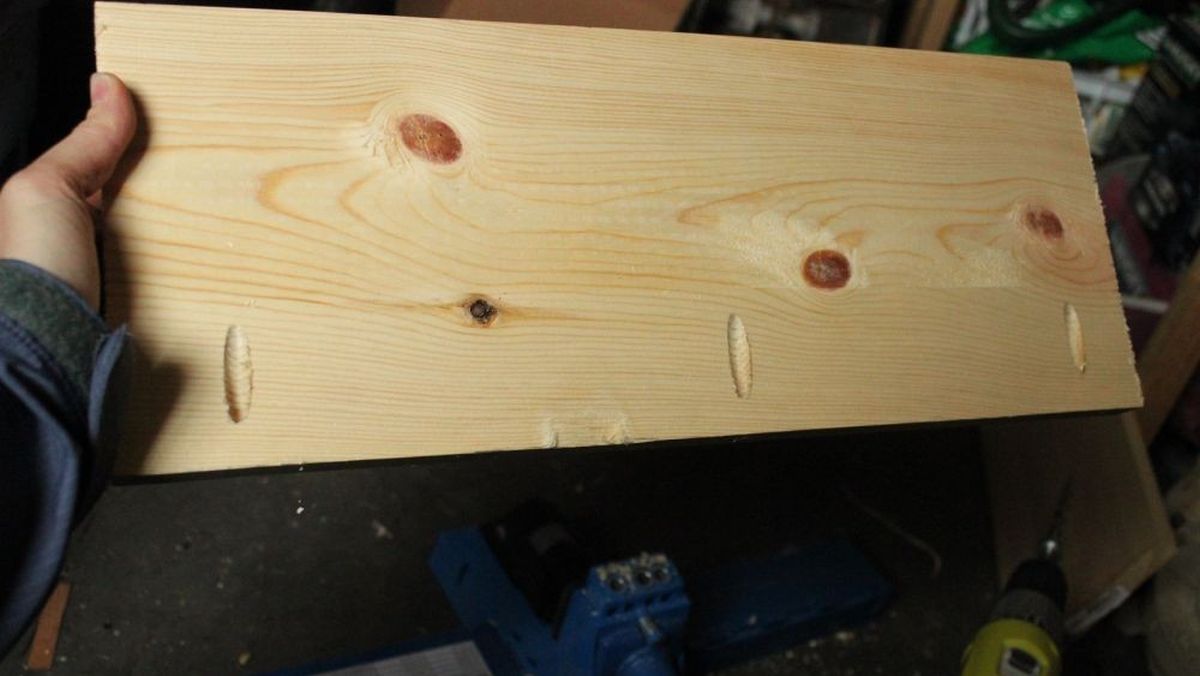
Two pine boards sit on a workbench, with a drill pressed into the edge of one. No lettering, paint, or Thanksgiving decorations in sight. The holes will disappear behind the finished piece, but they serve a purpose that a single piece of wood wouldn’t need.
Homedit contributor Brittney Smart used two 18-inch boards to create a farmhouse-style Thanksgiving sign. Her process involves painting the wood white, removing part of that fresh paint, and transferring printed letters without drawing them freehand.
Two Pine Boards Form the Sign
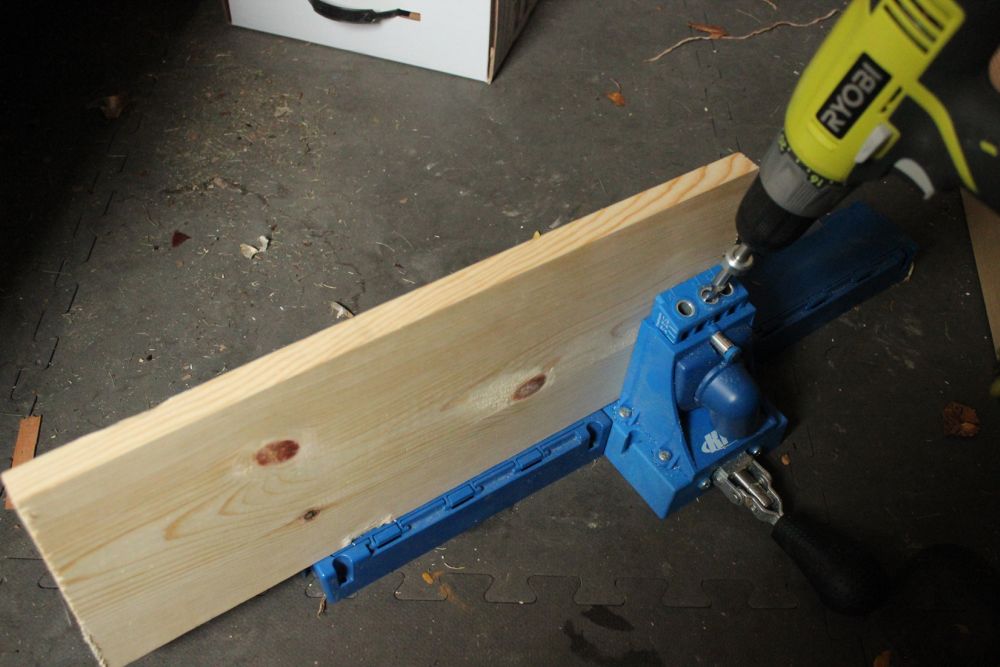
Using a Kreg jig, drill three or four pocket holes along the back edge of one 1×8 board. These will hold the boards together with screws after finishing. Metal joining brackets can serve the same purpose without a pocket-hole jig.
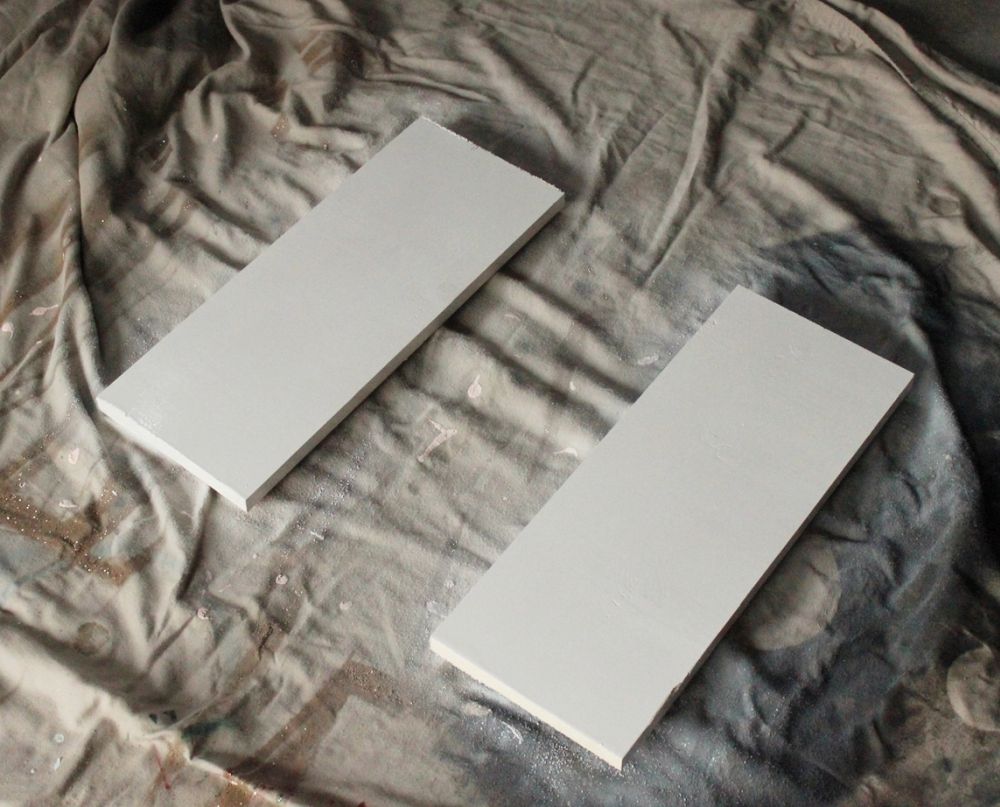
Place both boards face up on a drop cloth and coat the fronts and edges with white paint. Add a second coat if the wood shows through.
Let the paint dry before sanding.
Remove Some Paint to Give the Wood an Aged Finish
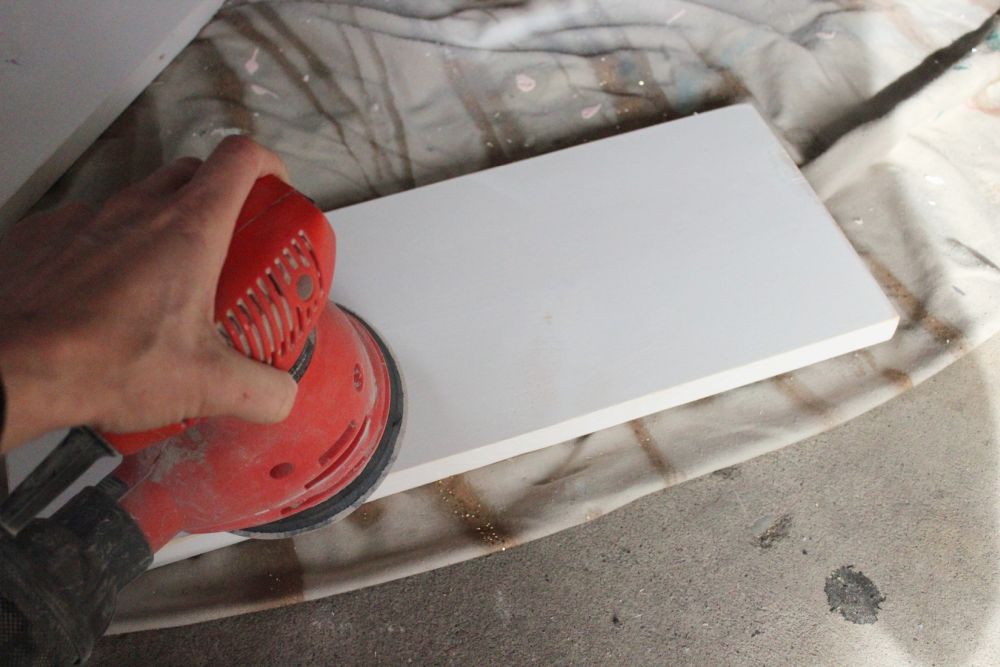
Sand across the painted boards, concentrating on corners, edges, and raised knots. Expose patches of bare wood rather than removing the entire white finish.
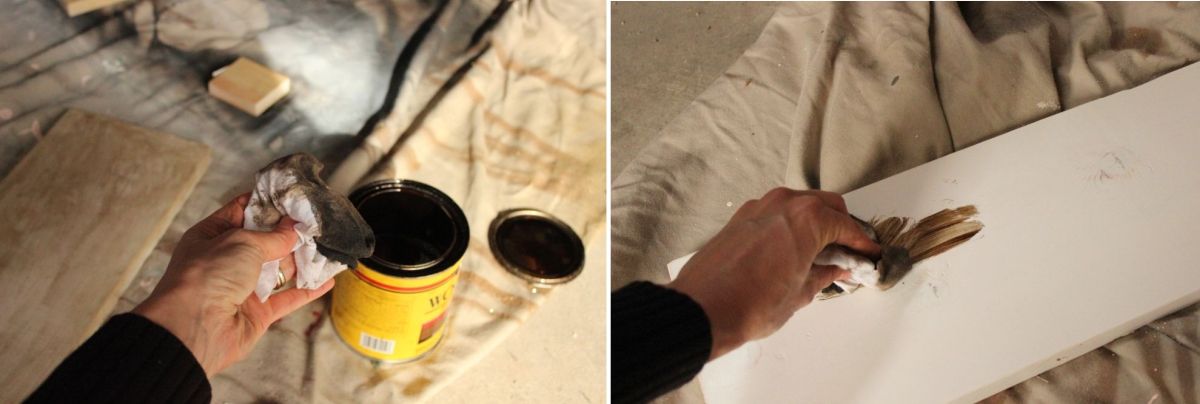
Dip a cloth into dark walnut wood stain and spread it across the painted surface in small sections.
The stain catches on exposed wood and settles into sanded areas.
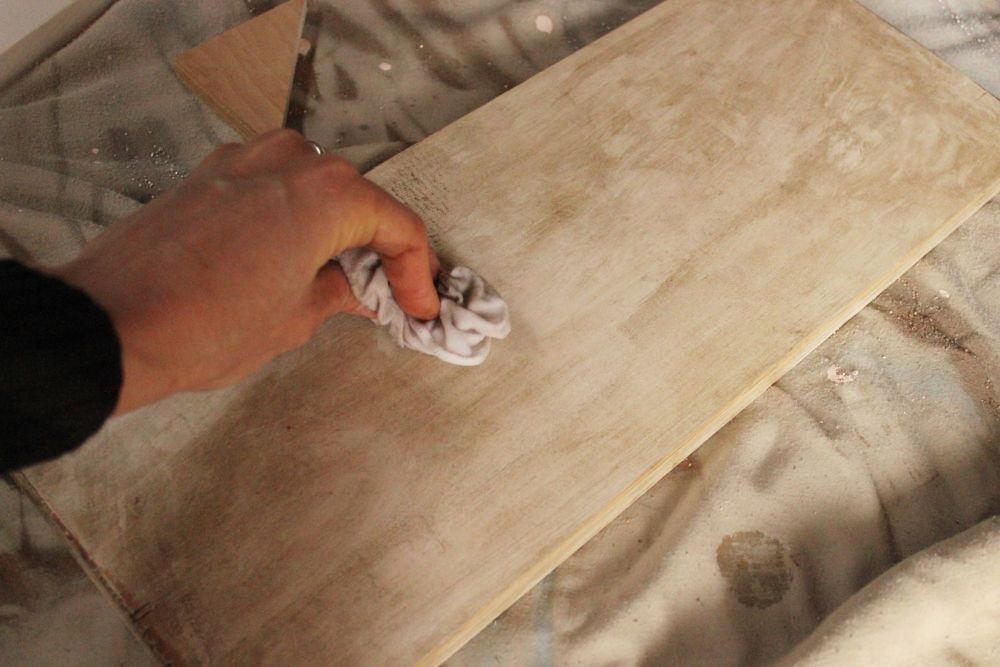
Wipe off the excess stain with a damp cloth before it dries. This leaves brown marks across the white paint and darker sections around the knots.
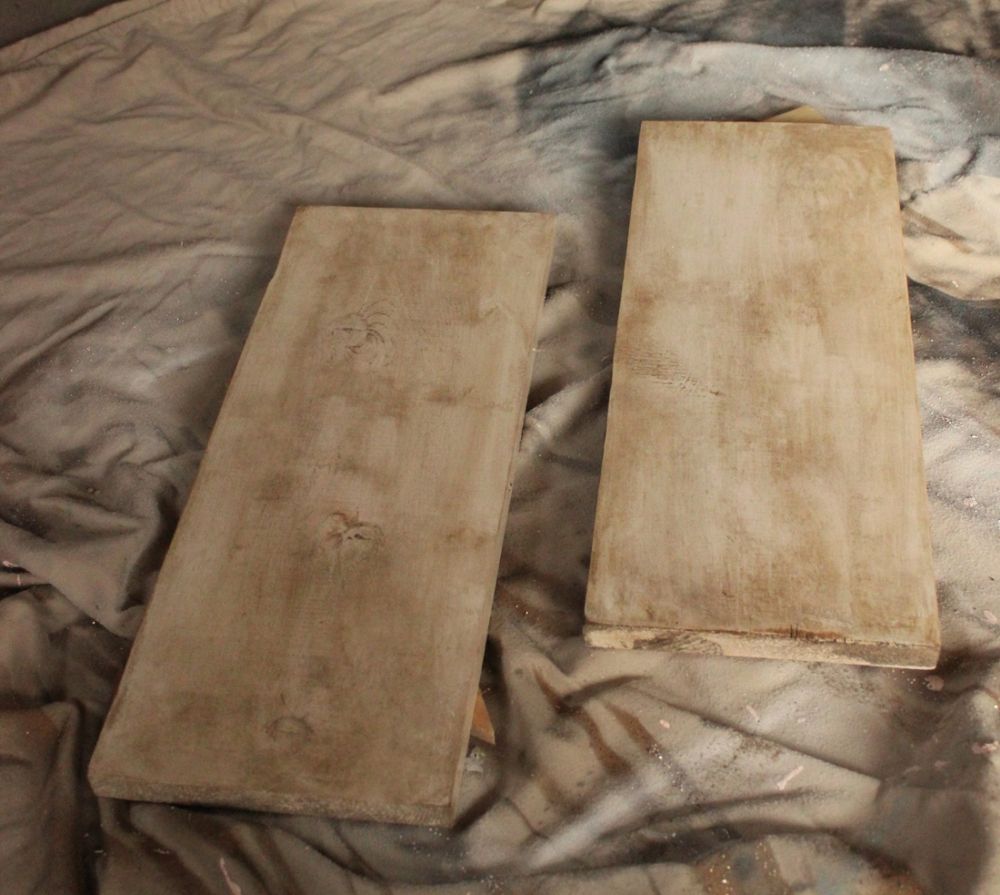
Both boards now have a weathered finish, with some original wood grain visible beneath the stain.
Join the Boards After Staining
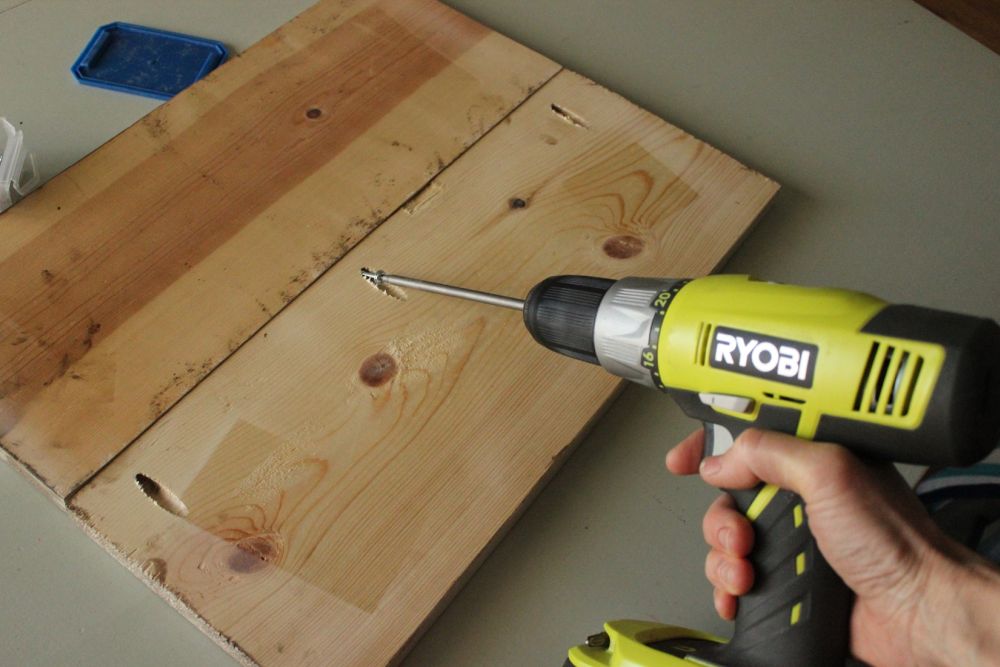
Align the two pieces and drive 1¼-inch pocket-hole screws through the back to connect them.
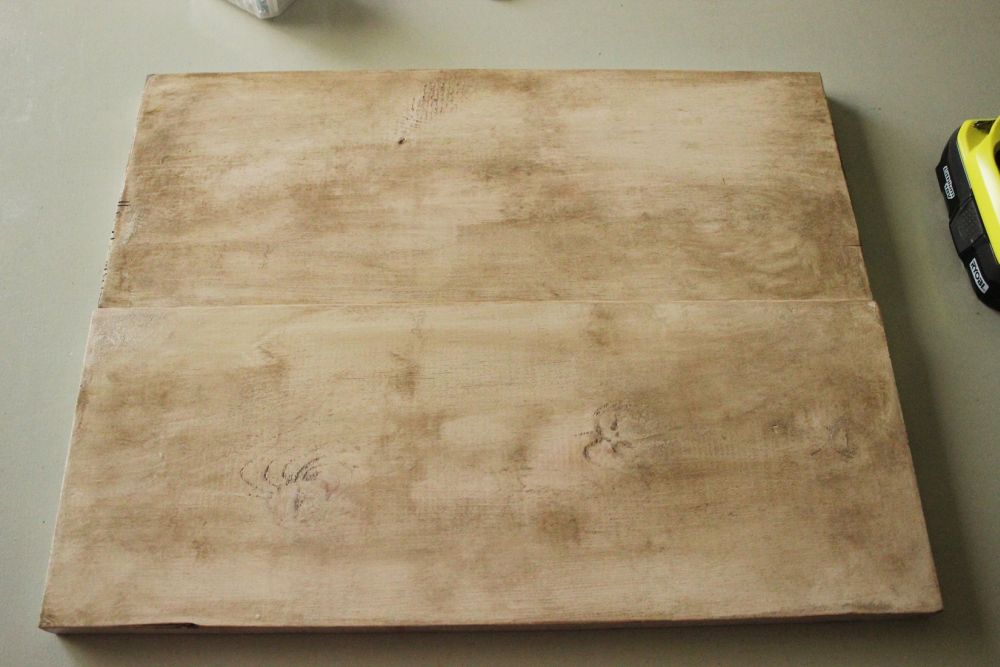
The joined boards create one rectangular panel, with a horizontal seam across the center. The surface is ready for lettering once dry.
Transfer Printed Letters Without Drawing Freehand
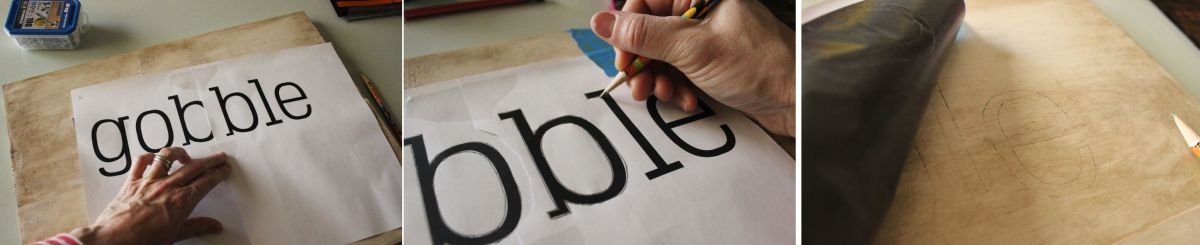
Print the word “gobble” in a large font. Tape the pages together if the word requires more than one sheet.
Position the printout on the wood, then slide graphite transfer paper underneath with the coated side facing down.
Trace the letter outlines with a pencil. The pressure transfers the shapes onto the board.
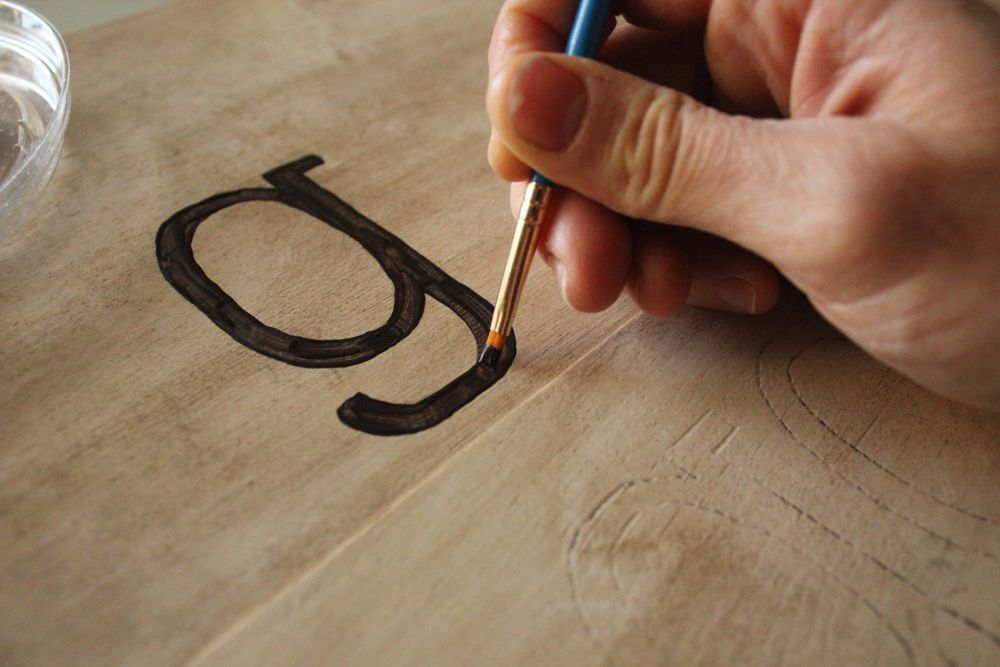
Using a thin paintbrush and acrylic paint, fill the transferred outlines. Brittney chose black for the first letter and burgundy for the remaining letters in the upper word.
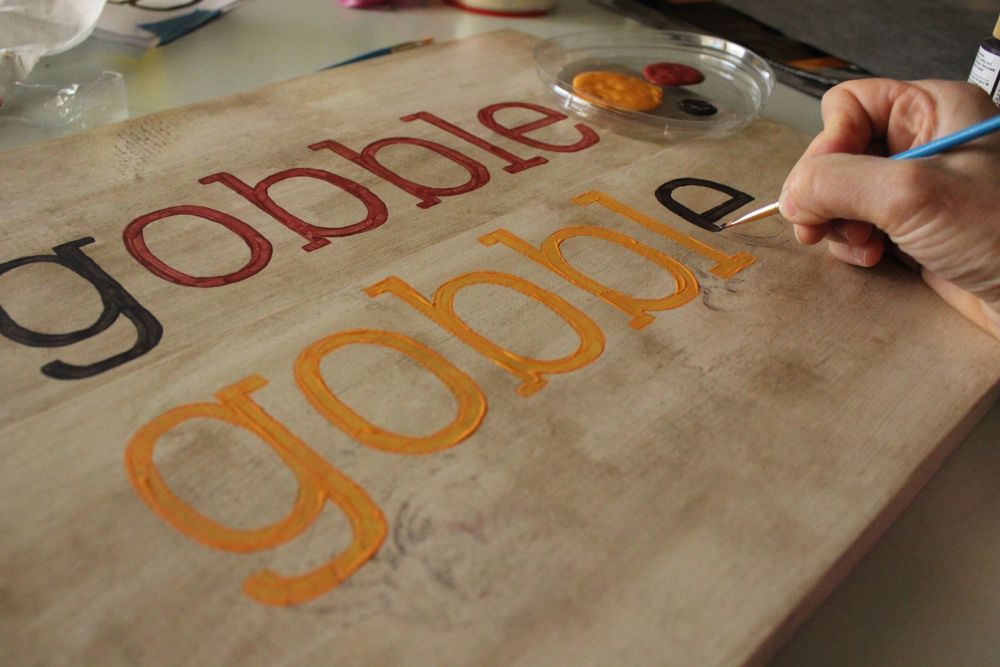
Repeat the word on the lower board with orange lettering and a black final letter.
Apply a second coat once the first has dried to cover gaps in the paint.
A Thanksgiving Sign Made Without a Cutting Machine
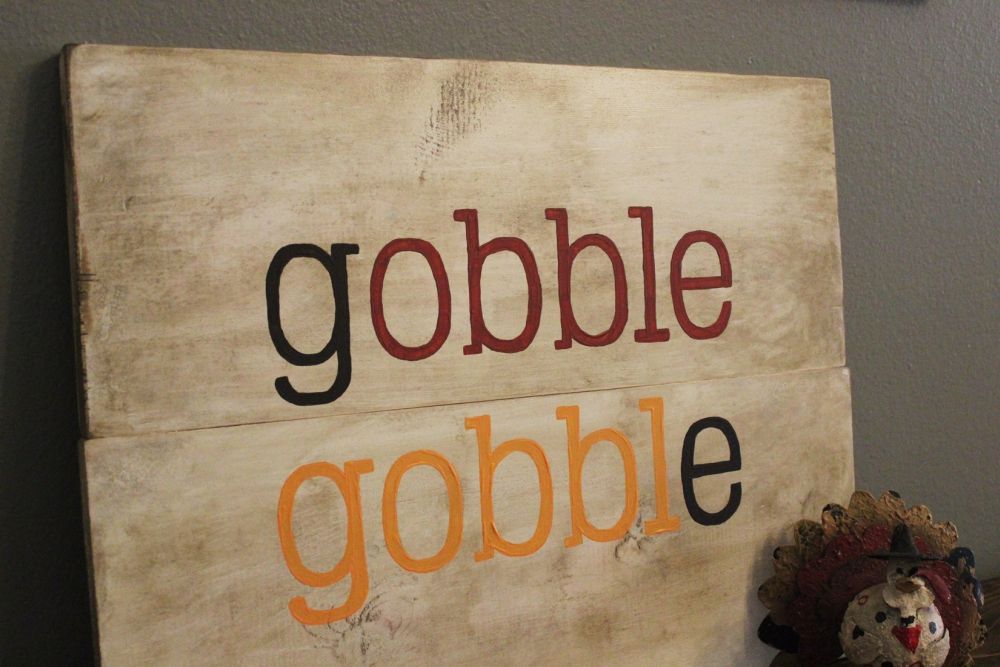
The finished sign reads “gobble gobble” across two distressed wood boards.
The lettering comes from a printed template, but every letter is painted by hand. Graphite paper eliminates the need for a Cricut machine, vinyl lettering, or freehand drawing skills.
Display the sign on a mantel, shelf, or wall as part of Thanksgiving decorations.