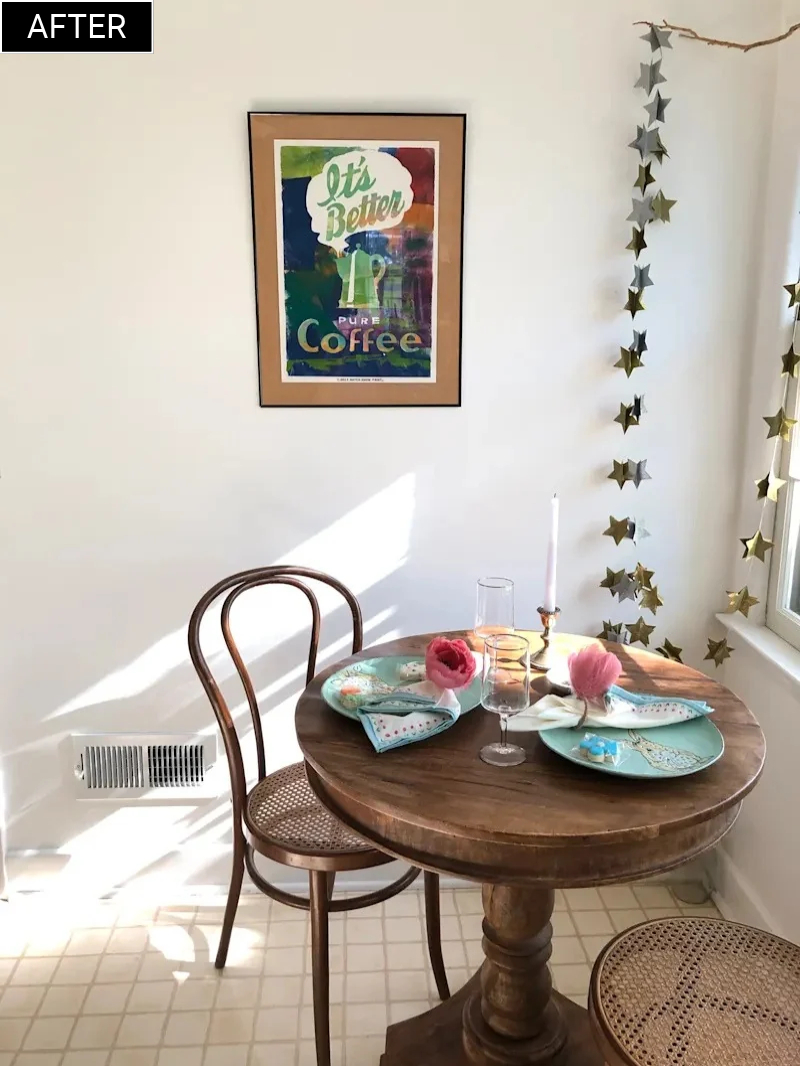
She painted the dark lower cabinets Treeline Green and the kitchen stopped feeling imposing


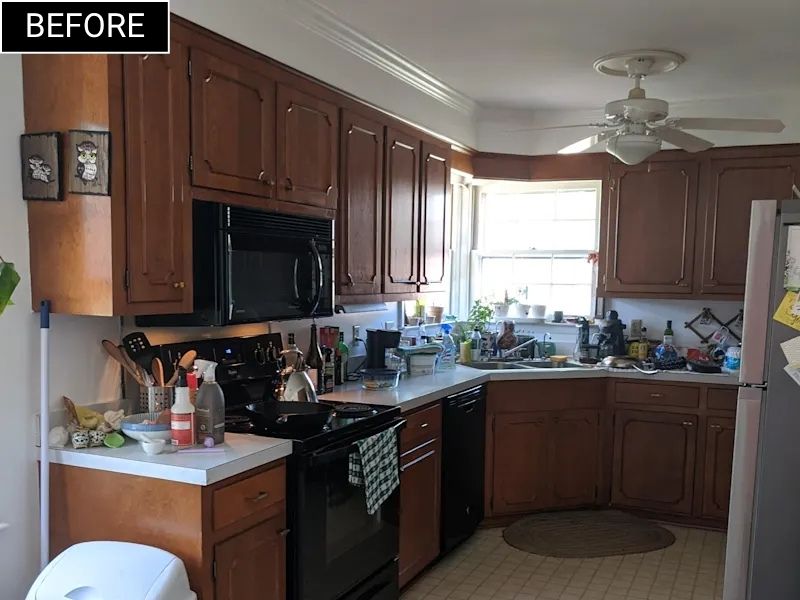
Some kitchens make you want to duck without a single low beam. Dark wood cabinets on every wall, beige floors, and a clunky ceiling fan in the middle that pulls the ceiling down. You walk in, and the room seems to lean on you.
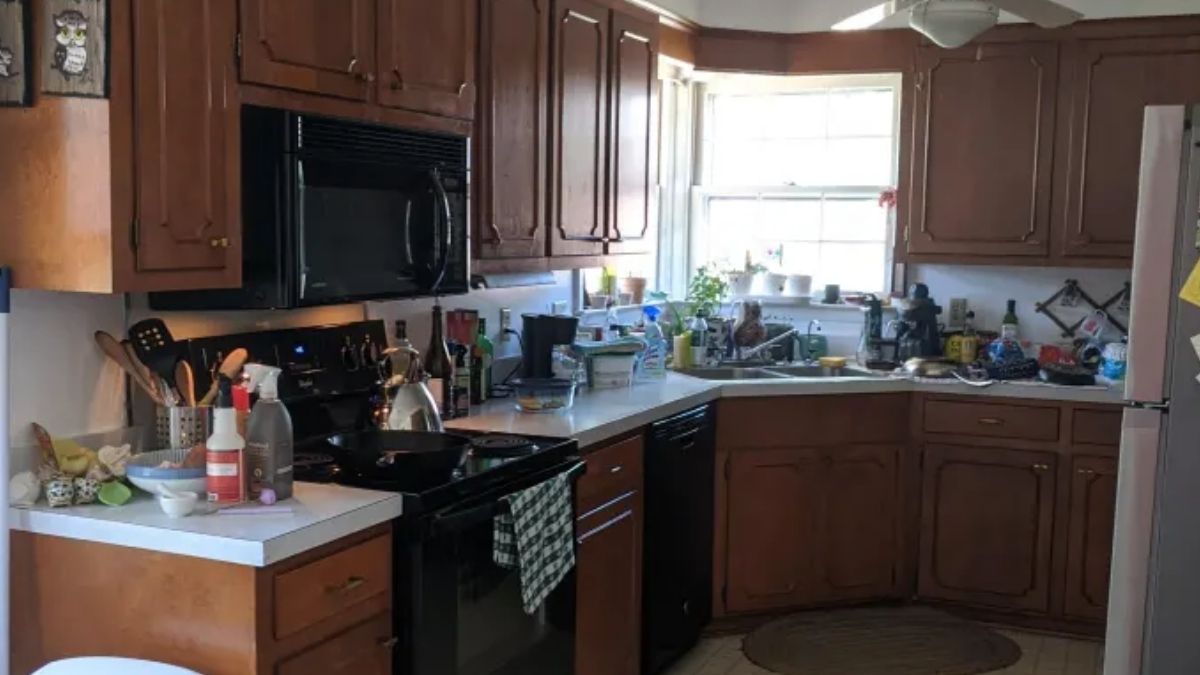
The wood wasn’t the problem, how much of it you saw at once was. Anna Westbury’s kitchen is original to her 1968 home, and its dark wood cabinets felt imposing. She didn’t replace a single one. She spent about $400 on paint and supplies and changed one big thing: the color.
Why all that dark wood felt so heavy
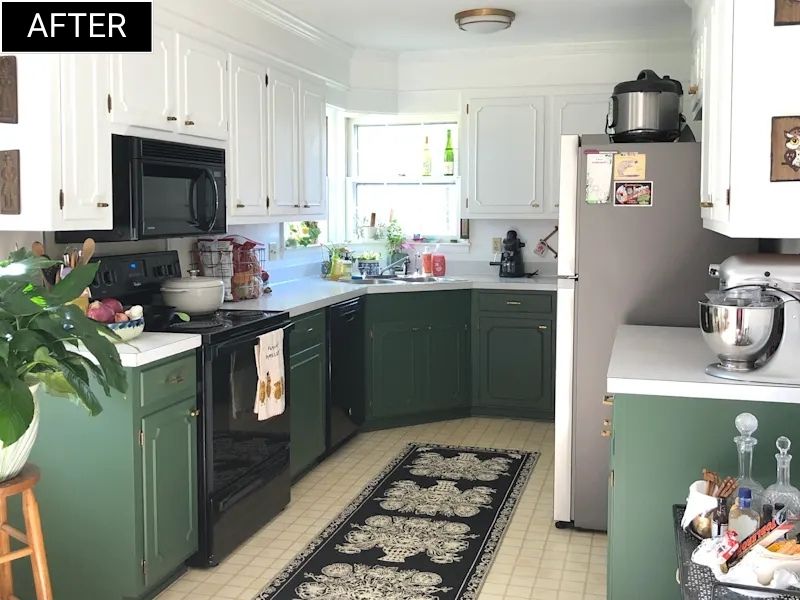
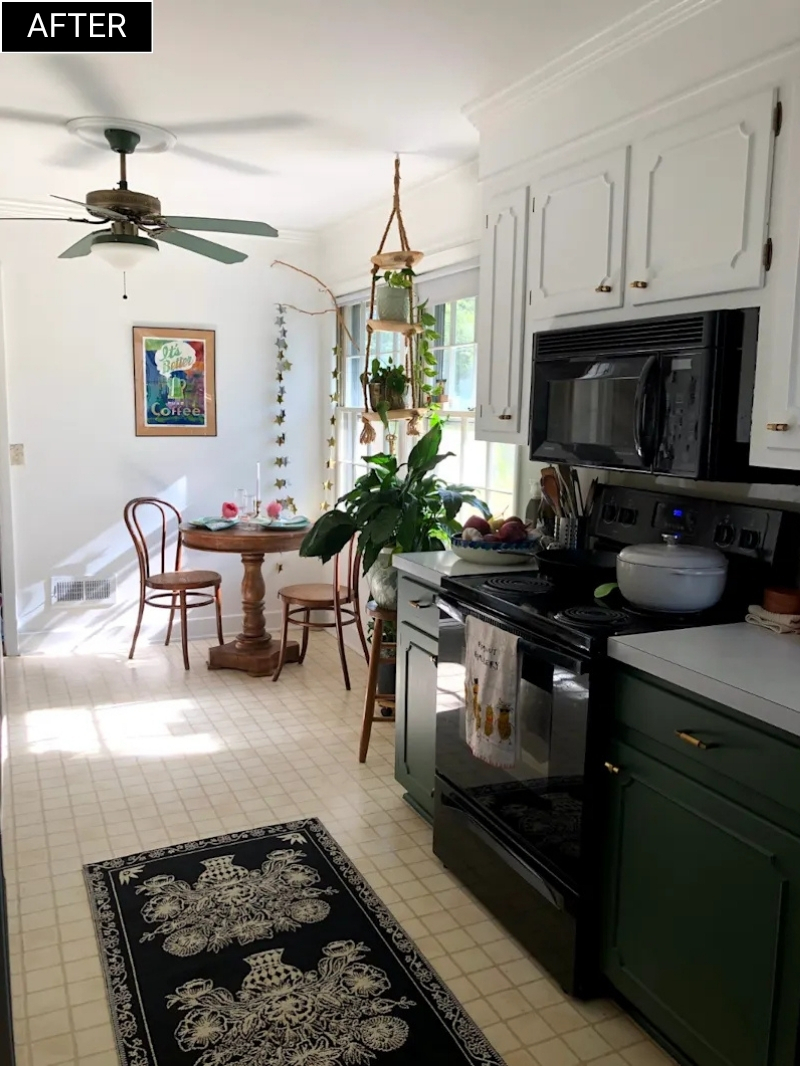
When uppers and lowers are the same dark wood, the darkest surface in the room sits at eye level and above, right where you want light to bounce. Anna split the job in two. The lower cabinets went deep green, and the upper cabinets and walls went Sherwin-Williams Extra White.
The green is Valspar Treeline, a cool-undertone green with a light reflectance value of 8.876 on a scale where 0 is black and 100 is white. That’s still a dark color. The trick is where it sits: down low, it grounds the room, while the white above opens it up. “I love the two-toned cabinets and am so happy I chose the green instead of playing it safe with gray,” Anna says.
The two-tone makeover, step by step
- Split the cabinets. Deep color on the lowers, white on the uppers and the walls, so the top half of the room reads as one light surface. One color above the counter and another below is still the most familiar formula for a two-toned kitchen, and it needs nothing but paint.
- Prep every piece. Lowe’s cabinet-painting guide calls for removing doors, drawers and hardware, labeling them with painter’s tape, washing with trisodium phosphate, filling dents with wood filler, sanding with medium-grit paper, then vacuuming and wiping with a tack cloth.
- Prime, then two coats. Primer usually takes a few hours to dry. Paint the backs of doors first, let them dry, then the fronts, and finish with a second coat. Lowe’s plans 3 to 5 days for the whole job and says to let the paint fully cure before rehanging anything.
- Fix the ceiling. Anna moved the fan from the center to just outside the cabinet area and painted it green to match. In its old spot, she put a low-profile flush-mount brass light.
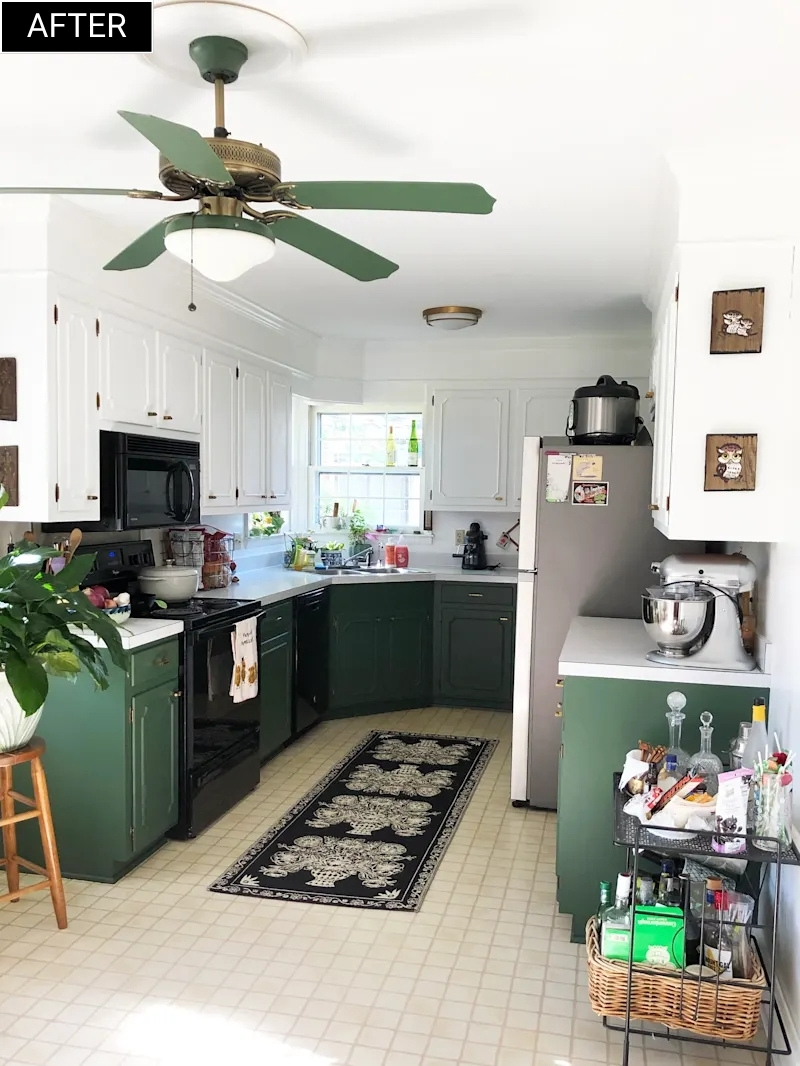
Plan B, if the budget won’t stretch to everything at once: decide what can wait. Anna kept her countertops, sink and floors for now, and says she hopes to change them, plus add a gas range, once they’ve saved more.
Where this makeover has its limits
A 1968 kitchen comes with a question to ask before sanding. If cabinets in a pre-1978 house were ever painted, Lowe’s says to test for lead first. The EPA recognizes two lead test kits for wood when a certified renovator uses them, and recommends a certified professional when you need an accurate reading.
Moving a ceiling fan means moving its wiring too. Unless you’re comfortable with electrical work, that part belongs to a licensed electrician, even if you paint everything else yourself.
And expect the middle to be the worst part. “It seems daunting and in the middle of the project it kind of stinks, but afterwards you will wonder why you waited!” Anna says.
Put the deep color down low, the white up high, and get the clutter off the ceiling. That’s the trick.