Plumbing Pipes Aren’t Just for Water: This DIY Turns Them Into a Three-Bulb Bathroom Light


Plumbing pipes are meant to carry water through walls and beneath sinks, but their threaded connections can also become part of a lighting design. Black iron elbows, short pipe sections, and round metal flanges give a bathroom fixture an industrial appearance without using a conventional metal light bar.
The finished light has three exposed Edison-style bulbs extending from a dark-stained wood board above a bathroom mirror. Each bulb hangs from a pipe elbow, while the metal fittings and visible screws contrast with the wood grain.
Homedit contributor Brittney Smart documented the project, including the wood preparation, pipe assembly, and installation. The original tutorial shows a three-bulb fixture built with common hardware components, although its custom electrical connections require professional review before anyone attempts a similar installation.
Black Plumbing Fittings Become the Starting Materials
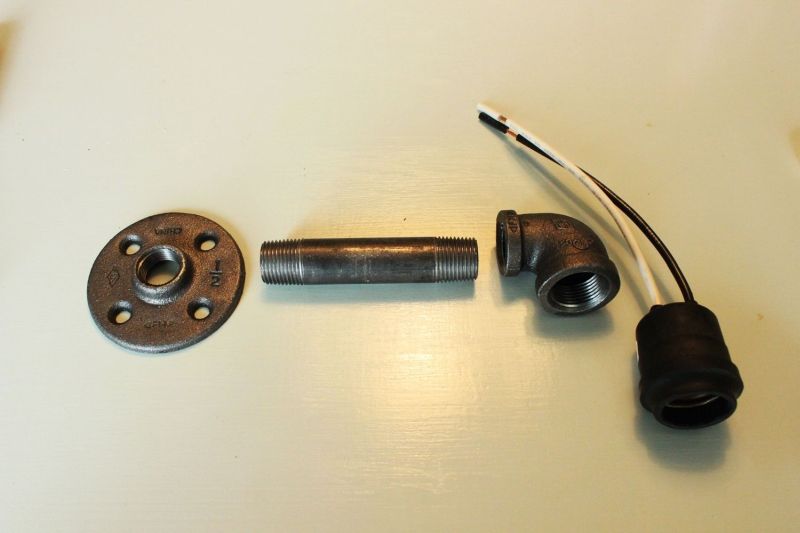
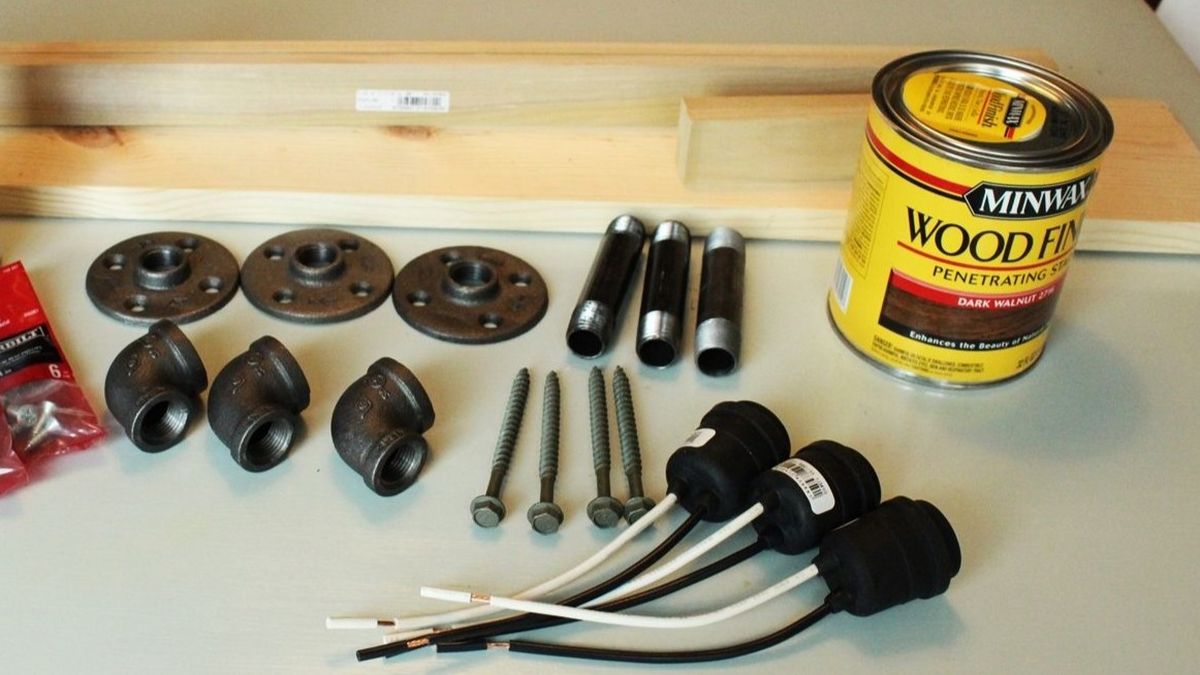
The fixture uses three sets of black metal floor flanges, threaded pipe sections, 90-degree elbows, and lamp sockets. Each flange forms the connection between the wooden backing board and the pipe extending toward the bulb.
The original project uses 4-inch threaded pipe sections, with the elbows turning the sockets downward.
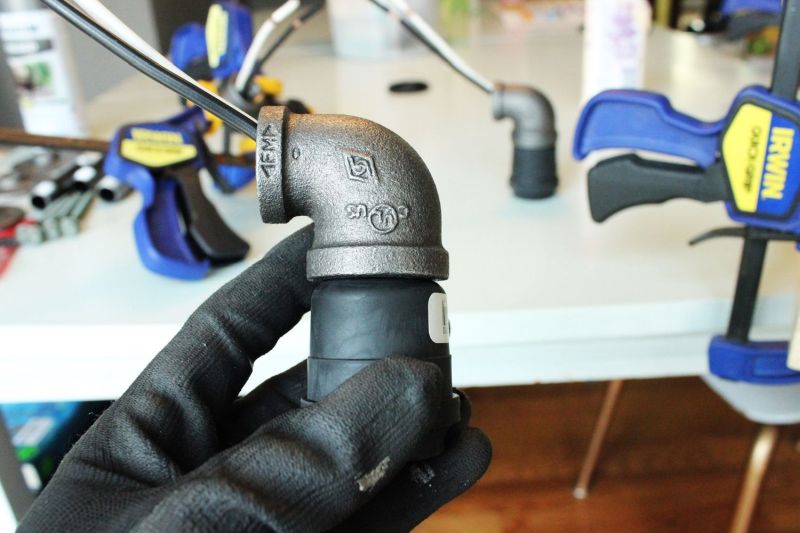
The dark socket housing sits beneath the metal elbow, creating a continuous pipe-like shape around the bulb connection. The original maker used adhesive where the socket and elbow did not fit together as matching threaded parts.
That detail should not be copied for a working electrical fixture without an approved mechanical connection and components rated for the installation.
A Pine Board Gets a Dark Walnut Finish
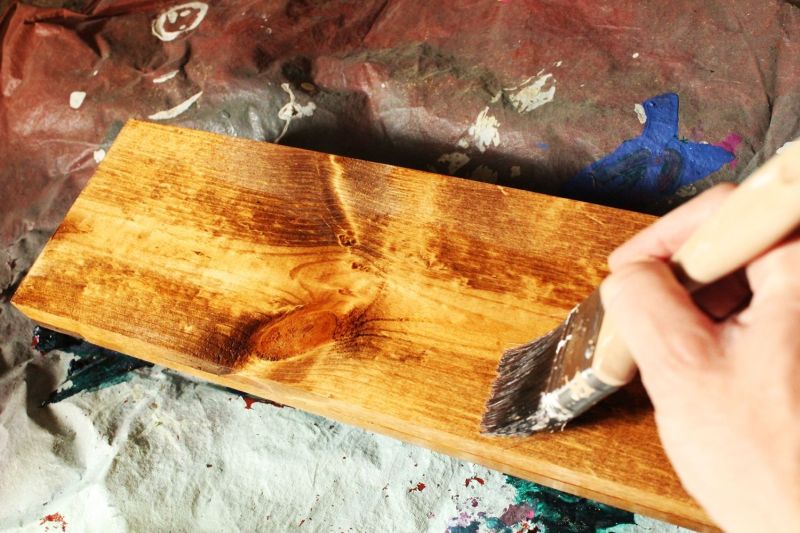
The backing begins with a 30-inch pine board for the three-bulb arrangement. Wood stain changes its pale surface to a dark brown finish while leaving the grain visible.
Narrow poplar strips attached behind the board create space between the wood and the wall for the fixture assembly.
Three Holes Mark the Bulb Positions
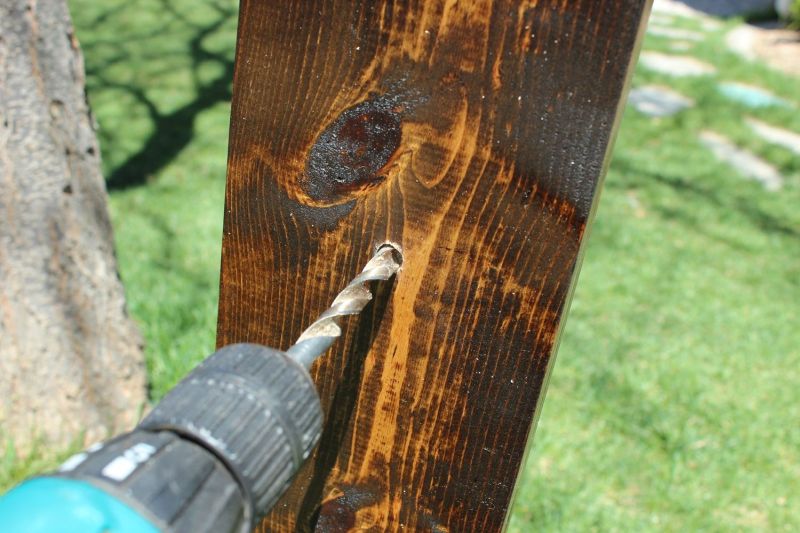
The pipe positions are measured across the board so the bulbs form a straight row. In the original project, the centers sit 7 inches from either end, with 8 inches between neighboring positions.
Each opening passes through the wood at the center of a metal flange, providing a route for the electrical wiring behind the fixture.
Round Metal Flanges Hold the Pipe Sections
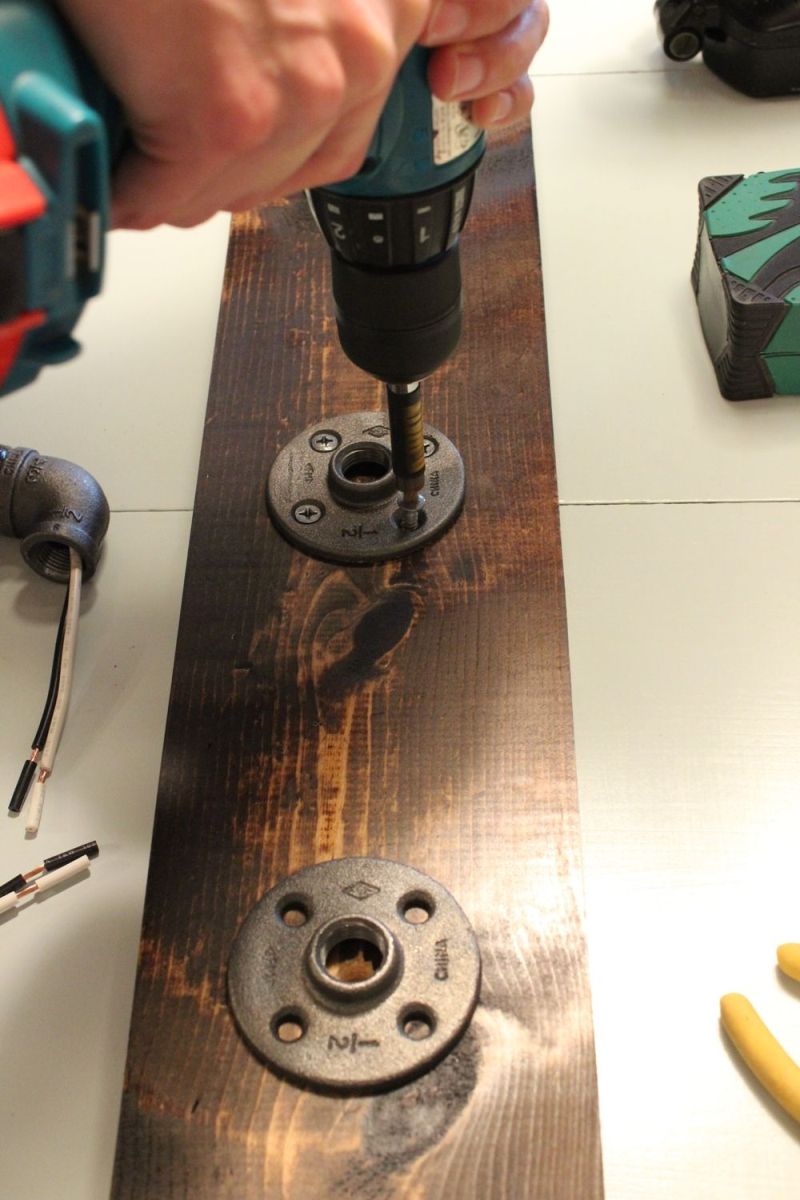
Three circular metal flanges are positioned over the openings in the board. Their four mounting holes allow the fittings to be secured to the wood, leaving the threaded centers exposed for the pipe sections.
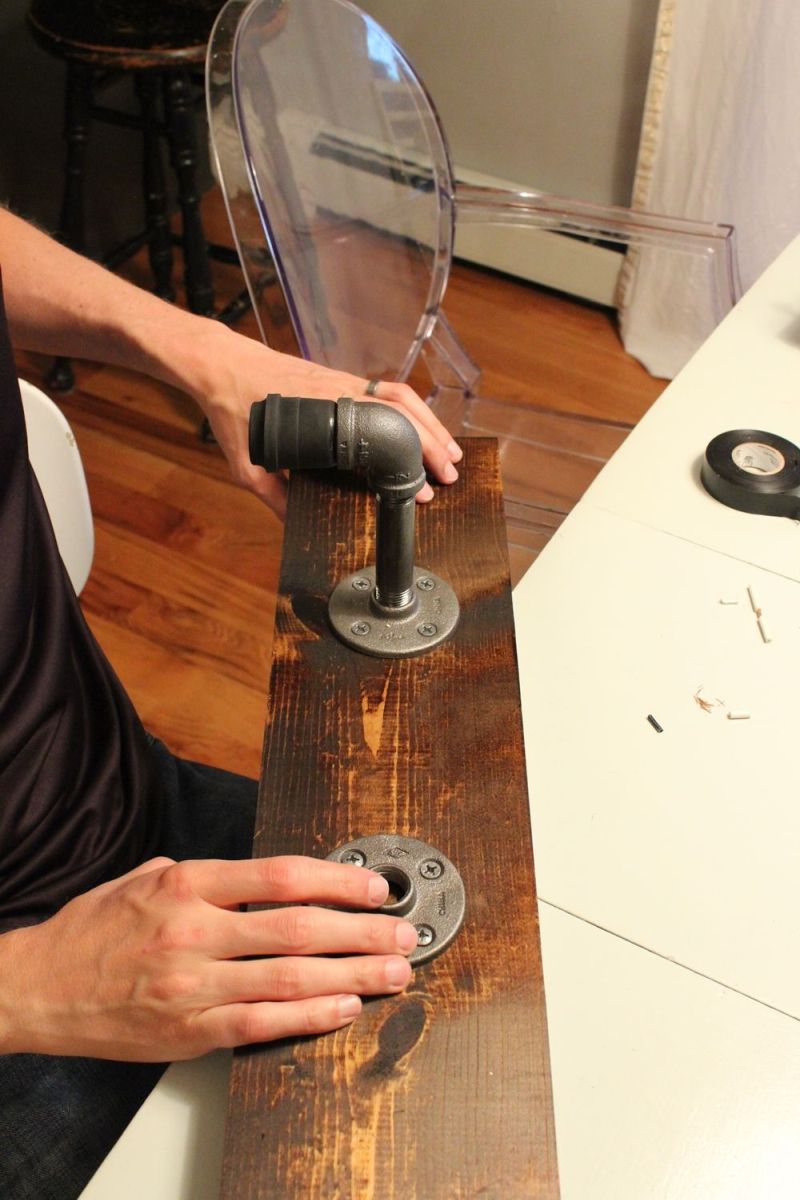
The screws receive a gray metal-look paint finish to match the pipe fittings. Once attached, the flanges establish the spacing and orientation of the three bulb arms.
Wiring Passes Through the Pipe Sections
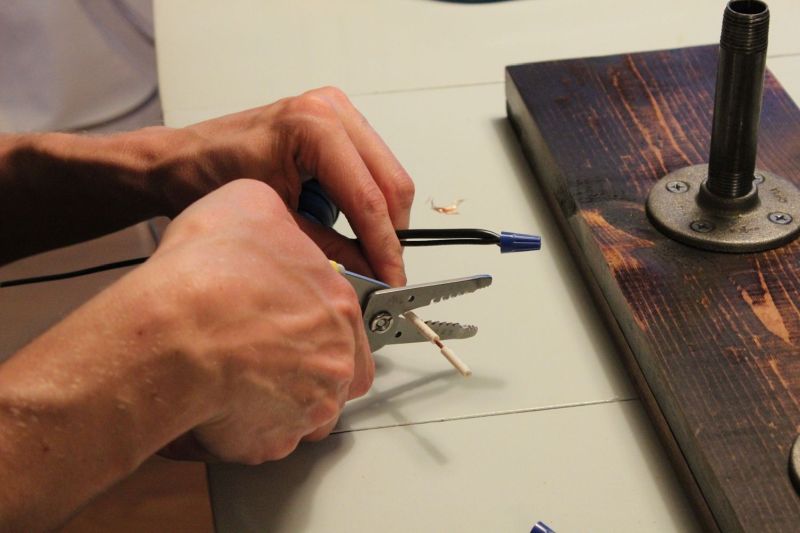
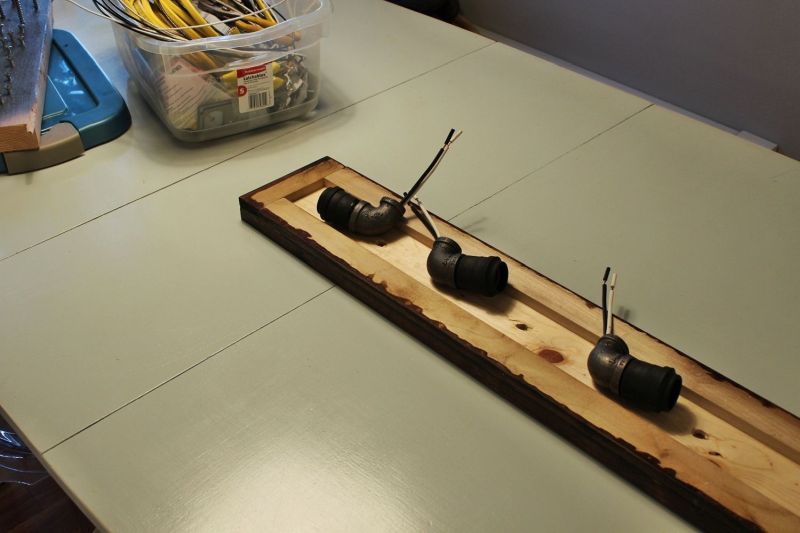
The original demonstration routes black and white electrical conductors through the pipe sections to connect the lamp sockets. The wires emerge behind the board, where the fixture is intended to connect to the bathroom’s electrical supply.
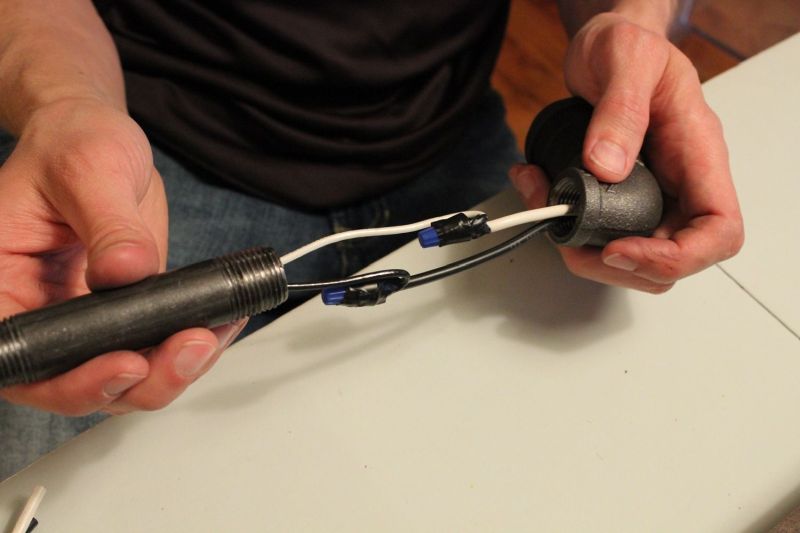
The photographed assembly shows wire connectors and electrical tape, but the images do not establish that the connections have suitable enclosure, grounding, strain relief, or electrical certification.
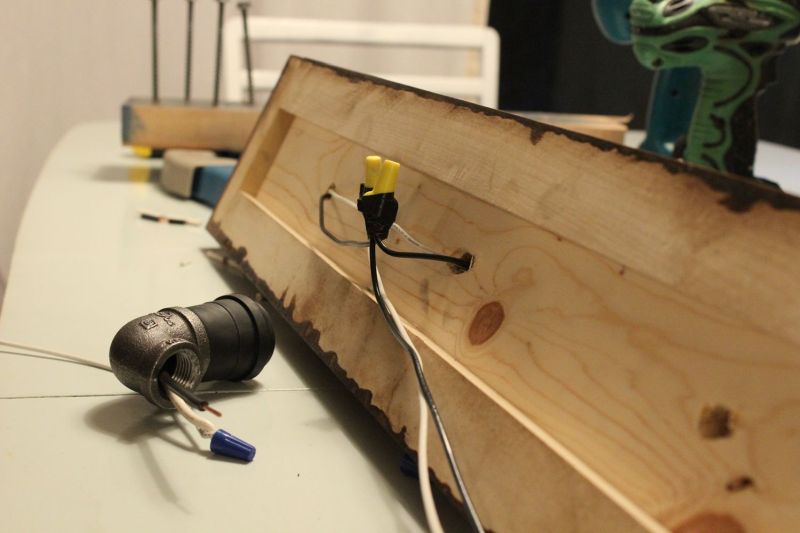
For a working bathroom fixture, the electrical assembly should use listed components and be installed by a qualified electrician in accordance with applicable electrical requirements.
The Pipe Arms Are Positioned Above the Bathroom Mirror
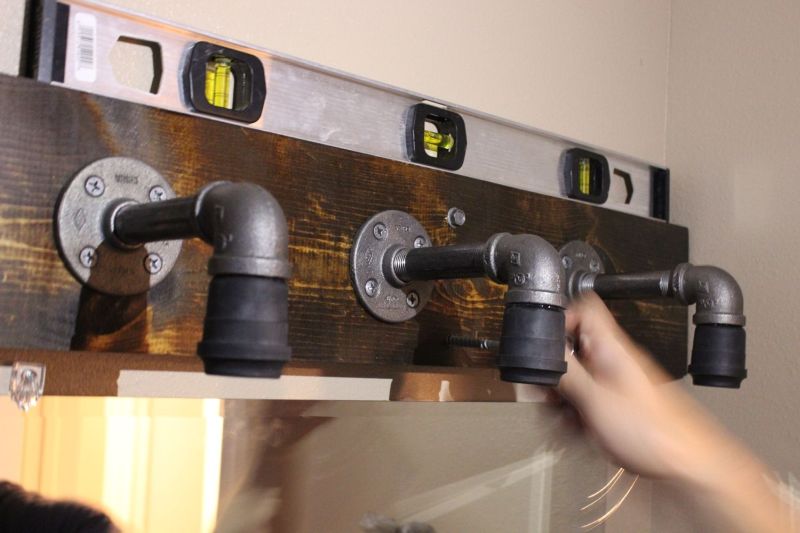
The stained board spans the width of the bathroom mirror, with three metal pipe arms extending outward and turning down toward the sink area.
A level helps establish a horizontal mounting position, while the pipe flanges remain visible against the wood instead of being concealed behind a decorative housing.
Edison-Style Bulbs Complete the Industrial Design
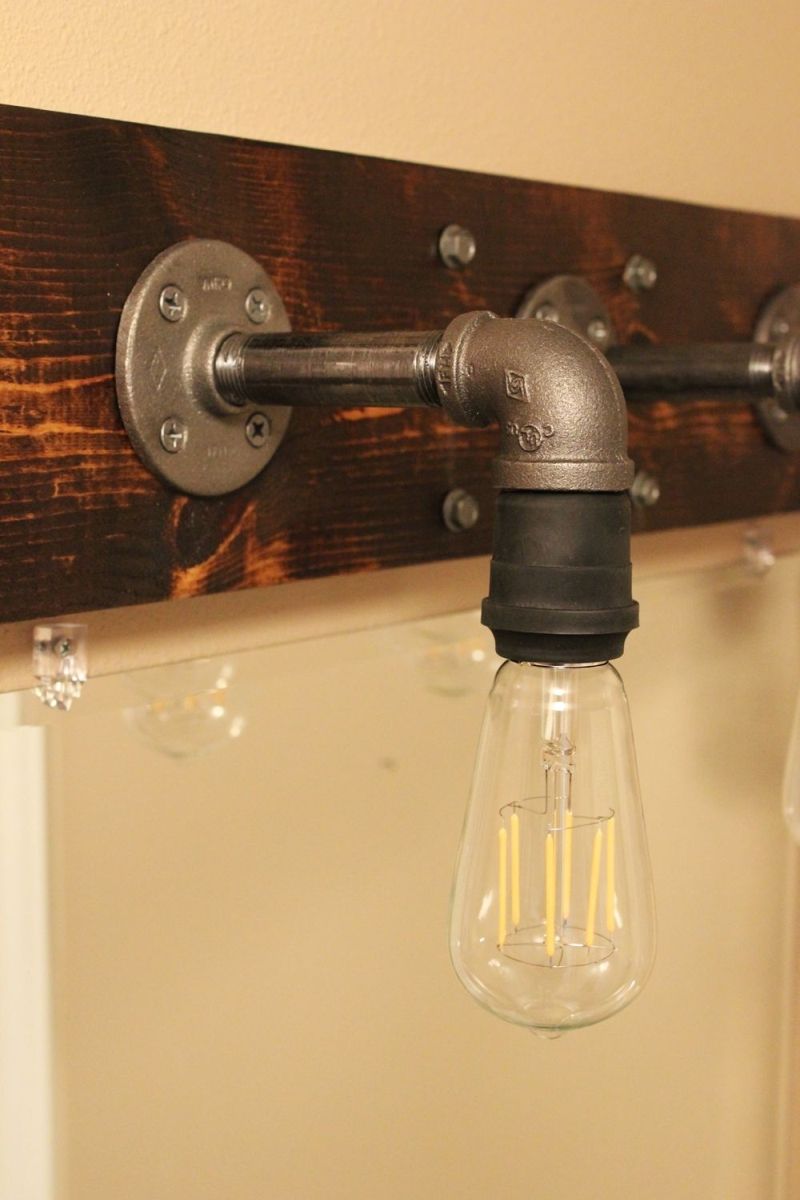
The elongated glass bulbs extend beneath the black sockets, leaving the filaments visible rather than covering them with shades. Their shape resembles early incandescent lighting, while modern LED filament bulbs can provide a similar appearance.
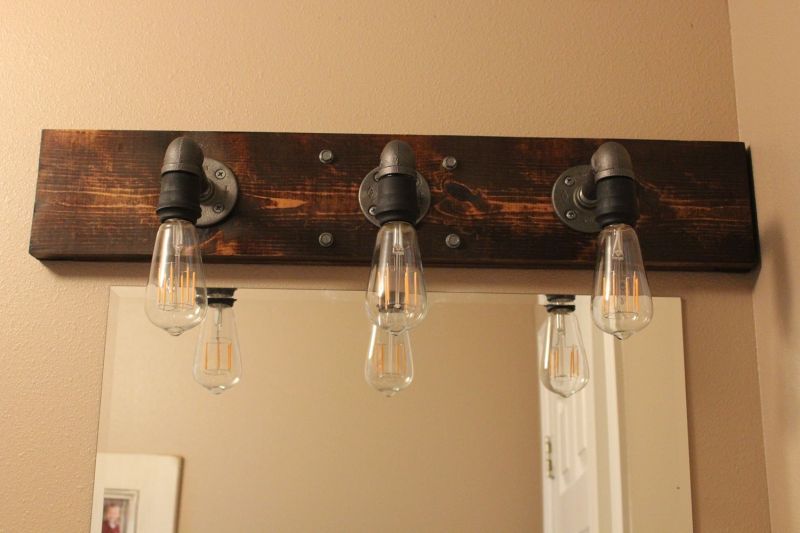
From the front, the three pipe arms form a row above the mirror. The stained pine board provides a shared backing, and the circular flanges give the arrangement the appearance of exposed industrial plumbing.
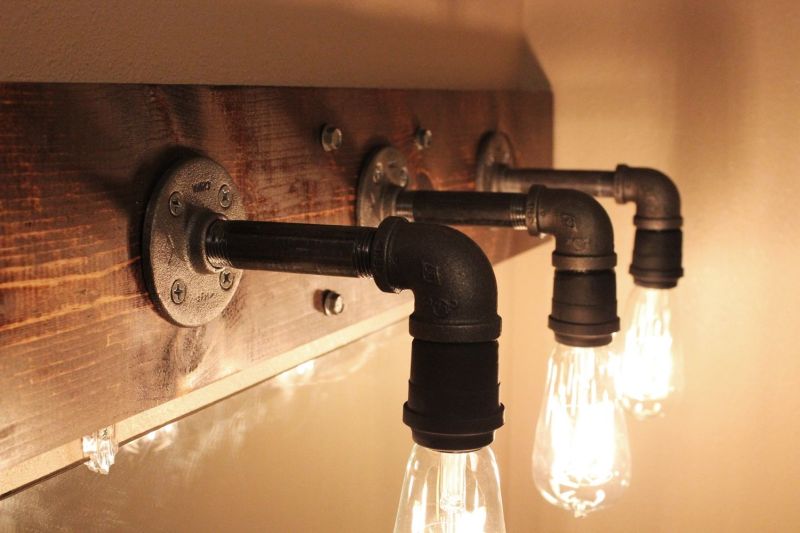
With the bulbs illuminated, the metal elbows and threaded pipe sections remain visible against the wood. The exposed filaments supply light above the mirror without conventional glass shades.
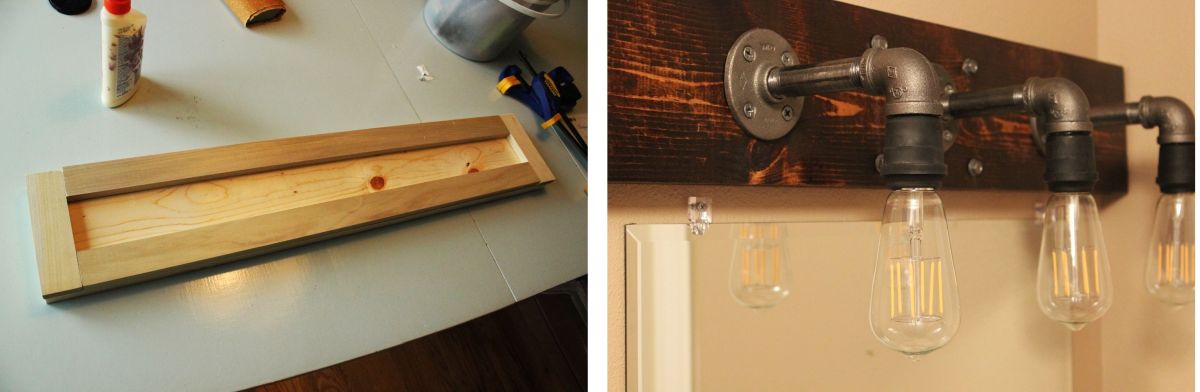
For readers interested in the construction process, Homedit’s original DIY industrial bathroom light fixture tutorial covers the materials, wood preparation, pipe assembly, and installation in more detail. Electrical connections should be reviewed and installed by a qualified electrician.
Would you choose a bathroom light with exposed plumbing pipes or keep a standard vanity fixture above the mirror?
Original project and photographs by Brittney Smart for Homedit.