Instead of Laying Stone Pavers, She Turned a Concrete Mold Upside Down and Spray-Painted Her Porch


Concrete porches with dark stains, cracks, and years of wear can make a front entrance look dated. Stone pavers offer one way to cover the surface, but there is another option that doesn’t require pouring concrete or installing new stones.
Natasha, the DIY creator behind The Smart Momma, used a stepping-stone mold as a stencil and six colors of spray paint to redo her front porch. Instead of filling the mold with cement, she turned it upside down and sprayed paint through the openings.
The project took about two hours of work, excluding drying time, and cost around $60 in 2012. Once sealed, the concrete resembled irregular stone paving, with different colors across the painted shapes and the original surface visible between them.
The Front Porch Started With Stained Concrete
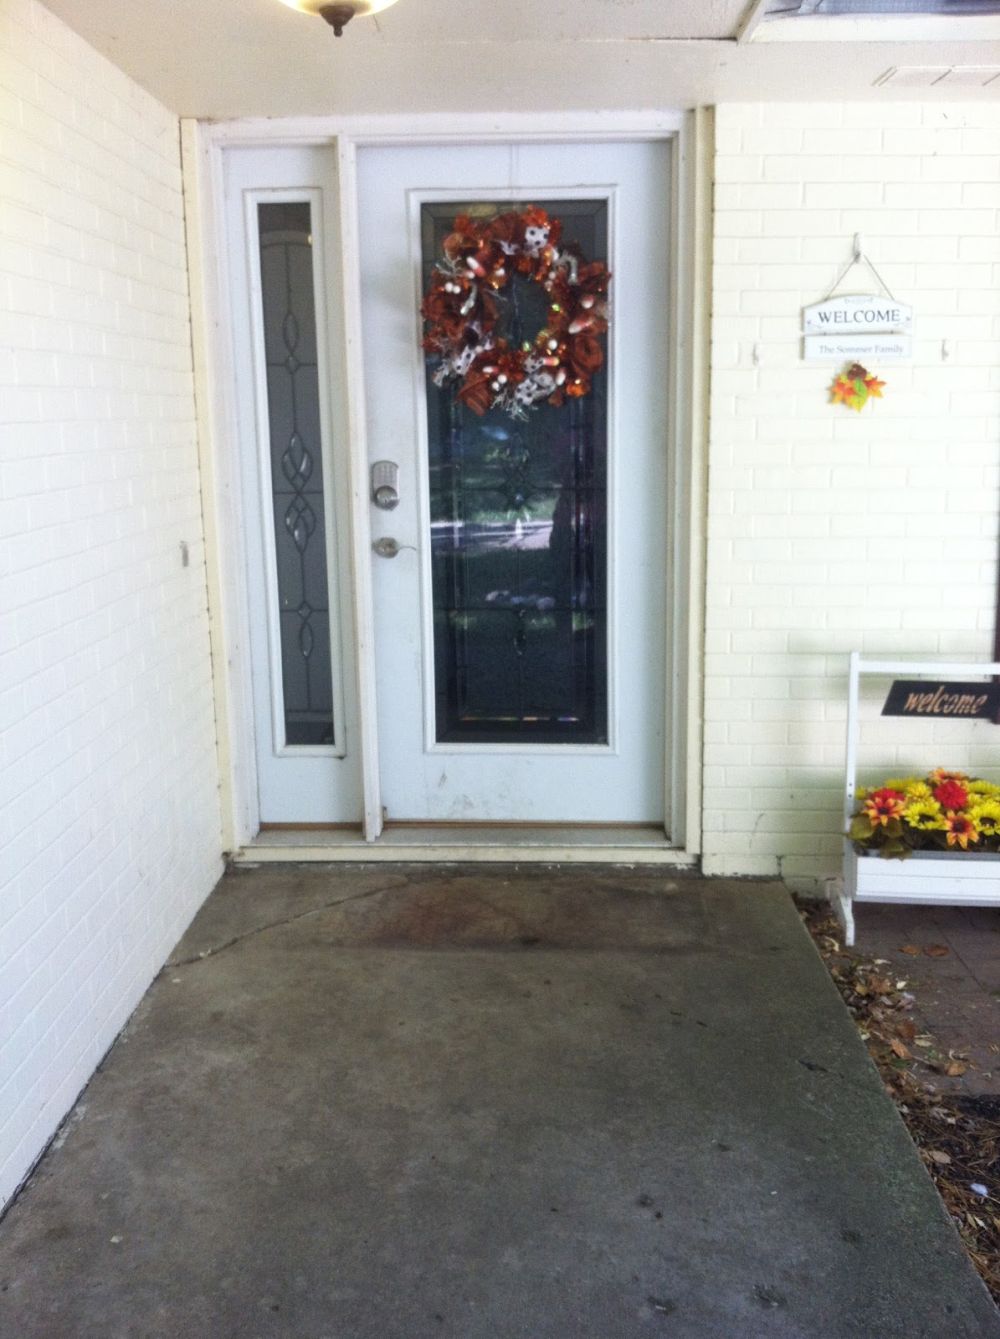
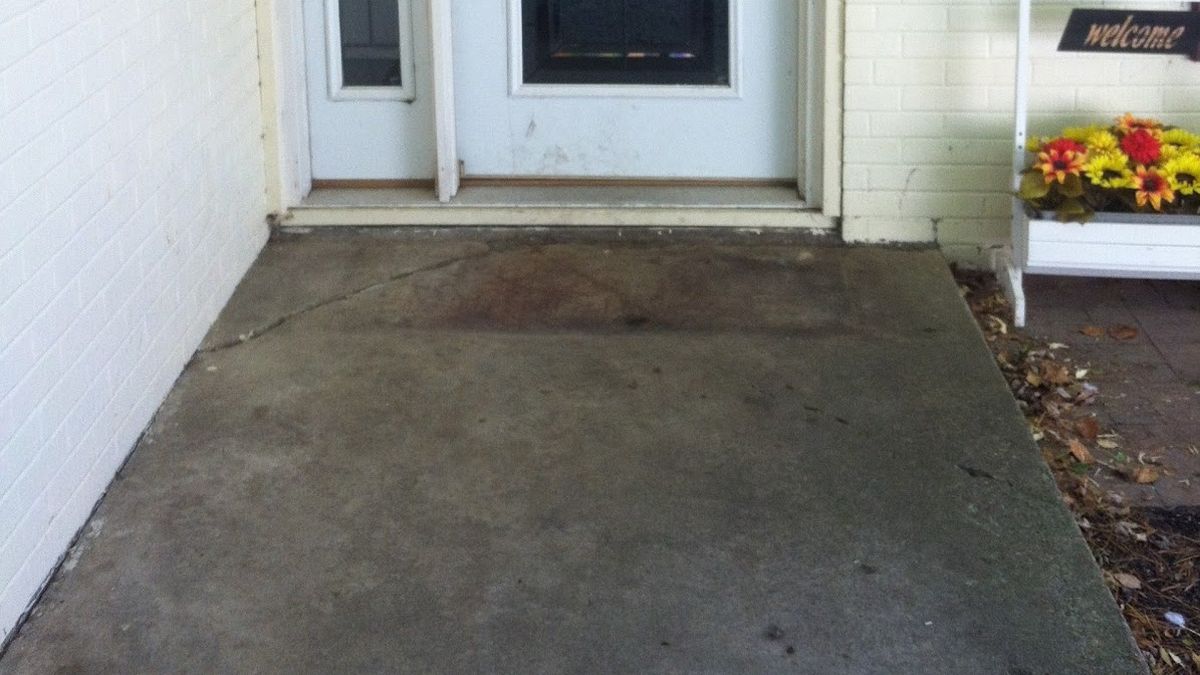
The original entrance had a rectangular concrete slab leading to a white front door, surrounded by painted brick walls. Dark stains covered parts of the surface, and a crack ran across the porch near the outer edge.
The concrete remained structurally in place throughout the project. The goal was to change its appearance rather than remove or replace the slab.
Cleaning the Concrete Before Painting
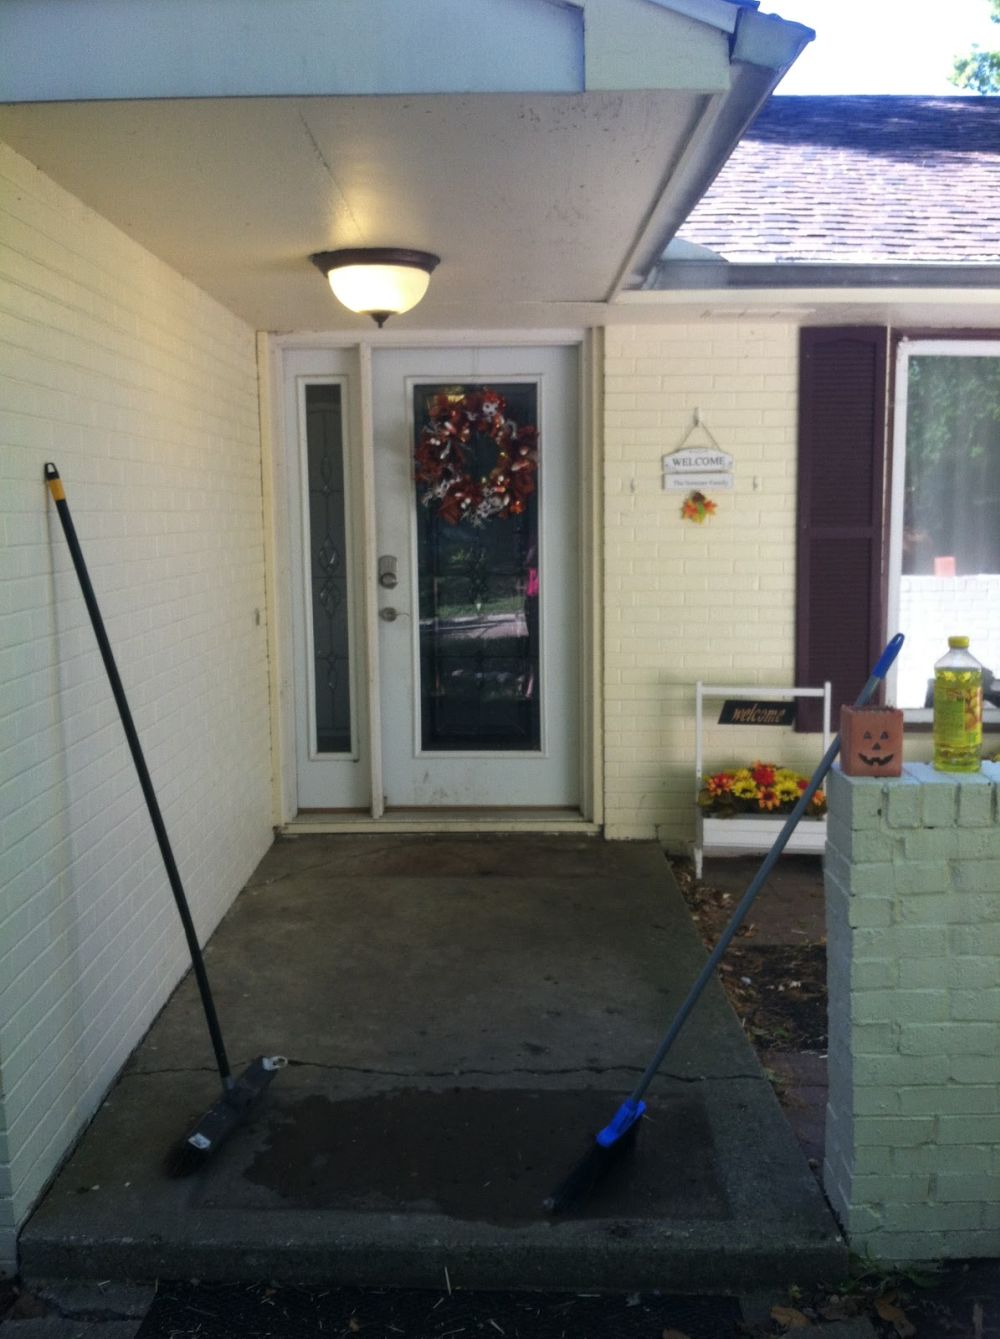
The first step involved scrubbing the porch with a push broom, water from a hose, and bleach. The cleaning removed surface dirt before the paint went on.
The concrete needed time to dry before the stencil work began, since trapped moisture can interfere with paint adhesion.
A Stepping-Stone Mold Became a Paint Stencil
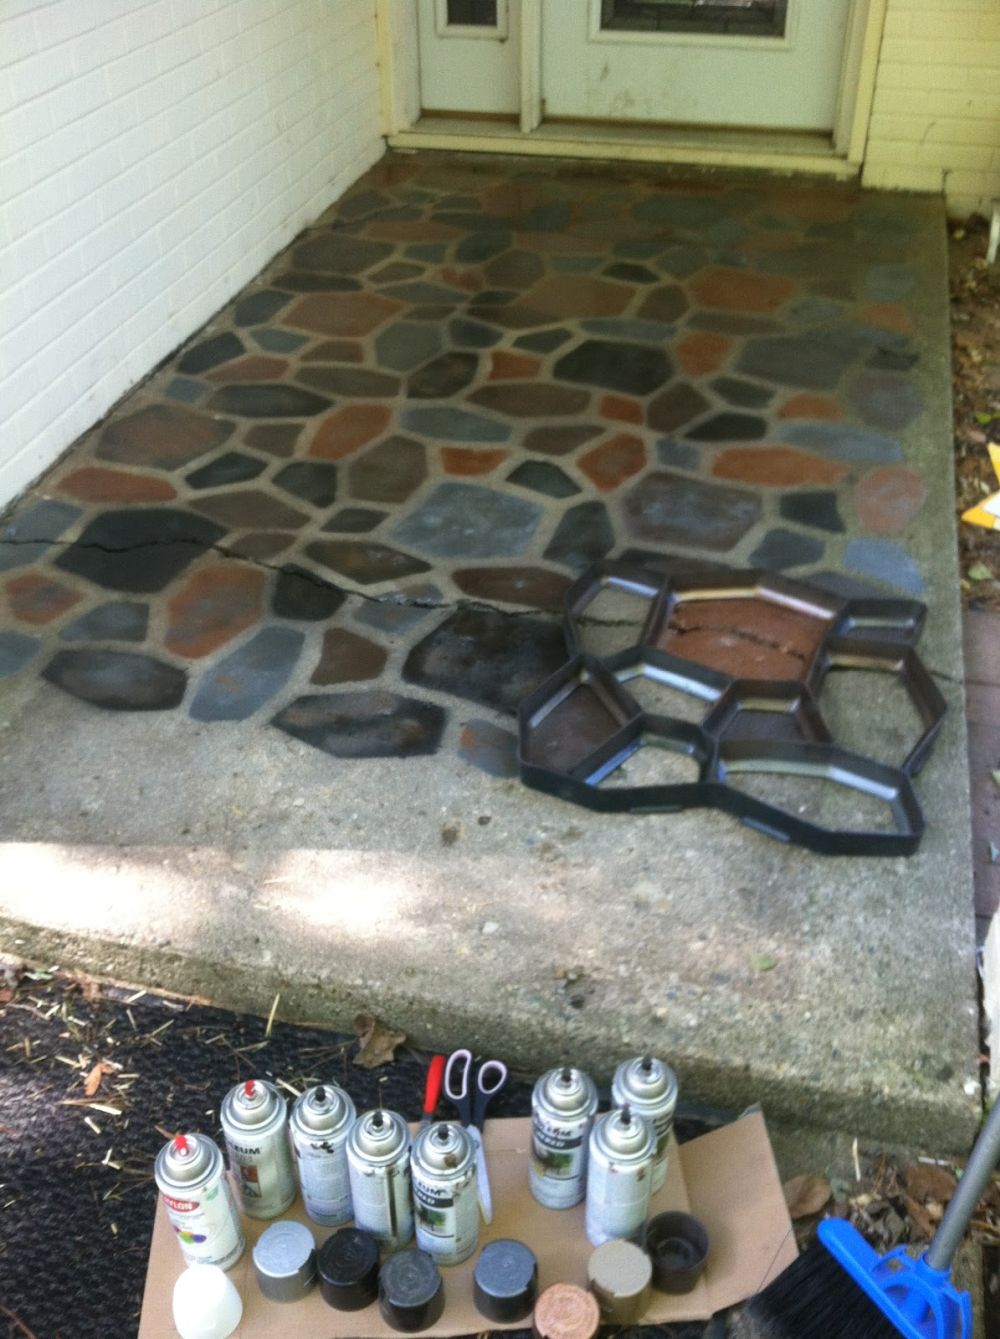
The tool behind the pattern was a plastic mold designed for pouring concrete stepping stones. Instead of using it to cast stones, the mold was flipped upside down and placed against the porch surface.
Natasha sprayed paint through the individual openings, moved the mold to the next section, and continued across the slab. The plastic dividers left strips of exposed concrete between the colored shapes, creating the appearance of joints without using mortar.
Six Spray Paint Colors Created the Stone Pattern
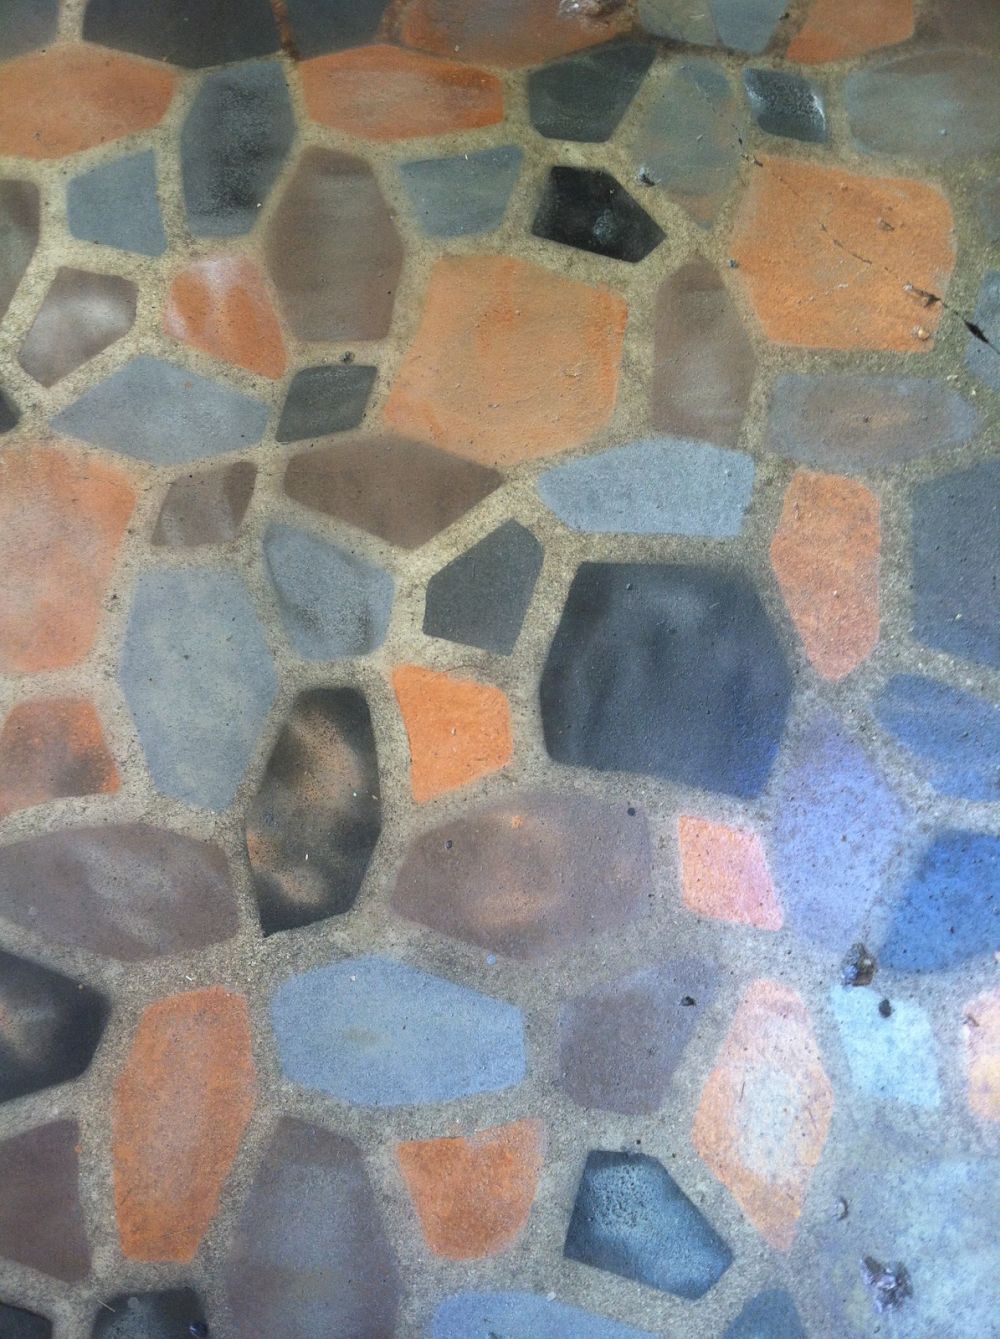
The project used six shades of Rust-Oleum Hammered spray paint, including gray, brown, and reddish tones. Some colors were combined within individual shapes to create variation across the surface.
The close-up shows how the shapes differ in size, color, and outline. Dark charcoal sections sit beside blue-gray and terracotta-colored pieces, while the exposed concrete forms the lighter lines between them.
Concrete Sealer Protected the Painted Surface
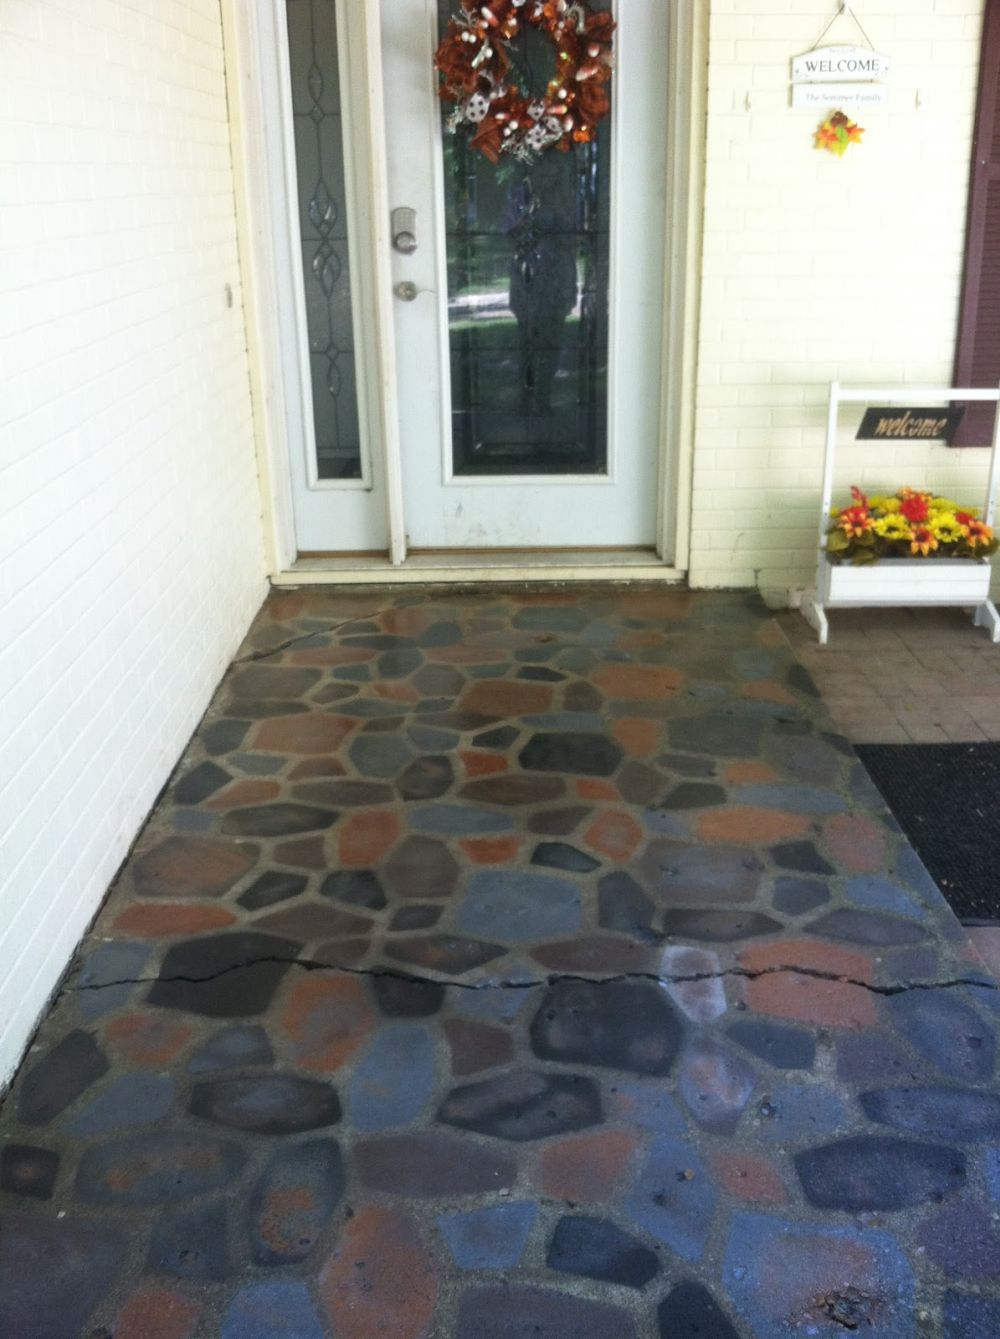
After the spray paint dried, a concrete sealer was applied over the finished design.
In a later response to readers, Natasha reported that the porch had held up through snow and ice. Years after completing the project, she also recommended resealing the surface every other year.
That was her experience with this installation. Outdoor paint performance depends on the product, surface preparation, weather exposure, and compatibility with the sealer.
The Finished Porch Looks Like Irregular Stone Paving
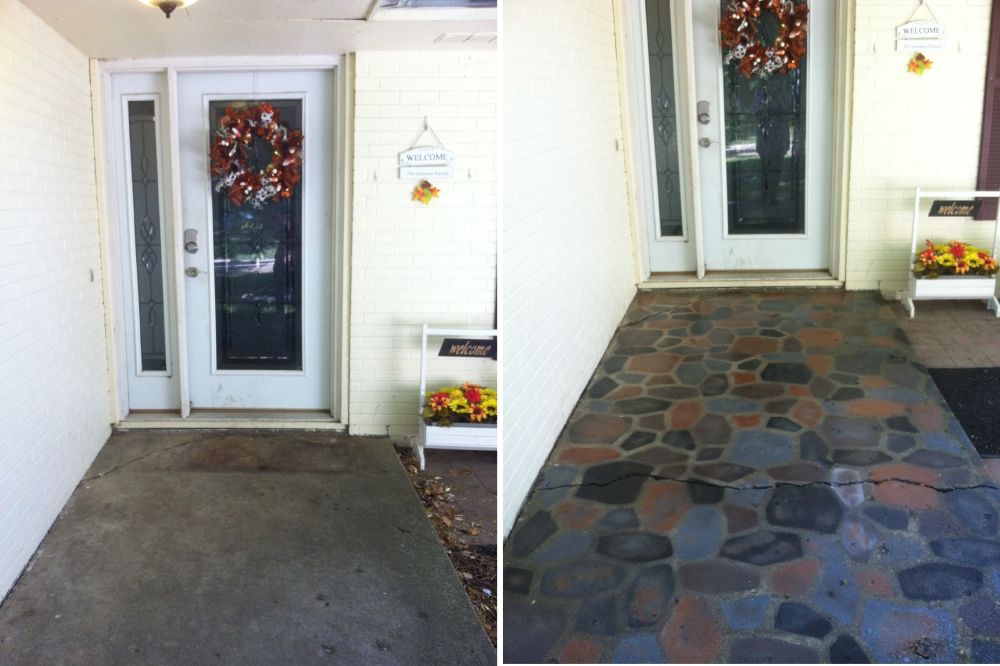
The completed pattern covers most of the concrete slab, from the front step toward the doorway. The individual shapes resemble a random arrangement of flagstones, although no stone was installed.
The original crack remains visible across the painted surface. The makeover changed the appearance of the concrete without repairing that damage.
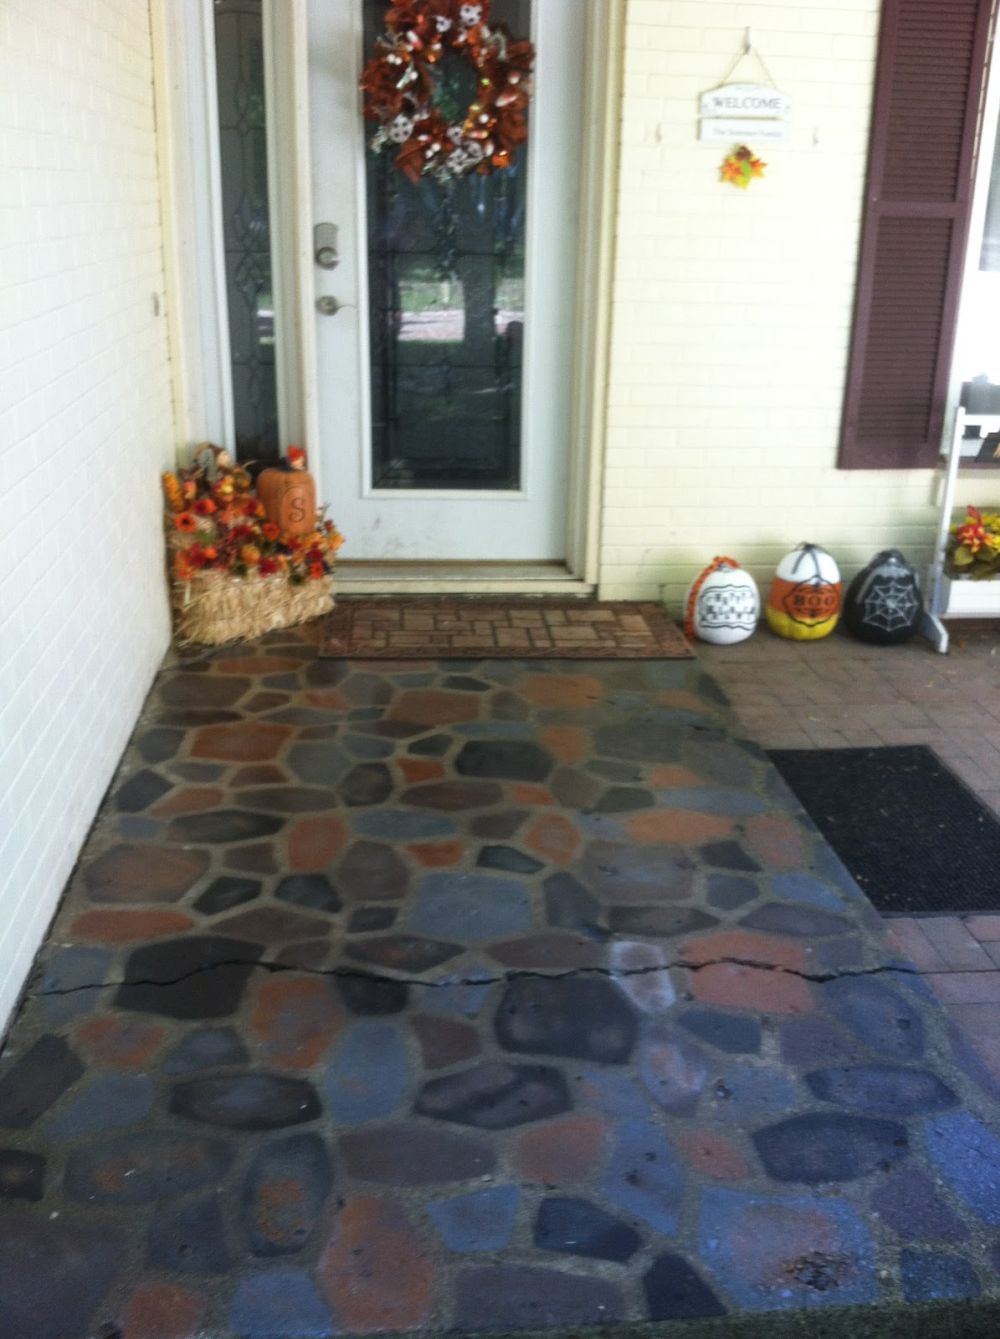
With a doormat and seasonal decorations added, the entry shows how the painted pattern works beside the white brick exterior and glass-paneled front door.
The project also leaves the existing porch height and doorway threshold unchanged, since the design was applied to the concrete rather than built above it.
Would you paint a stone pattern onto an existing concrete porch, or prefer installing real pavers?
Image credits go to @thesmartmomma.