He Watched YouTube Videos to Build His Backyard Patio, Then Chose a 45-Degree Herringbone Pattern With Two Curved Edges


Building a paver patio from YouTube tutorials is ambitious enough. Imgur user PositiveJeffBrown made the project harder by choosing a 45-degree herringbone pattern, a soldier-course border, and two rounded edges instead of a rectangular layout.
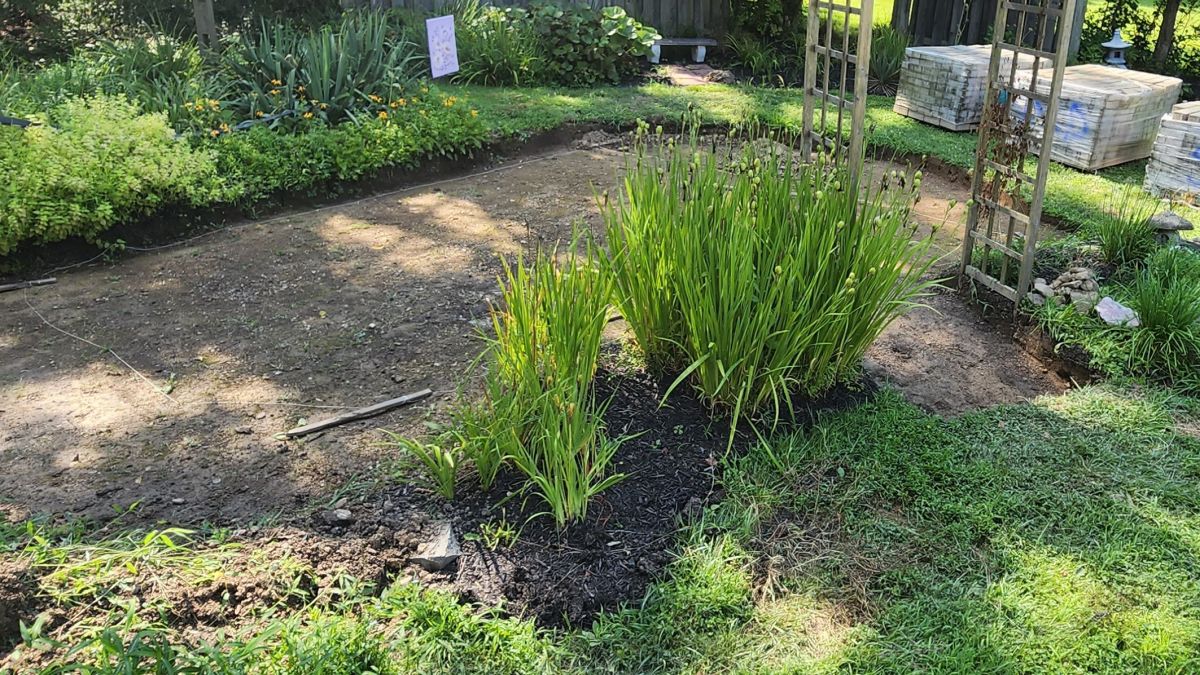
He started by digging seven inches into an existing garden area, then prepared a gravel and sand base for the pavers. The diagonal pattern created another challenge once the bricks reached the curves, where full pieces could no longer fit against the border.
What began as an exposed patch of soil became a paved outdoor dining area surrounded by established plants. The homeowner documented the construction from excavation to the final patio, including the stage when he lay face down across the unfinished pavers.
Seven Inches of Soil Came Out Before the First Paver
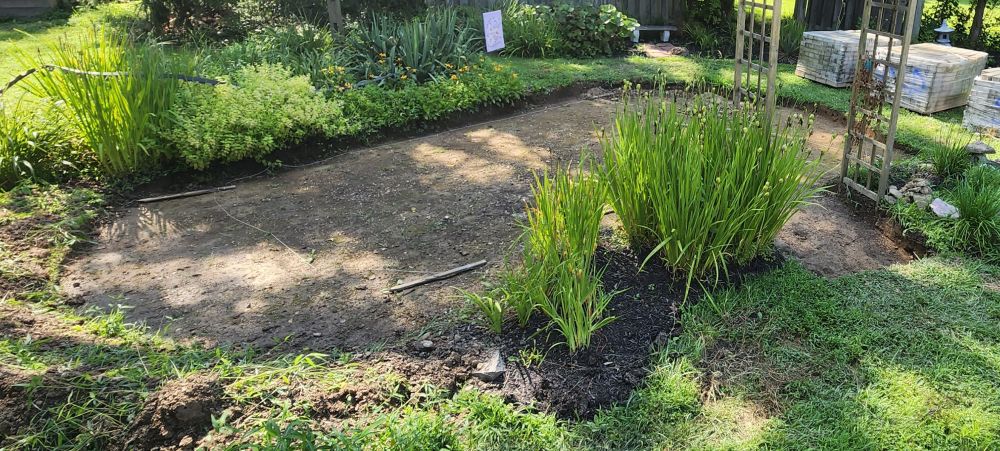
Excavation cleared the center of an existing garden area, leaving a large patch of bare soil between established planting beds.
The homeowner dug down about seven inches and created a gradual slope toward the lower side for drainage. The original plants and wooden garden trellis remained outside the excavation area.
Two Compacted Gravel Layers Formed the Base
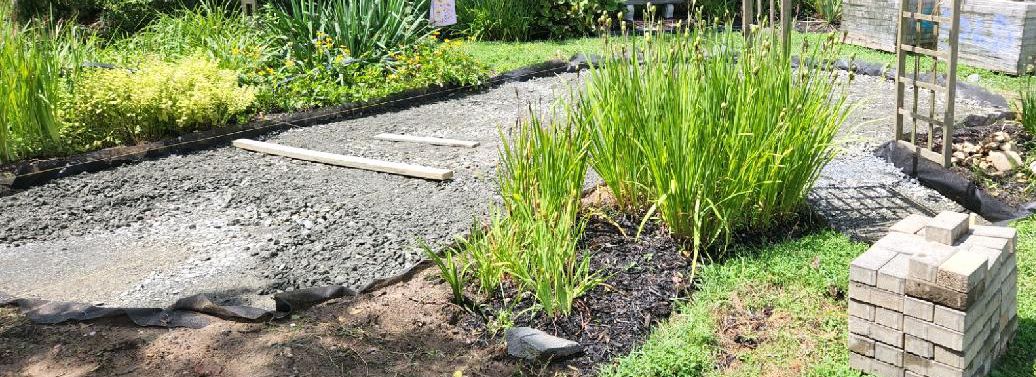
Landscape fabric covered the excavated ground before the first two-inch layer of 2A modified gravel went down.
After compacting that layer, he added another two inches of gravel and compacted it again. The prepared foundation followed the irregular perimeter without disturbing the adjacent garden beds.
One Inch of Sand Supported the Herringbone Pattern
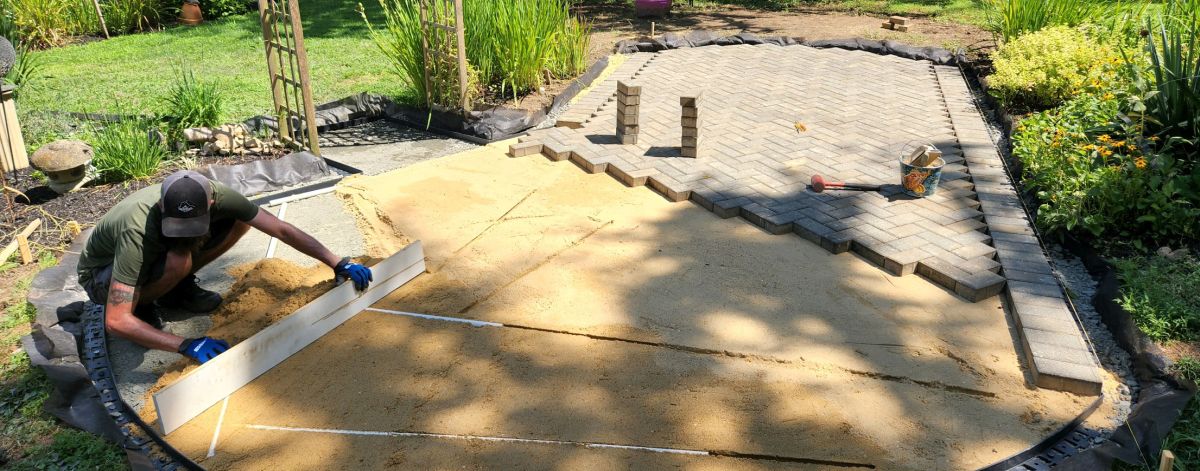
Black edging established the perimeter, followed by a one-inch layer of screeded sand. The homeowner used a straight board to level sections of sand as he worked.
Gray concrete pavers went down in a 45-degree herringbone pattern, with a soldier course running along the straight side.
Near the rounded end, the diagonal rows stopped short of the border. Those open spaces would need cut pieces once the full pavers were installed.
All Full-Size Pavers Went Down Before the Edge Cuts
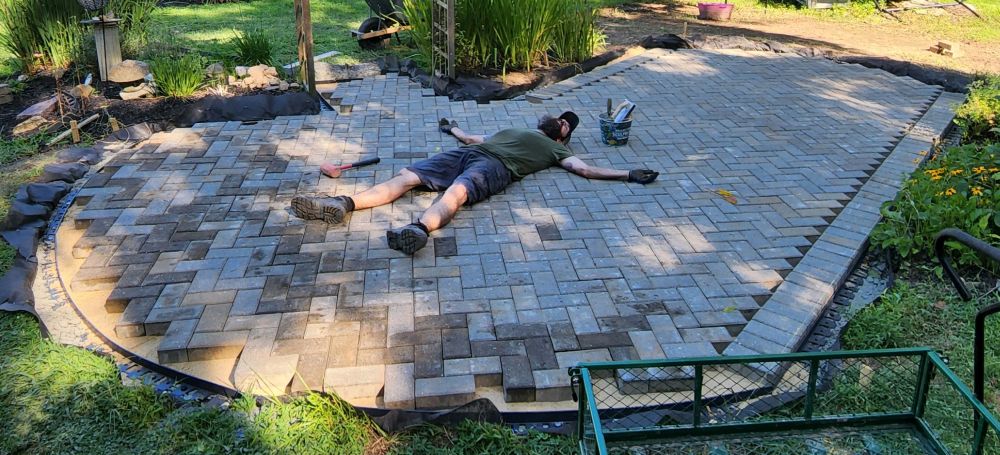
Most of the patio surface was covered at this stage, but the curved perimeter still had a stepped outline where the herringbone rows ended.
The homeowner stretched face down across the pavers in the progress photo, with a mallet and other tools beside him.
His original caption described this stage as having all the uncut pavers in place. Finishing the two rounded ends remained.
Cut Pavers Completed the Rounded Borders
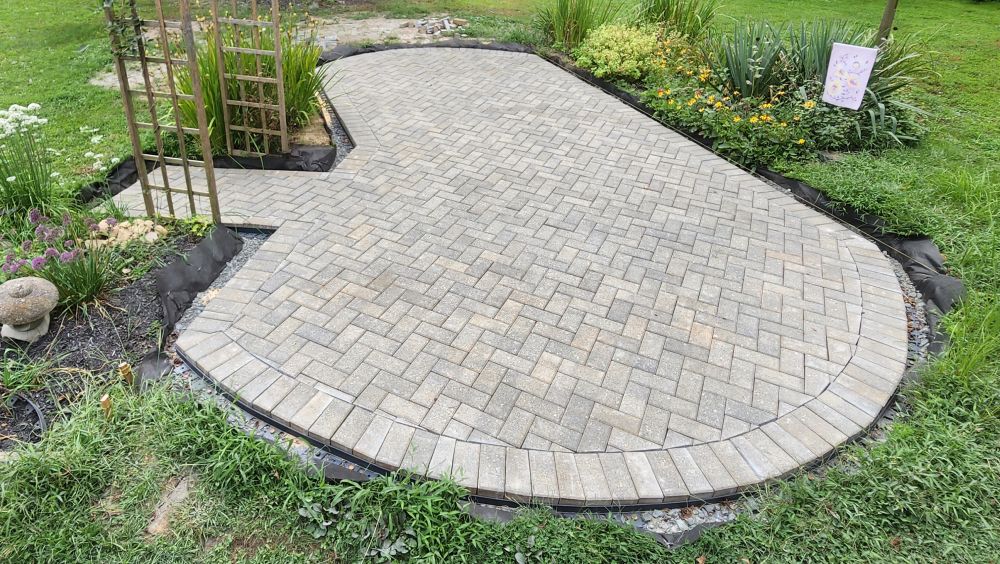
Cut sections filled the gaps between the diagonal herringbone pattern and the curved outer edges.
The perimeter now follows a continuous rounded outline, with border pavers separating the central pattern from the surrounding soil.
At the side entrance, the paved surface also extends around the wooden trellis and its planting bed.
Finished Patio Has a Continuous Gray Surface
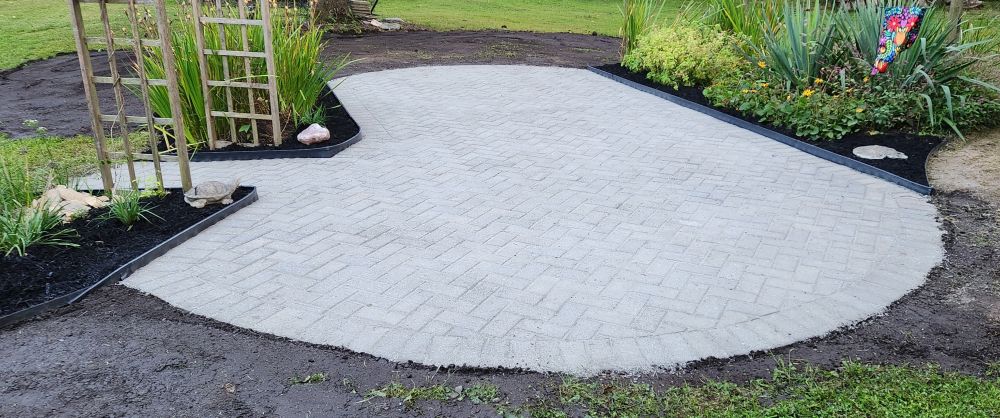
Once the paving work was complete, the unfinished edges disappeared beneath the finished border. Gray pavers cover the full area, with the 45-degree herringbone pattern running from one end to the other.
Fresh soil and black edging surround the patio, separating the new surface from the lawn and flower beds.
Dining Table and Chairs Turned the Paving Into an Outdoor Room
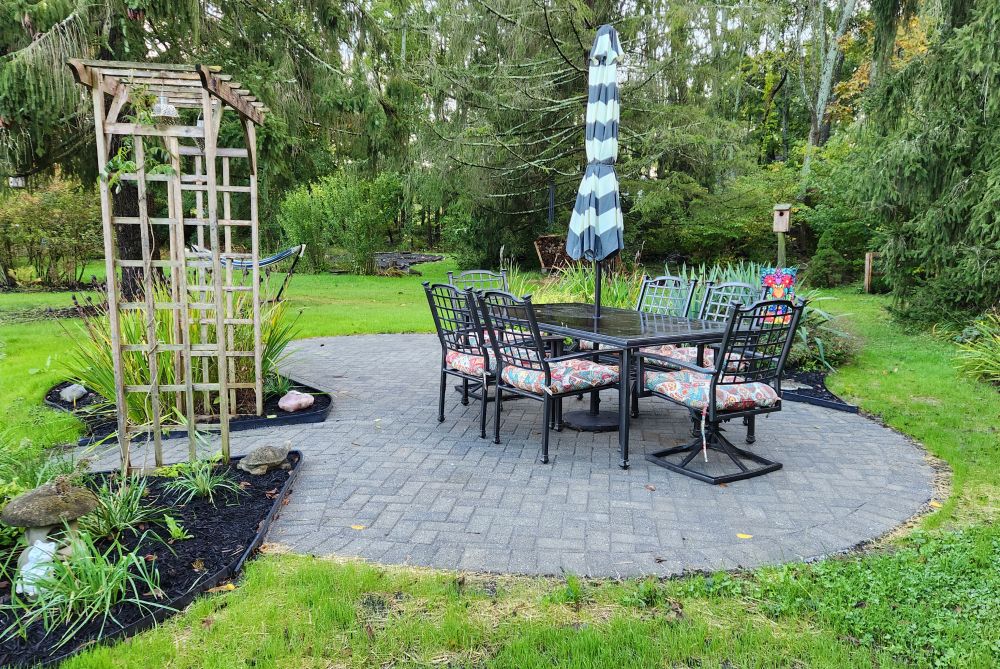
A rectangular metal dining table, six chairs with patterned cushions, and a striped patio umbrella occupy the new paved area.
The broad rounded end accommodates the dining set, while the narrower section connects it to the garden trellis.
No raised deck or poured concrete slab was needed for the seating area.
Existing Garden Beds Frame the Completed Patio
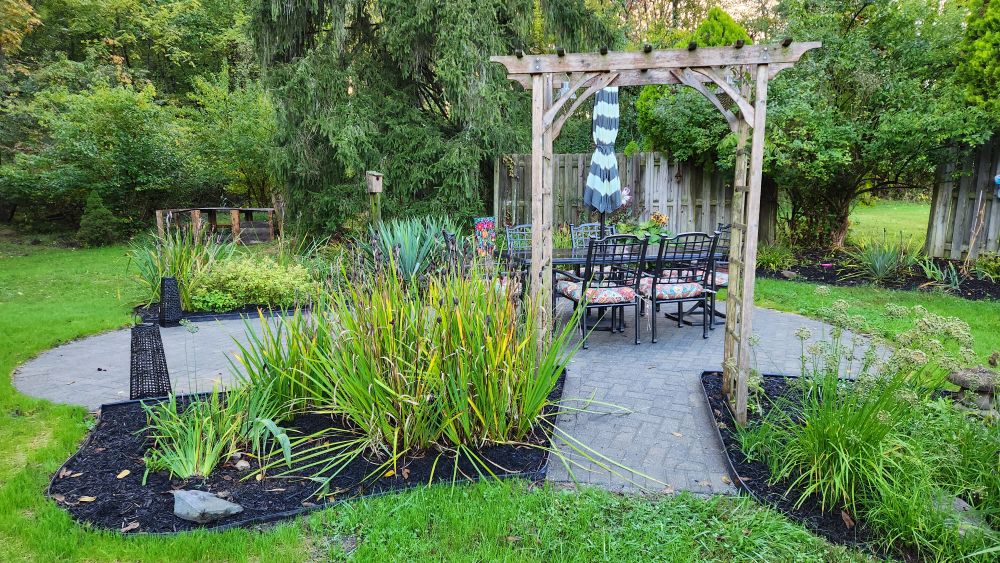
Viewed from the garden, the patio sits between tall grasses, flowering perennials, and established trees.
The wooden trellis marks the approach to the seating area, while dark mulch and planting beds border the paving on both sides.
Before and After the Backyard Patio Project
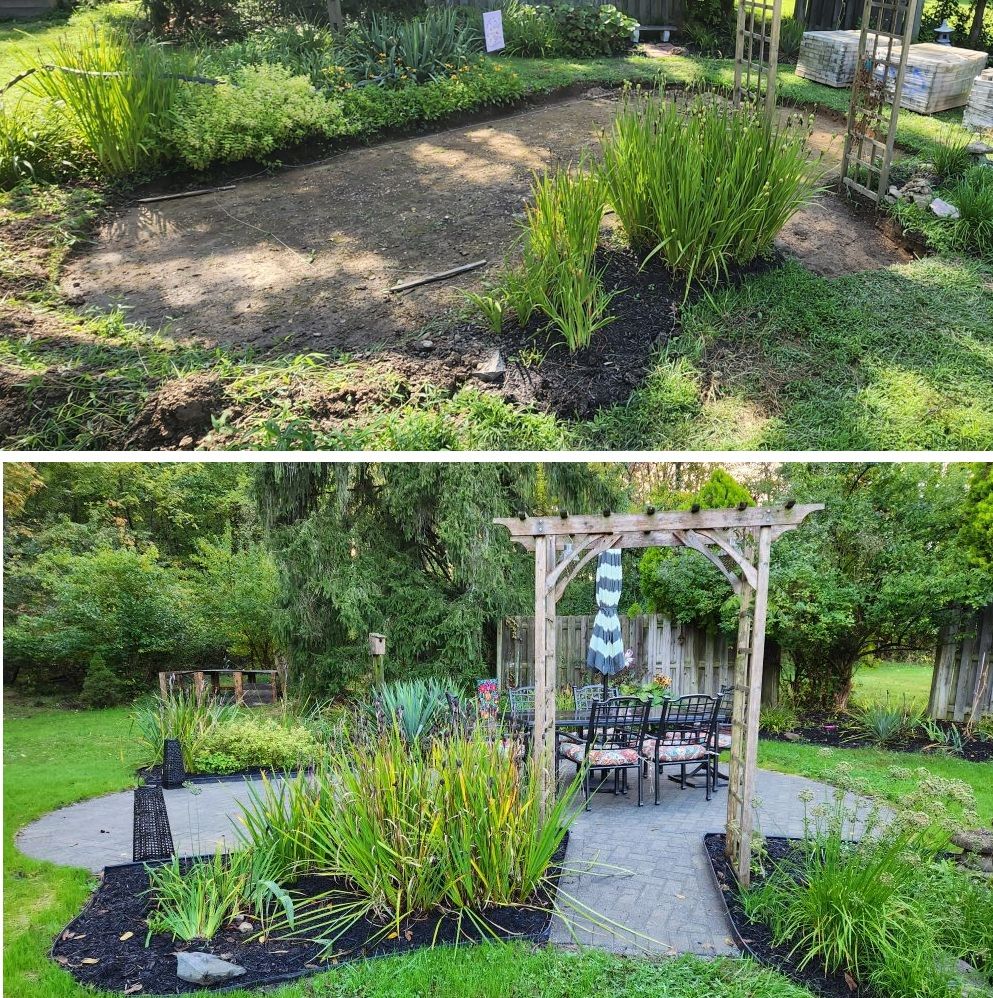
The comparison shows the change from bare excavated soil to a finished outdoor dining area. The same garden beds remain, but the ground between them now supports a table and seating for six.
From YouTube tutorials to a completed herringbone patio, the homeowner took on excavation, base preparation, paver installation, and the curved edge cuts himself.
Would you choose a 45-degree herringbone pattern for your first DIY patio, or keep the layout straight?
All image credits: PositiveJeffBrown on Imgur.