Don’t Toss Your Old Socks: One Pair Can Become Four Pumpkins for Fall


Old socks sit in drawers long after their last wear. Most look too ordinary to become home decor, and their shape doesn’t suggest a pumpkin. Yet the knit fabric can form rounded pumpkins with deep ridges, and one pair contains enough material to make four. The transformation takes a few cuts, some stuffing, and thread.
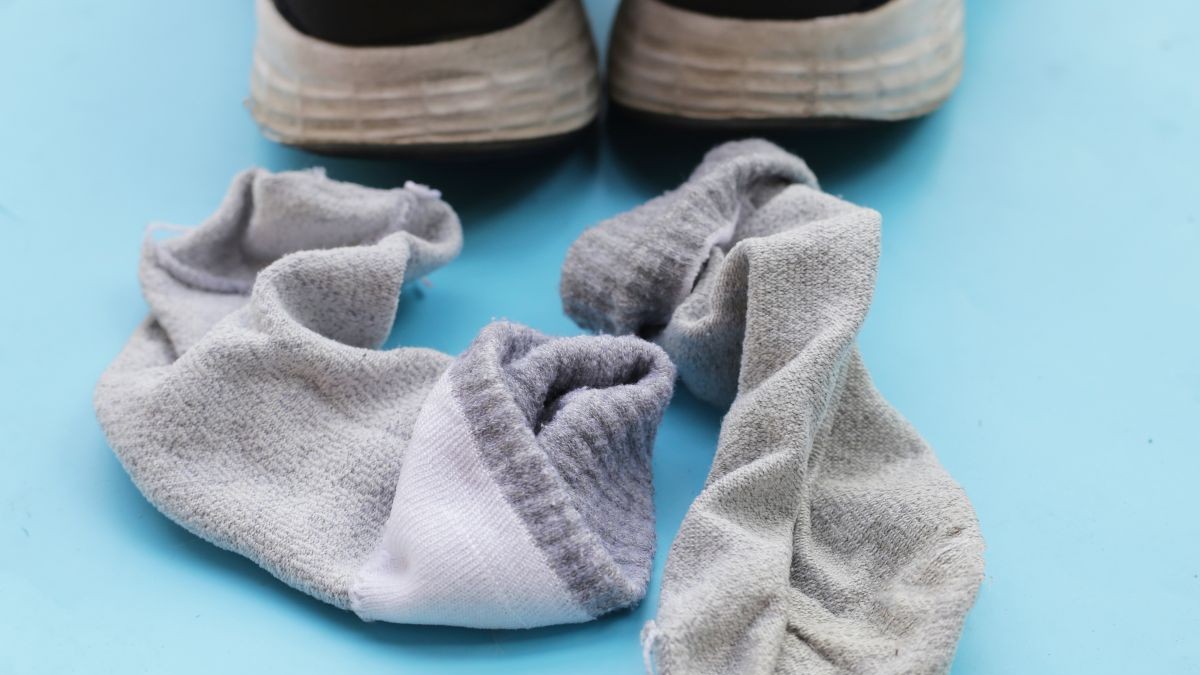
Sarah Delaney of Delaney Designs turned this idea into a fall decorating project using washed socks, leftover stuffing, and short pieces of wood. The finished pumpkins have soft fabric surfaces, raised sections, and rustic stems that look at home among autumn decorations.
What makes the project worth trying is how much of each sock gets used. Both the foot and upper section become separate pumpkins, with no sewing machine required.
She Cut Each Sock Into Two Pumpkin Pieces
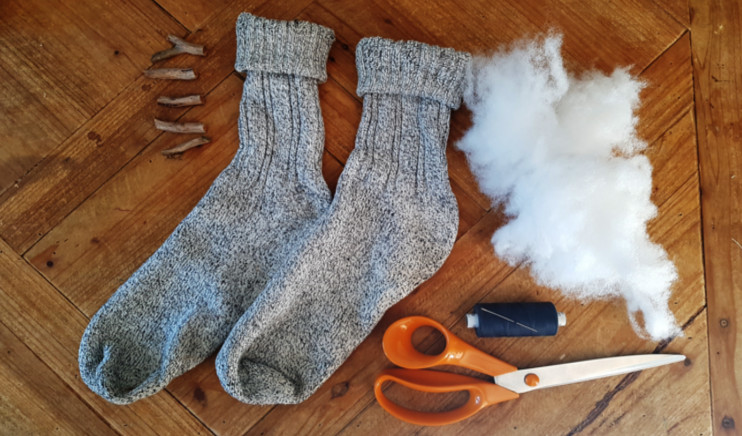
The supplies include a pair of thick gray socks, scissors, needle and thread, polyester stuffing, short twigs, and glue. Stuffing from an old pillow or fabric scraps can replace purchased filling.
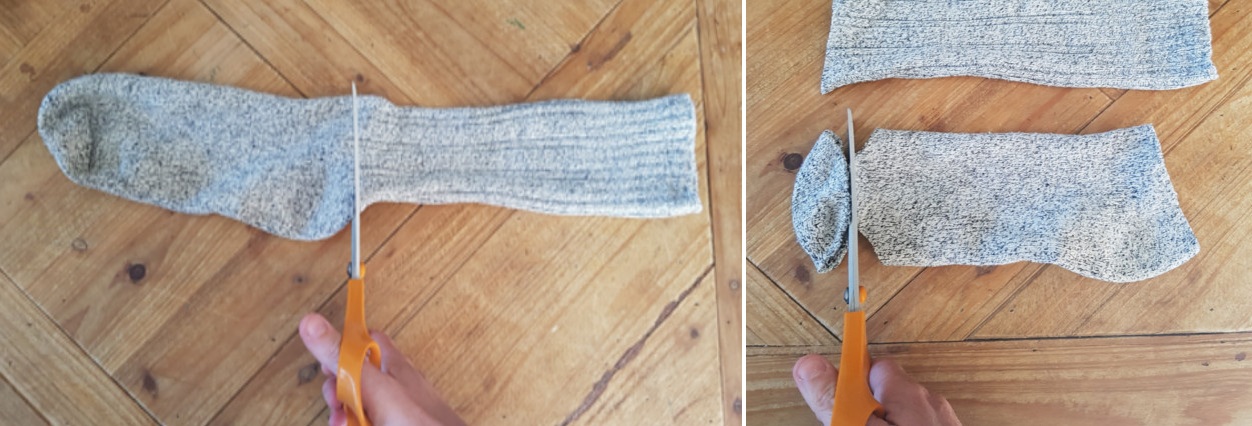
The first cut divides a sock near the ankle, separating the foot from the upper section. A second cut removes the closed toe, leaving two open-ended fabric tubes.
Repeating the process with the second sock produces four sections. Each has enough material to form a small pumpkin, with the ribbed cuffs and knit texture giving the finished pieces different surfaces.
Stuffing and Folding Changed the Shape
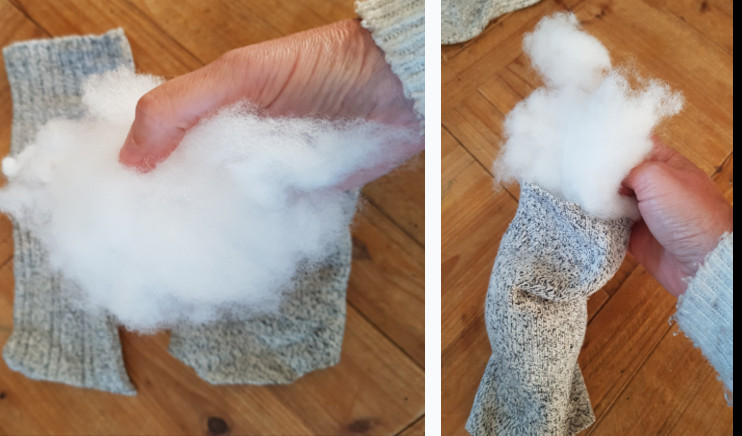
A handful of polyester filling goes into the center of one fabric tube. The stuffing provides volume without making the shape rigid, allowing the material to stretch around it.
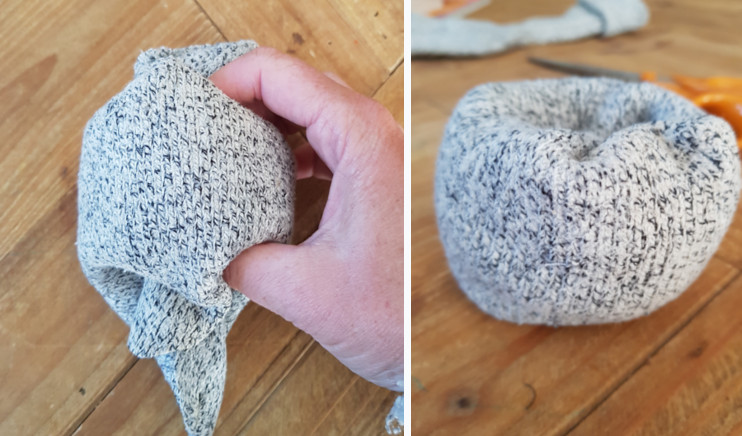
Both open ends fold inward around the filling, forming a thick ring with a hollow center. The raw edges disappear inside the shape as the material wraps around the stuffing.
At this point, the fabric resembles a small doughnut rather than a pumpkin. The round body is in place, but it still needs the deep grooves that divide a pumpkin into sections.
Eight Thread Loops Created the Pumpkin Ridges
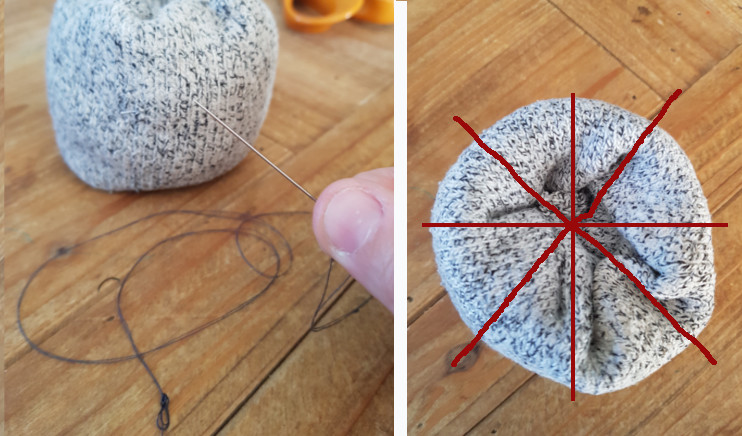
A needle threaded with doubled thread passes from the bottom of the stuffed shape through its center to the top. The thread then wraps around the outside before passing through the center again.
The diagram shows eight sections arranged around the pumpkin. Each pass draws the fabric inward, creating an indentation between the rounded portions.
The tension matters. Pulling the thread shapes the knit into plump segments, while leaving it loose produces a round cushion without defined grooves. Once the eight sections are formed, the thread is secured to hold the shape.
Short Twigs Finished the Fabric Pumpkins
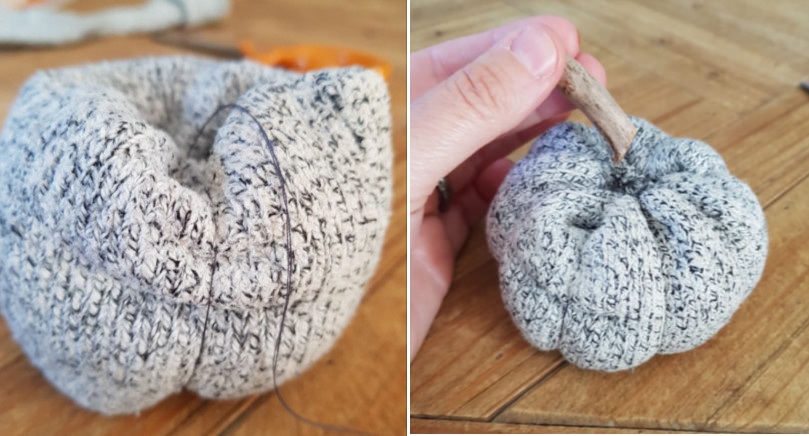
The gathered center provides a place for a stem. A short twig, cut to around one or two inches, fits into the opening at the top and is secured with glue.
The rough wood contrasts with the knitted fabric and gives each pumpkin a different look. Stem thickness and the way the thread pulls the sections inward also influence the finished shape.
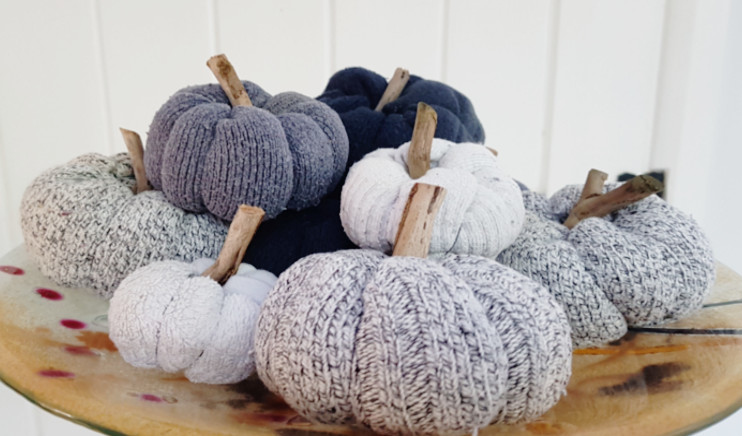
Sarah arranged the finished pumpkins in a group, mixing gray, white, lavender, and navy knits. The fabric pumpkins can decorate a mantel or fall table, then go into storage for next year.