She Painted This Worn Dresser Blue-Gray but the Walnut Stain Turned It a Color She Didn’t Expect


Peeling veneer, a scarred top, and a split drawer left this antique dresser needing more than a fresh coat of finish. Its curved drawer fronts and tall legs remained intact, giving the damaged piece a shape worth saving.
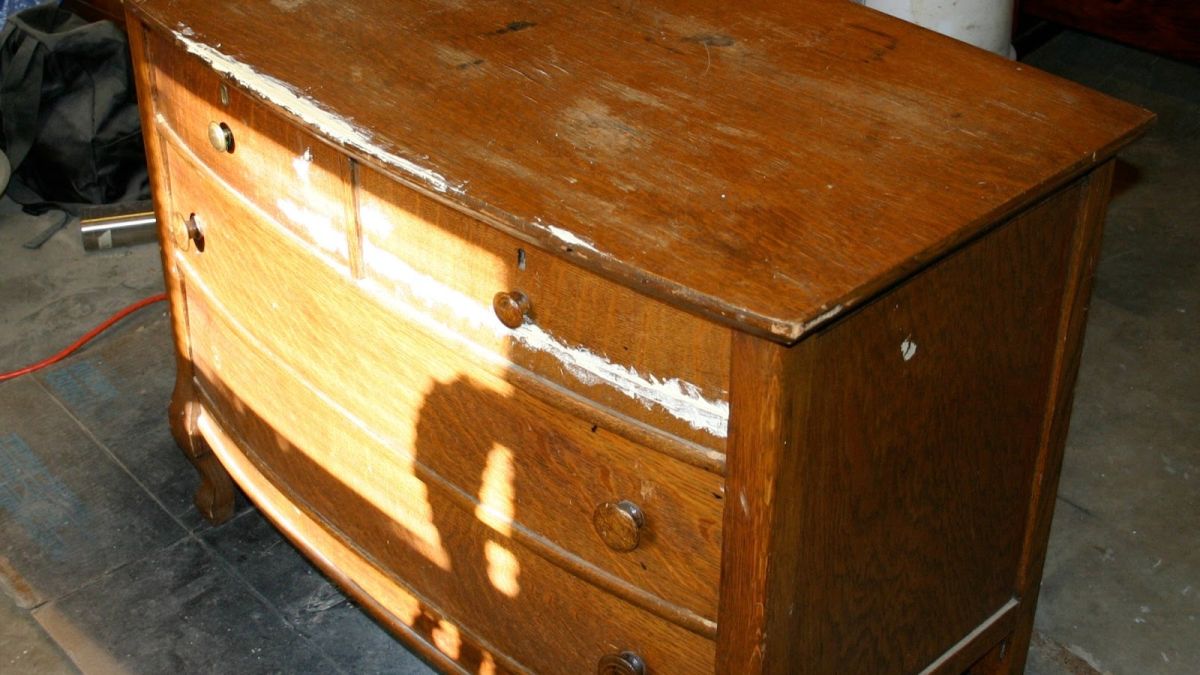
Becky at Doodle Bug repaired the gaps with glue and wood filler, then sanded the top and drawers before mixing a blue-gray base. Her plan paired that color with dark walnut stain, a combination she had seen on furniture in stores.
Once the stain touched the painted surface, the blue-gray took on a green cast she had not expected. Sanded edges absorbed the brown stain, giving the dresser a worn finish with exposed wood tracing its curves.
Peeling veneer pushed the project toward paint
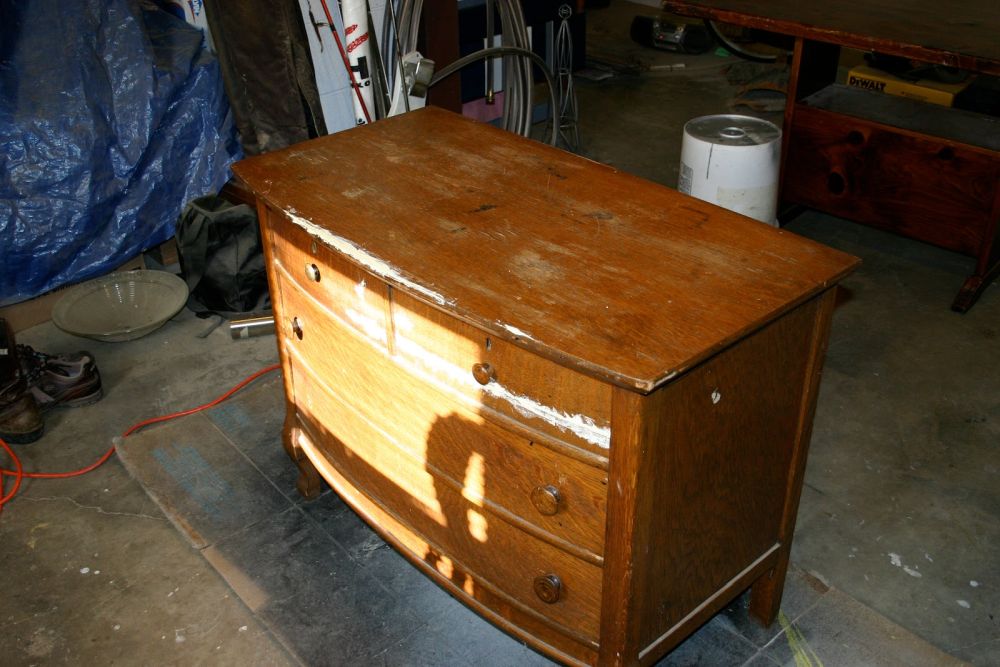
Warm wood grain covered the dresser before the makeover, but sections of veneer had lifted and rippled. The maker suspected water damage, while a split drawer needed glue and filler before work could move forward.
Two small drawers sat above two wider ones, with bowed fronts extending across the cabinet. Those curves survived the damage and became a central feature of the painted piece.
Damage spread across the top and front edge
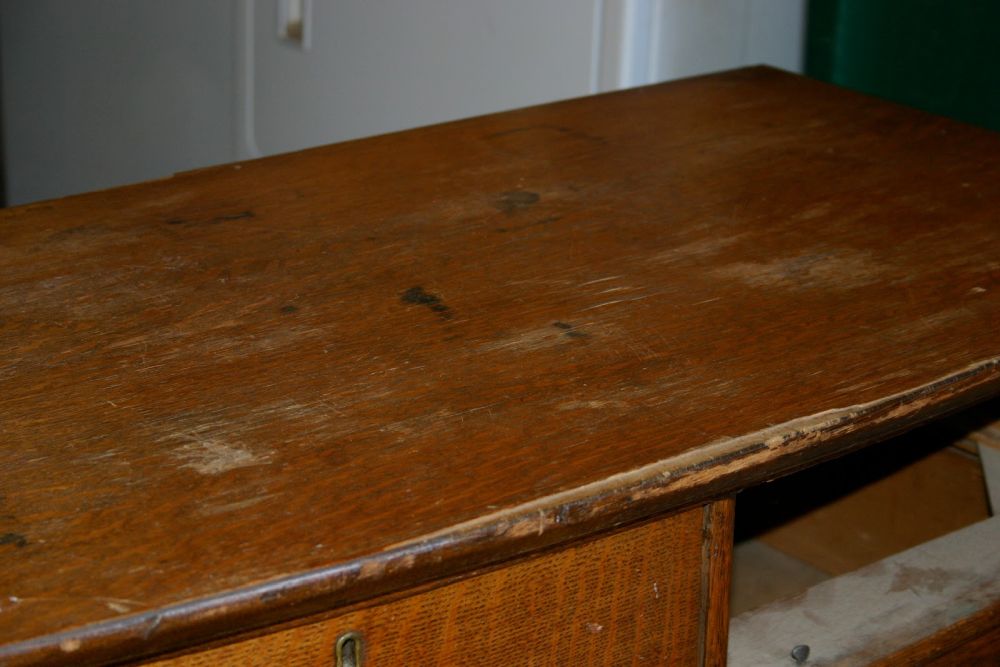
Scratches, pale patches, and missing finish marked the broad top, while chipped veneer exposed a rough band along the front lip. Restoring a clear wood finish would have left those repairs on display.
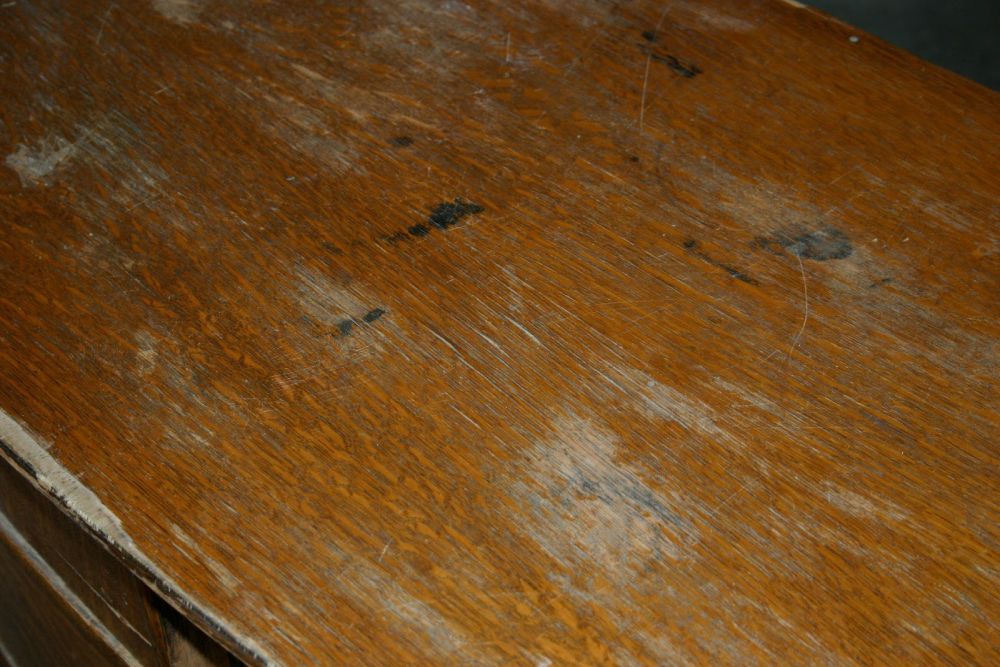
Glue secured loose areas, and wood filler closed the gaps before sanding leveled the surfaces for the base coat.
Blue craft paint helped create the base color
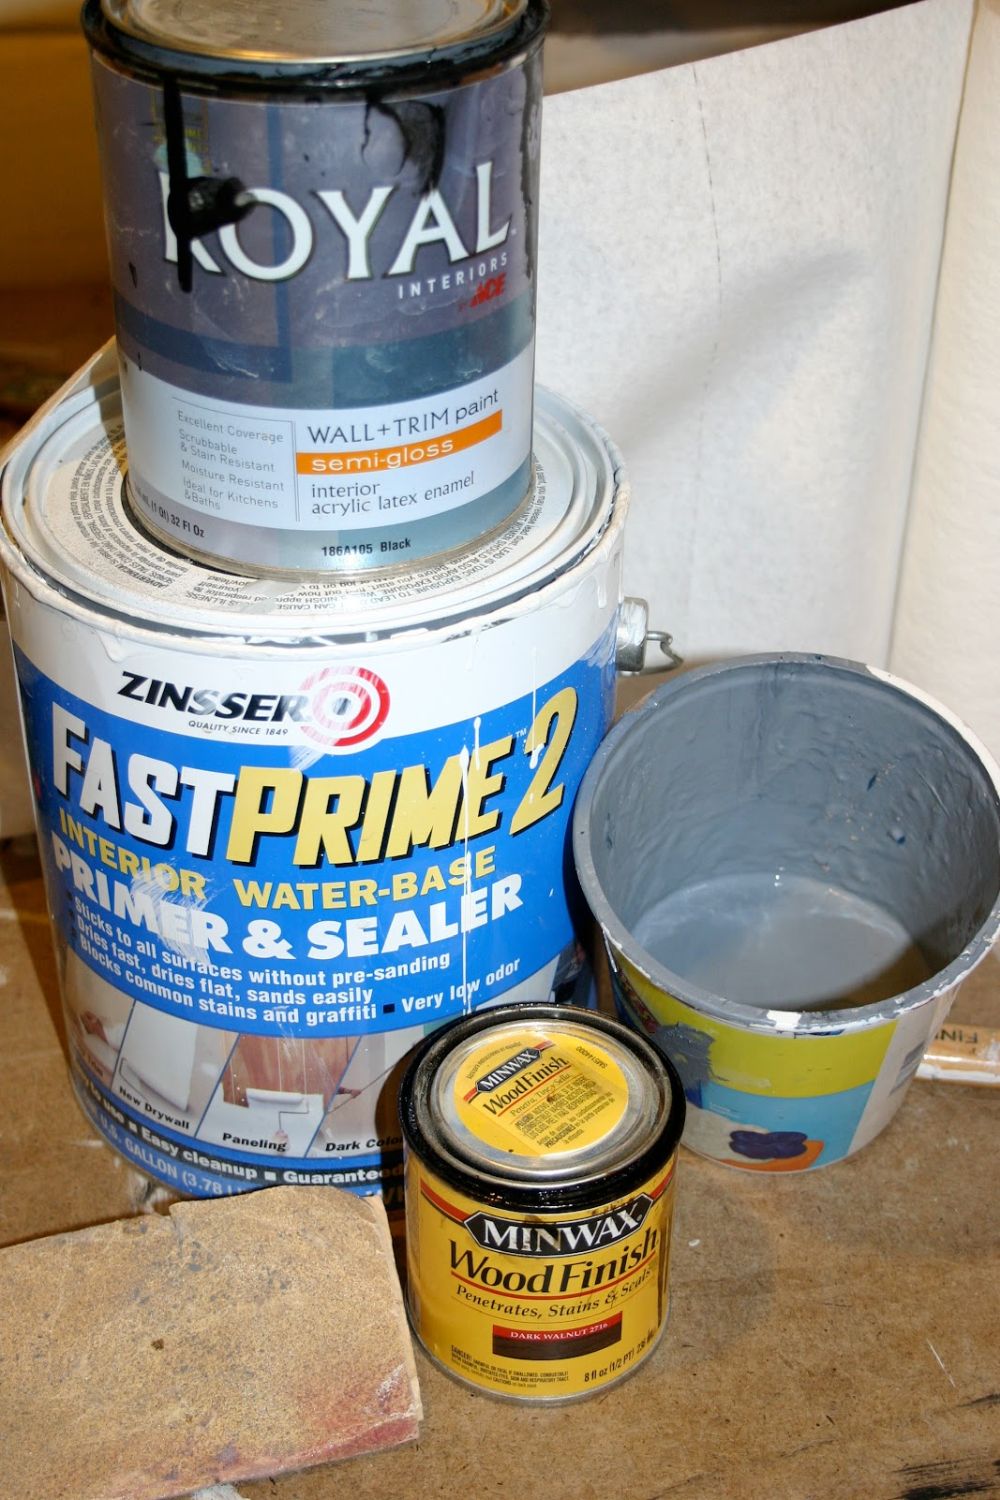
White Zinsser FastPrime2 primer became the starting point for the blue-gray mix. Black paint darkened it, and blue craft paint shifted the shade toward the color the maker wanted.
Rather than apply a separate primer and colored topcoat, she used the tinted primer as her base. Minwax Dark Walnut oil-based stain would go over it, followed by a water-based clear finish.
Walnut stain changed the blue-gray base
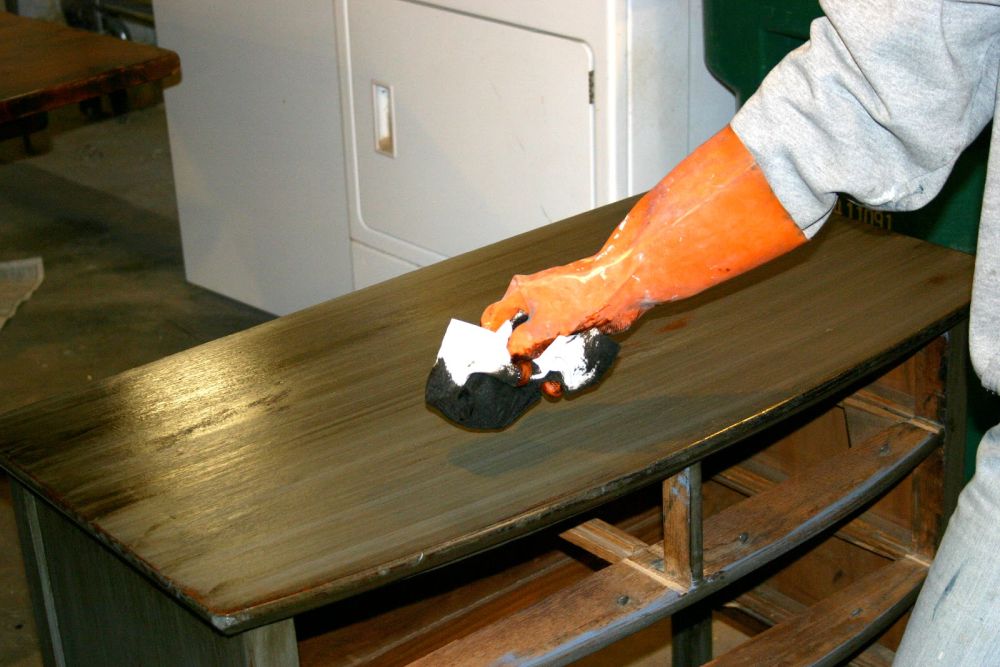
With the drawers removed, she wiped dark walnut stain along the painted top. Brown streaks spread across the blue-gray base, shifting it toward the greenish shade she described in her account.
Inside the empty drawer openings, the wood remained unpainted. That contrast shows how the treatment changed the exterior without covering the cabinet’s interior.
Sanded patches brought wood through the color
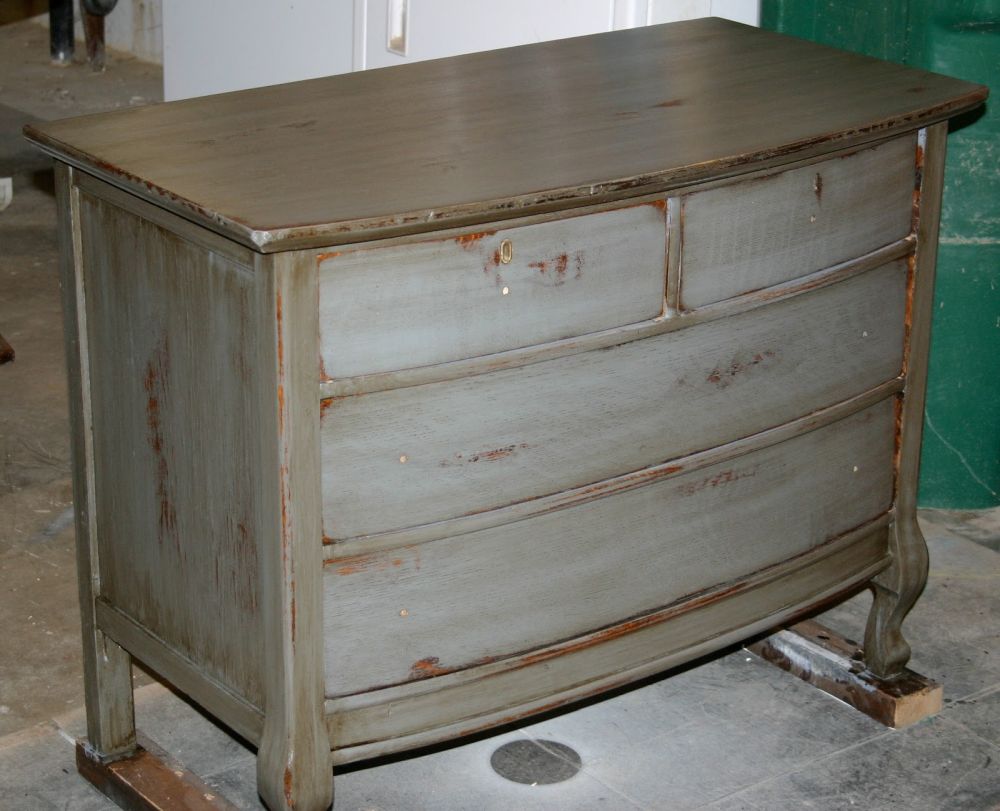
Distressing extended beyond the corners, with exposed patches crossing the drawer faces and running down the side panel. Darkened wood traced the top rim, while narrow orange-brown marks broke through the muted coating.
Without hardware, the four-drawer arrangement is clear: two small drawers above two full-width drawers. Curved fronts and a bowed lower rail carry the same shape across the cabinet.
After wiping away excess stain, she left the finish to dry for 24 hours before applying a water-based clear coat.
Six brass-colored knobs replaced the old hardware
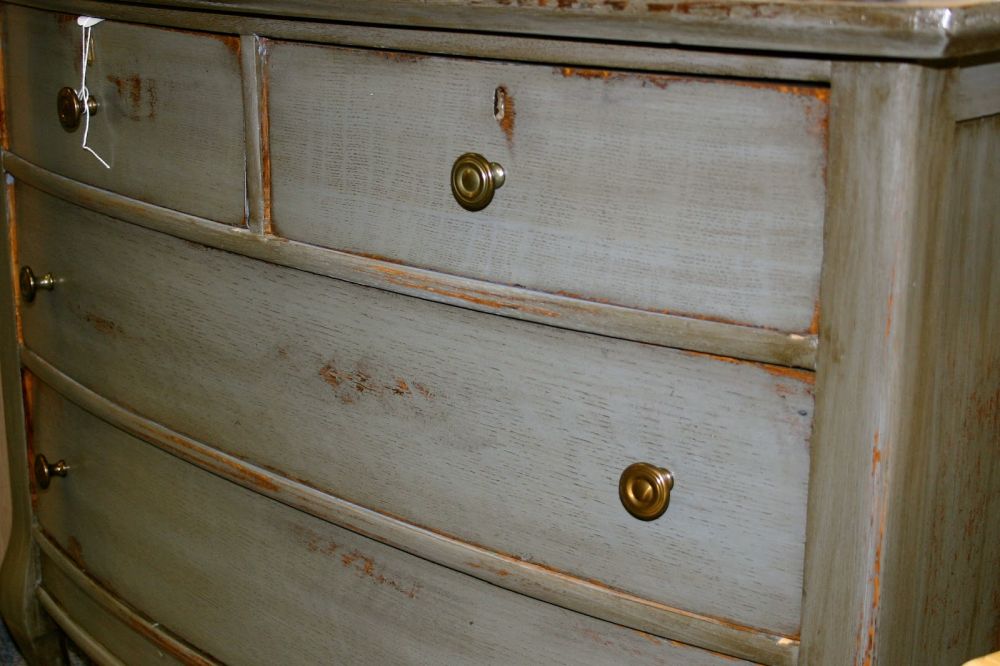
Each small upper drawer received one round knob, while the two wide drawers received a pair apiece. At $1.77 each, the six replacements cost $10.62.
Original keyholes remain above the upper knobs, with worn wood visible around their openings. Concentric rings on the new hardware add detail against drawer fronts where sanding exposes fine grain and scattered brown patches.
Curved front legs retained their carved shape
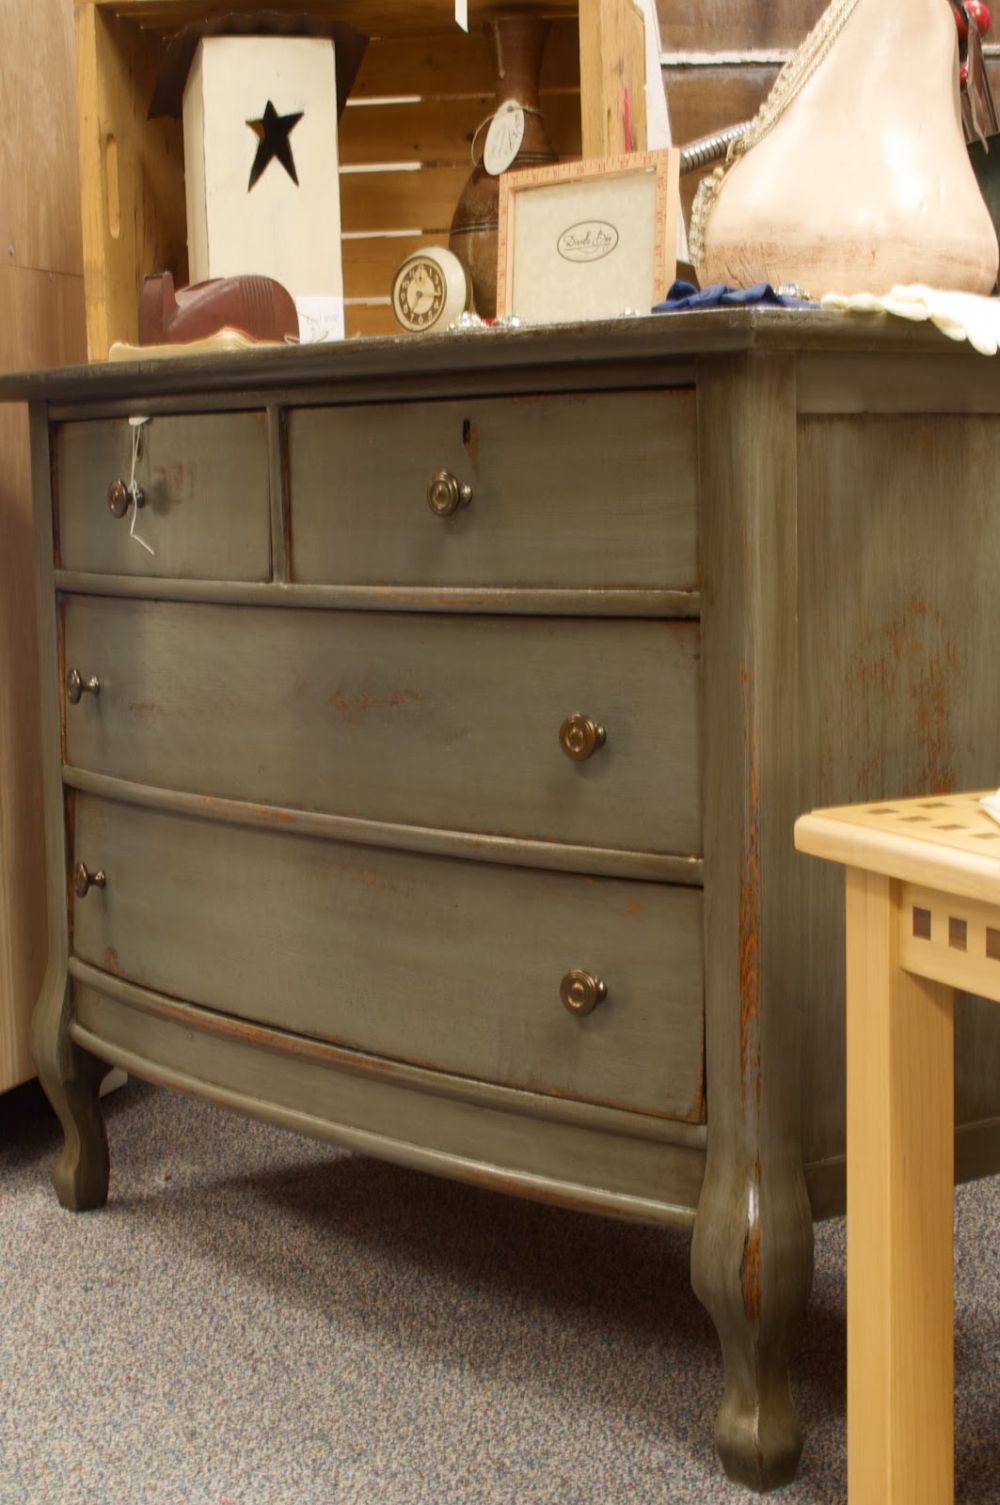
Long front posts widen near the base before narrowing into curved feet. Sanding exposes a strip of wood down the right post, following its contour from beneath the top toward the floor.
Along the bottom, a curved apron frames the open space beneath the drawers. Those raised legs keep the broad cabinet from sitting flush against the floor.
Repaired top retained traces of the wood beneath
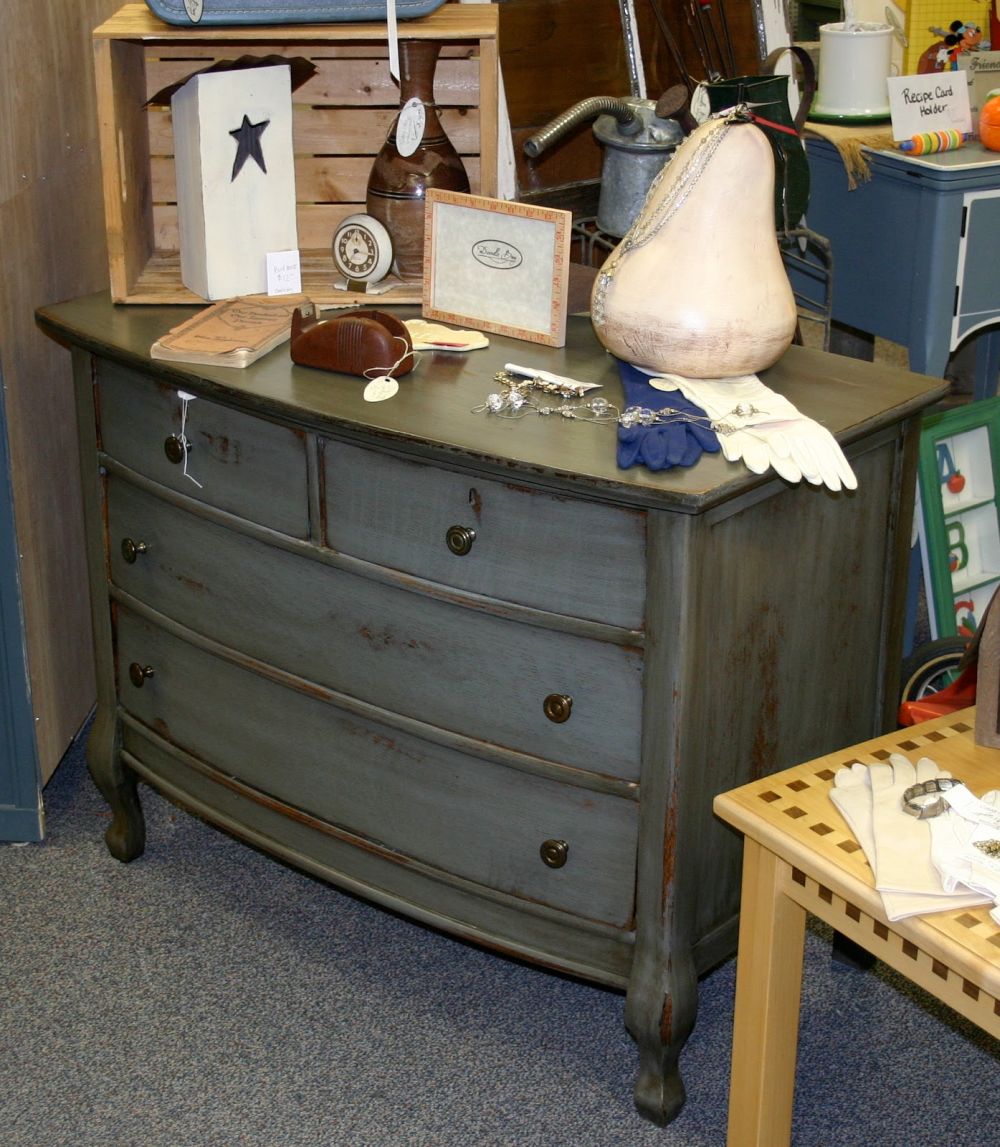
Store photographs show a muted olive-brown cast across the top, while the drawer fronts retain more gray. Fine streaks and exposed edges keep the finish varied across the broad surface.
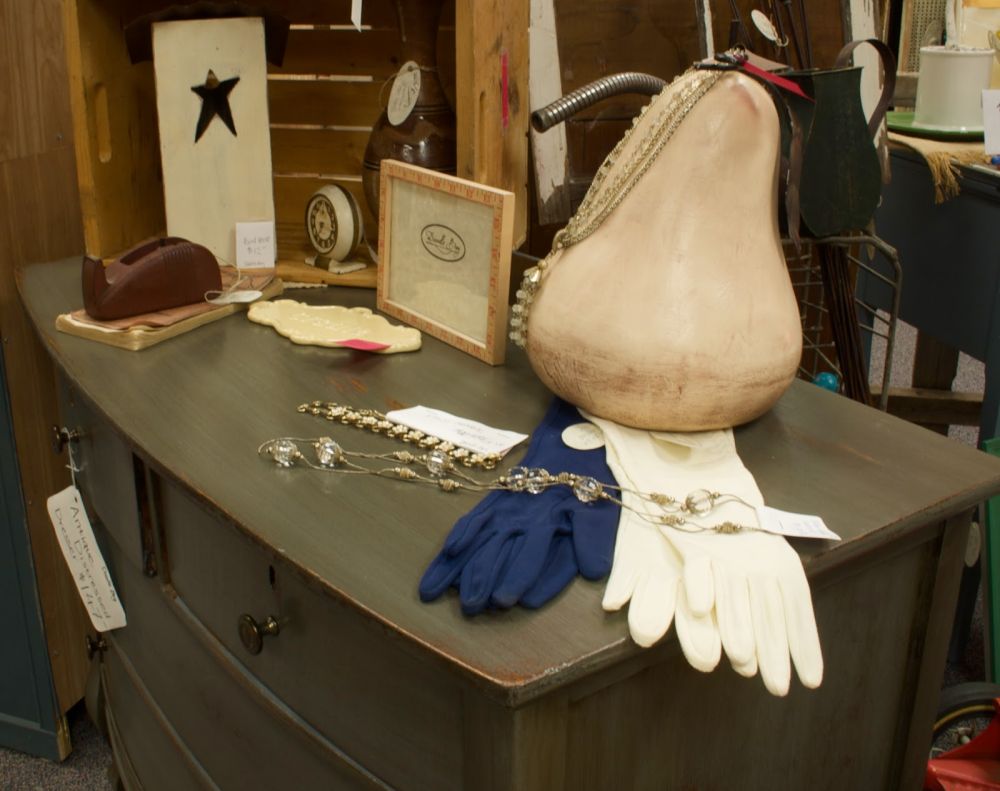
Jewelry, gloves, framed items, and a ceramic pear fill the display. Around them, the rounded front corners and thin projecting rim remain visible, including the darkened edge that once had peeling veneer.
Before and after show a new finish on the same cabinet
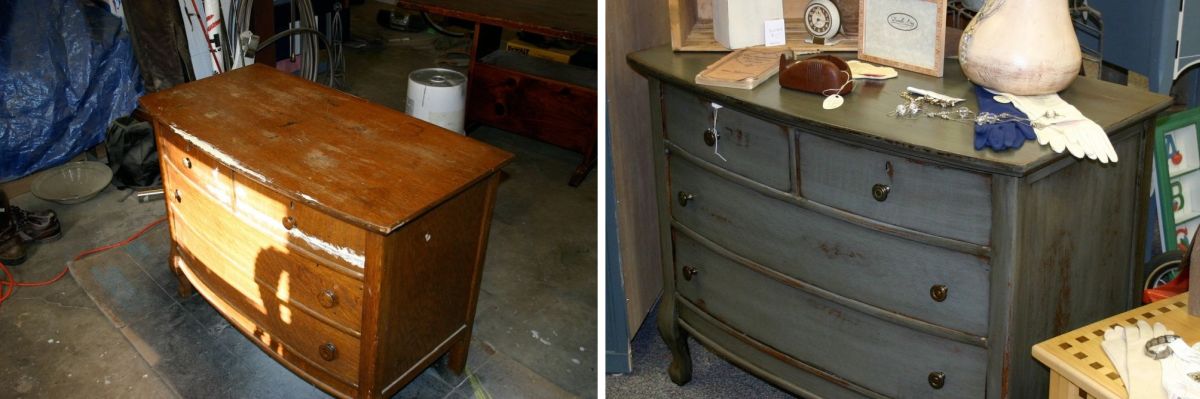
White filler marks and damaged amber veneer dominate the before photograph. In the finished view, those repaired areas sit beneath a layered finish, with exposed wood becoming part of the design.
Four drawers, curved feet, and the overhanging top remain, but the walnut stain takes the color beyond the blue-gray base she mixed.
Would you keep the blue-gray finish, or add walnut stain for the green-toned result?
Images and project source: Doodle Bug.