Why do painters wrap tape around a new roller before painting?


You spent the whole weekend on one wall. The color is right, the edges are clean, and then the sun hits it sideways on Monday morning. Tiny bumps and stray fibers are trapped under the paint everywhere you rolled, and you can’t stop seeing them.
Your technique wasn’t the problem, and neither was the paint. The roller was. A brand-new roller cover sheds before it ever touches the wall, and a strip of painter’s tape wrapped around it before the first dip catches most of that fuzz.
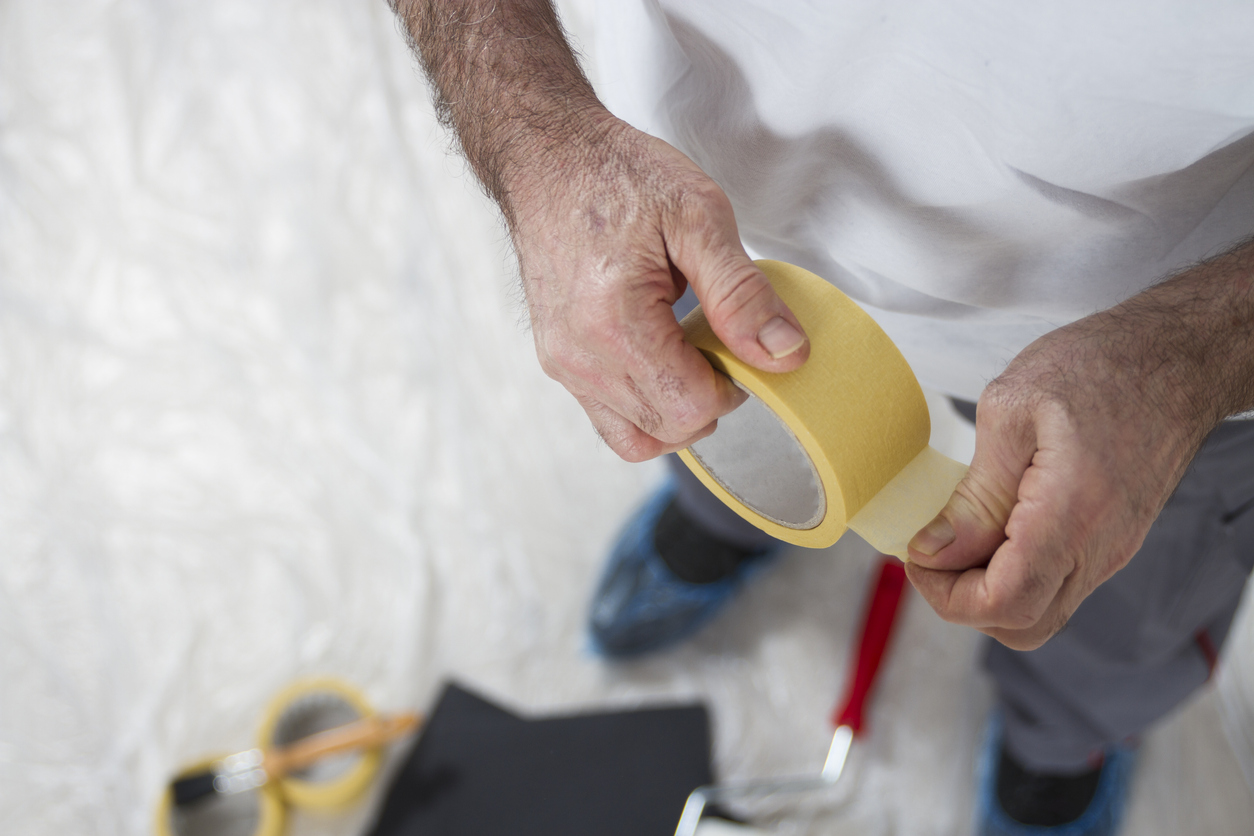
Where those specks on a fresh wall come from
New roller covers leave the factory with loose fibers clinging to the nap. Load the roller with paint and those fibers come right off onto the wall. Once the paint dries, they show up as specks and small bumps that catch the light.
Picking them out of wet paint seems like the obvious fix, but it usually makes things worse. Each fiber you pull can leave a small crater, and that means sanding the spot and rolling on another coat. It’s much easier to take the fibers off the roller before they ever reach the wall.
How to tape a roller cover before the first coat
It works on a cover straight out of its wrapper:
- Pick a gentle tape. Blue or green painter’s tape grabs loose fibers without pulling the nap apart. Very aggressive tapes can leave adhesive residue behind.
- Start at one end. Anchor the tape near the base of the roller cover.
- Wind it in a tight spiral. Overlap each turn slightly until you reach the other end.
- Press it down. Run your hand over the whole surface so the adhesive touches every part of the nap.
- Peel it off in one smooth motion. The loose fibers come away stuck to the tape.
One pass is usually enough. Microfiber covers and thicker covers made for textured walls can hold more fuzz, so give those a second round with a fresh strip of tape.
If wrapping feels fiddly, there’s a faster version. Pull out a couple of feet of wide tape, hold it sticky side out, and roll the roller up and down it a few times. The same move pulls loose bristles off a cheap paintbrush.
Tape is a quiet workhorse in paint projects. With a few rounds of layered strips, two 1950s nightstands took on a gingham pattern in cream, warm brown and gray.
When tape can’t save the finish
The trick only works on a dry, new roller cover. Once the nap is wet with paint, or the cover has already been used, tape won’t lift the fibers cleanly.
It won’t fix the wall itself either, so clean and prep the surface before you open the can.
If fuzz already dried into the wall and you plan to sand it out, check the age of your home first. According to the EPA, a house built before 1978 is more likely to have lead-based paint, and work that disturbs painted surfaces may create lead dust. If you must sand a small spot, the agency advises wetting it first, sanding as little as possible and cleaning up thoroughly. For larger areas in an older home, call a lead-safe certified pro.
A strip of tape and a roller that leaves nothing behind but paint. That’s the trick.