They Turned a Bare Slope Beneath Their Front Porch Into a Two-Tier Garden With Retaining Wall Blocks


For four years, the front porch of this house overlooked a patch of uneven grass and exposed soil. The space beneath the porch followed the slope of the yard, leaving little room for flower beds or shrubs. Potted plants decorated the steps, but most of the ground beside the walkway remained empty.
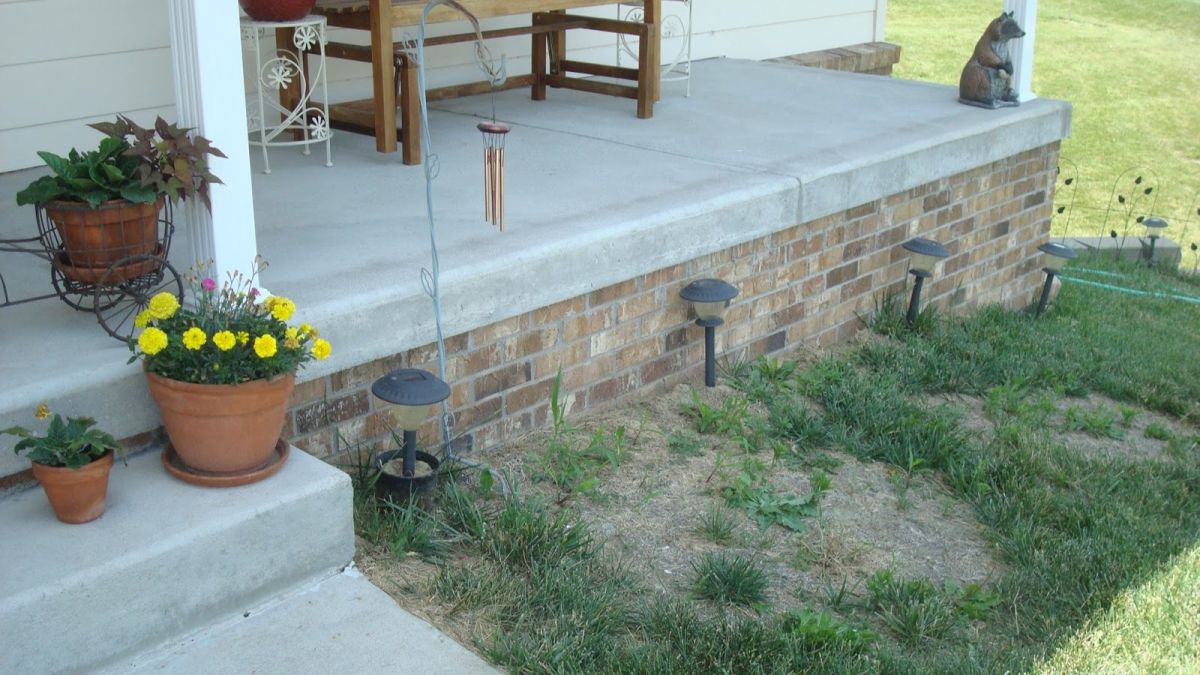
The homeowners wanted to replace that bare strip with a garden that followed the shape of the porch without extending across the lawn. Two curved retaining walls became the solution, creating raised planting beds at different heights. The finished project includes flowering shrubs, river rocks, and stone borders that connect the porch to the surrounding yard.
Jenny Nowatzke, who shared the project on her blog Dishing Up Design, worked with her father to complete the transformation at her parents’ home. The project took one month and involved moving sprinkler heads, digging trenches, stacking retaining wall blocks, and planting shrubs and flowers.
The Front Porch Had a Bare Slope Beneath It
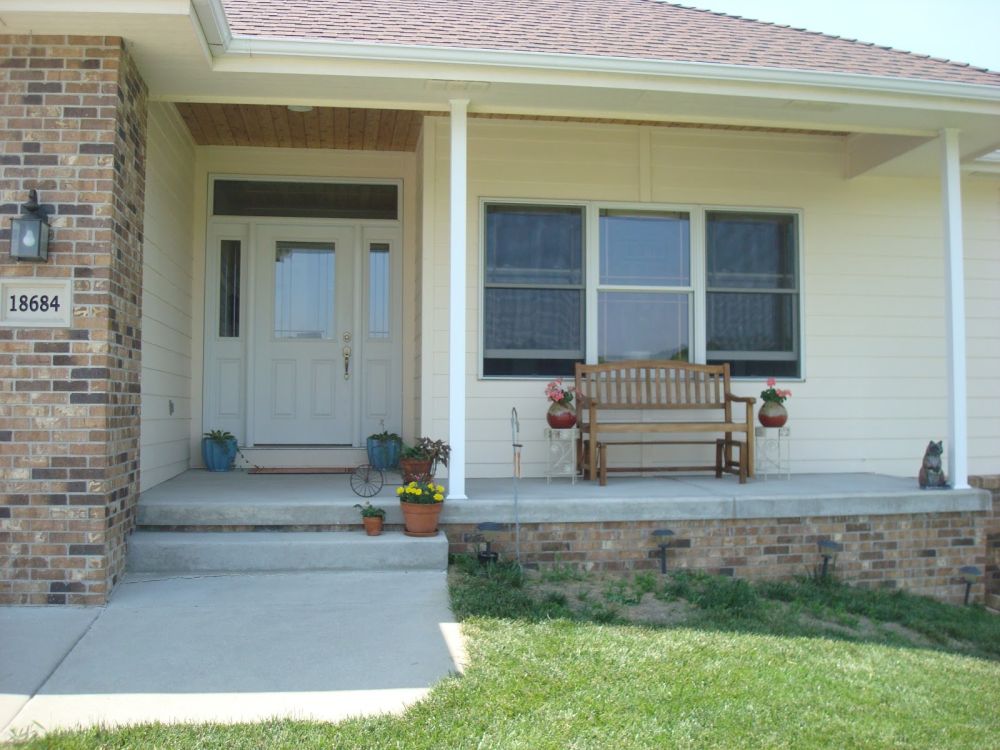
The house had white siding, a brick porch foundation, and a concrete walkway leading to the front entrance. A wooden bench sat beneath the windows, while small potted flowers occupied the steps and porch.
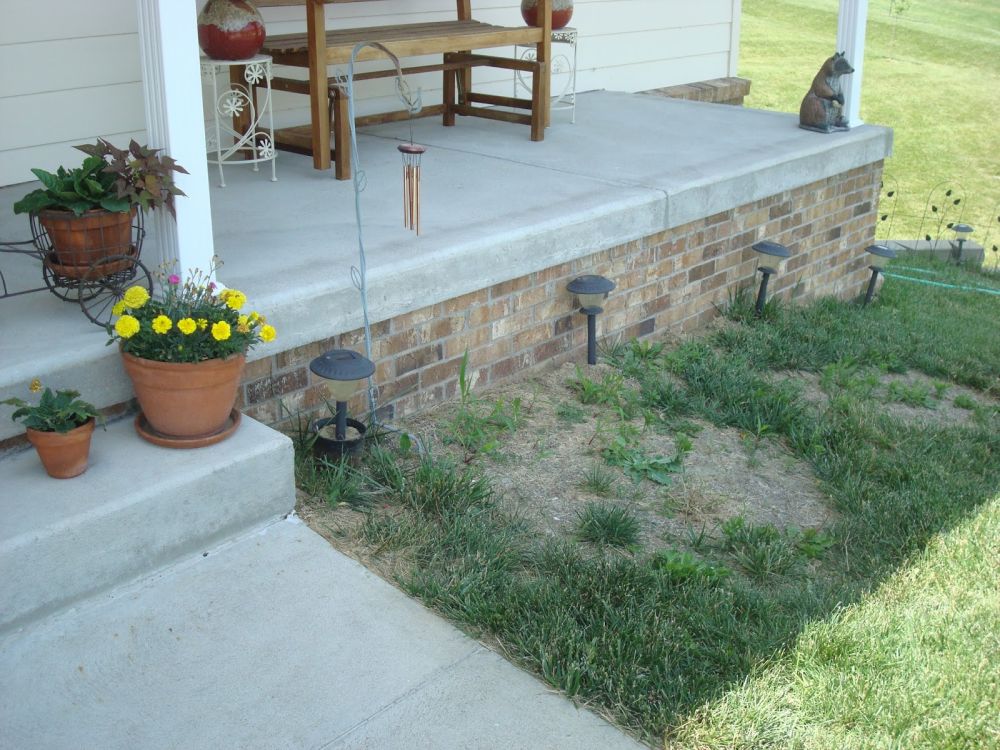
The ground beside the walkway contained patches of grass, weeds, and exposed soil. The slope continued toward the right side of the house, where the planting area would need to follow the changing ground level.
They Dug Trenches for Two Curved Retaining Walls
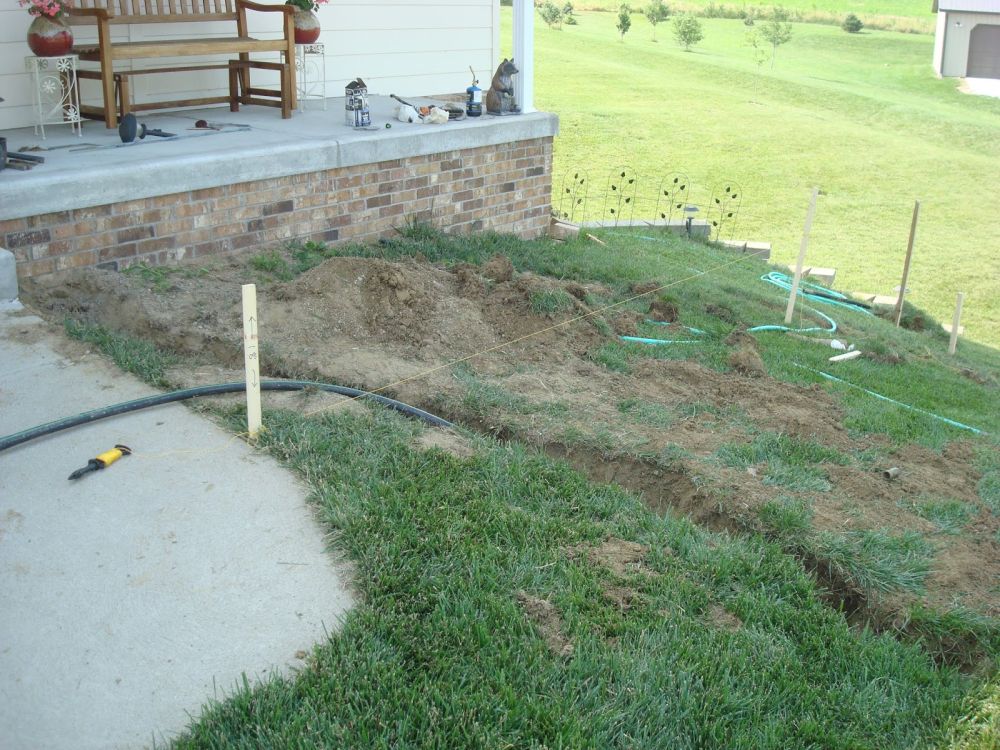
Jenny and her father started by relocating sprinkler heads away from the house. They then marked the dimensions of the two garden levels with wooden stakes and string, outlining the curved walls before removing soil along their paths.
The trenches extended below the position of the first block course, leaving space for a compacted paver base.
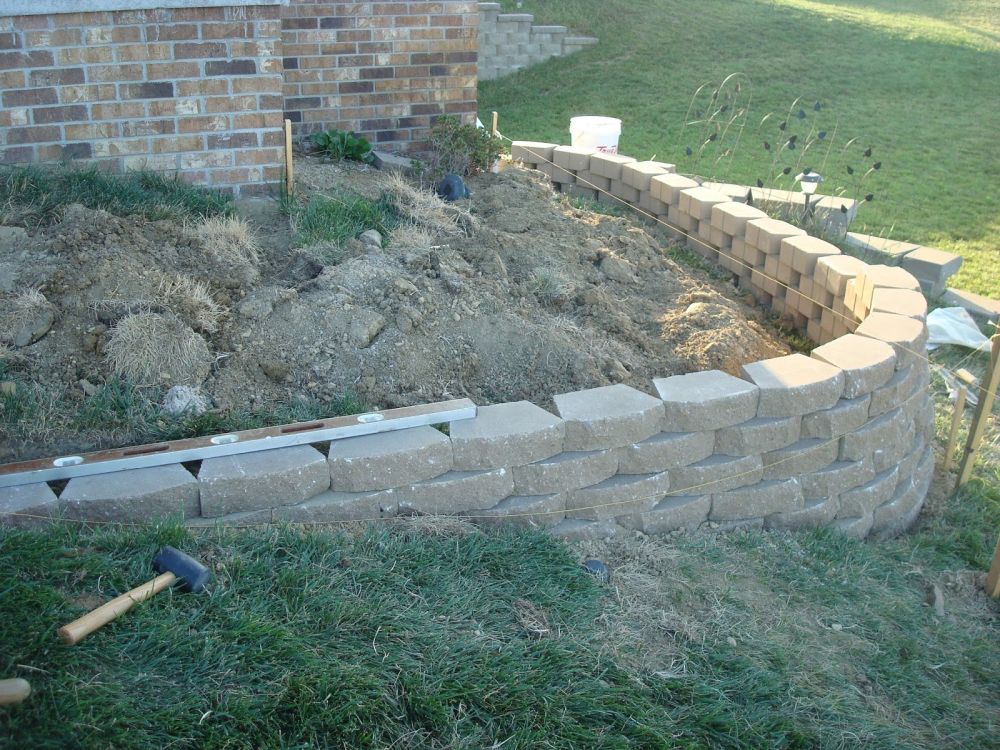
The first retaining wall took shape along the front of the porch, with concrete landscape blocks stacked in staggered rows. The wall curved around the corner to follow the slope, while a second section would extend toward the lower part of the yard.
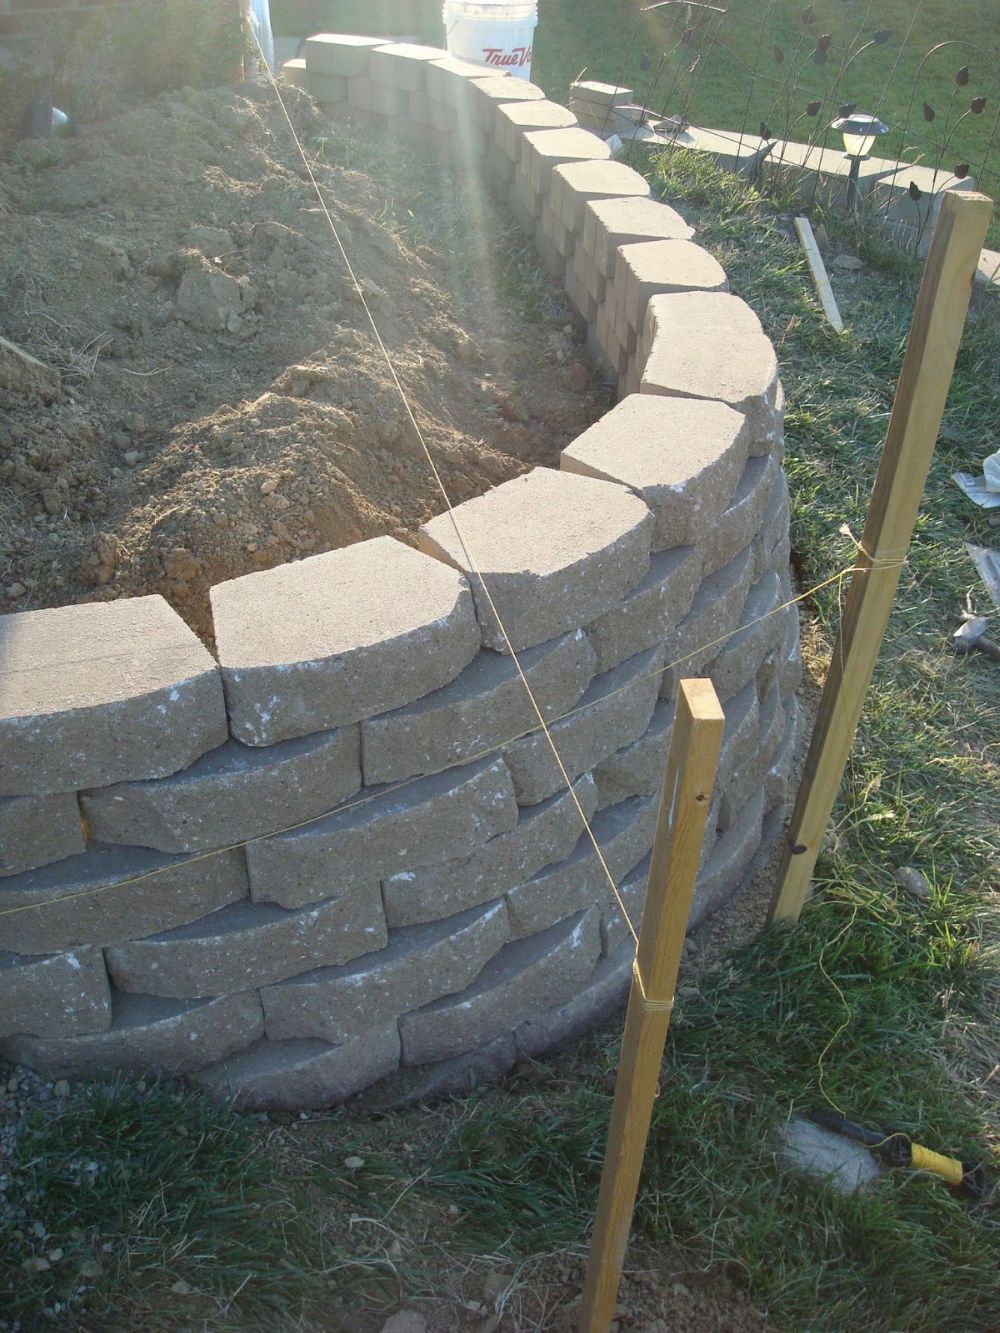
String guides helped establish the wall’s position as each row was added. Jenny and her father checked the blocks with a level and adjusted the base during construction, keeping the curved sections aligned.
Drainage Gravel and Soil Filled the Space Behind the Blocks
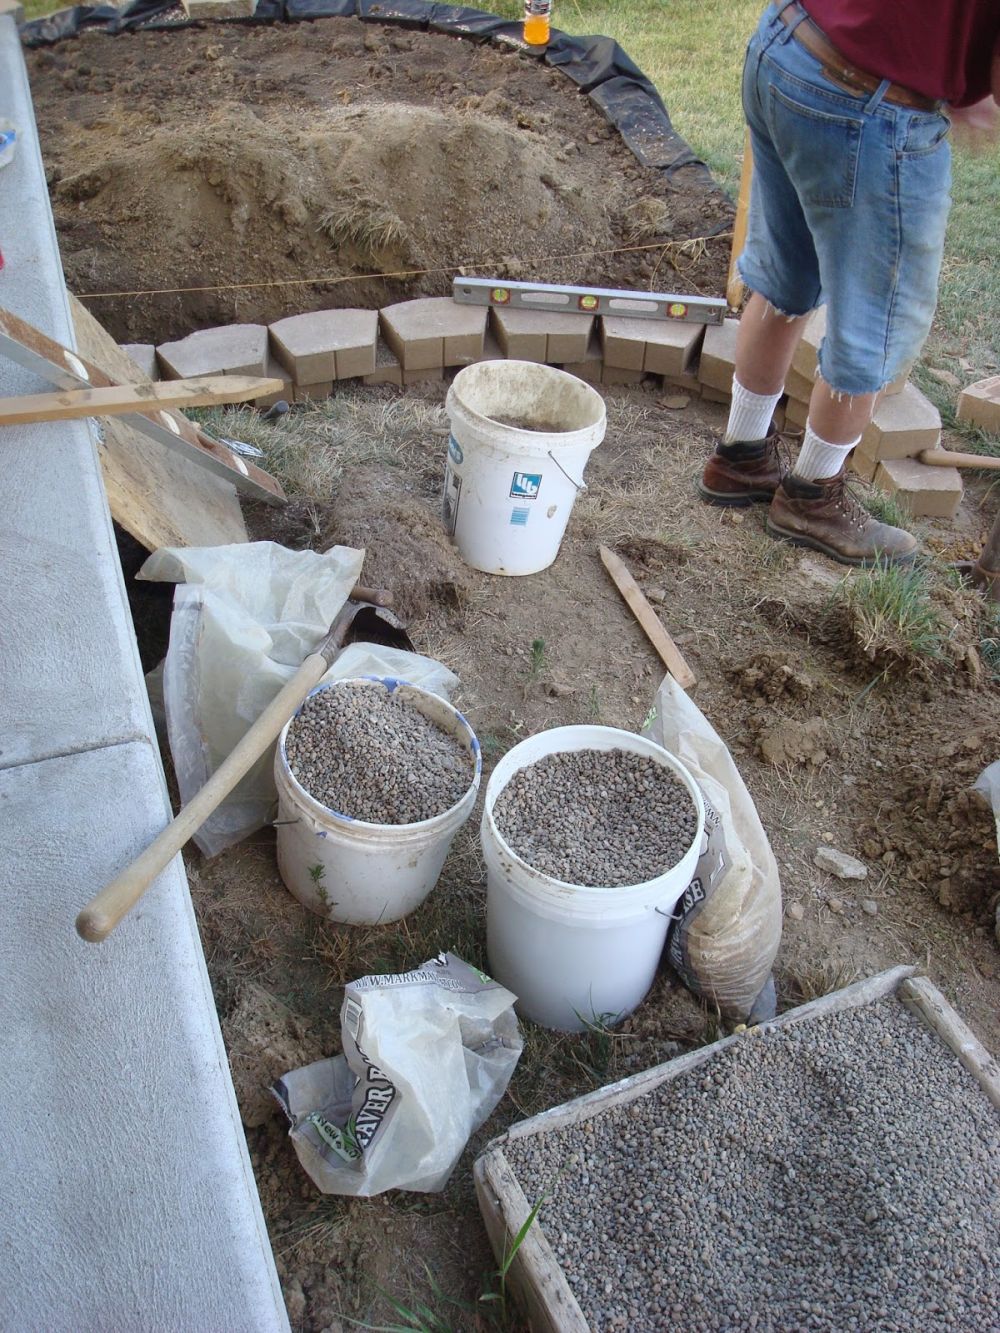
The family used retaining wall blocks with rear lips designed to help position the courses. Jenny described removing those lips from the bottom row before setting the remaining blocks above them.
Landscape fabric and pea gravel were placed behind the wall for drainage, followed by soil to fill the raised planting area. The photographs document the homeowner’s method, though retaining wall construction also depends on site drainage, wall height, soil conditions, and manufacturer requirements.
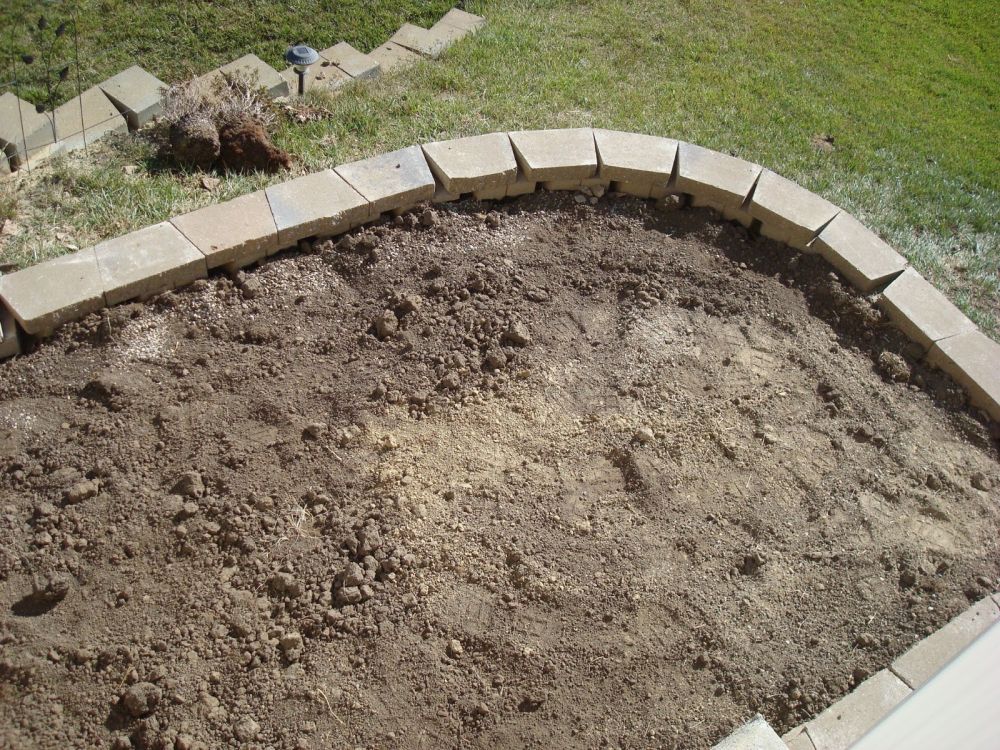
Once the wall was assembled, the enclosed area formed a raised bed beside the porch. Its curved edge followed the lawn instead of creating a straight border across the slope.
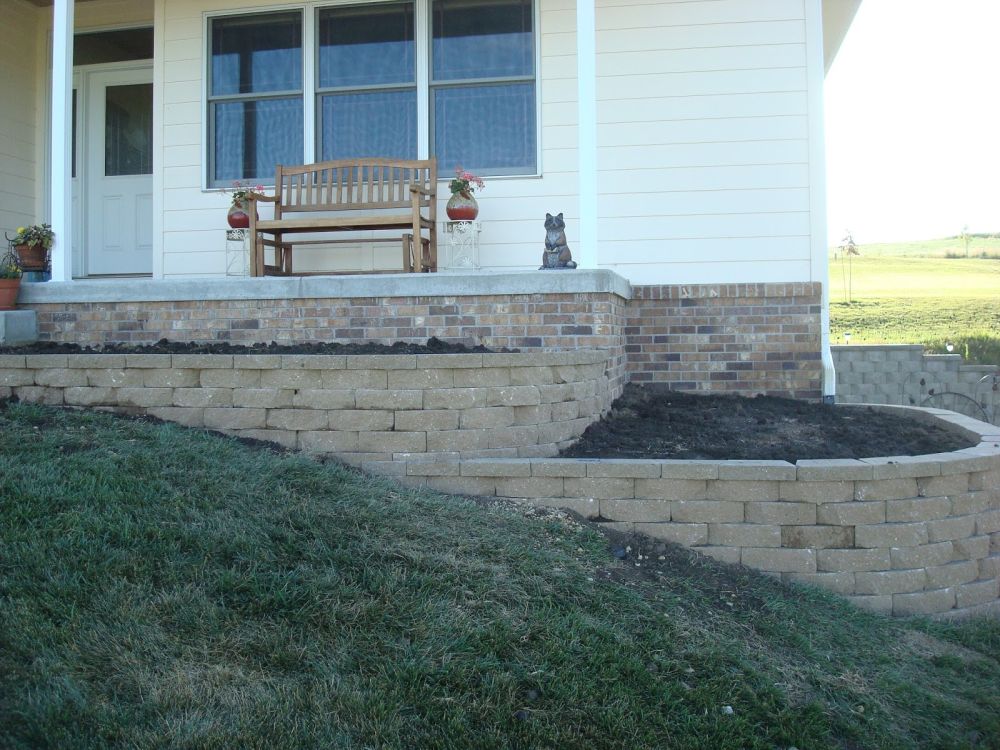
The family added compost to the soil before planting. The finished bed had enough space for shrubs near the house and smaller flowers along the outer stone border.
Ten Shrubs Became the Foundation of the Garden
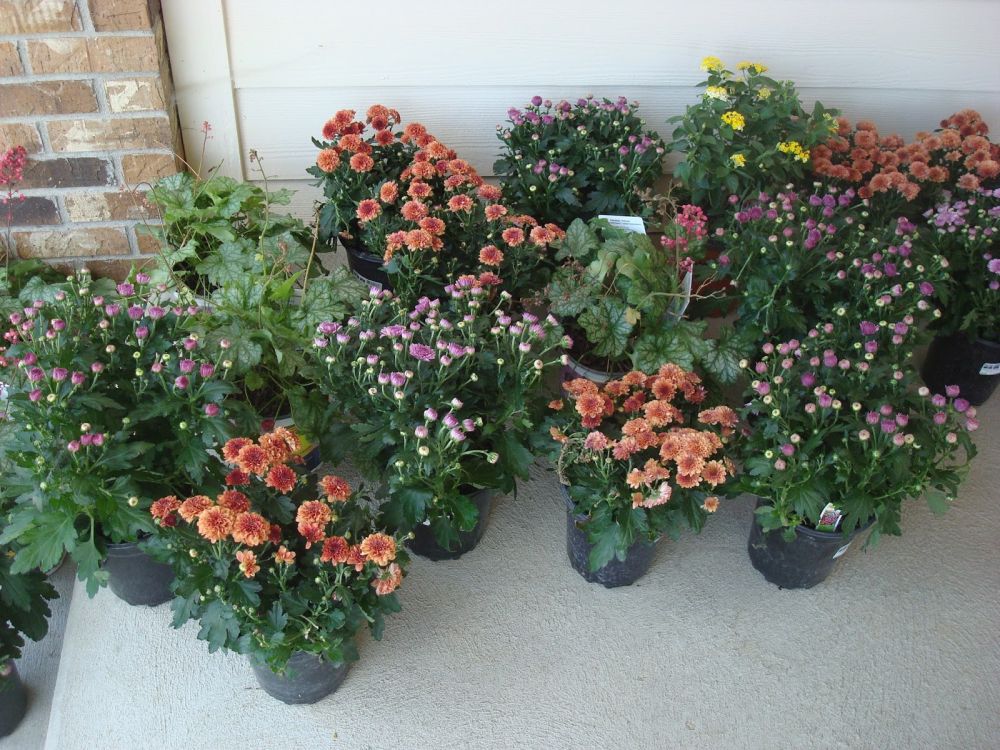
With the walls in place, the next stage focused on plants. Jenny and her father selected ten shrubs for the new beds: six spirea bushes, one Rose of Sharon, and three hydrangeas.
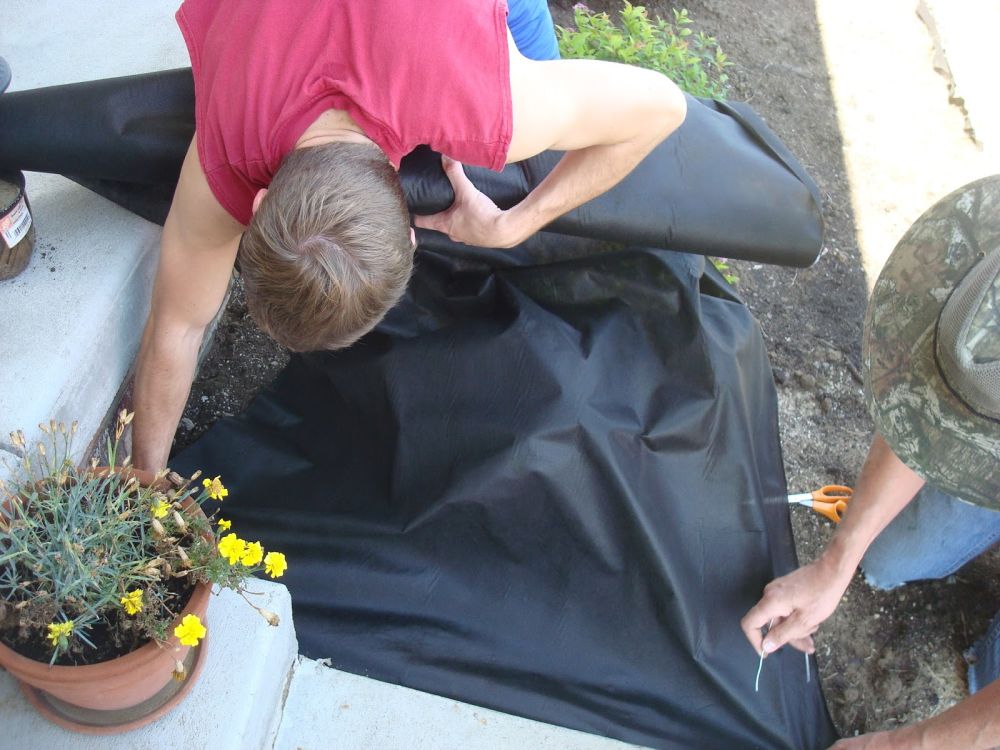
The smaller flowers included coral bells, hardy mums, and creeping raspberry. Pink, coral, and orange blooms provided color along the front of the beds, while the shrubs occupied positions farther back.
Landscape Fabric Covered the Beds Before the River Rocks
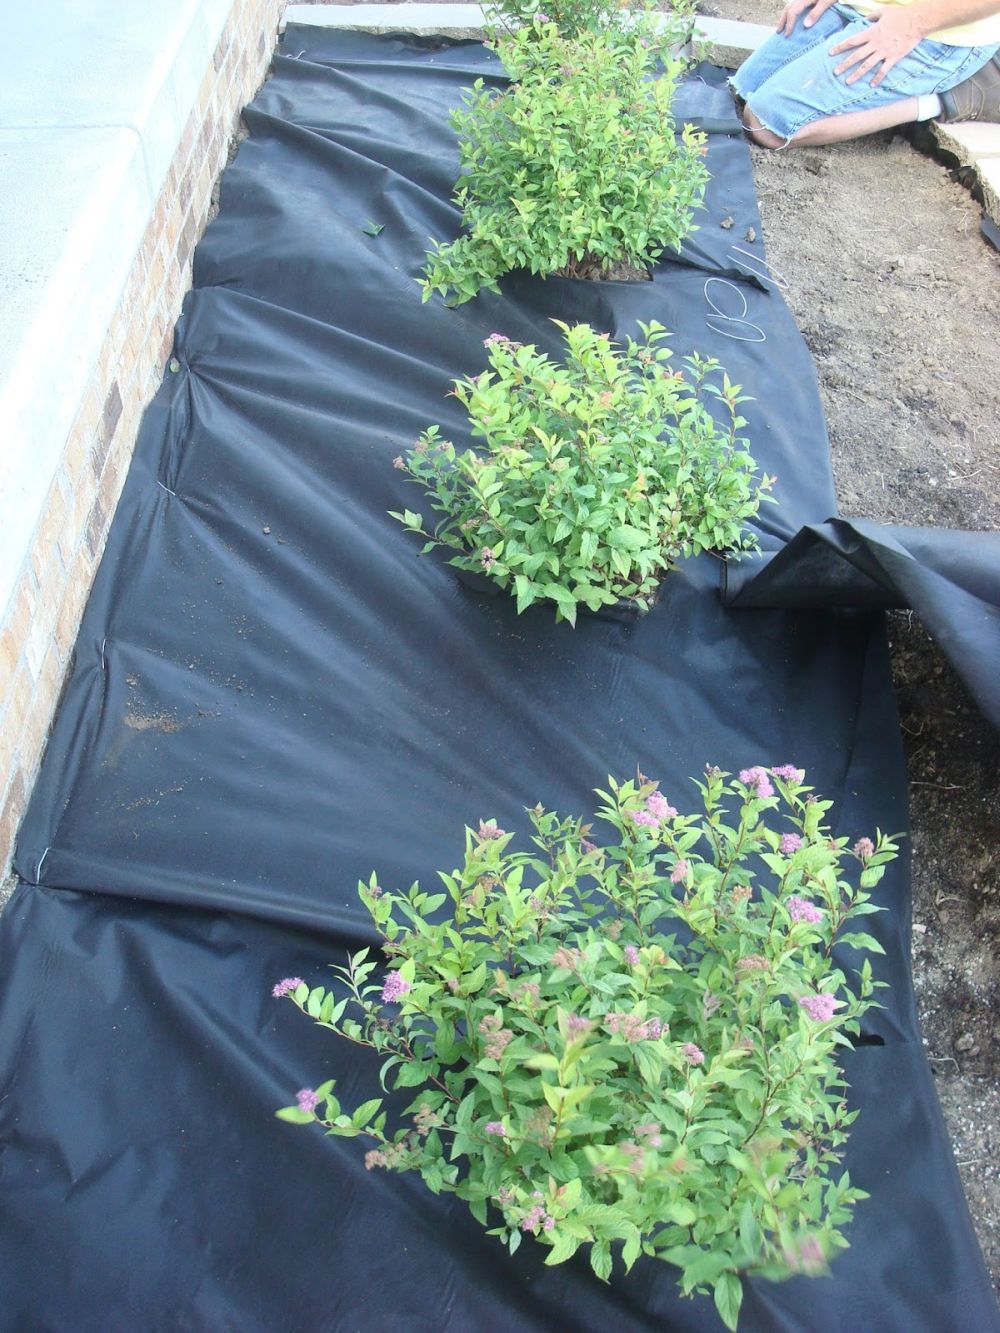
After planting the shrubs, the family spread black landscape fabric across the soil and secured it with wire stakes. Openings were cut around the plants, leaving their stems and root zones exposed.
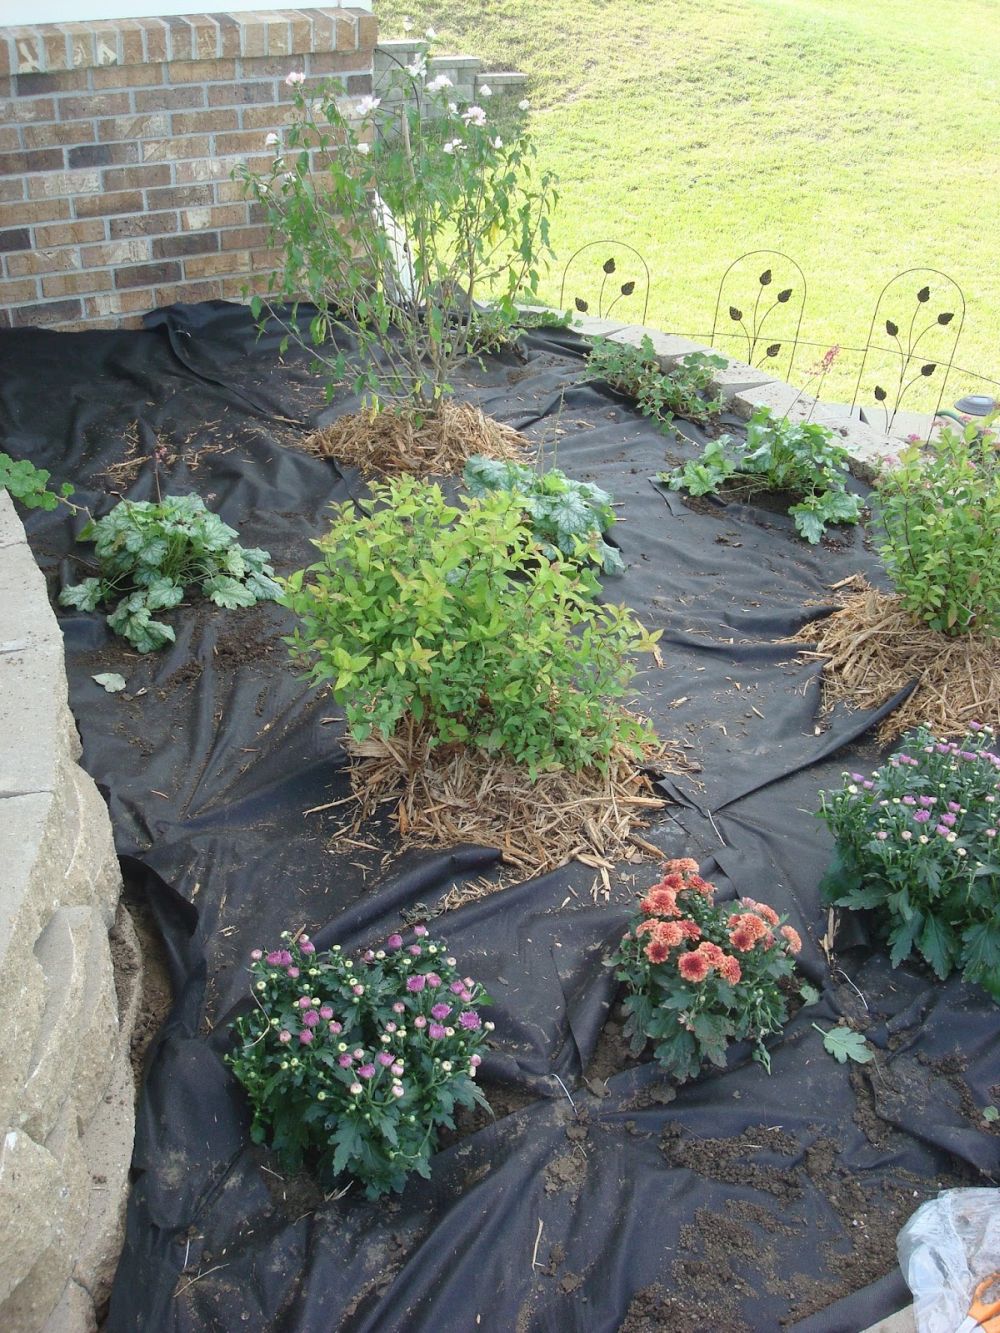
The fabric covered the spaces between the plants before the stone mulch was added. The family also placed wood chips around the shrub bases, keeping those areas separate from the surrounding rock.
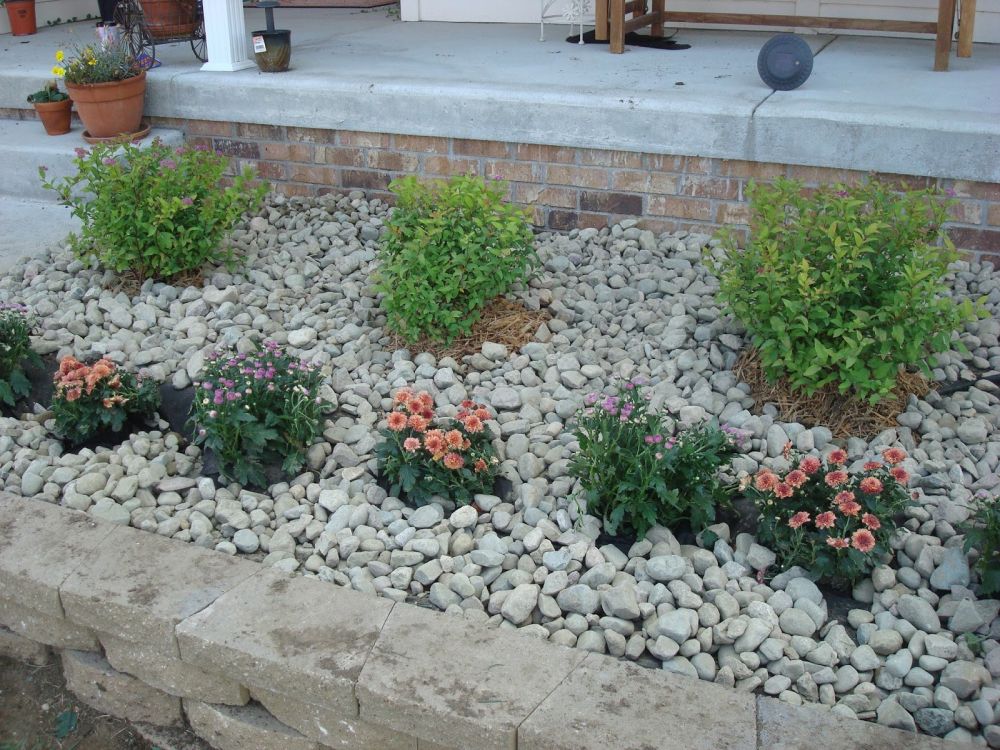
The planting arrangement combined taller shrubs near the brick foundation with lower flowers beside the curved wall. This left the stone border visible from the lawn while giving the plants room to grow.
Two-Inch River Rocks Replaced the Exposed Soil
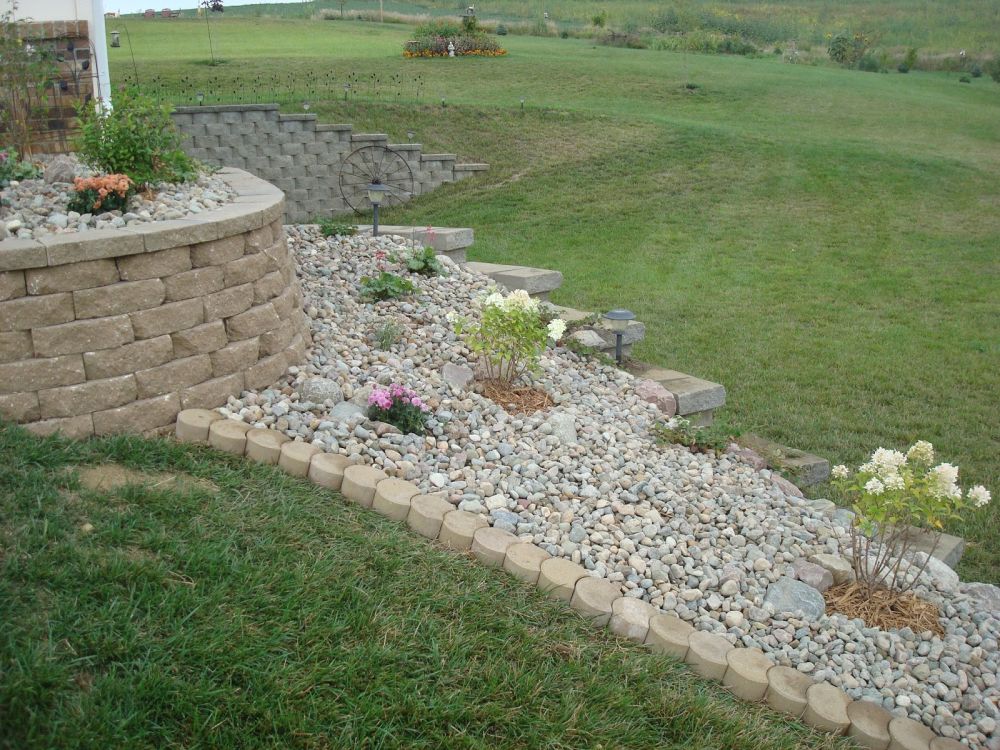
The family spread two-inch river rocks over the landscape fabric, surrounding the shrubs and flowers with pale gray stones. The rock covering concealed the black fabric and created a continuous surface between the plants.
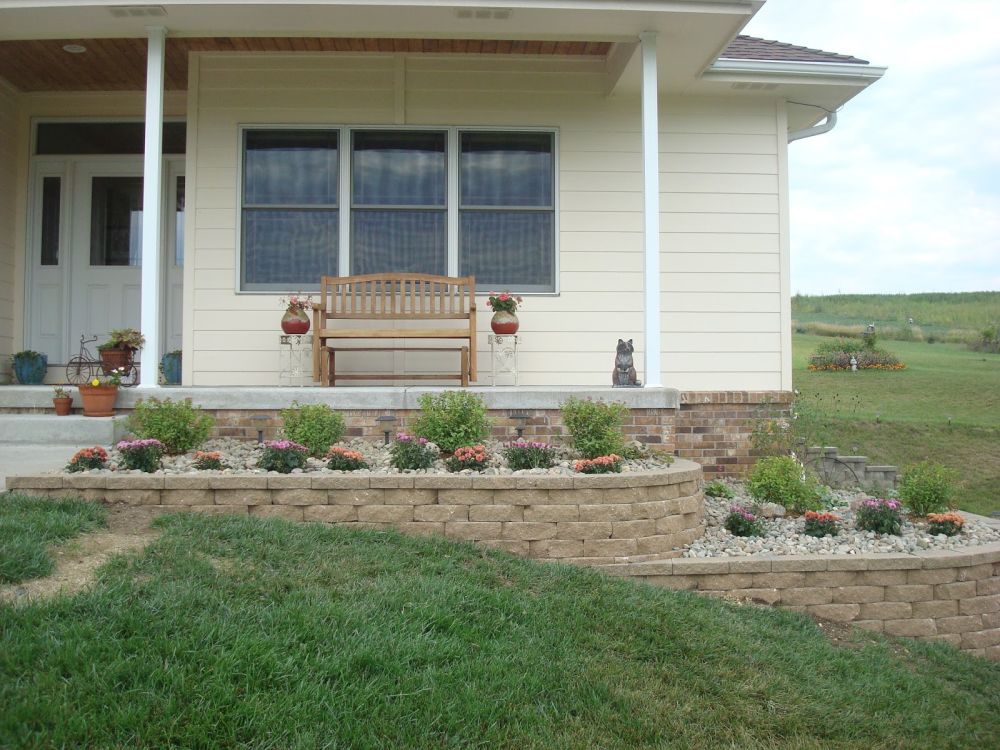
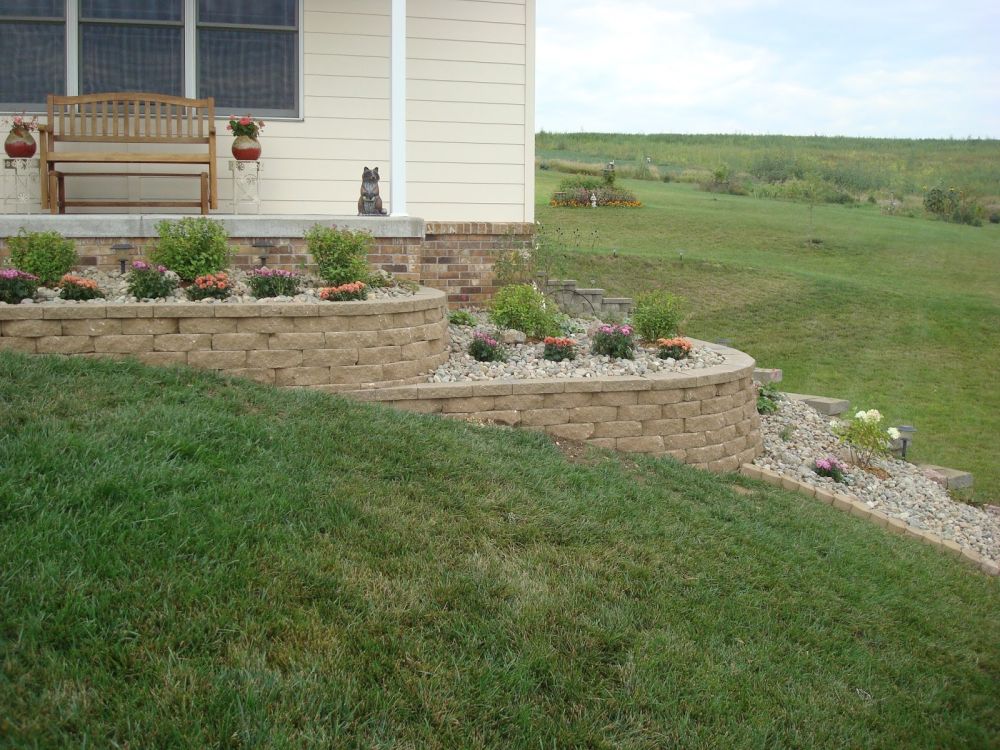
The second tier follows the slope toward the right side of the house, with retaining wall blocks defining the raised section and smaller edging blocks containing the rocks farther down the yard.
Pink flowers and pale hydrangea blooms occupy the lower garden, connecting the two sections without repeating the same planting arrangement.
The Finished Front Yard Has Two Curved Garden Levels
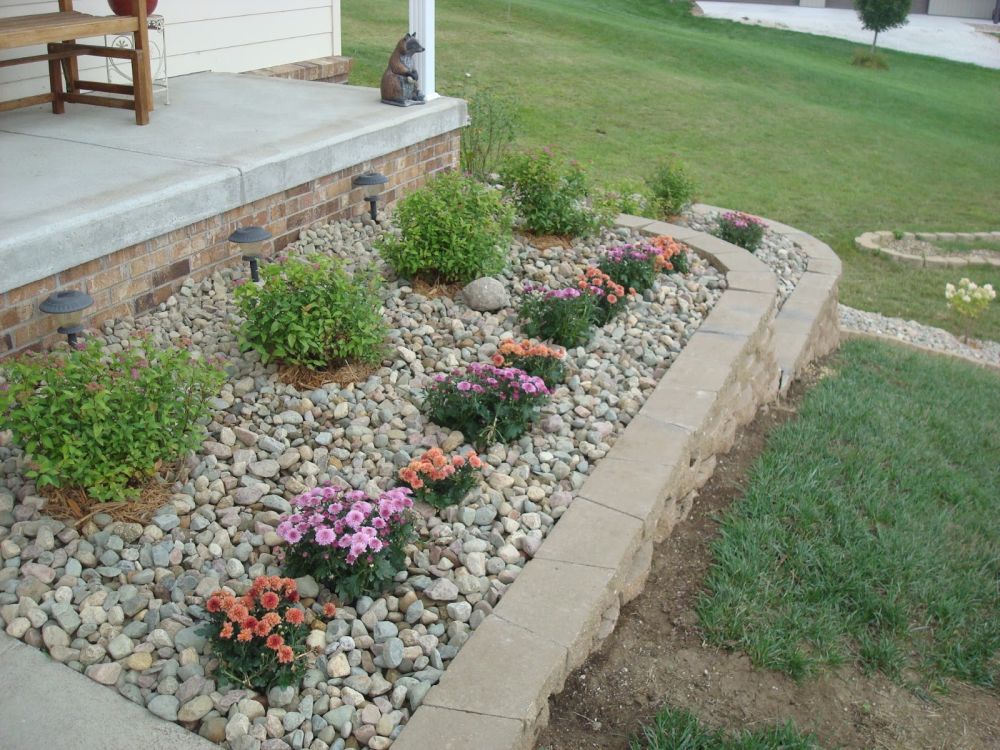
The finished retaining walls extend across the front of the porch and curve around the right corner. The upper bed sits beneath the brick foundation, while the lower bed steps down toward the lawn.
The original bench, white siding, windows, and concrete porch remain unchanged, with the new stone borders replacing the patchy grass beneath them.
The upper garden contains spirea shrubs and flowering mums surrounded by river rocks. Small solar lights remain along the brick foundation, while the curved wall separates the raised bed from the grass.
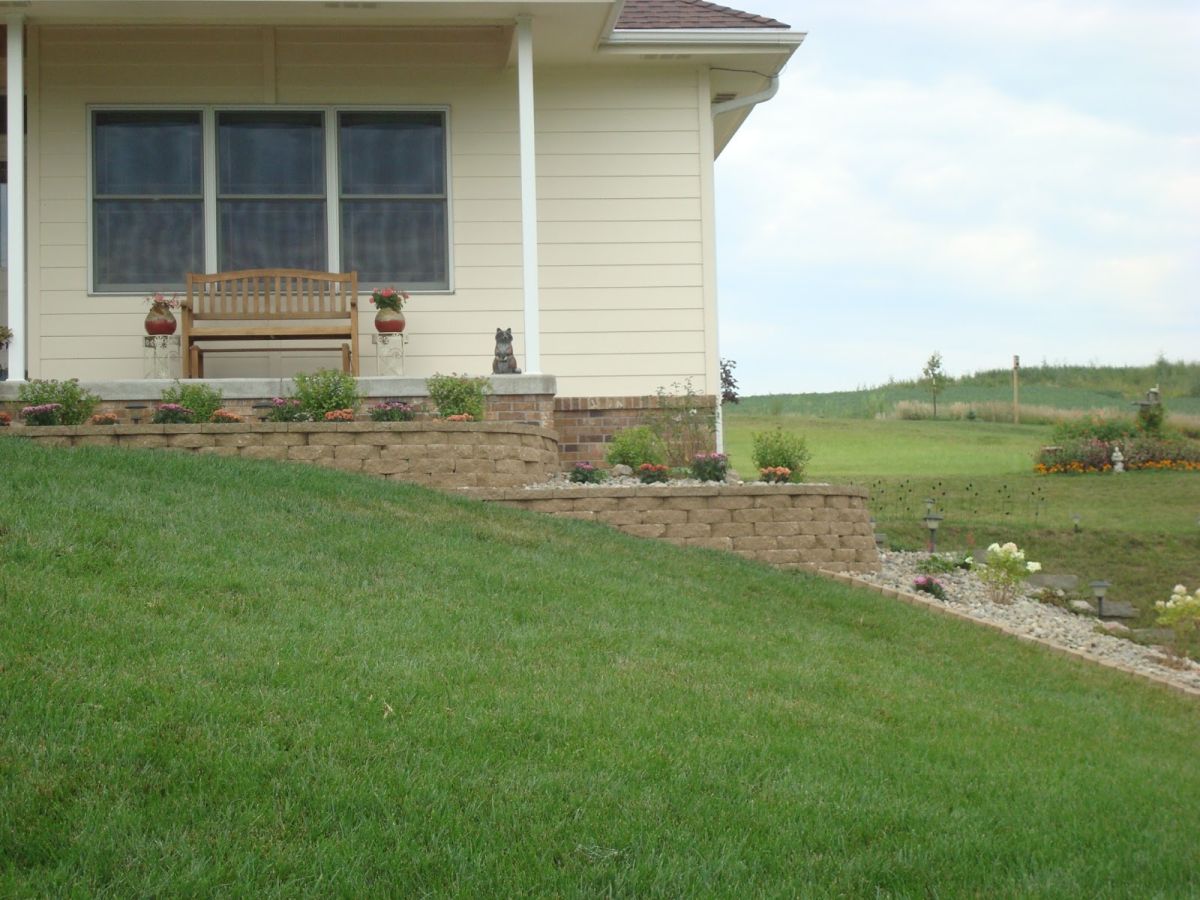
The two tiers connect the front porch with the lower yard, giving the slope a series of planted sections rather than one patch of exposed soil. Jenny and her father completed the work over a month, transforming an area that had remained without landscaping for four years.
Would you build a two-tier retaining wall garden beneath your front porch or keep the slope covered with grass?
Original project and photographs: Jenny Nowatzke, Dishing Up Design.