How to Smooth Textured Venetian Plaster Walls


Learn how to smooth textured walls in an efficient way with our quick, step-by-step tutorial. Below we outline everything you need to get you that smooth wall texture you covet.
Materials Needed for Smoothing Textured Walls
There are many different smooth wall texture types out there, today we’re reviewing how to level out venetian plaster walls.
- 80- and 120-grit sandpaper
- Electric sander (optional but highly recommended)
- Painter’s tape
- Dust mask
- Broom and shop vac or similar

Textured walls come in a variety of texture levels. Let’s go over how to smooth textured plaster walls.
Steps To Get Modern Smooth Wall Texture
Step 1: Clear walls and your space
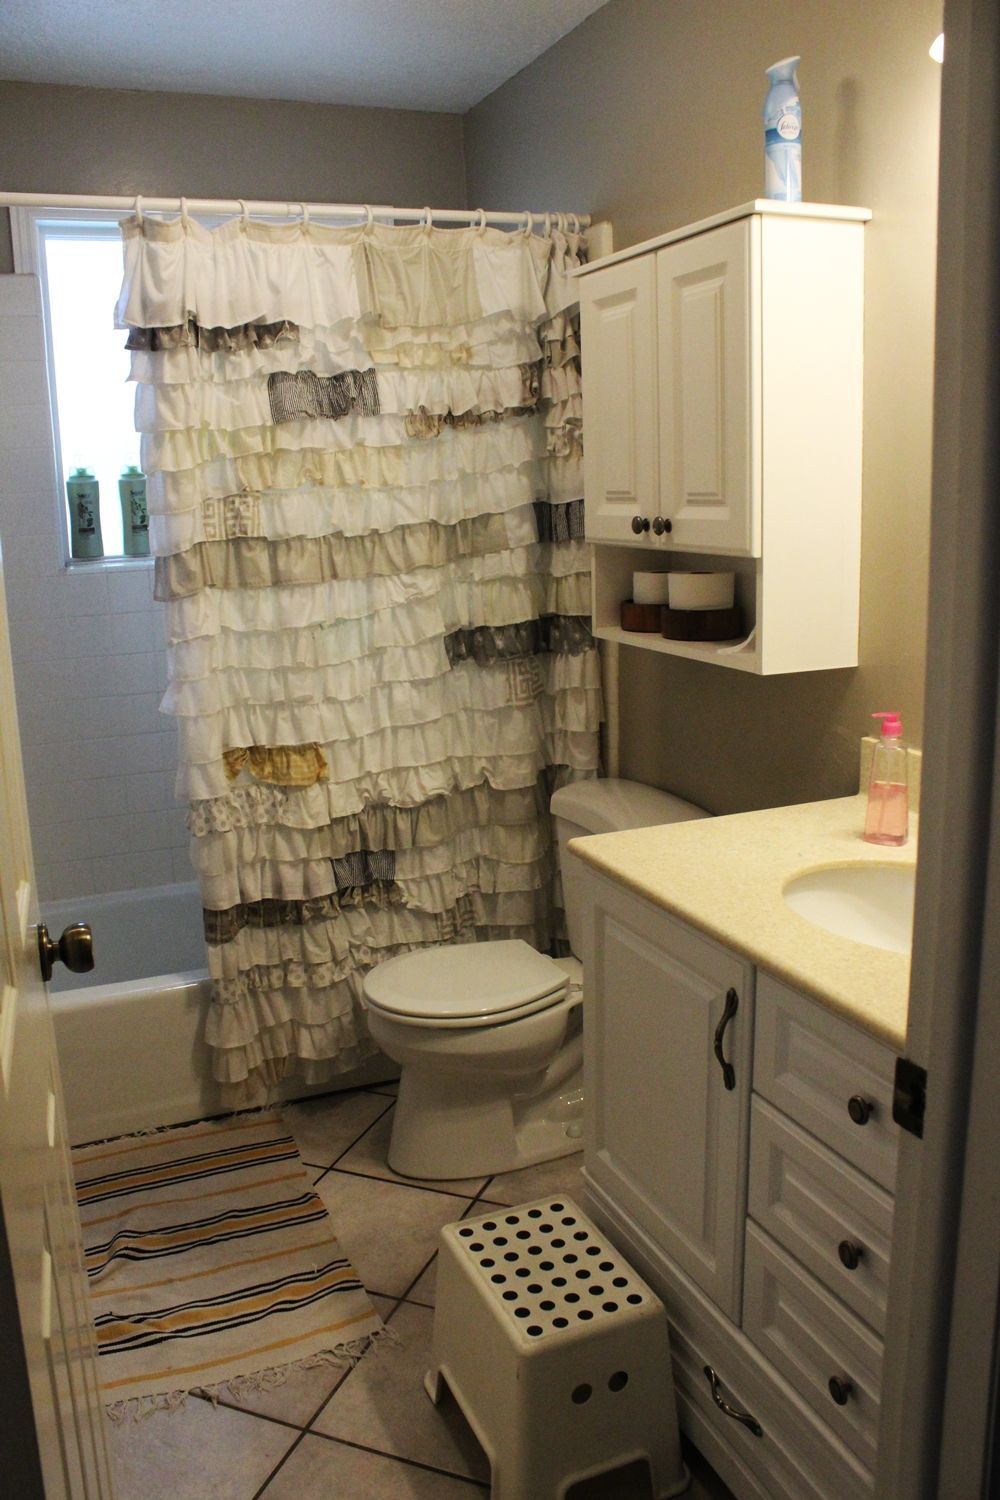
Before you can begin smoothing out your textured walls, you need to remove all accessories from your space.


This includes any removable wall items such as towel rods. This will allow for a thorough wall-smoothing while omitting the risk of damaging your hardware.
Step 2: Cover electrical outlets with tape

After all removable items have been removed from your space, cover all electrical outlets with painter’s tape. Also, cover all drains and vents with tape, plastic, or towels.
The dust this project will create will permeate every nook and cranny, so be thorough in your cranny-coverage. Also, open a window to keep the space well-ventilated.
Step 3: Begin sandpapering your walls

Put on your dust mask. Begin with a coarse sandpaper, such as 80-grit. Be prepared to use lots of sandpaper.
Depending on the density and depth of your wall texture, each piece of sandpaper will last for 2-6 square feet. Even in a small bathroom, that’s a lot of sandpaper.

Start sanding your walls.
This first pass isn’t going to get everything perfectly smooth, but you’ll want to create a relative flatness between the wall “base” and the peaks of your texture.

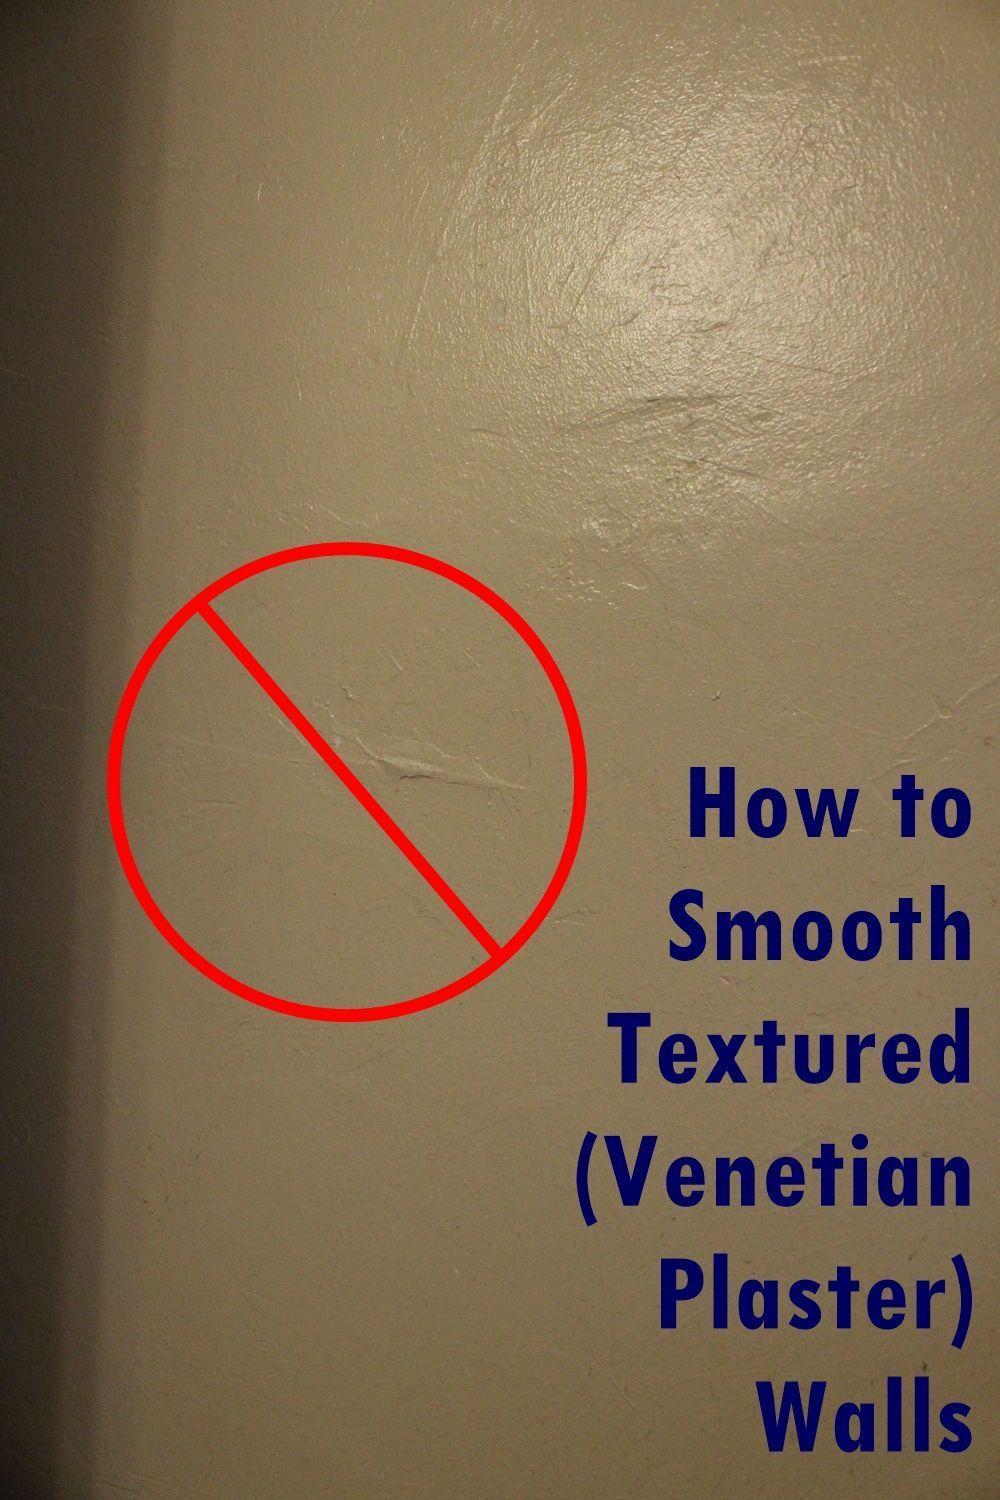
Here’s a demonstration of where the texture peaks were before the first sanding pass.
The brown color is the top paint, the greenish color is the plaster itself, and the white color is where the sandpaper dug into the drywall.
Try to avoid getting into the drywall as much as possible, although it will probably happen a little bit.

Note that pressing harder on your electric sander isn’t always the most effective strategy; it can inhibit the rotation of the sandpaper itself and actually take away from the sander’s effectiveness.
Find a balance between providing enough pressure on your sander so there’s definite friction between the sandpaper and the texture, and easing off enough so the sandpaper rotates freely.
The sanding will create dust everywhere.

Seriously, dust coats everything. This was after about 12 square feet of sanding the first pass.
Step 4: Compare smooth vs. textured walls

It’s a good idea, when possible, to step back and view your flatter walls against a source of light; the various sheens and reflections will provide a clue as to what is done and what needs more sanding.
A step-back perspective is something I recommend every time you switch out your sandpaper.
Step 5: Touch up any areas that need more sanding

If you notice a few imperfect smooth wall texture areas that could use touching up during your step-back review, touch them up with fresh sandpaper before moving on.

Also, although you will be able to see much of where you need to sand more, you can’t always trust your eyes.
Use your non-sanding hand to feel areas of the wall for flatness.
Use your eyes and hands to guide your sanding progression.
Step 6: Vacuum as you go

Be sure to vacuum as you go. Dust builds up quickly.
Step 7: Wipe down walls

After you’ve gone over your walls with 80-grit sandpaper and are satisfied with the level of flatness, you’ll need to wipe off the coat of dust with damp paper towels or baby wipes.
Step 8: Sandpaper one more time

Sandpaper again.
Mount a medium grit (120-grit) sandpaper onto your sander, and repeat the process around your walls.

Pro Tip: Remember to swap out your 120-grit sandpaper every few square feet, just like you did with your 80-grit sandpaper, to maximize effectiveness and flatness.
Step 9: Enjoy your smooth texture walls!

Stand back and check out the smoothness. Congratulations, you’re well on your way to a modern, texture-free wall!
Frequently Asked Questions (FAQ)FAQ
how to get clean lines when painting textured walls?
To get clean lines when painting textured walls you’ll want to make sure you smooth texture walls first using sandpaper.
how to texture walls?
To texture walls, you will want to use compound. Water down the compound and clean walls before applying. Apply compound to your wall with a trowel. Dab a sponge into the compound, then press the sponge against the wall repeatedly to create an overall texture. Dab on additional compound as necessary. Let dry and then paint.
how to remove texture from walls?
To remove texture from walls, the process is simple: clear the area, remove hanging wall items, sandpaper the walls, wipe down, and paint.
how to smooth textured walls?
To smooth textured walls, you can easily sandpaper them to buff out any unwanted texture.
how to paint textured walls?
You paint textured walls the same ways as you would any other wall area: prep, create boundaries with tape, and apply a few coats.
will peel and stick wallpaper stick to textured walls?
While you can put peel and stick wallpaper on textured walls, it’s not advisable. The texture will distort the pattern or smooth texture and it won’t stick nearly as well as it would on a flat surface.
can you put wallpaper on textured walls?
It’s not advisable to use wallpaper on textured walls. The texture can distort the smooth surface and make it look disheveled.
how to get rid of a textured wall?
To get rid of a textured wall, you just need to use sandpaper to buff out any oddities.
how to skim coat a textured wall?
To skim coat a textured wall, all you’ll need is a trowel to apply the coat, and sandpaper to smooth out any bumps once it is dried.
how to remove texture from walls that is painted?
To remove texture from walls that are painted, you’d either use skim coating or sand papering to buff out texture. Then, you’d go over it with paint of your choice.
do command strips work on textured walls?
No, command strips do not work on textured walls. They won’t stick properly.
Smooth textured walls: Conclusion
When it comes to smoothing textured walls, the process is fairly simple. Rather than figuring out how much does it cost to smooth textured walls, aim to do it yourself.
This DIY tutorial is a great guide that will give you professional results in just a few hours!