She Took Her Daughter’s Broken Crayons and Turned Them Into Red, Green, and White Christmas Candles


Broken crayons from her daughter’s collection became the starting point for a Christmas candle project. Instead of throwing the pieces away, she added them to melted soy wax to create red, green, and white stripes inside glass jars.
The finished candles have white wax at the bottom, green in the middle, and red on top. Each layer was left to harden before the next was poured, keeping the colors separate through the glass. Some jars received gift bows, while others were left with exposed wicks.
Homedit contributor Brittney Smart created the original project using soy wax flakes, broken crayon pieces, candle wicks, and glass containers. The original tutorial does not confirm that the crayons belonged to her daughter, so that detail should be verified before publication.
Soy Wax Flakes Were Measured Into a Glass Jug
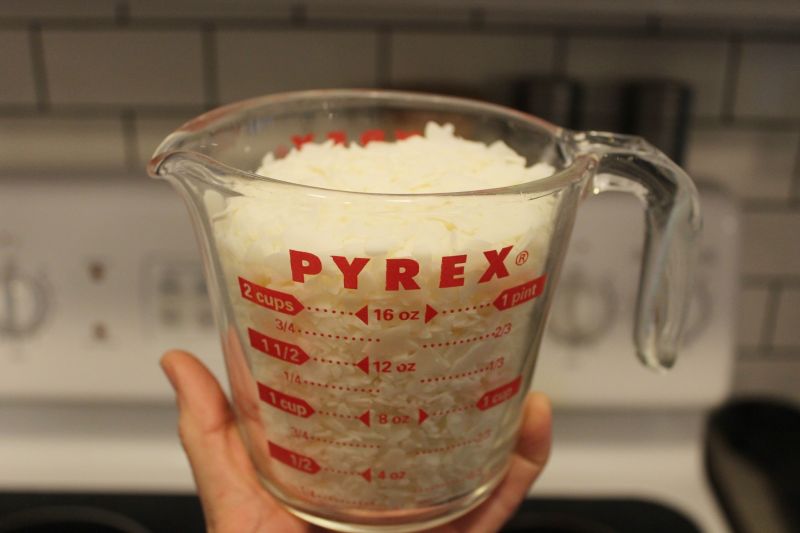
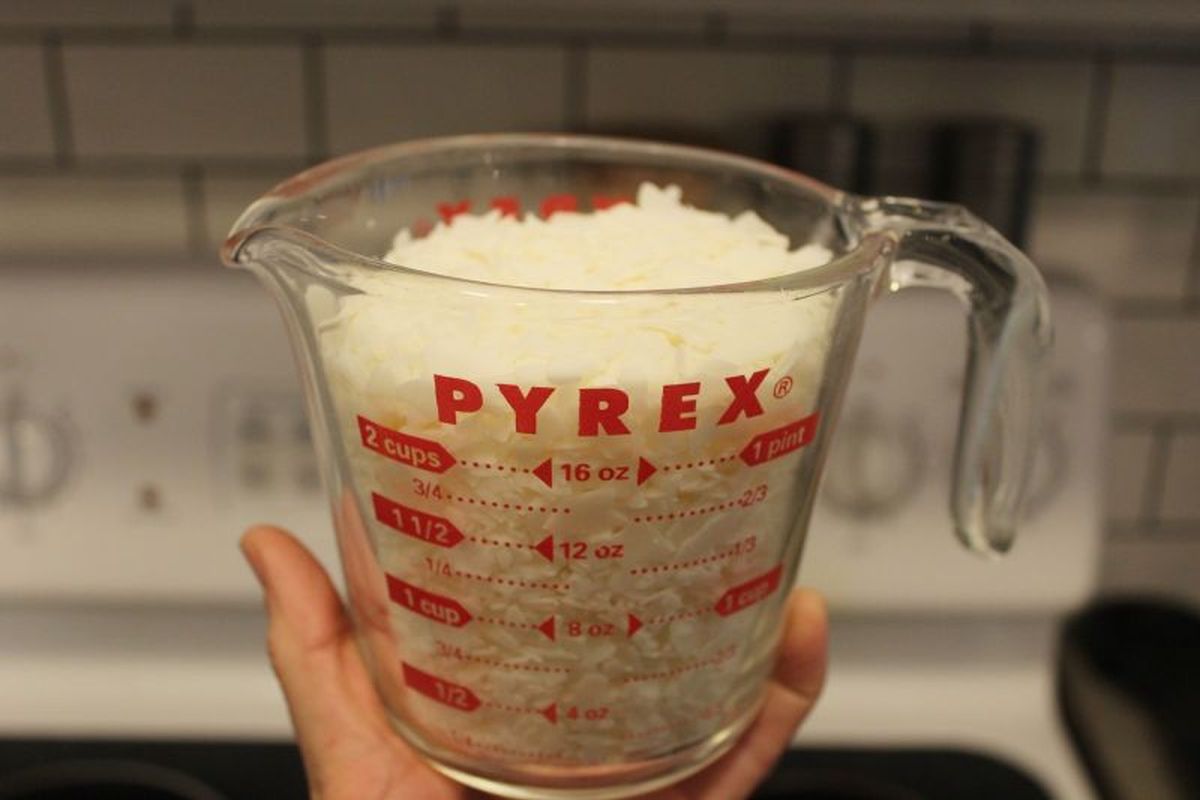
The project began with two cups of soy wax flakes placed inside a Pyrex measuring jug. The flakes were melted in the microwave, producing approximately 1¼ cups of liquid wax from the original measurement.
The wax was prepared in batches so each candle stripe could be poured after the preceding layer had set.
Cotton Wicks Were Secured Inside the Jars
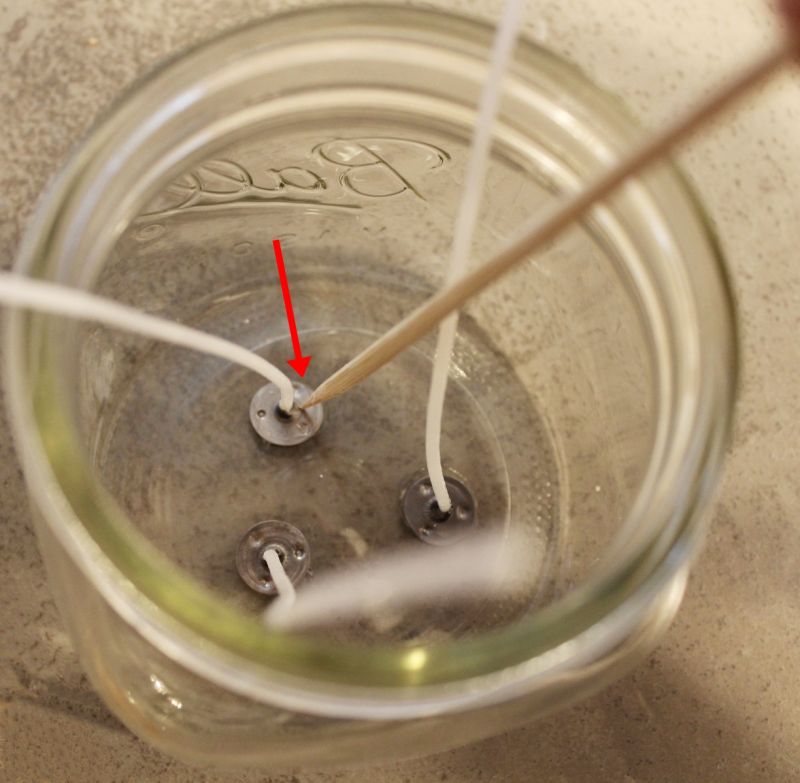
Metal wick tabs were attached to the bottoms of the glass containers, with each cotton wick extending toward the opening. Smaller jars received a single wick, while one wider container held three.
The original project used super glue to attach the tabs, although candle-rated wick stickers are preferable for candles intended to burn.
The First Batch of Melted Wax Remained White
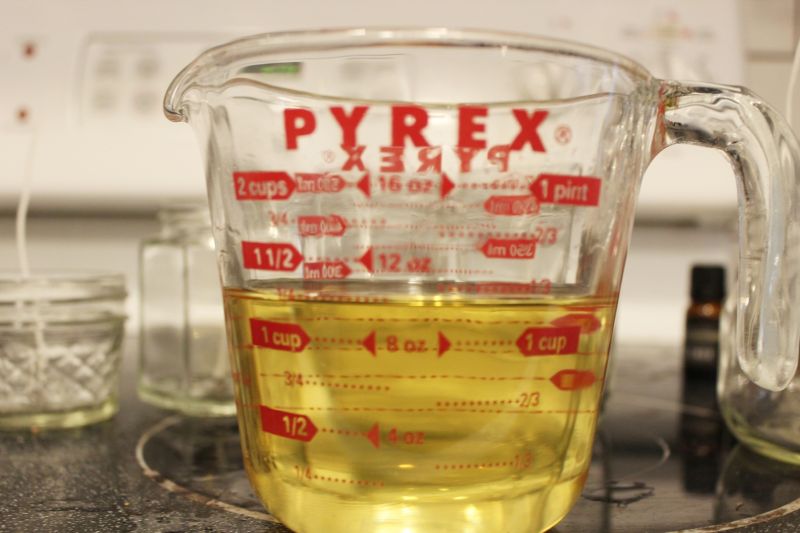
The melted soy wax appeared pale yellow in liquid form but became white after cooling. The original tutorial added frankincense essential oil to this batch before transferring it into the jars.
No colorant was needed for the first stripe, which formed the bottom section of each candle.
Wax Was Stirred Before Filling the Glass Jars
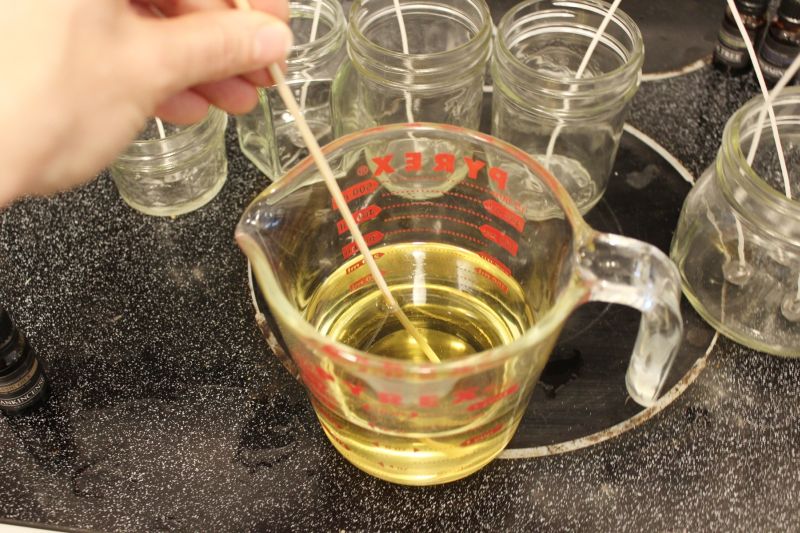
A bamboo skewer was used to stir the melted wax before pouring. Each container received enough liquid to cover its base, leaving room above for two additional colors.
The amount varied with the jar’s diameter, since a wider container required more wax to produce a stripe of the same height.
Bamboo Skewers Held the Wicks Above the Wax
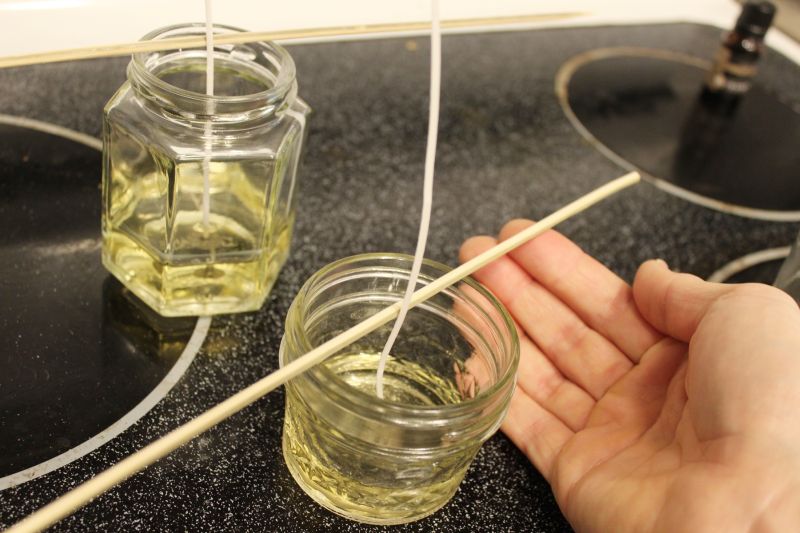
A skewer was placed across each jar opening to prevent the wick from falling into the wax. The cotton strand rested against the support while the first layer cooled.
Keeping the wicks centered also helped leave enough space around them for the later pours.
Five Glass Containers Received the White Base
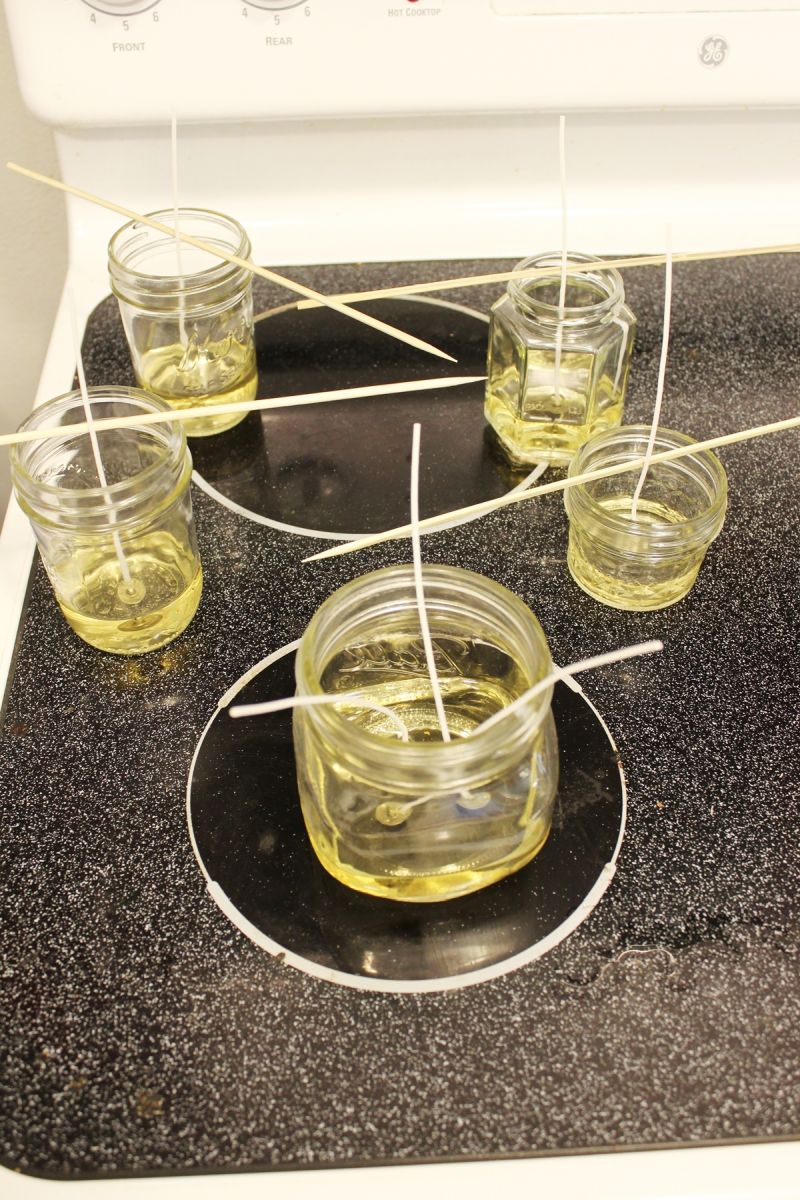
The candles were made in round and square glass jars of different sizes. Each container held a shallow white layer, with bamboo skewers spanning the openings.
The first pour was left to harden at room temperature before the next batch was added, reducing the chance of the colors mixing.
Green Crayon Pieces Colored the Second Batch
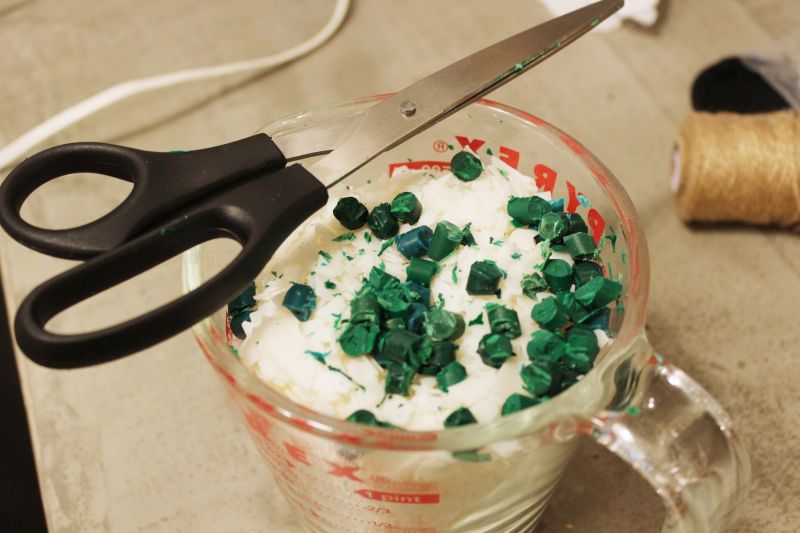
Small pieces of green crayon were added to another batch of soy wax flakes. The fragments dispersed into the melted wax, producing the color used for the middle stripe.
Ordinary crayons contain pigments that are not formulated for candle wicks and may contribute to clogging or poor combustion. A candle-specific green dye can provide the same color without relying on crayon fragments.
The Green Wax Received a Different Scent
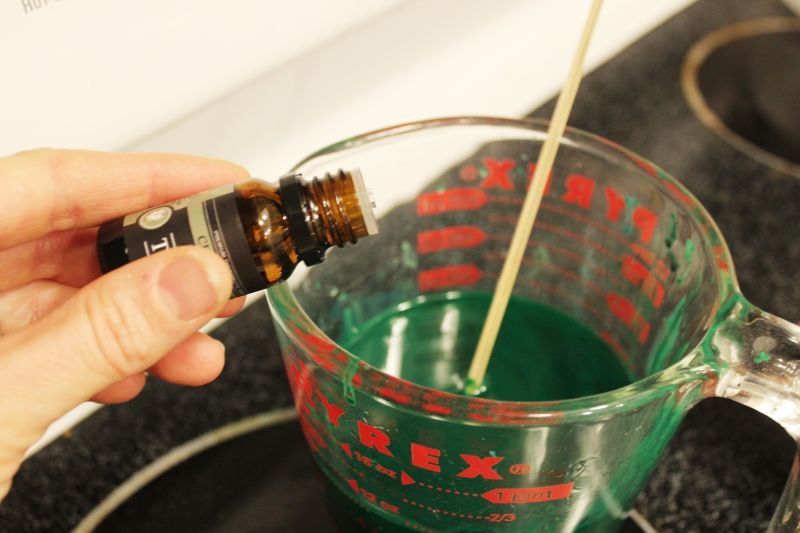
The green batch was stirred after melting, with tea tree essential oil used for scent in the original tutorial. This gave the middle stripe a different fragrance from the white base.
For candles intended to burn, fragrances should be approved for candle use and added at the supplier’s recommended concentration.
Green Wax Was Poured Over the White Base
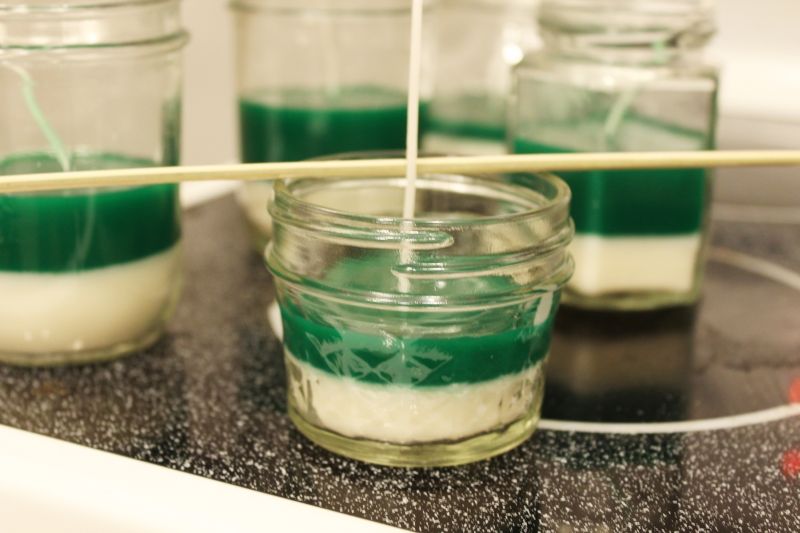
The green wax was poured after the white layer had hardened, leaving a visible boundary between the two colors.
The lower section remained white while the green wax cooled above it, with the wick running through both layers.
The Second Stripe Was Left to Harden
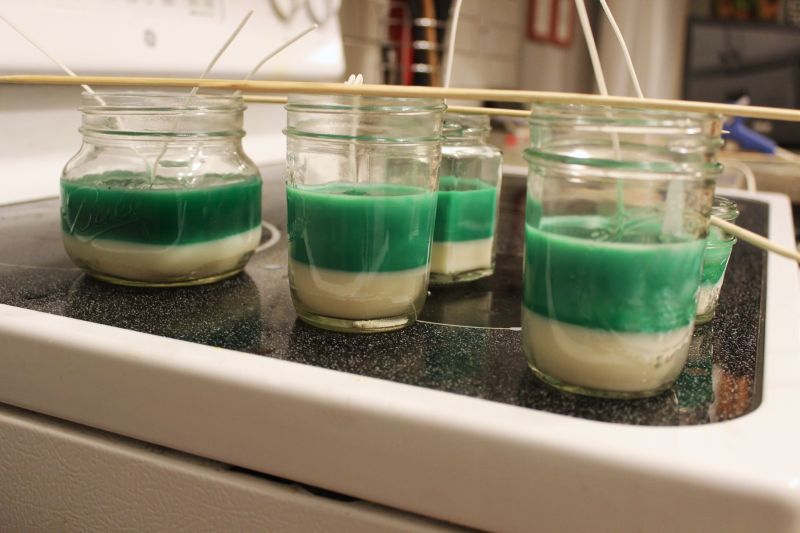
The containers were set aside until the green wax became solid. Some jars developed thicker stripes than others because their sizes and shapes differed.
Once the wax had set, the jars were ready for the final red pour.
Red Wax Completed the Christmas Color Combination
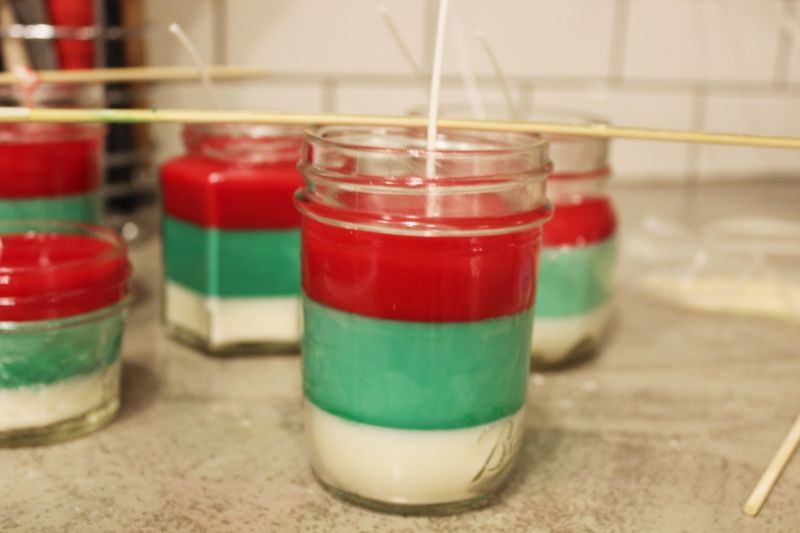
The last batch was colored red and poured over the green section. Peppermint essential oil was used for this stripe in the original project.
The three pours created a red, green, and white arrangement, with each color occupying its own horizontal section inside the glass.
The Wicks Were Trimmed After the Wax Set
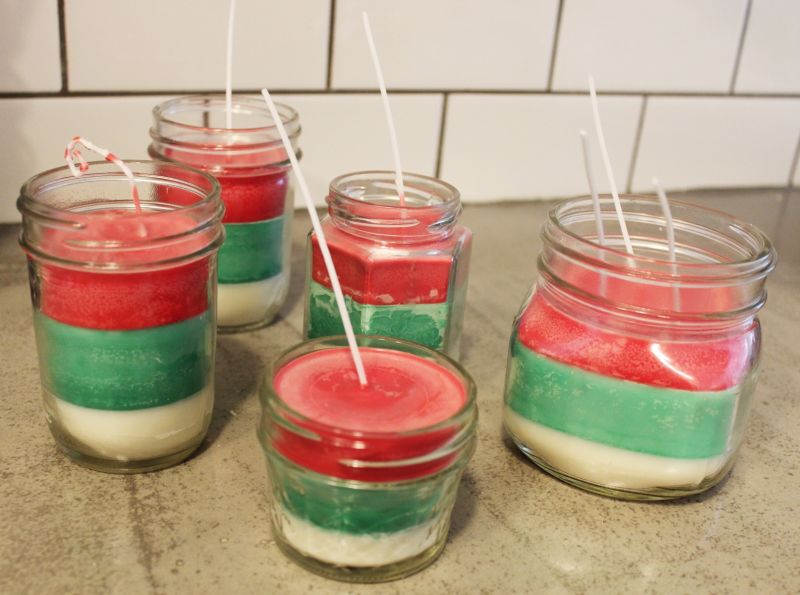
Once the upper layer had hardened, the bamboo supports were removed and the excess wick was trimmed.
The jars retained their individual shapes, with some holding one wick and the larger container holding three. Candle containers, wick sizes, fragrance loads, and colorants should be tested together before a finished candle is burned.
Gift Bows Finished the Christmas Candle Jars
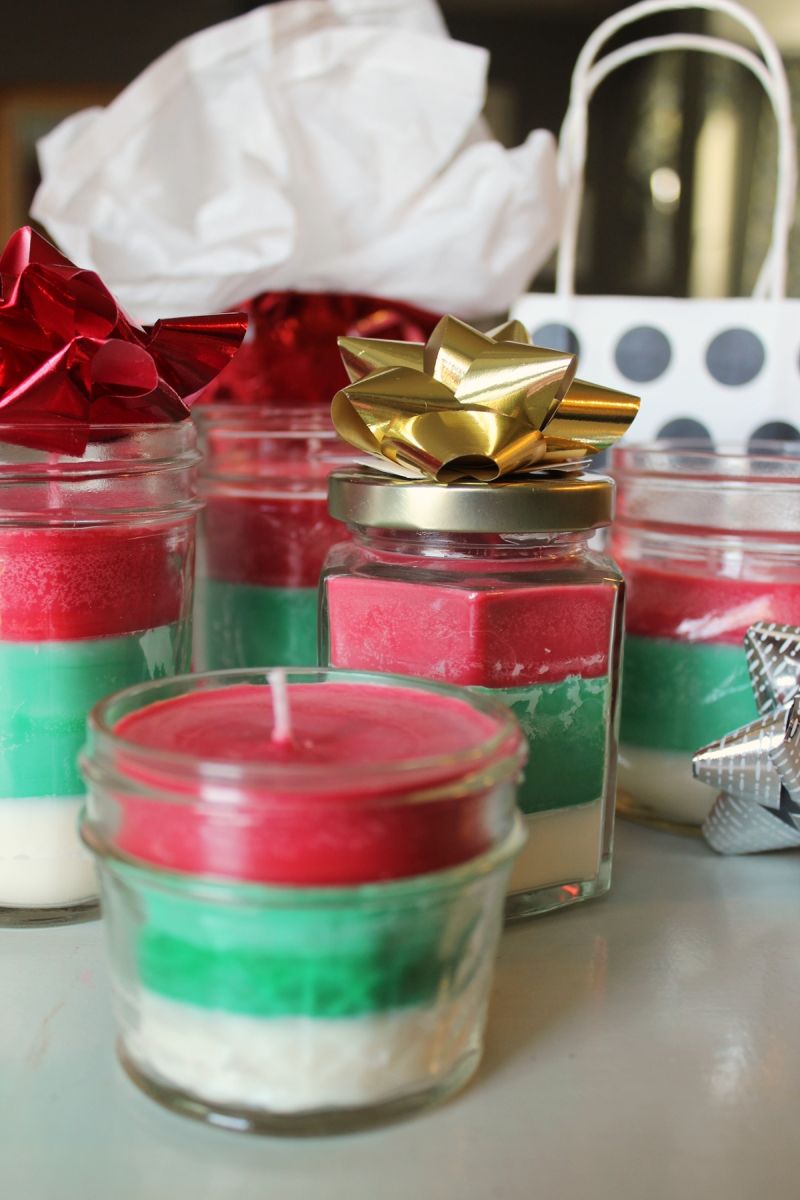
Red and gold bows were added to some of the jars, including a square container with a metal lid. The transparent glass kept the colored stripes visible beneath the decorations.
The project can also be adapted into decorative, unlit candles using the same layered appearance without relying on crayons in candles intended for burning.
Three Wax Colors Remain Visible Through the Glass
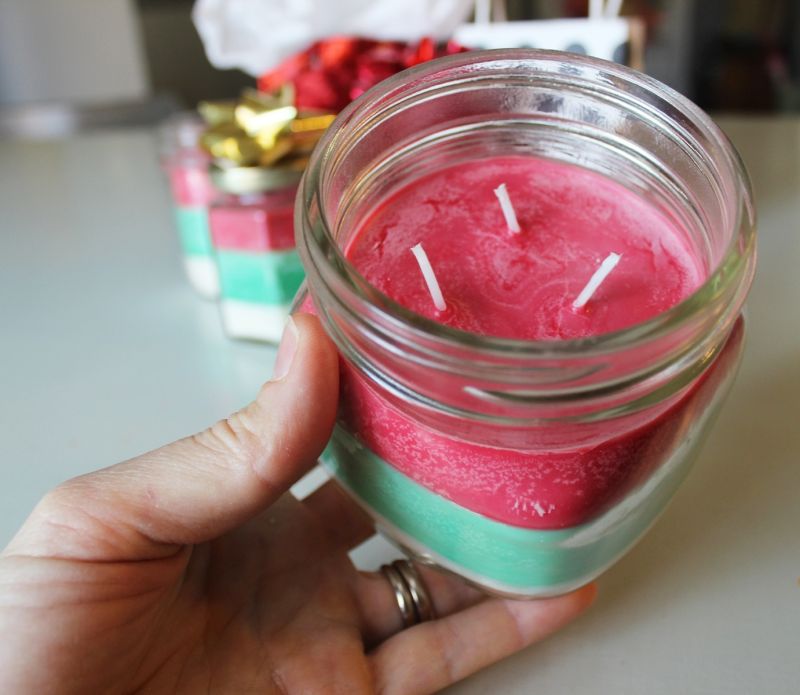
The close-up shows the finished candle with a red upper section, green middle stripe, and white base. Three short wicks extend from the red wax inside the round glass jar.
Would you choose three-color Christmas candles for a homemade gift or prefer a single color and scent?
Project and image credits: Brittney Smart / Homedit.