She Covered Old Pillows With Burlap and Used a Black Marker to Make Them Halloween Characters


Old throw pillows supplied the filling for three Halloween faces: an orange jack-o’-lantern, a cream ghost, and a green Frankenstein’s monster. Colored burlap covered the existing pillows, while black marker supplied every eye, tooth, and forehead stitch.
Brittney Smart shared the project on Homedit, sewing envelope covers before drawing the faces onto the fabric. Overlapping flaps let her insert and remove the pillows without adding zippers or buttons.
Each character began with the same cover construction, sized to its pillow. Orange and cream became smaller square faces, while a taller green pillow gave the monster room for jagged hair, drooping eyes, and a crooked grin.
Three Burlap Colors Supplied the Backgrounds
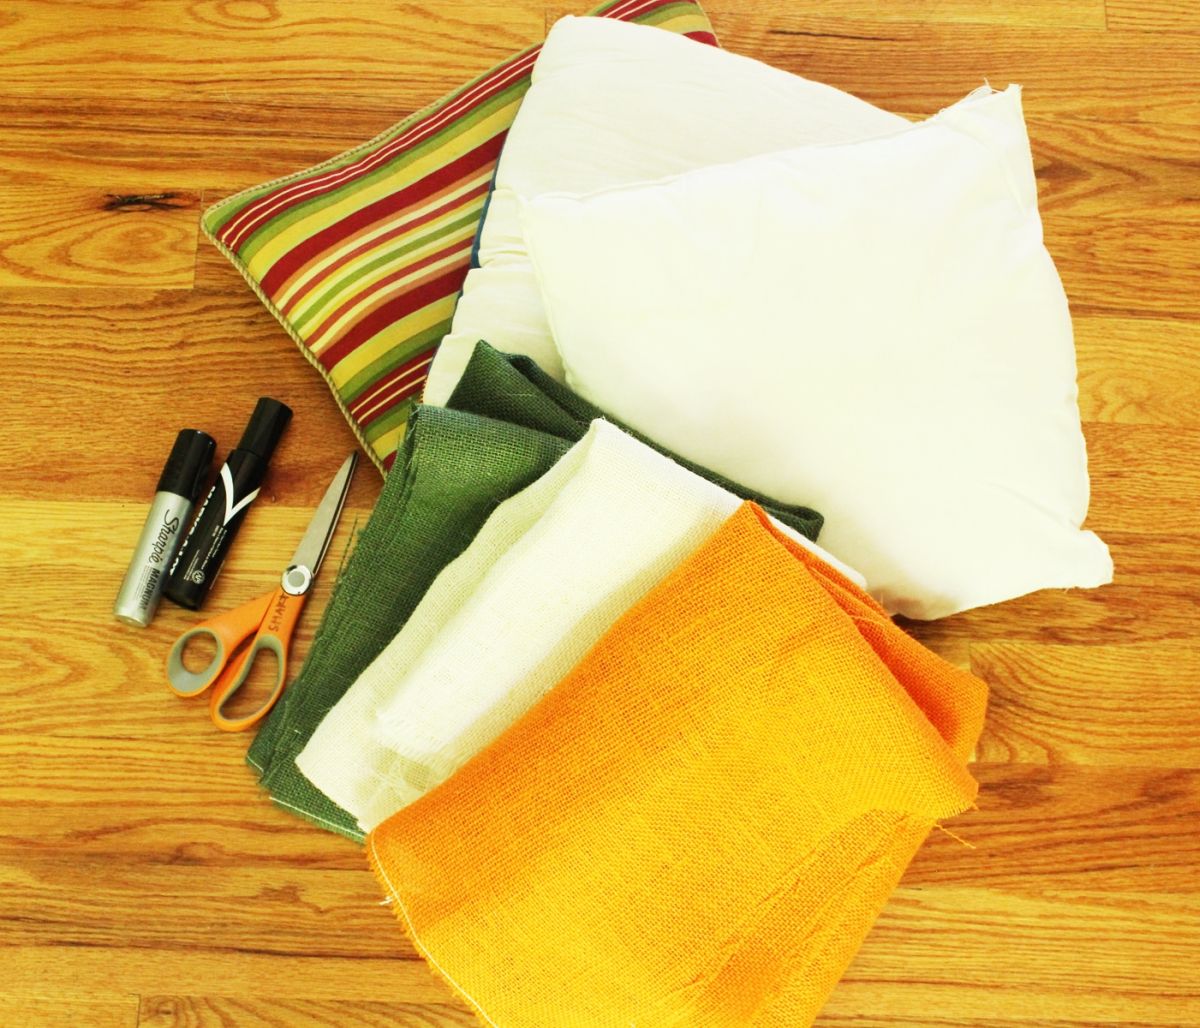
Supplies included three pillow forms or existing throw pillows, orange, cream, and green burlap, an extra-large black permanent marker, thread, pins, scissors, and a sewing machine. Scrap cardboard protected the fabric during drawing.
The original project used three-quarters of a yard of each color, with some left over. Fabric requirements depend on the size of the pillows being covered.
Pulling One Thread Created a Straight Cutting Guide
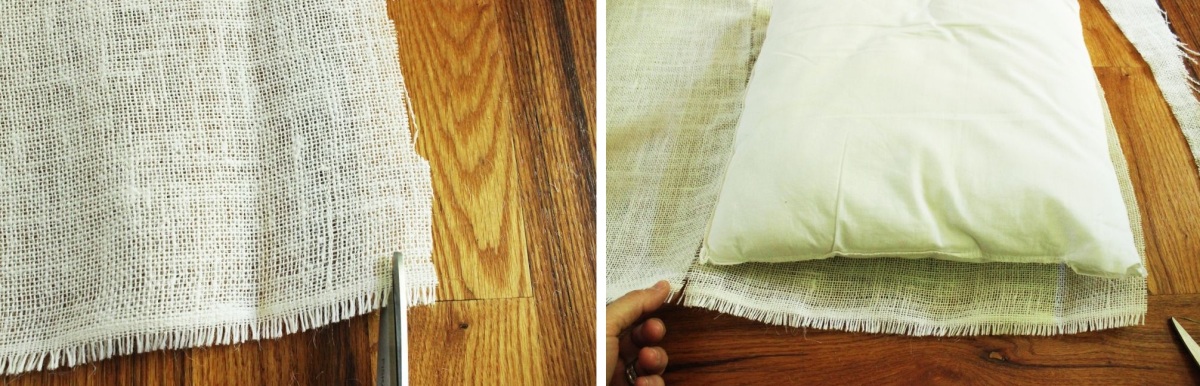
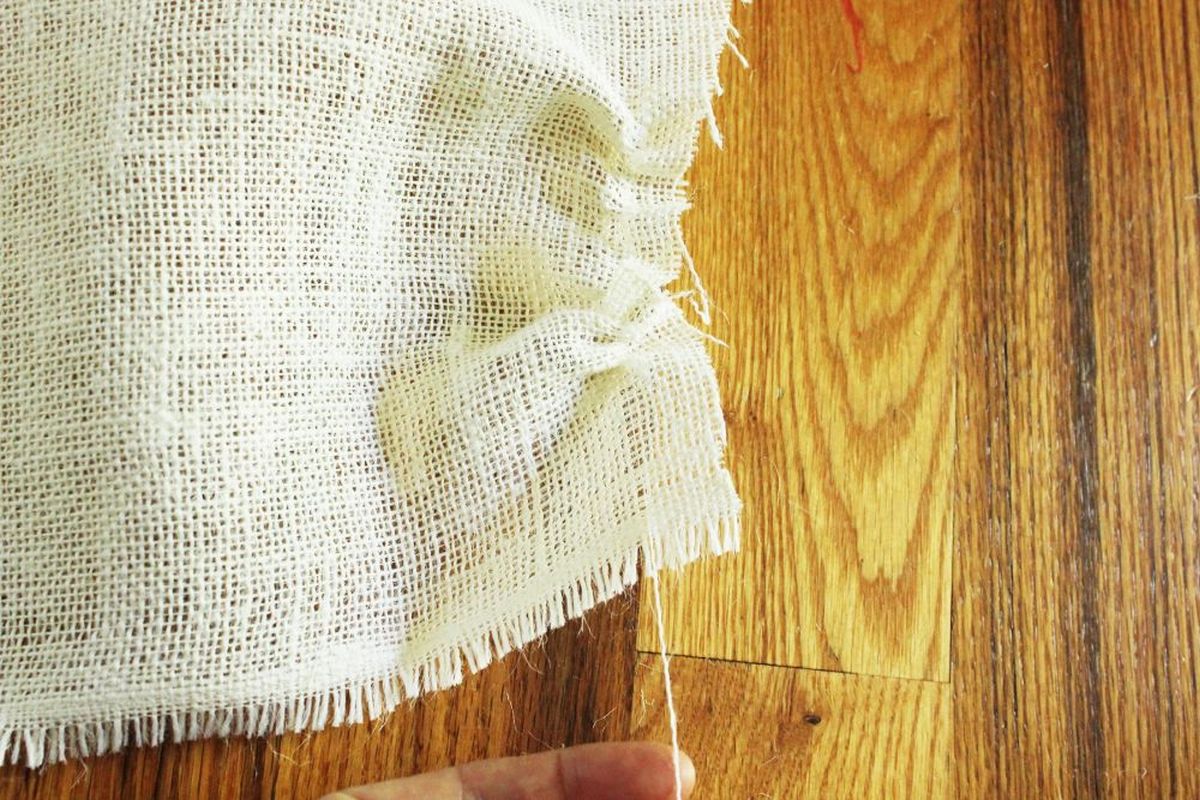
Burlap can arrive with uneven cut edges, so she began with a one-inch snip at the selvage, the fabric’s finished edge. Pulling out one thread from that cut left a visible gap across the weave.
She followed the gap with scissors, then positioned the pillow on the fabric to establish the cover’s width. About a quarter-inch allowance along each side provided space for the seams.
Overlapping Ends Formed the Envelope Opening
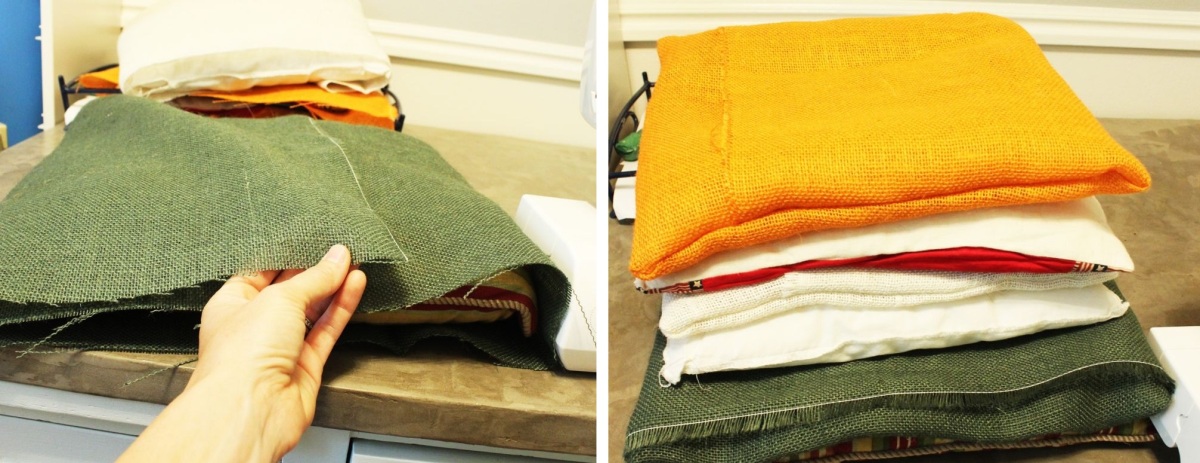
Each strip measured about two and two-thirds times the pillow’s length. With the pillow centered, she folded both ends over it, leaving enough overlap to close the cover around the insert.
Pins marked the side seams and corners before she removed the pillow. After sewing both sides, she reinforced the flap ends with backstitching and finished the raw seam edges with a zigzag stitch to limit fraying.
Turning the cover right side out through the overlapping opening concealed the seams.
Cardboard Blocked Ink From Reaching the Back
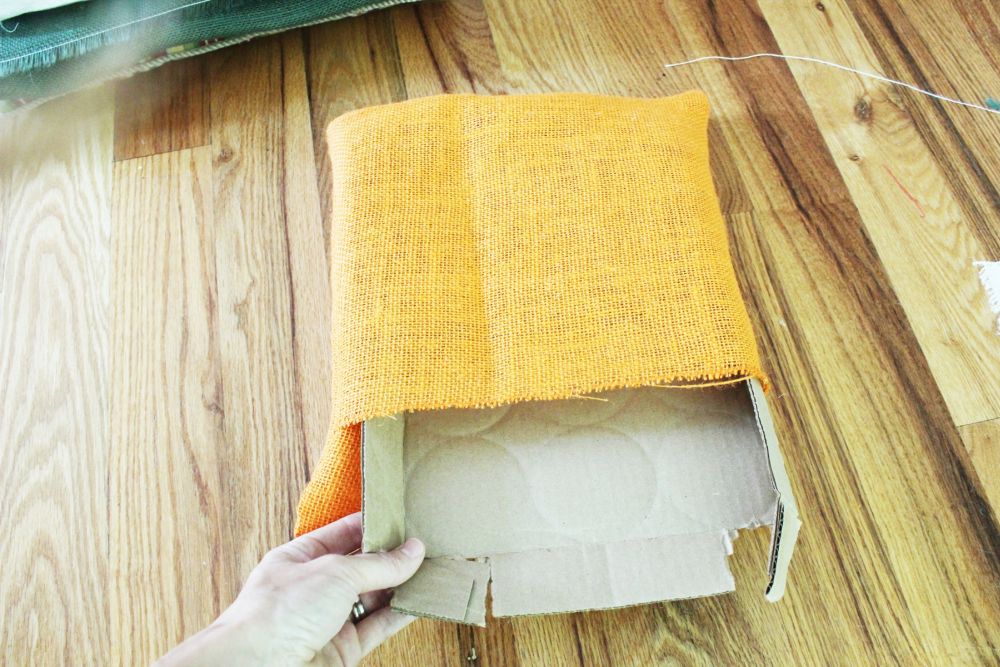
Before drawing, she removed the pillow and slid scrap cardboard inside the orange cover. Burlap’s open weave lets ink pass through, so the barrier separated the front from the back.
Keeping the cover flat also gave her a firmer surface for drawing than the filled pillow would provide.
Black Triangles Started the Jack-O’-Lantern Face
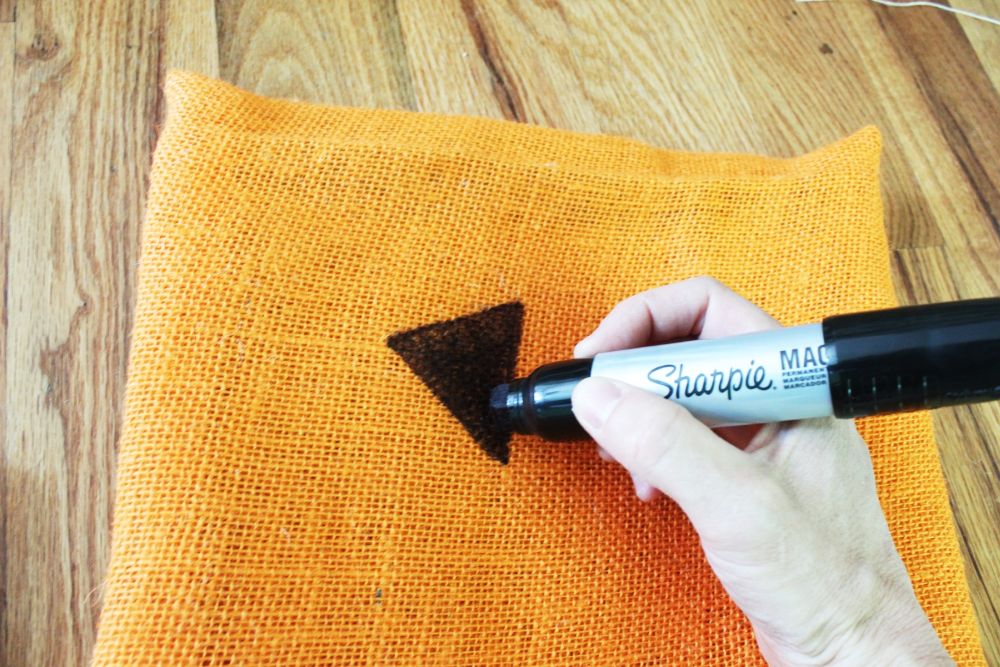
An extra-large permanent marker filled the first triangular eye. Holding the burlap taut kept folds from shifting beneath the broad tip.
Two eyes and a triangular nose established the pumpkin face without cut fabric pieces, glued decorations, or stitched outlines.
Gaps in the Smile Became Pumpkin Teeth
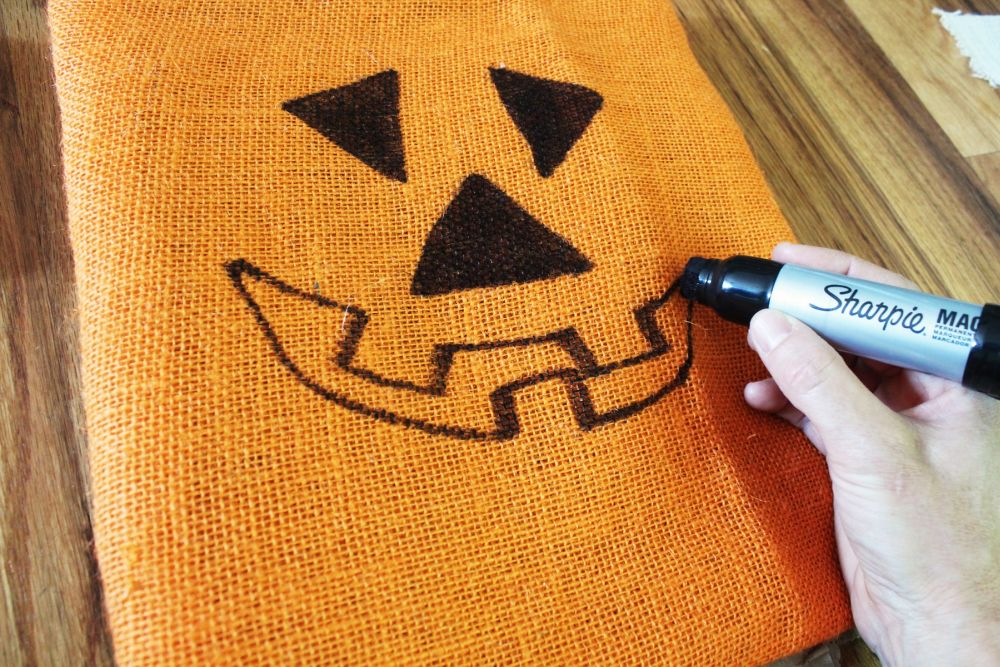
She outlined a wide, curved mouth beneath the nose, stepping the line around several rectangular teeth. Filling the surrounding shape with black left those teeth orange.
The face used large shapes that remained distinct against the coarse weave, with the upward mouth corners giving the pumpkin its grin.
Rear Flaps Opened to Accept the Pillow
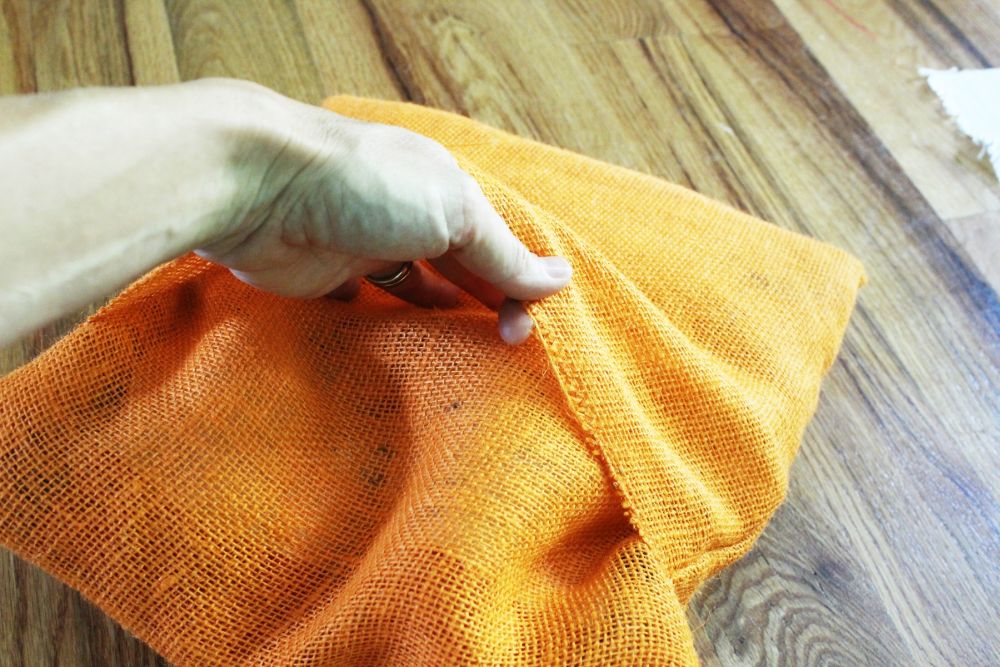
After drawing, she removed the cardboard and spread the overlapping flaps to insert the pillow. Working the filling into each corner restored the cover’s rectangular shape.
The opening remained part of the sewn cover, allowing the Halloween layer to come off without cutting stitches.
Filling Rounded Out the Finished Pumpkin
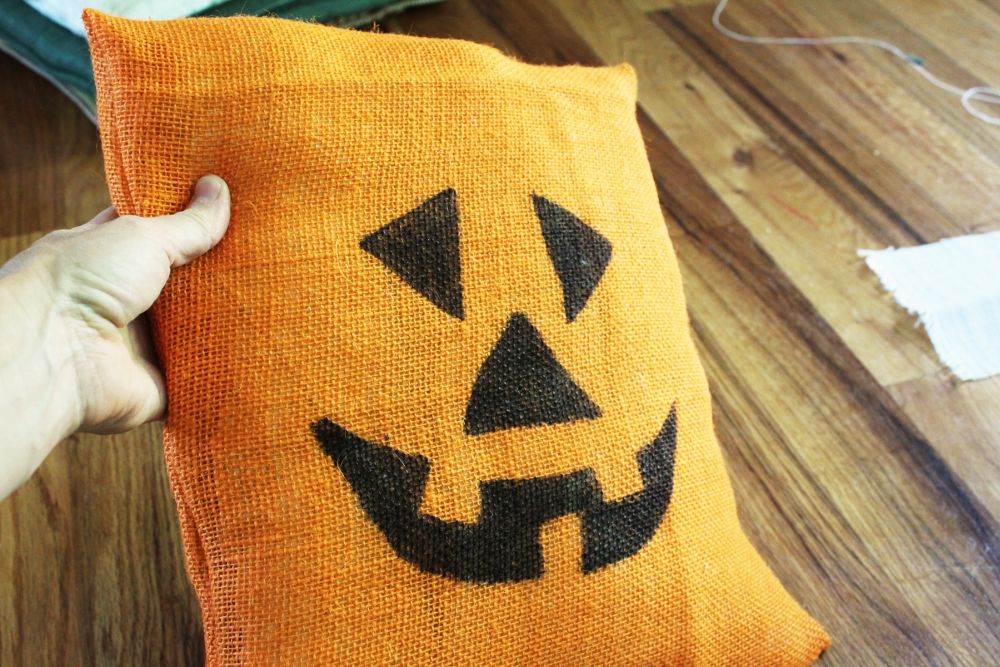
With the pillow inside, the flat drawing became a plump jack-o’-lantern. Black eyes, nose, and mouth stood out against the orange fabric, while the teeth remained part of the untouched burlap.
No stem or extra trim was needed to identify the character.
Cream Burlap Needed Three Shapes for a Ghost
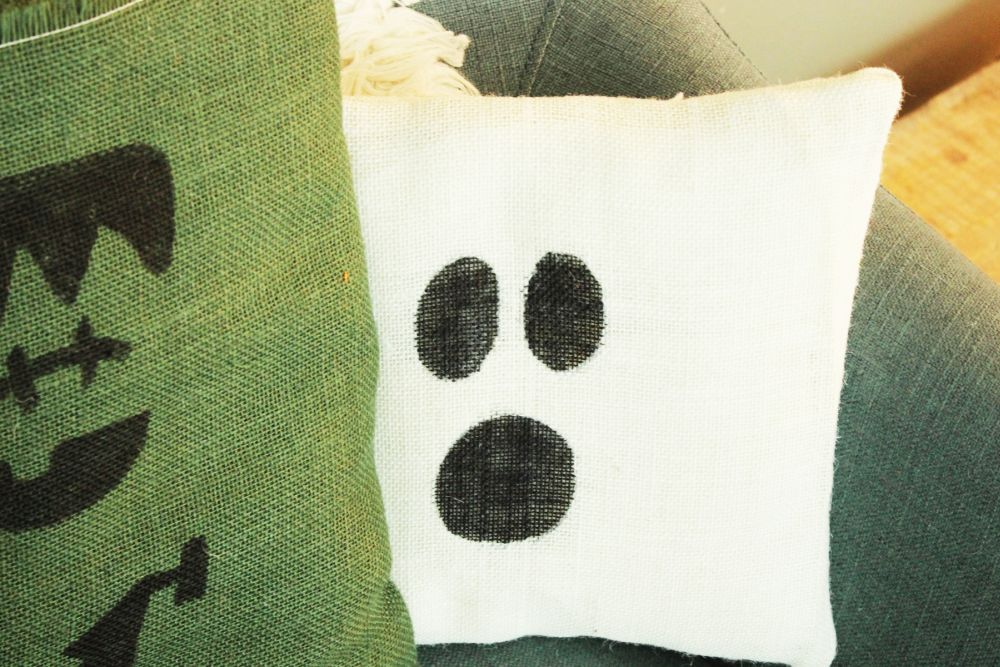
Two upright oval eyes and a round open mouth turned the cream cover into a ghost. Broad black marks left most of the pale fabric exposed.
Its smaller square form sat beside the taller monster pillow, giving the group different heights without changing the sewing method.
Green Selvage Became Part of the Monster’s Hair
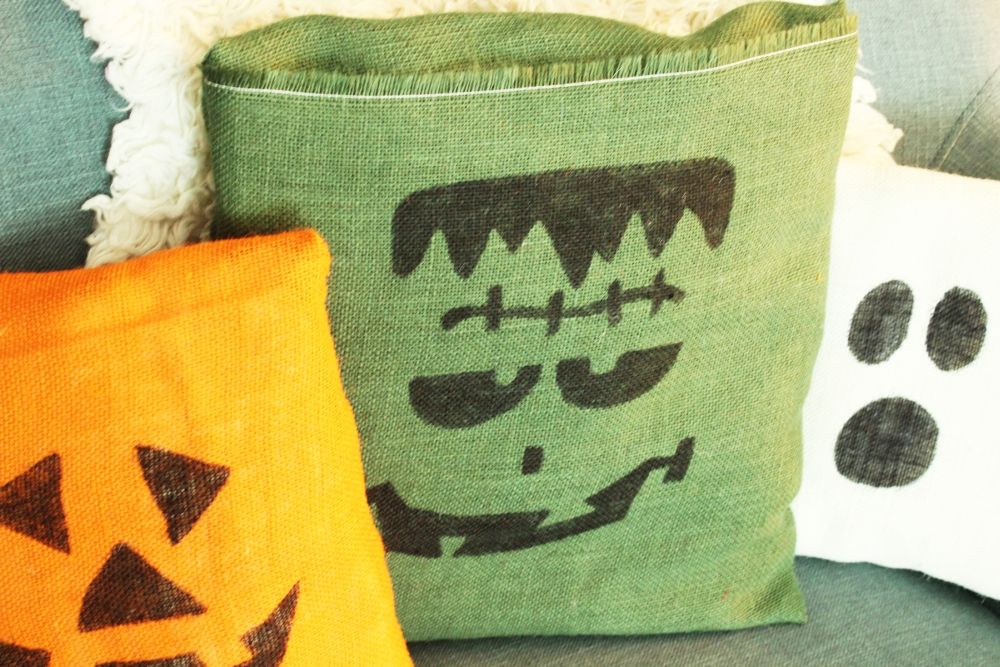
On the green cover, she placed the finished selvage edge across the upper front, incorporating it into the character’s hairline. A jagged black band beneath it formed the hair.
Short cross marks created a forehead scar, with heavy eyelids, a small nose, and an uneven mouth completing Frankenstein’s monster. This face used more detail than the pumpkin or ghost, taking advantage of the taller cover.
Three Removable Covers Filled One Sofa Corner
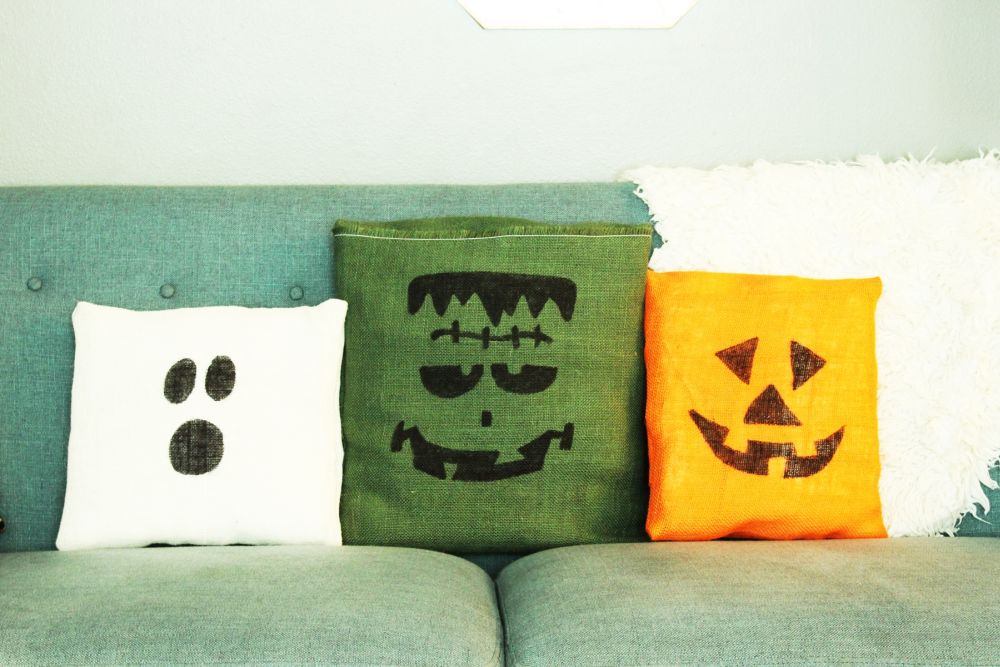
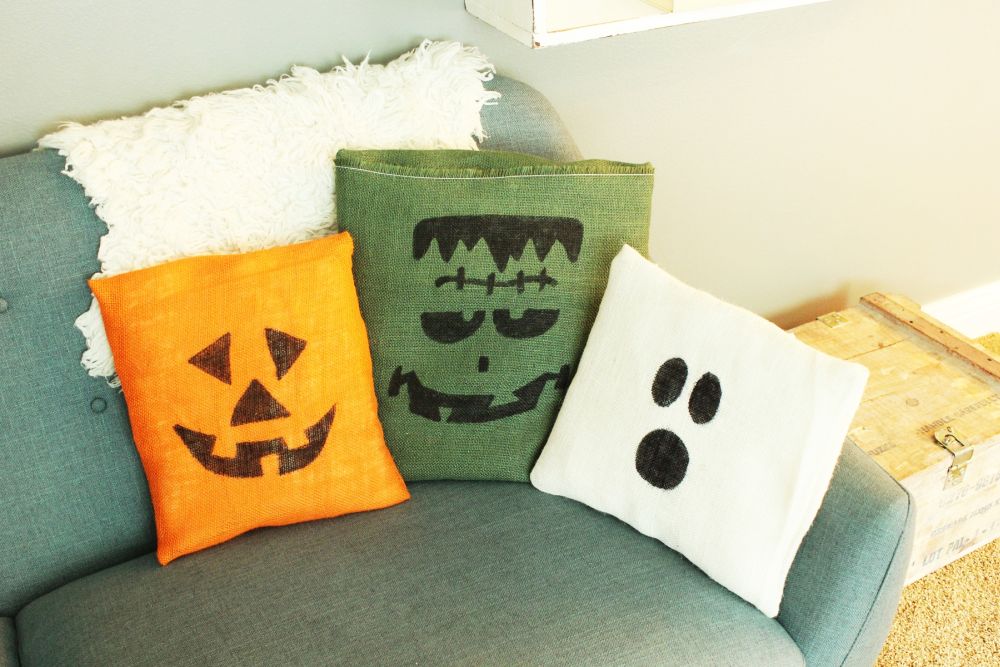
Grouped against the sofa arm, the orange pumpkin and cream ghost sat in front of the green monster. A white textured cushion remained behind them, separating the dark hair from the sofa upholstery.
Would you make the full trio, or choose one character for your Halloween sofa?