How to Remove Kitchen Tile Backsplash

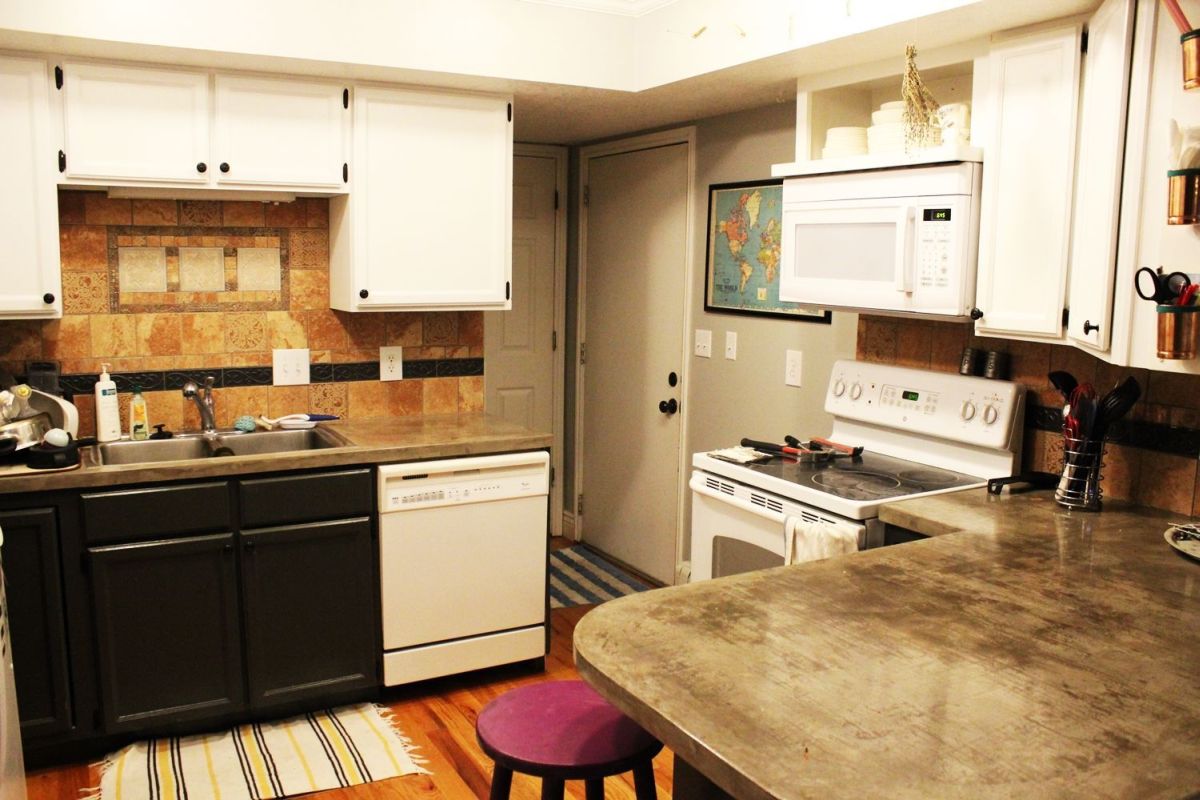
The kitchen is the heart of the home, but it can be a real downer when you don’t love your backsplash. Because of its vertical face and prime location, the backsplash really sets the tone for the entire kitchen.

If you’re looking to remove your kitchen tile backsplash for any reason – maybe it’s old, maybe it’s outdated, maybe it’s not to your taste – this tutorial is aimed at providing a valuable resource before you begin.

Depending on your tile, its age and type, the installation methods that were used, and a variety of other factors, your tile backsplash removal experience will likely be unique. Here, we provide step-by-step instructions and photos for three methods of how to remove tile. Our hope is that this article will help you make the decision of what tile removal method is best for your situation.

Go ahead and clear off your kitchen countertops before you begin. No matter which method of tile removal you choose, it’s going to get messy. (And if you’re interested in upgrading your countertops, check out this Homedit tutorial for installing faux concrete countertops, shown in these photos.)

Also, recognize that the chances of your having to repair some drywall patches or replace the drywall entirely are quite high. (A Homedit tutorial for drywall replacement is forthcoming; it’s not as hard as it might seem if you know the tricks.) Just prepare for that possibility right now, before you start, so you’re not completely frustrated if (when) it happens.
Materials you’ll need to remove tile:
- Crowbar, chisel
- Hammer
- Multifunction (Dremel) tool
- Safety glasses, gloves (optional, but recommended)
How to remove kitchen tile – a step by step guide for beginners
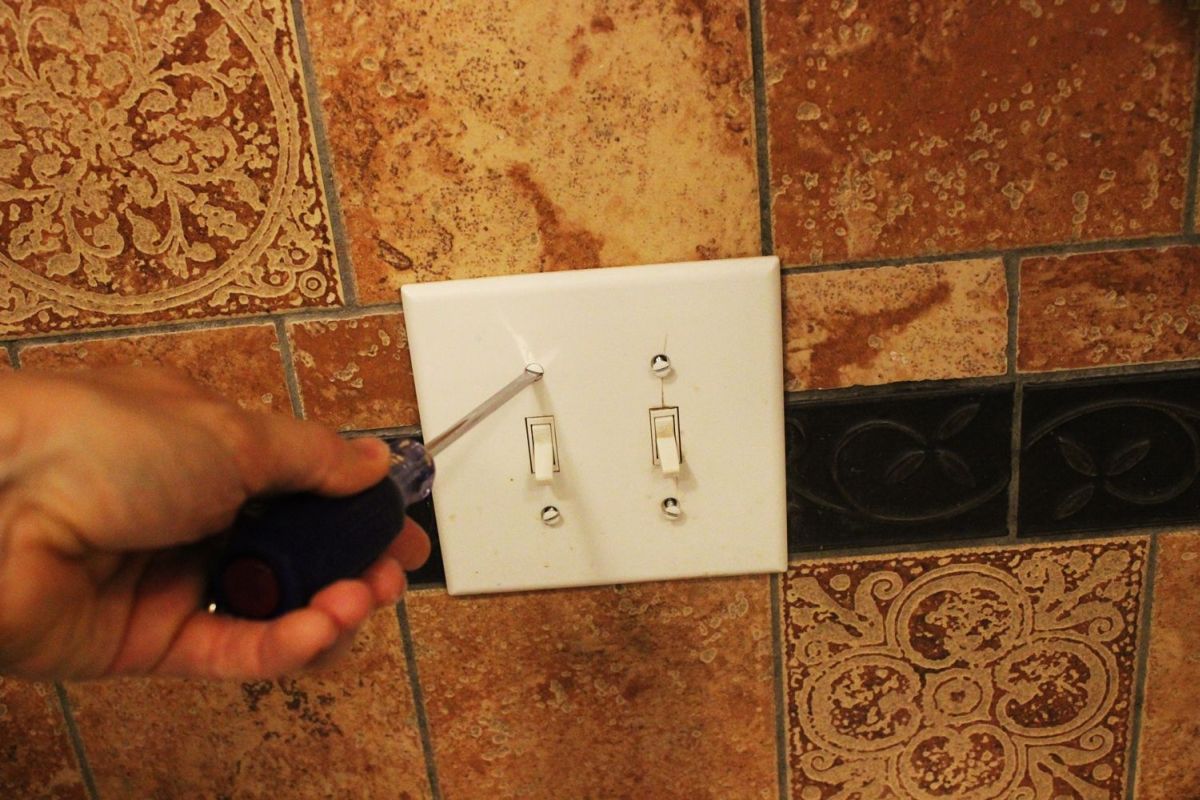
Begin by removing the faceplates of all light switches and outlets that are installed on top of the tile backsplash to be removed. Next, cover all countertops with drop cloths or some kind of protective covering (not shown).
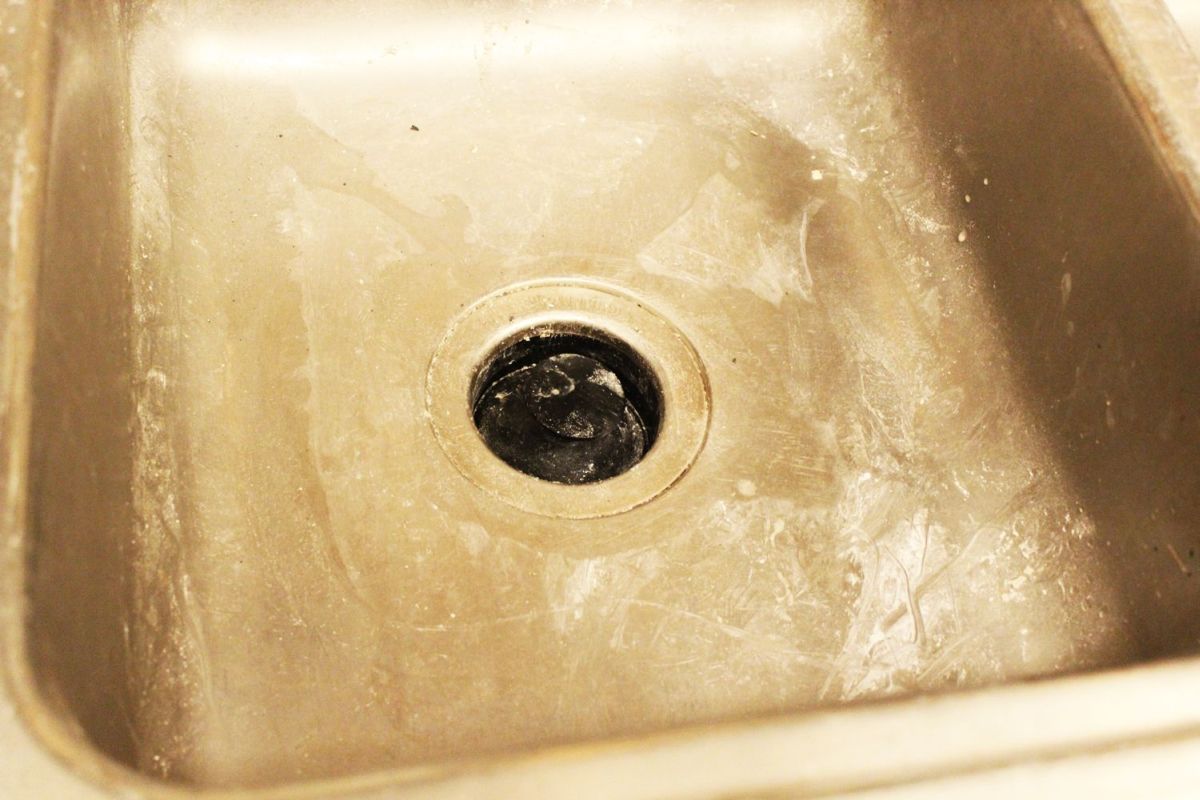
If you will be removing tile near the kitchen sink (likely, if you’re removing a kitchen tile backsplash), put the stopper into the sink drain. This will keep stray tile bits from falling into your drain and either clogging it or ruining your disposal.

How to remove tile – Method 1:
Remove tiles individually. Beginning at a point of easy access (e.g., on one side of your backsplash), carefully tap a chisel with a hammer between the back of the tile and the wall.

This tile-by-tile method is recommended when the tile itself will pop off fairly easily, leaving little or no damage to the wall behind.

Continue removing the tiles, one at a time, working from top to bottom, until all tile is removed. This method might seem tedious, working with one tile at a time, but it will likely save time in the long run, as your drywall repairs will be minimal.

But what happens when, upon removal of your first tile, it pulls out an entire piece of the drywall with it?

As you can see, this is significant wall damage, and removing one tile at a time with this as the result is not an efficient option at this point. So here’s where we might consider Method 2 of tile removal.

How to remove kitchen backsplash tile – Method 2:
Remove strategic, large chunks of tile + drywall. (This method will require you to replace the entire section of drywall behind your existing tile backsplash.) Using an all-purpose or wood bit on a multifunction tool (also known as a Dremel tool), cut through the drywall all around your tile backsplash.

You’ll want to cut through the grout between the countertop and the bottom row of tile. Use caution with your multifunction tool next to the countertop so it won’t damage the countertop’s surface.
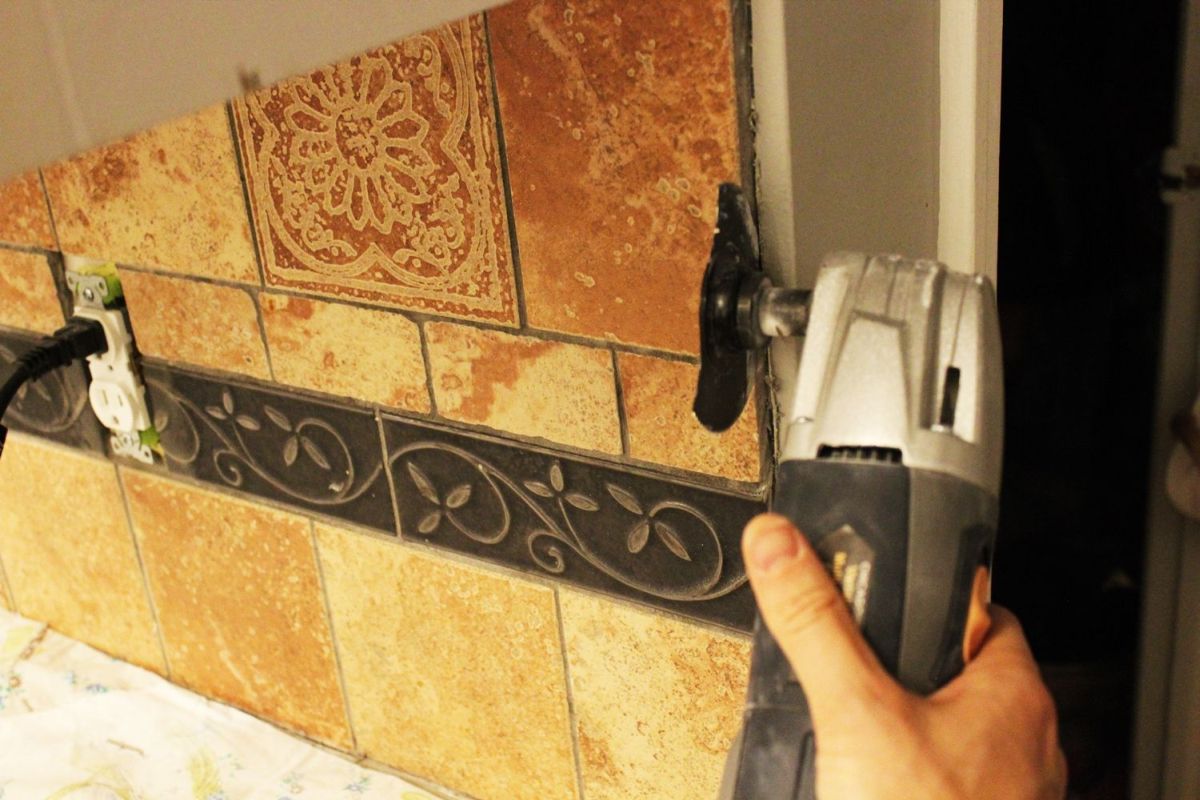
Cut along the side of your backsplash tiles, from the top of the countertop to the top row of tiles. The goal is to cut all the way through any grout or caulk AND the drywall behind, but do not cut into the 2×4 framing within the wall itself.
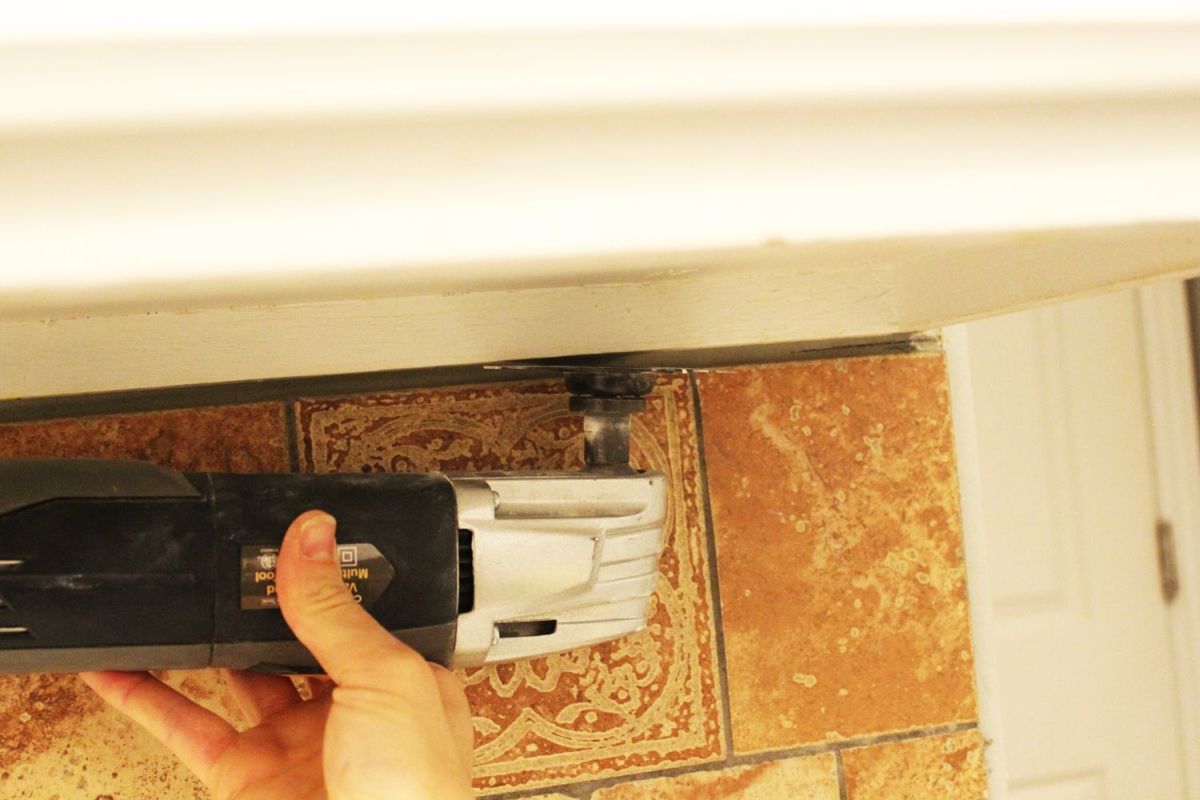
Use the tool to score and cut underneath the cabinetry. Basically, you are cutting all the “walls” of your tile backsplash. Cut all the way around the backsplash, then carefully pull outward, starting at an outer corner.
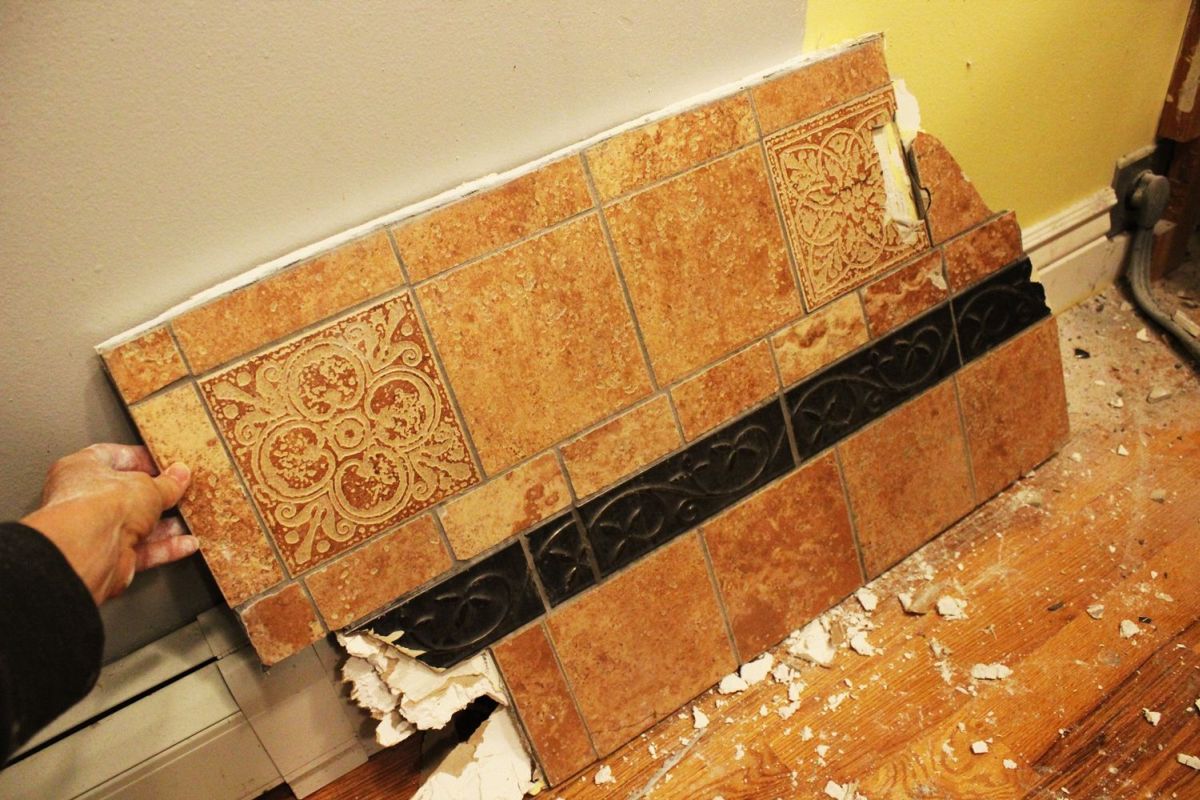
If you have cut the drywall thoroughly, you should get a large chunk of tiles + the accompanying drywall to come off in one fell swoop.

Your insulation, or bare framing, will now be exposed.

Continue this method – cutting the perimeter of the tile backsplash completely through the drywall, then pulling gently to remove large chunks – all along the remainder of your tile backsplash until it is all removed.
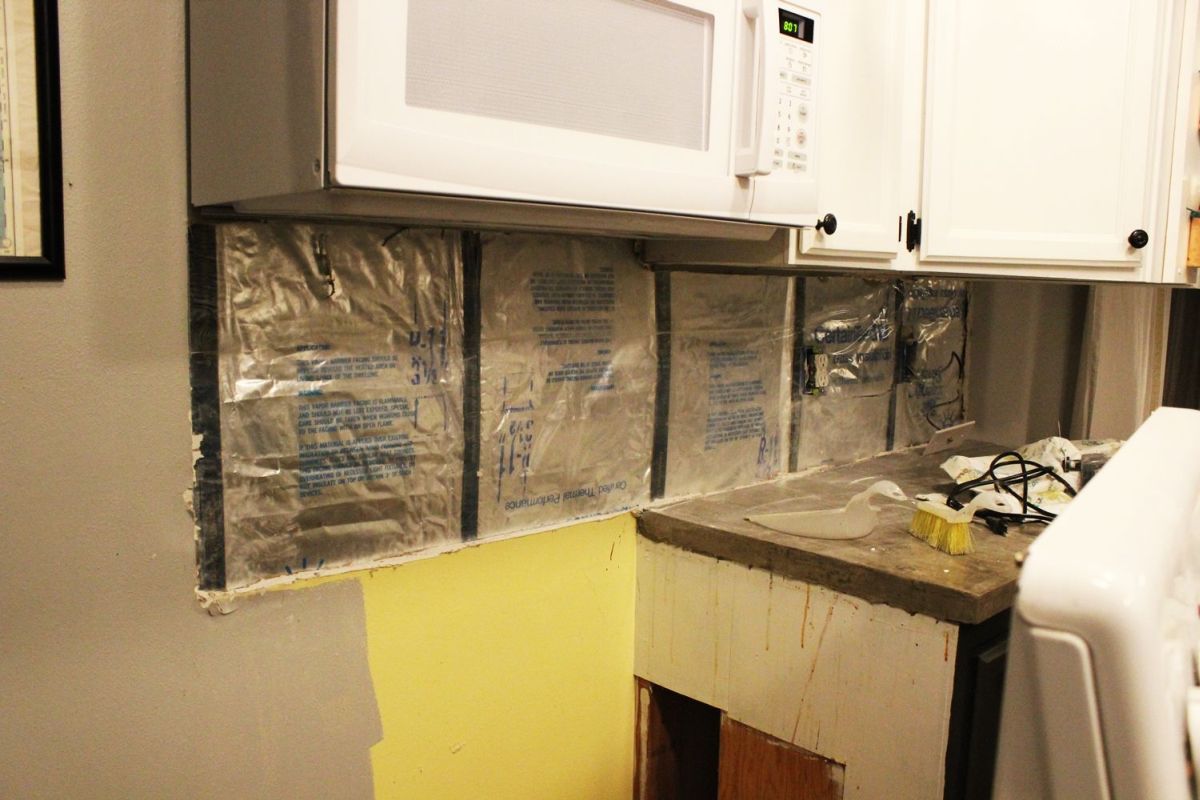
Here’s what your wall will look like at this point. But if you’re having a hard time getting this method to work for you, consider incorporating Method 3 of tile removal.

How to remove tile – Method 3:
Crush tiles with a hammer, remove them and the drywall in bits. This method is messy (plug your sink! And wear gloves and safety glasses!), but it is an effective method if you can’t cut around the perimeter of your backsplash for some reason. We couldn’t access the perimeter of the tile above the kitchen sink due to a light fixture, so the hammer method worked out well for us here.

NOTE: ALWAYS use caution during demolition, particularly around electrical and/or plumbing components. This author and Homedit are not responsible for any damage caused by the use of any of these tile removal methods.
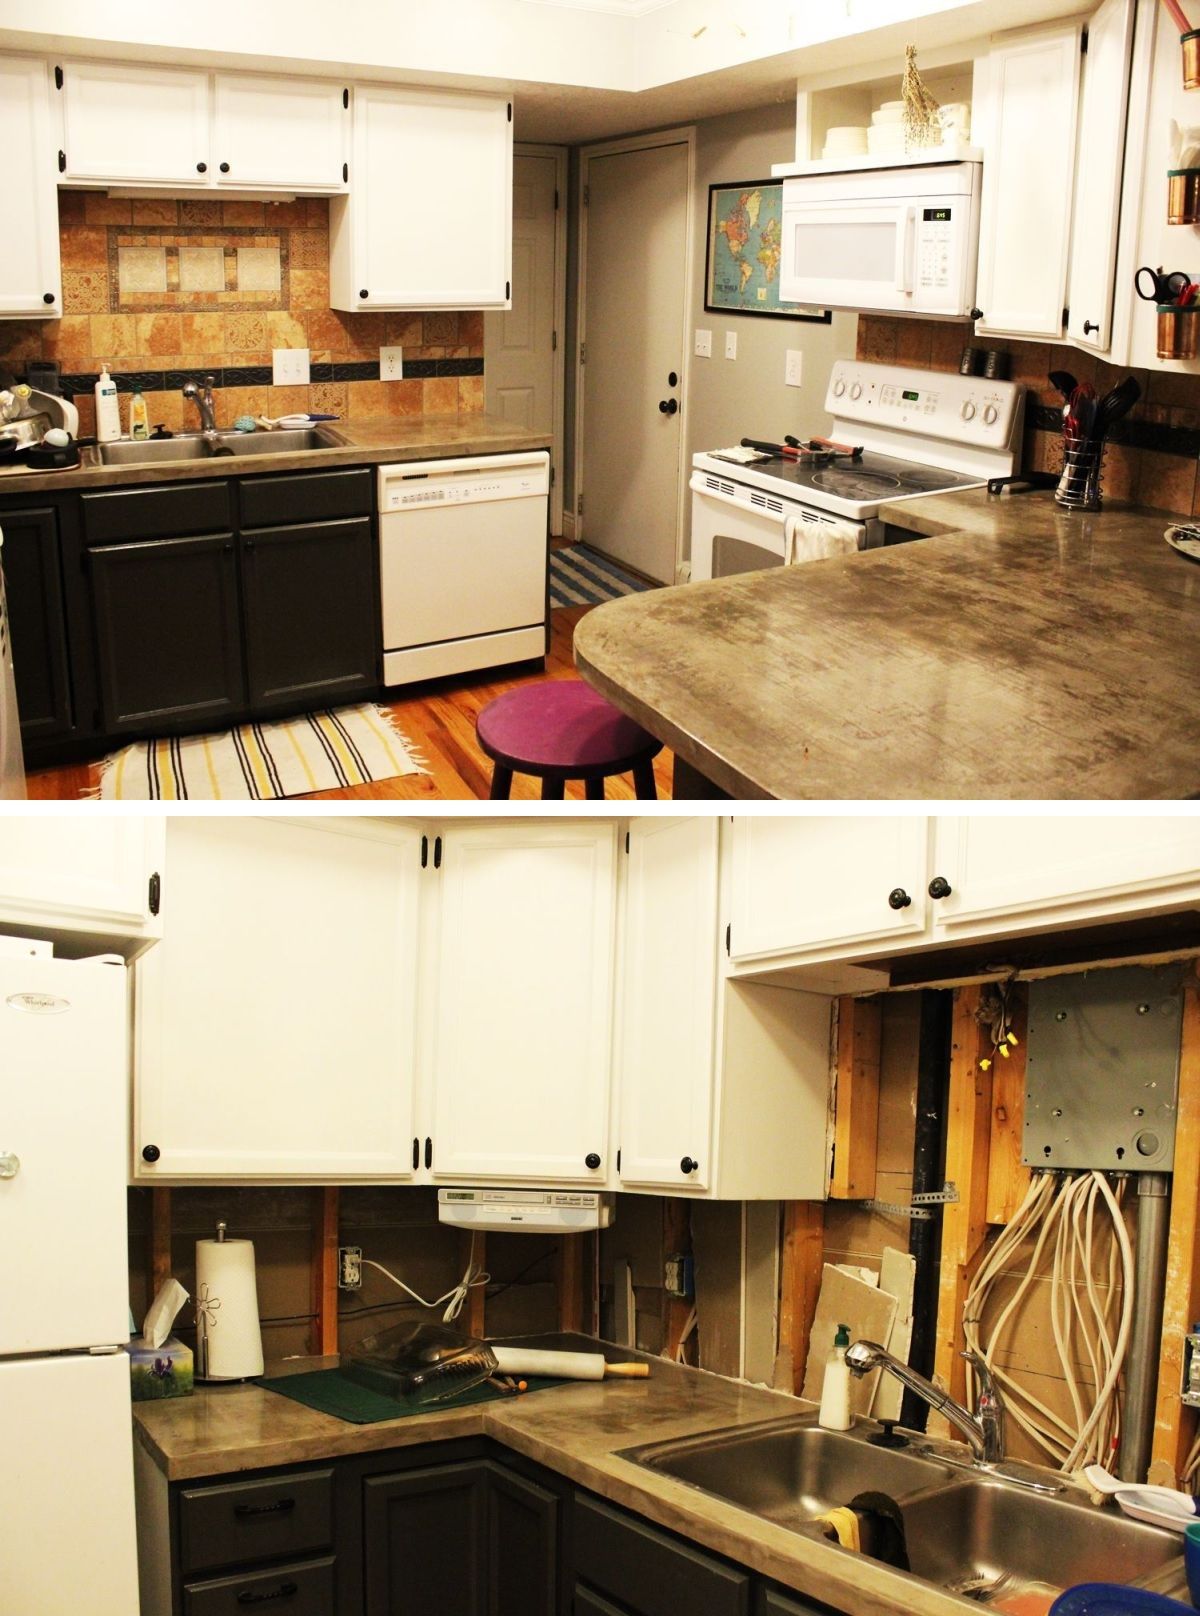
Pick up the large fragments of tile, vacuum up the rest, and mop and scrub everywhere else. There will be a lot of drywall dust.
Congratulations, you’ve just removed your old tile backsplash. You’re one step closer to creating the kitchen of your dreams!