How to Install Pergola Posts

Building a pergola can add value to your home and provide an outdoor living space. But, in order to build a pergola, you need to install the pergola posts.
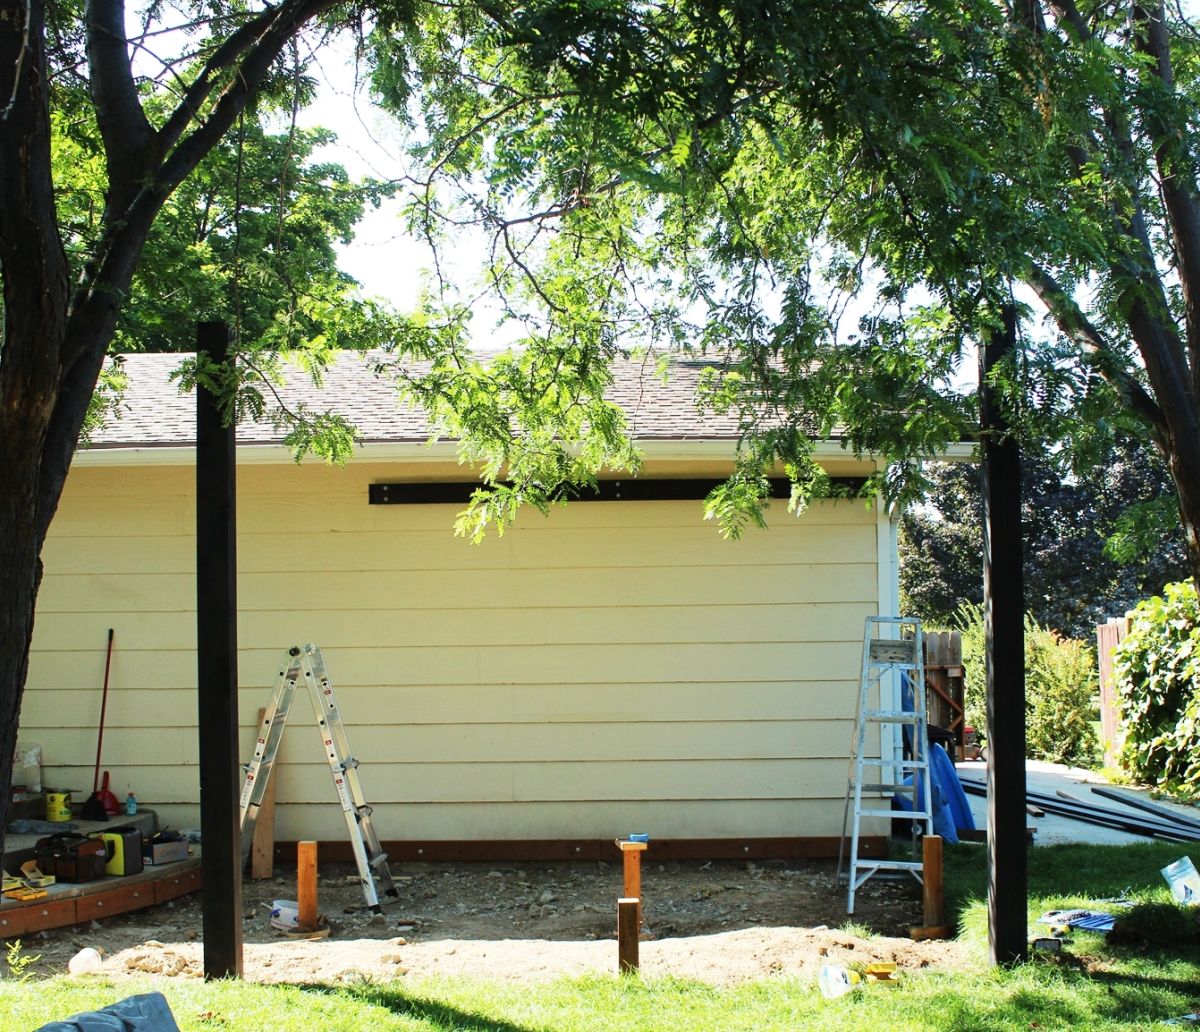
Before getting started, install your post brackets. Then follow this tutorial on how to install pergola posts. We’ll be using 6 x 6 rough-cut cedar.


How to Install Pergola Posts: Step-by-Step Tutorial
Follow these steps for smooth, sturdy, and good-looking pergola posts.
Step 1: Plane the Posts
Before you install your posts (this example uses 6×6 cedar posts, rough cut), ensure they have a smooth surface.
These rough-cut posts will benefit from being run through a planer to make them smooth and better able to take stain.
Run the posts through a planer, taking off just enough to create a smooth surface.

Because a 6×6 post (these are 10’ in height) is heavy, set up roller supports in the front and the back of your planer for weight help.

One person can guide the post into the planer, and a second person can pull the wood out. Keep track of the sides that have been planed, and rotate your posts to maintain an even square.

One benefit of using a planer on your pergola posts is that smooth wood exhibits the gorgeous wood grain better than rough-sawn wood.

The end goal of planing your posts is two-fold: (1) create smooth surfaces on all sides, and (2) ensure it fits snugly into your bracket.
These 6×6 posts were 6” square in their rough-cut state, but the bracket only accommodates 5-1/2” posts. Although the posts were smooth and even early on in the planning process, they went through the planer several times to lose 1/2” and fit into the bracket.

Step 2: Stain the Posts (Optional)
Once they’re smooth and ready to fit the bracket, you have two options: (1) install the pergola posts immediately, or (2) finish (e.g., stain or paint) them. We stained our posts prior to installation.
To stain your wood before constructing your pergola (recommended), follow this guide: how to stain pergola wood.

Step 3: Mount Your Posts to Their Brackets
After the stain has dried completely, you can install or mount your pergola posts. Pick one post and set it into the bracket you’ve already positioned and installed in concrete.

Position the post on the bracket so that it aligns with other posts as appropriate for your building project.
Have one person support the post – it is not safe to leave it freestanding without being secured to the bracket.

Check the post for level. There will be some give in the “leanability” the higher up you go, which is good news for building a pergola. Check for level on two adjacent sides of your post.
With someone holding the post in a level position, it’s time to begin securing it to the bracket.

To give the post initial support, use the screw holes in your bracket to temporarily attach the post. Use exterior-grade screws, 2-1/2” recommended.

Once you’ve installed screws on the bracket edges of both sides of the post, it’s time to predrill holes for your lag bolts.
Use 1/2″ thick lag bolts, 2-1/2” in length, so they travel to the center of your post but don’t run into each other.

Always use a washer when installing lag bolts in your exterior construction projects.

Use a ratchet to tighten the lag bolts, one at a time.

Tighten lag bolts in opposition to each other. These bolts were tightened from 1-4, in that order.

With your pergola post screwed and bolted into place on its bracket, it is now safely freestanding.

Repeat this process for any other pergola posts you’ll need. In this instance, the far corner needs a pergola post.

Pergola Posts Installation Tips
In some instances, you’ll need to dig out ground or grass to install the lag bolts and screws. If grass is your obstacle – remove it in large chunks, keeping it intact. Replace the grass chunk when you’re done working in the area.
With your pergola posts installed on their brackets, you’re ready to move onto the upper pergola frame. Install your pergola frame as soon as possible, so the posts aren’t subject to forces that will make them wobble. You’ll be on your way to a completed pergola.