No Paint, No Nails: How Black Yarn and Tape Became a Giant Halloween Spiderweb on a Wall


Halloween spiderweb decorations often come in bags of white synthetic webbing that must be stretched across furniture, doorways, and windows. Instead of using those loose fibers, this project turns an empty wall into a giant black spiderweb with yarn and tape, leaving the furniture and paint untouched.
The Homedit DIY uses long strands of black yarn stretched across a white wall, with shorter sections tied between them to form the web. Painter’s tape holds the outer ends in place, removing the need to hammer nails into the wall or drill holes for hooks.
The finished spiderweb spreads above a white dresser, with its center positioned toward one side rather than in the middle. Its black lines stand out against the pale surface, creating a Halloween decoration that occupies much of the wall without covering it in paper, fabric, or paint.
Black Yarn and Tape Replaced Store-Bought Spiderweb Decorations
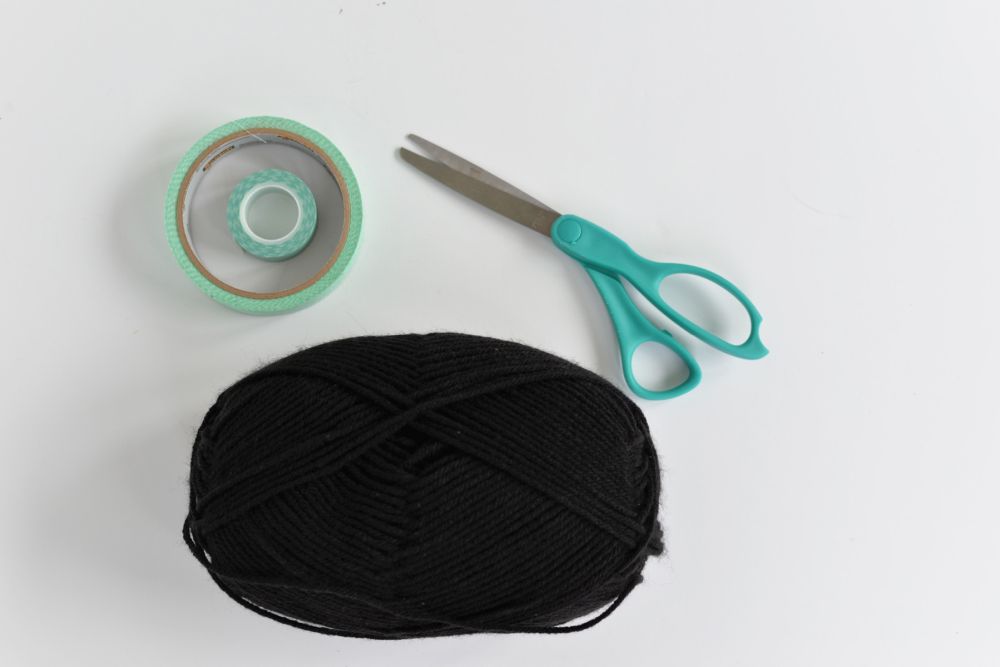
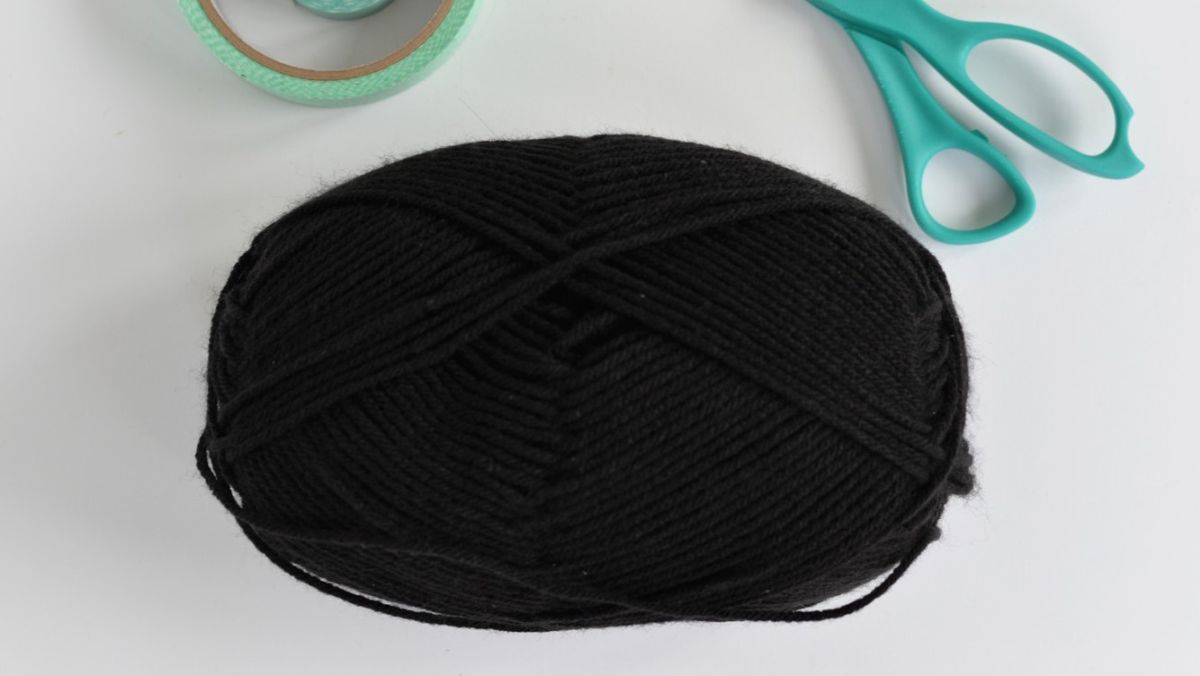
Black yarn, scissors, and wall-safe tape provided the materials for the project. The larger roll of mint-colored tape could hold the longer strands against the wall, while the smaller roll offered another option for securing the ends.
The yarn needs enough length to stretch between the outer points of the web, with additional pieces reserved for the rings connecting those strands. Black creates contrast against the white wall, while tape allows the decoration to be removed after Halloween.
Long Strands Established the Web’s Shape
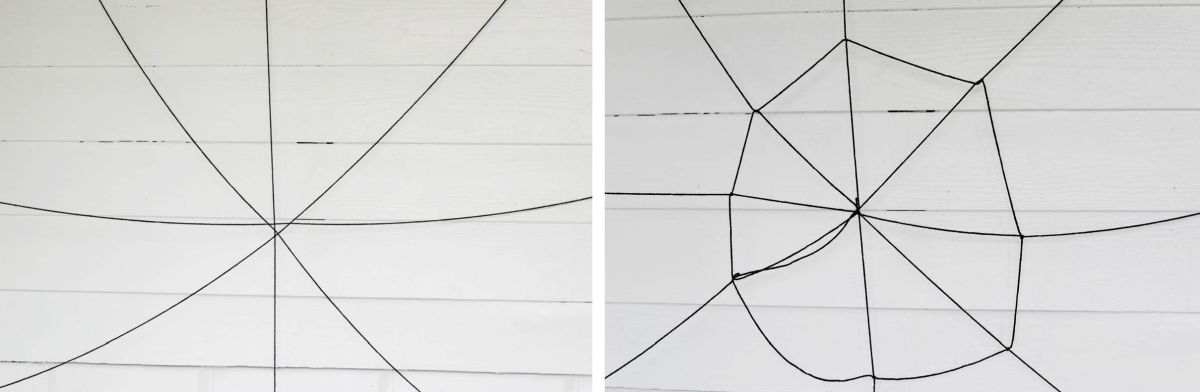
The construction began with long pieces of yarn extending across the wall and crossing at one central point. Their outer ends were attached with tape, creating the spokes that would support the rest of the web.
A short piece of yarn secured the intersection, keeping the strands connected before the outer rings were added. The creator then tied another length of yarn between adjacent spokes, beginning the first polygon around the center.
Knotted Rings Turned the Strands Into a Spiderweb
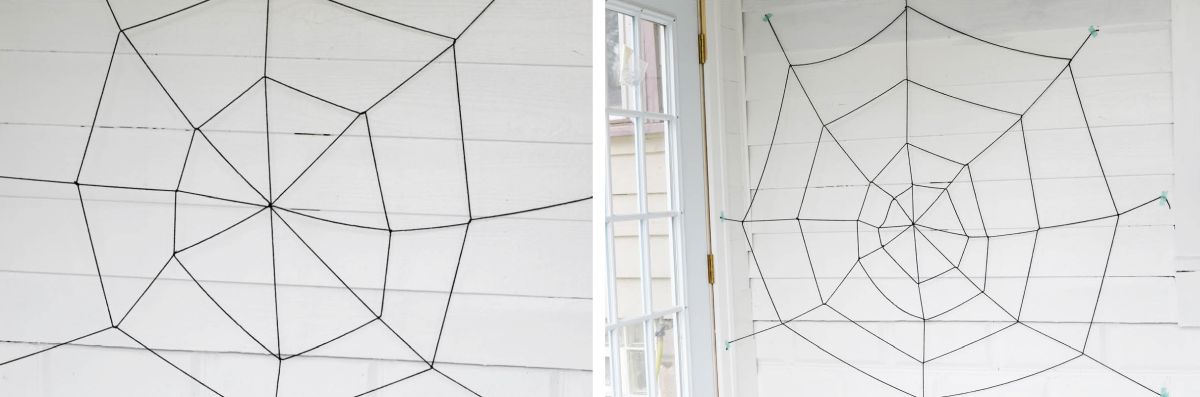
More yarn was connected between the spokes, creating rings that grew wider as they moved away from the center. Each section was tied to a spoke before continuing to the next, preventing the cross strands from sliding out of position.
The original instructions recommend slip knots, which allow the rings to be adjusted along the spokes. Changing the distance between the rings creates larger or smaller openings without rebuilding the entire web.
The finished pattern doesn’t require equal spacing or perfect circles. Its irregular lines give the web the appearance of one stretched across a corner rather than a printed Halloween design.
The Giant Web Covered the Wall Above a Dresser
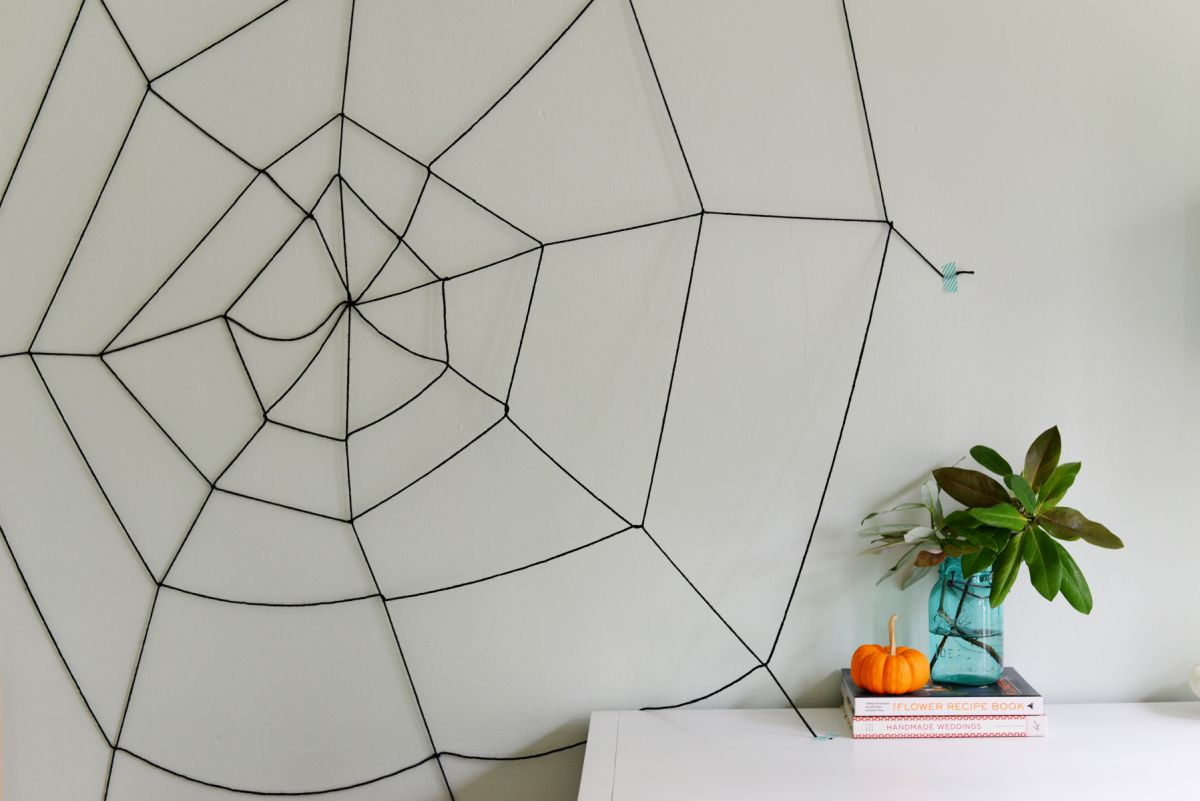
The finished decoration extends from near the upper wall toward the white dresser below, with black strands spreading outward from an off-center point.
A black table lamp with a green patterned shade, a glass jar holding leafy branches, and a small orange pumpkin sit beneath the web. The contrasting yarn adds a Halloween element without replacing the existing decor.
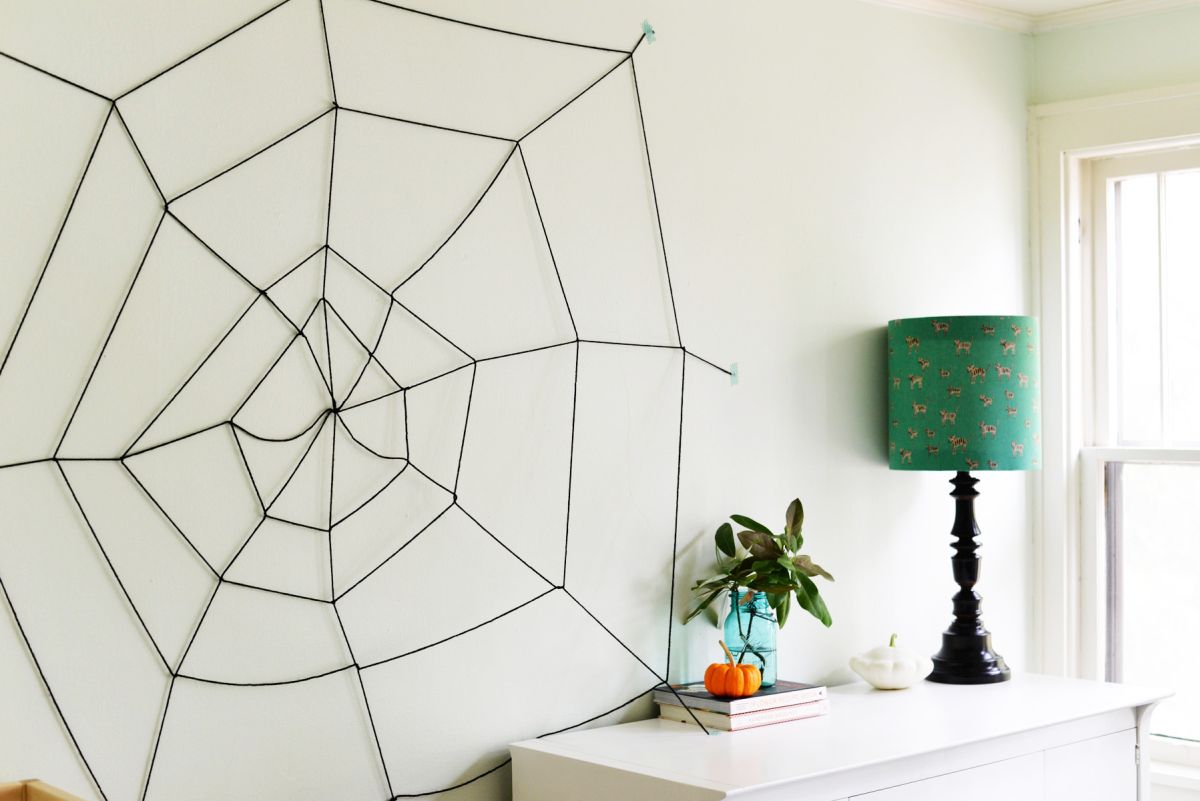
A closer view shows the central intersection and several rows of knotted yarn, with the rings changing shape as they extend toward the outer edges.
The wall remains visible between every strand, allowing the black web to form a large pattern without blocking the white background.
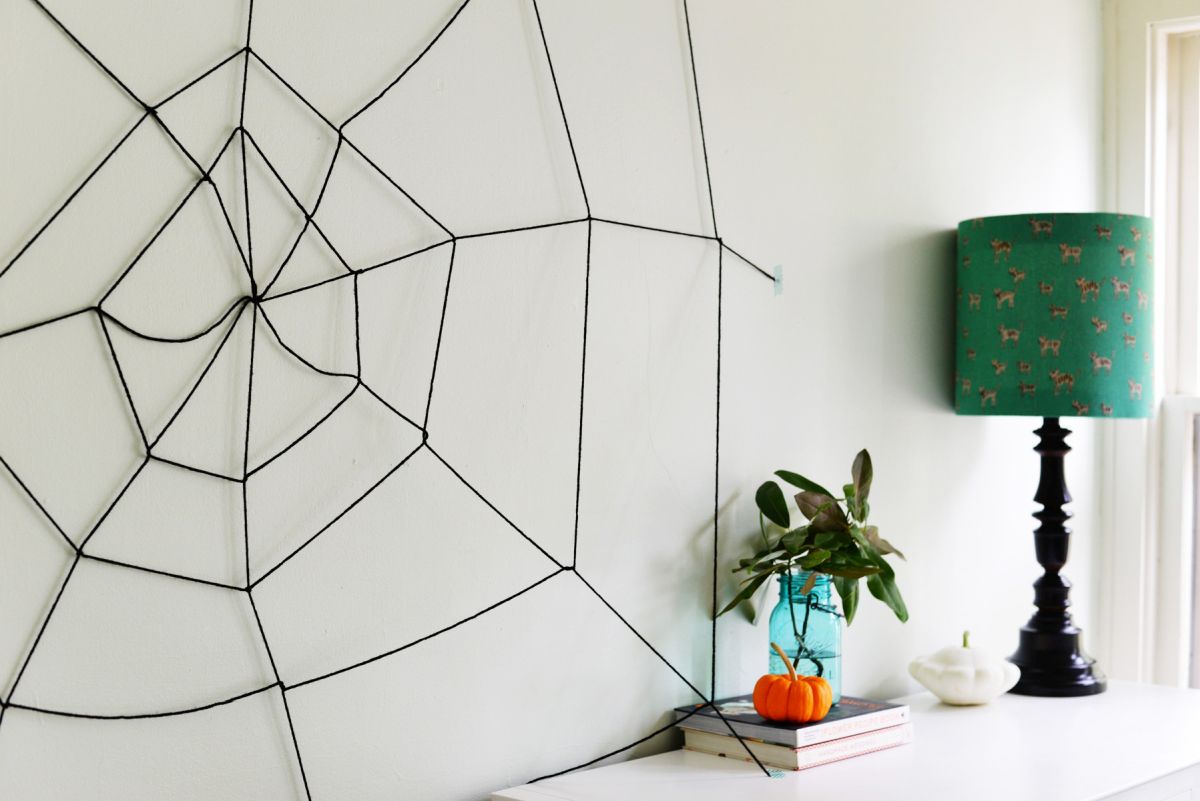
Along the lower edge, strands reach toward the dresser and terminate at small pieces of tape. The tape secures the yarn without permanent fasteners, making the decoration suitable for removal after the holiday.
Painter’s tape and washi tape can still affect delicate paint, so testing adhesion on a hidden section of wall before installation can help prevent damage.
The same method can be adapted to smaller walls, windows, and bookshelves by shortening the spokes and reducing the number of rings. Adding plastic spiders would change the appearance, but the web itself requires no extra decoration.
Would you cover an entire wall with this black yarn spiderweb, or keep Halloween decorations to smaller pieces around the house?
Project and photography: Homedit.