How to Professionally Install a Bathroom Mirror

We’ve all seen the builder-grade bathroom wall mirrors, held up gracelessly by those small but ugly clear plastic clips. While there are tricks to hiding those plastic clips, this tutorial addresses the original issue: hanging a frameless bathroom mirror like the professionals, without the use of anything visually distracting.
It’s a simple process, although it does require some serious muscle power (depending on the size of your mirror) and precision-heavy patience. So, learn how to install a bathroom mirror with these easy steps.

What you Need to Install a Bathroom Mirror
- Frameless mirror
- Trims
- Mirror mastic
- measuring tape
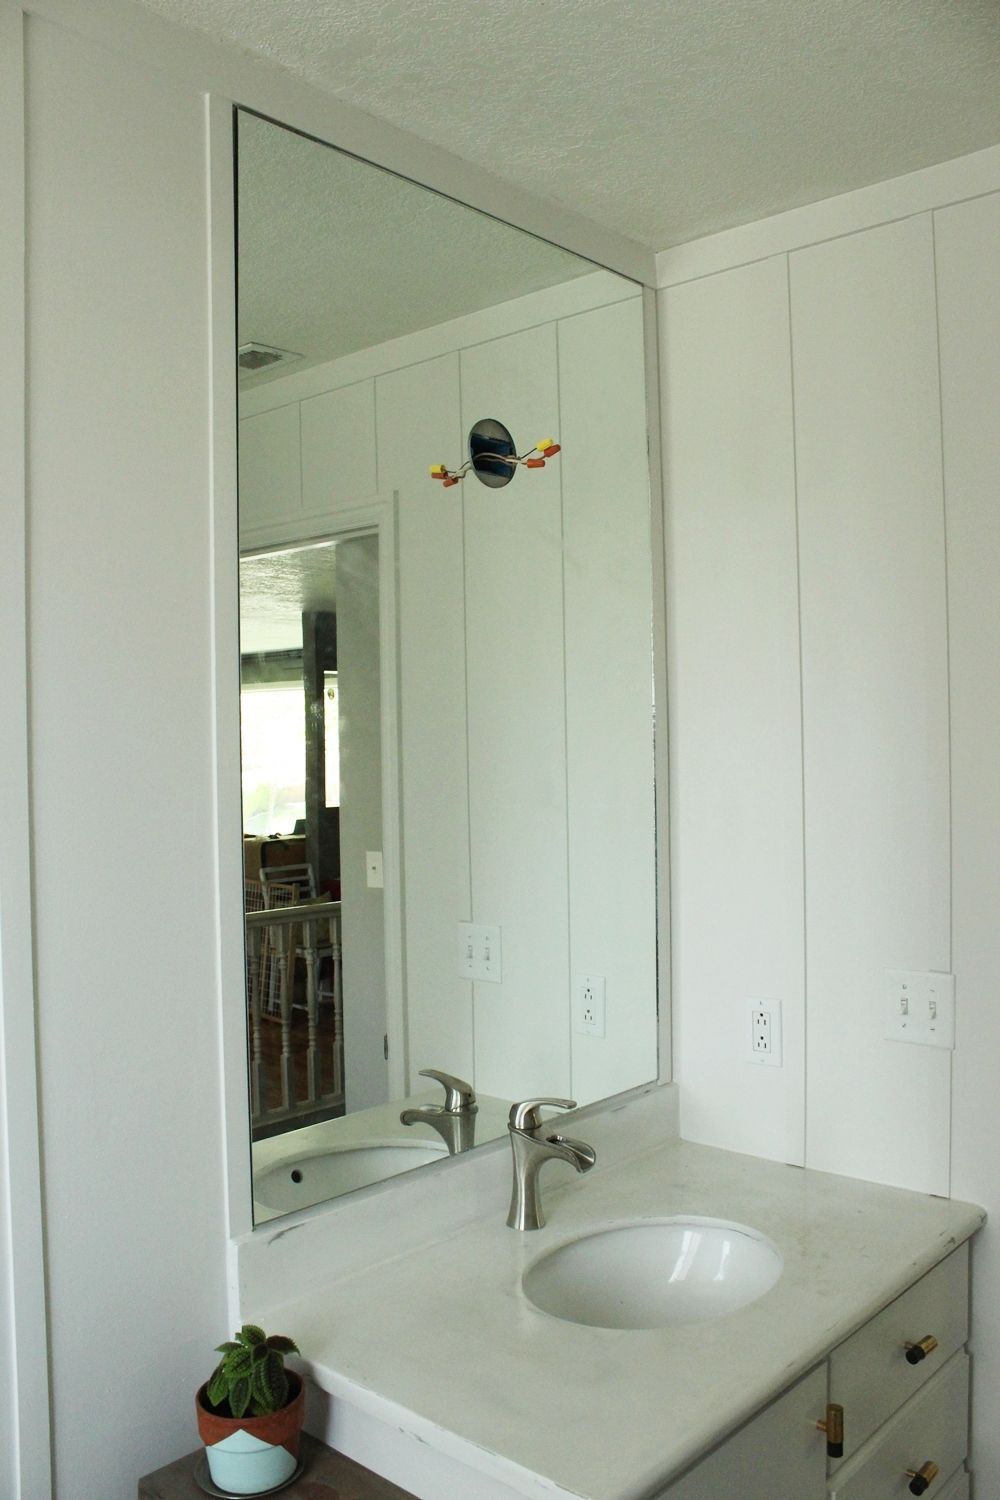
This method, of hanging a large bathroom vanity mirror the way the professionals do it, will have a fantastic impact on your entire bathroom, no matter its size or style. Notice how the “before” space appears small and rather dingy, largely due to an undersized (translation: pathetic) mirror? A new ceiling-height mirror changes the impact of that very same space dramatically…even if you’re wearing old jeans and a hoodie.
How to Install a Bathroom Mirror: Step by Step
Step One: Make a plan before you install a bathroom mirror
Before you begin your mirror-mounting experience, we need to discuss the actual mirror you choose. I highly recommend having a mirror custom-cut for your space for several reasons.
First, a bathroom vanity will generally have a light mounted somewhere above the vanity, typically a foot or two below your ceiling (or at least partway up). This severely limits your options for a large, beautiful, light-bouncing-around-the-bathroom mirror.
Secondly, a custom-fit mirror can accommodate odd proportions and obstacles (such as a light) and looks built-in. Thirdly, built-in things always look more expensive and sophisticated.

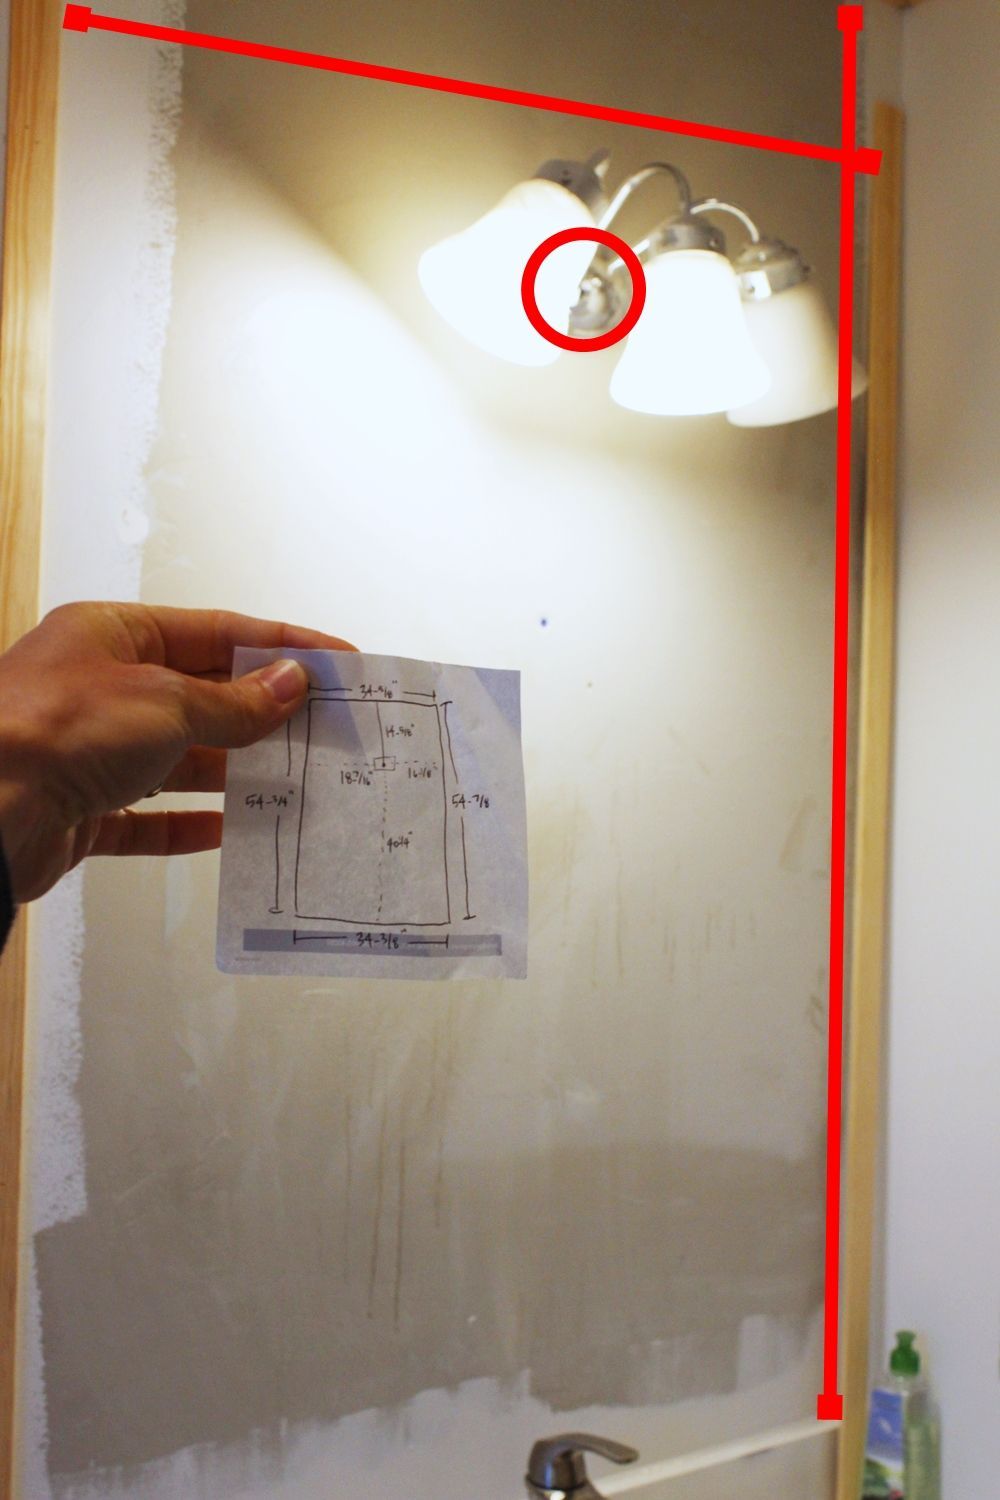
The key, however, is to produce impeccably accurate measurements to the professional mirror cutters. (Check out your local glass retailers to do this for you.)My mirror ended up being almost 3’ wide by almost 4-1/2’ tall.

To produce accurate measurements, remove the light fixture (if applicable) to find and measure the electrical box underneath. Most glass cutters can cut a precise 4” round hole out of the center of a mirror, which happens to be the exact size of a typical electrical box. In other words, there’s no room for error, so you need access to the box directly.

Step Two: Measure where you want to install the bathroom mirror
Measure both ends of each horizontal and vertical space – the bottom and top widths, the left and right heights, and the distance from the center of your lighting box to all four sides of your space. The reason these measurements are so important is because your space, in an old house at least, might not be perfectly square.
That was the case with mine. I was recommended to subtract at least 1/2” total from the smallest width and height measurement to be sure the mirror fit. I measured about four times and, confident in the numbers’ accuracy and wanting a seamless mirror fit, ended up subtracting only 3/8”. Make a detailed writeup of your measurements and talk to your mirror-cutting professionals for the final decisions.
Step Three: Always dry fit before you install a bathroom mirror
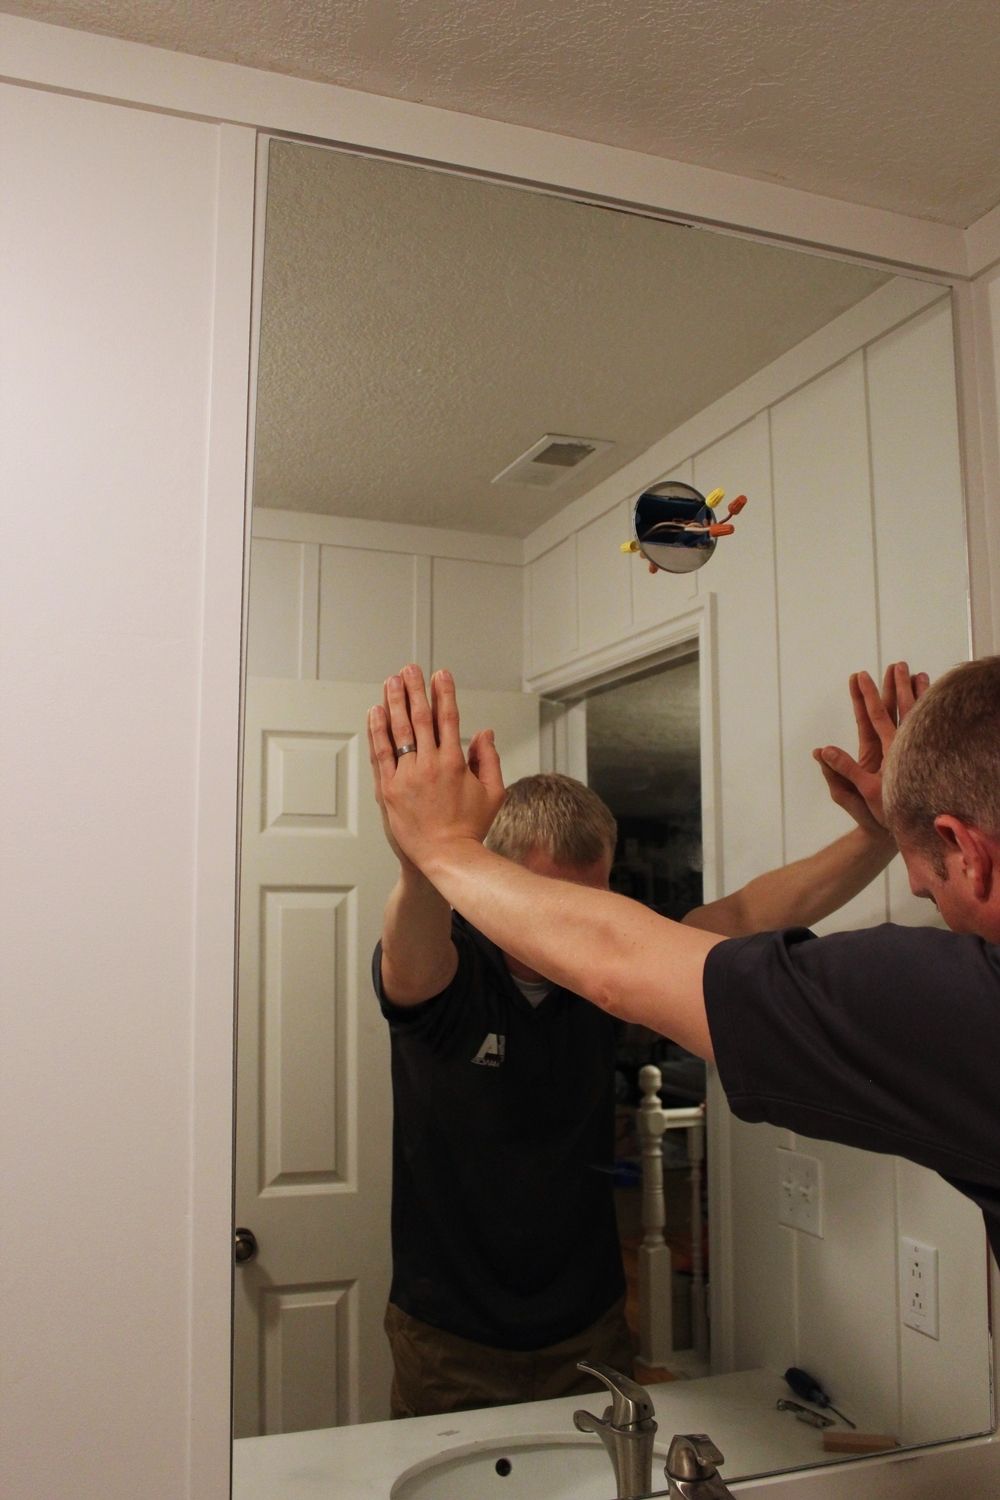
One you receive your perfectly cut mirror, you need to do a dry fit into your space to make sure it fits impeccably. Depending on its size, the mirror can be quite heavy and awkward; however, DO NOT SKIP THE DRY-FIT STEP. It is critical for a quality, professional end result. Your life will be easier with two (or three) strong adults ready to help. So lift the mirror into place.

Step Four: Double check cut outs in bathroom mirror
With the mirror in place (it fit beautifully! What a nerve-wracking few minutes I spent, wondering if it would fit!), you need to verify several different aspects. First and foremost, if your mirror has a cutout for a lighting fixture’s electrical, make sure the screw holes are both visible and accessible. Your cutout is worthless for a lighting fixture if this is not the case.
Step Five: Make adjustments before you install a bathroom mirror
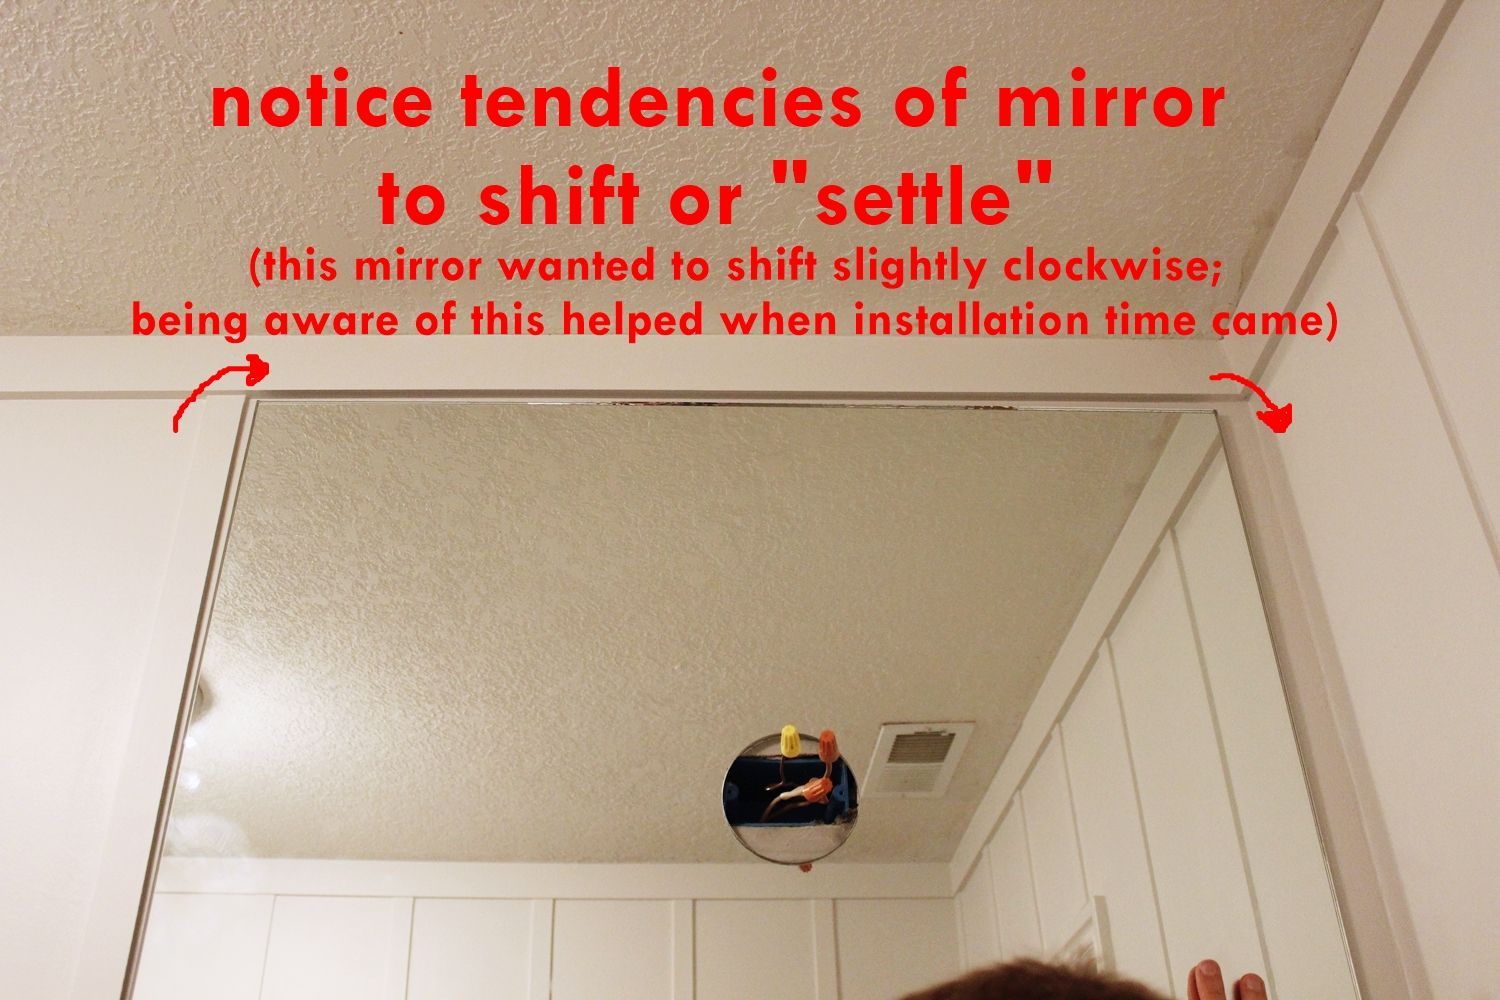
With the cutout aligned, still holding the mirror up for a dry fit (this is awkward and where multiple people’s help comes in handy), check to see what tendencies the mirror has when it’s up against the wall. For example, it might want to tilt one direction more than the other.
It might slide or stick or have a hard time lying flat. Noticing and noting these tendencies is important here, because you can prepare for them before it’s crunch time (and/or too late) with the mirror mastic.

Also during this dry fit, still making sure the cutout is aligned and the mirror is positioned straight and centered, mark with a pencil any lines (above, below, and/or on the sides of your mirror) that will be helpful to quickly position the mirror during mounting.
With the mastic applied, you probably won’t have a lot of time to make huge adjustments or measurements, so get all the positioning and marking done beforehand.

Tip for Installing a Bathroom Mirror
I know the mirror is heavy at this point, but double-check all the corners and sides one final time during this dry fit, looking for anything that stands out oddly. Particularly if you have to adjust one side (keeping the cutout centered), you’ll need to check the other three again for squareness.

Step Six: Install bathroom mirror with mastic
With your dry fit complete and your mirror’s precise destination marked on the wall, it’s time to put the mastic onto the back of your mirror. This is really the most important component when installing a bathroom mirror as far as the actual successful mounting of the mirror.
Rather than make a guess in the mastic section of my local hardware store, I talked with the glass-cutting professionals who cut my mirror for me, and I bought this mastic that they use for all of their mirror installation jobs. It is heavy duty, durable, and strong.

Use Circles with the Mastic
Every 8” or so along the top of your mirror, “draw” a circle with your mastic. For a nearly 3-foot-wide mirror, this meant four circles along the top. Tip: Keep your circles at least 3” away from the edge to prevent any mastic oozing out; nothing kills a floating mirror installation like some ugly brown mastic ooze.
Tip: Our mastic tube tip was cut too far away from the actual tip, making the mastic come out too thick. In retrospect, the thickness of the mastic strands should have been about half what they are in this photo.

Keeping about 3” away from the cutout opening, make a swirling flower-type shape around the cutout itself. This spot requires extra mastic to really hold it in place and strengthen its bond to the wall to help support the added weight of a light fixture.
Again, take care to keep the mastic far enough away from the cutout edge so mastic doesn’t leak out and accidentally cover or interfere with the electrical box.

Keep applying circles of mastic every 8”-10” or so, keeping in mind that the top of your mirror requires slightly more mastic than the bottom. Due to the thickness of this mastic application, our mirror took much longer to mount than it should have, which meant a lot of heavy, hard lifting and holding precisely in place.
Learn from what I say here and not necessarily what this photo shows you – trust the mastic’s inherent holding power, and keep the applied strands thinner.

Step Seven: Press the bathroom mirror firmly
With mastic applied onto the back of the mirror, push your mirror precisely into position on your wall. Press it firmly against the wall for as long as it takes for the mirror to stay in place.
Another Tip When Your Install a Bathroom Mirror
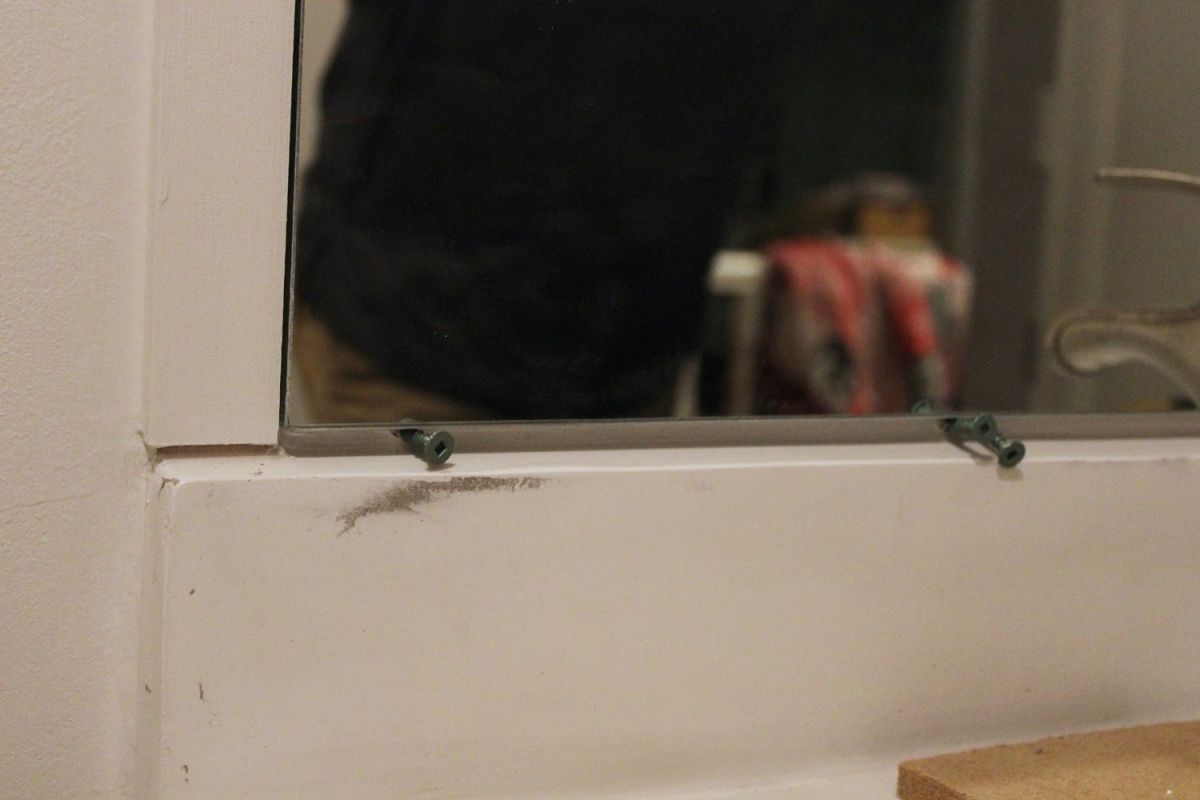
(An idea for you if you do like we did and applied too much mastic so that the mirror holding requirements exceeded our strength and endurance capacities: carefully place some temporary screws into wall studs under the mirror to help hold it up.
Be extremely careful not to catch the threads on your mirror itself, as this could torque and crack your mirror. Sadness. Hopefully, however, you won’t need to resort to this drastic action due to the appropriate application of mastic amounts in the first place.)

Keep a constant eye, as you’re holding your mastic-backed mirror in place, on the cutout over the electrical box. Make sure the mirror doesn’t slide discreetly and slowly down over the screw holes.

Bathroom Mirror Framing
The wall battens provide the mirror’s side “frames” in this case. So, I avoided installing the final batten until the mirror was in place so as to keep the connection tight. Installing a batten at this point also helped to keep the mirror from its tendency to clockwise tilt that, you’ll remember, we observed during the dry fit.

Let the mastic cure thoroughly as per product instructions and your gut feeling. Walk by the room often to admire the newfound amounts of light and spaciousness.

Step Seven: Prep nail holes around bathroom mirror
While the mastic is curing, you could take advantage of the required wait time. Fill in the brad nail holes and paint your newly installed batten piece, if applicable.

Let’s take a minute to remember where we came from. We can adequately appreciate the new mirror arrangement now. The difference in perception of space, light, and sophistication is amazing with a new bathroom mirror.

My favorite aspect of installing this bathroom mirror is the ceiling-height feature. The entire bathroom renovation emphasizes the vertical. So, it only makes sense that the bathroom mirror should reflect that as well. (Pun absolutely intended.) Originally, I had planned on framing out this bathroom mirror, but I prefer the simple seamlessness of the mirror tucked away in its custom nook. Now it’s time to mount the light over the mirror!