DIY TV Stand – A Blend Of Industrial Rustic And Modern

I am back to my old friend: dark wood stained and galvanized pipes. It is such a cost effective and easy way to build furniture. Today I am creating a DIY TV stand.
Using these supplies will allow me to have a rustic and industrial TV stand. Using a thinner wood will allow it to have a more modern feel to it. I’ve listed everything I used and laid out the steps so you can try making your own DIY TV stand!
Materials Needed to Make DIY TV Stand:
- x2 pine board 3.5x2ft
- 3/4″ pipe fittings
- a few lengths of 3/4″ pipe
- stain
- x4 base plates
- screws
How to Make A DIY TV Stand with Pipes:
Step One: Choosing your board thickness
I started with two large boards, they are pine 3.5 x 2 ft and about 1 inch thick. I chose this to have it be as cost effective as possible. When selecting your board be sure to pick one that is sturdy enough to not bow with the weight of your TV.

Step Two: Stain
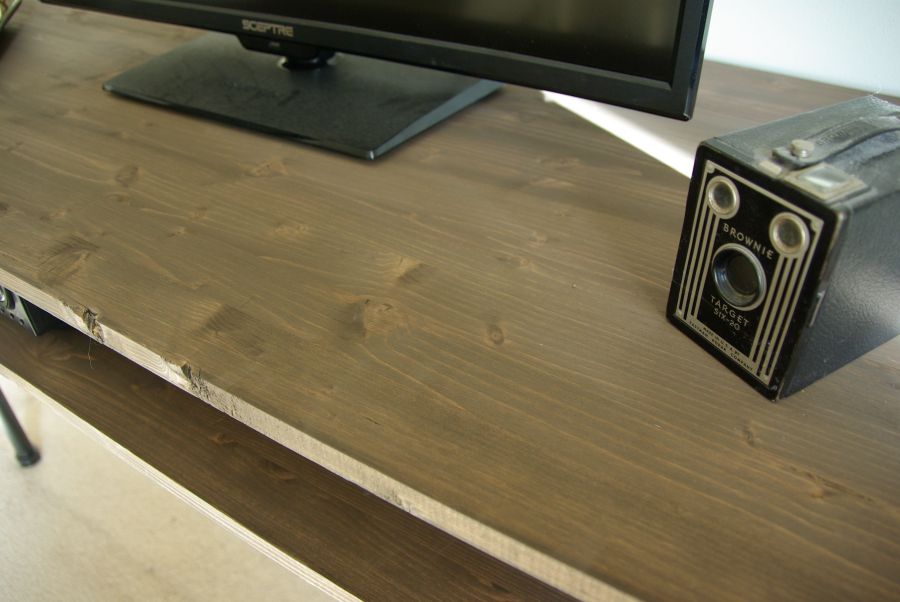
I sanded them up a little, allowing the wood stain to adhere to the surface as easy as possible. To stain anything be sure to wear gloves and lay something down so that the stain is just on the wood surface and not on anything else. Dipping a soft cloth into the stain, wringing it out in the can. And then wiping the stain on going side to side with the grain of the wood.

If there is dripping quickly wipe the drip into the wood until it has blended into the surface. After the wood is thoroughly stained. Take the cloth and wipe from one side to the other. Blending in the stain and making sure there is no wipe strokes left on the wood.

Tip for Staining DIY TV Stand
For this particular project I had to stain both sides of the wood, so waiting for it to dry before turning it over was really important. You can tell it is dry by lightly touching the wood. If there is residue from it on your hand or is sticky it is not dry.

I wanted to be able to see the grain in this wood, allowing the knots and natural wood lines to show through. I achieved this by doing lighter stain application and only doing one coat of it.
Step Three: Paint Pipes
While that was drying I took the galvanized pipes I purchased and spray painted them black. I purchased these pipes from a home improvement store, They are 3/4 in diameter. This is large enough for the legs to be somewhat of a statement, and sturdy enough to hold the wood. But, not too big.

I spray painted them black in order for the contrast of wood and piping to pop.

Step Four: Drill Holes for the DIY TV Stand
Once the wood was dry it is time to drill in holes in the bottom piece of wood. The plan is for the pipes to go through the holes, connecting the legs, and wood to the top wood (where the TV will sit). I used a drill press to make the holes. Adding the bit to the end of it that was slightly larger than the 3/4 diameter pipes. This will allow the legs to slide through the hole.

Placing the wood up against the drill press as far as it can go. This gives me one easy way to measure where each hole should be. The wood is pressed up as far as possible to the press on the longer sides, no measuring needed. Then deciding how far in on the short sides I want the hole to go.

I decided on 4 inches in. Marking where each hole should be. Slowly pushing the drill press into the spot. Creating a hole all the way through to the other side. A regular drill would have worked as well, with the correct drill bit end. I did four holes on one board that will be the cable and DVD box shelf. There may be a few spots to sand and stain again after the drilling is done, really easy to correct if some of the stain is rubbed off.

Step Five: Assembling the DIY TV Stand
The next step is putting it all together. I simply slid the longer legs into the hole. Then set the top board over the holes. Tracing where they hit the top board. This shows me where to attach the top base of the pipes. Then connecting the shorter pipes to the circular base.

NOTE: Be sure to get screws small enough for the width of your board. I needed to get special screws because the boards are somewhat skinny. And still had to be careful not to screw it too far and puncture the other side of the wood.

With the top four smaller pipes attached. I had a pipe connector that would sit right at the bottom of the lower board. Securing the board and the pipes together. Turning the pipes until they are connected snugly together.

Step Six: Finish
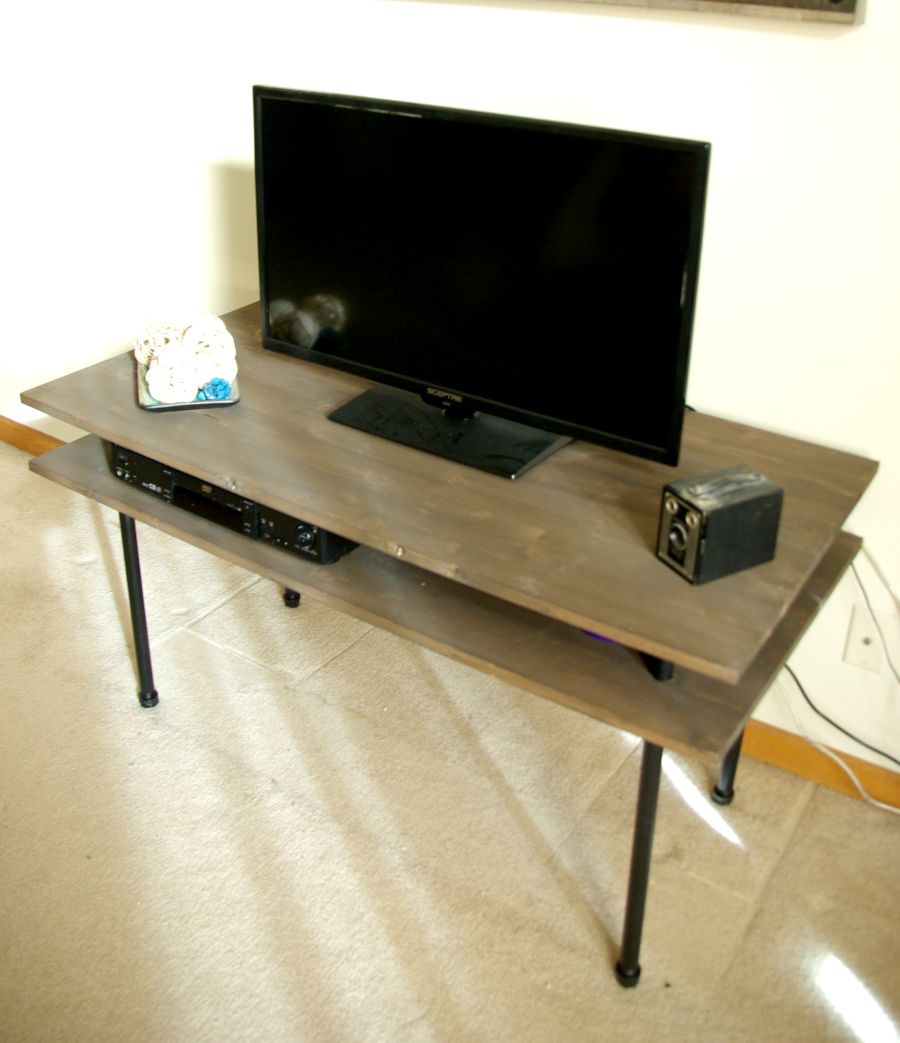
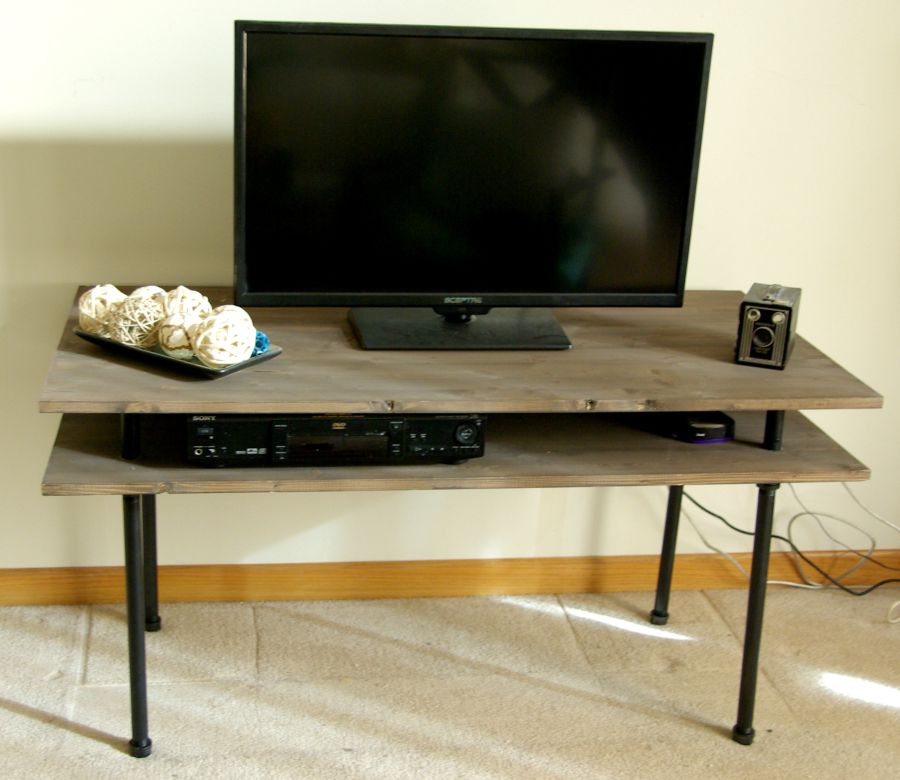
Once they were connected I added small bottoms to the four legs, putting the cap on the bottoms. I was done. I set my TV and necessary equipment up and have a great industrial TV stand.

If I had purchased this it would have been a few hundred dollar at least. But I spent total $63 on this. I like that it is customizable to me and my needs. You could make it as tall, deep, or bulky as you want. Each person has a different room and needs within that room. Being able to create exactly what you need is much easier than making something work. Also, finding a way to get just what I wanted without spending as much is always a plus.


Finding a way to have industrial and warm mesh together is a great thing. Sometimes industrial with furniture can feel cold. The dark wood brings out a homey feel to the piece. And the simplicity of the TV stand allows it to work in a contemporary space just as nicely as a rustic or country space.