DIY Bean Bag Chair


Making a bean bag chair from scrap materials is an easy DIY project that’s both budget-friendly and fun. It’s a great way to create a cozy and comfortable seating option for your kids while upcycling unused fabrics.

Materials:
- Two (2) pieces of upholstery fabric (32” x 45”)
- One (1) 22” zipper
- One 3.5 cubes bag bean bag beans
Step 1: Prepare and Cut the Fabric

Start by laying out two pieces of fabric with the right sides facing each other. Cut both pieces to a size of 32” x 45”, ensuring they are evenly aligned. These will form the main body of your bean bag chair.
Step 2: Sew the Long Edges Together

With the right sides of the fabric still facing each other, sew both 45” edges using a small straight stitch at a 5/8” seam allowance. For added durability, consider sewing a double seam along these edges. Once the seams are sewn, use a zigzag stitch on the raw edges to prevent fraying over time. This step ensures the structure of your bean bag chair remains strong and long-lasting.
Step 3: Shape and Sew the Curved Edge

Fold the fabric lengthwise so the two 45” seams align, creating a long “hot dog”-style fold. At one end, round the corners by cutting a gradual arc starting from the fold toward the seam edge, removing about 6” of width. Unfold the fabric to reveal a symmetrical curve. Once satisfied with the shape, sew the curved edge closed using a small straight stitch at a 5/8” seam allowance. For added durability, finish with a zigzag stitch along the raw edge to prevent fraying. This step forms the rounded end of your bean bag chair.
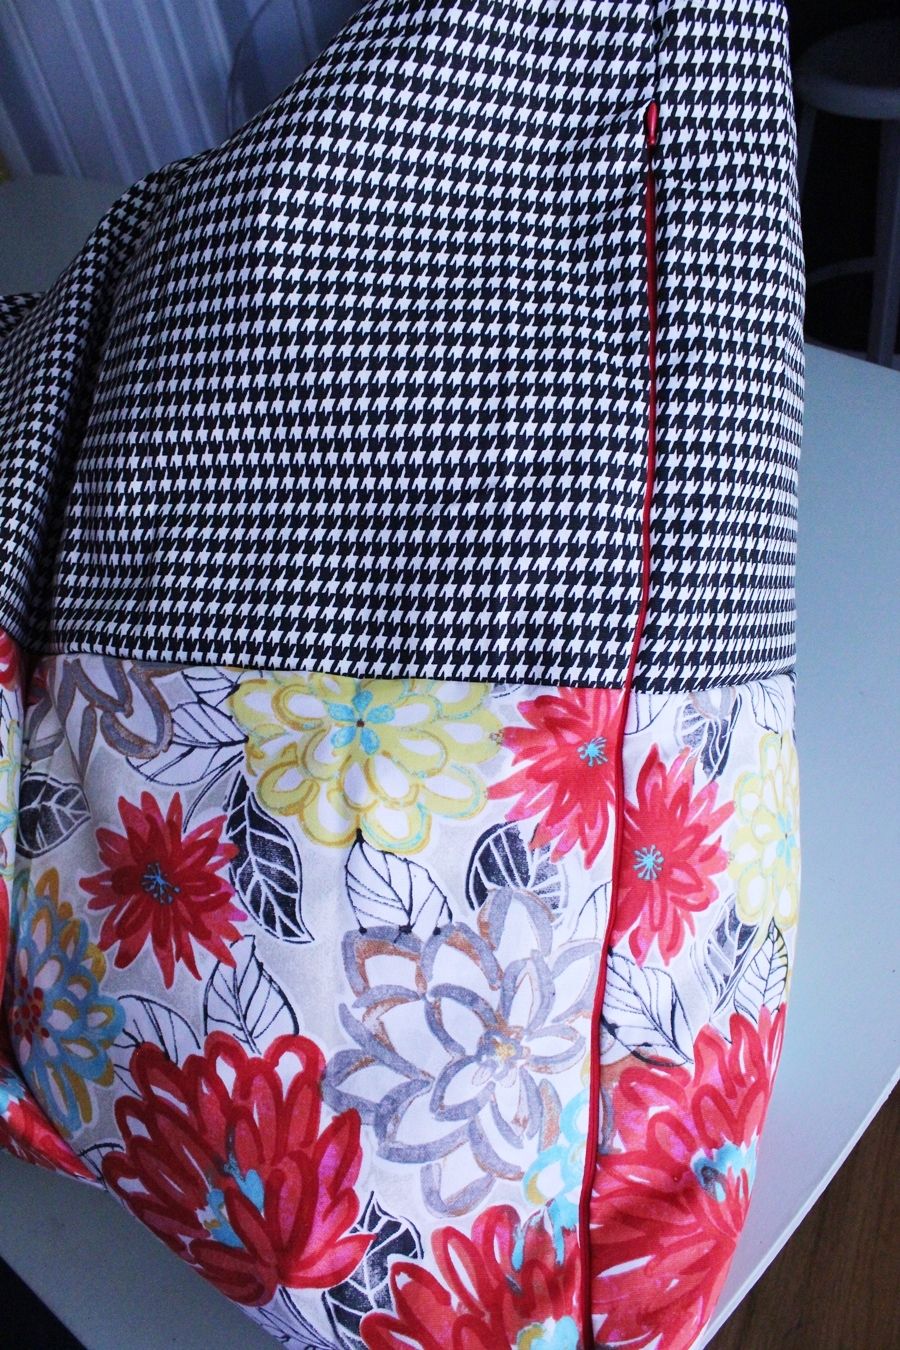
Step 4: Install the Zipper

Lay your fabric flat and align the open edge. Attach one side of the zipper face-down along the edge, pin it in place, and sew using a zipper foot. Repeat for the other zipper half on the opposite fabric edge. Secure the zipper ends with short perpendicular seams and finish the raw edges with a zigzag stitch. Ensure the zipper is partially open to turn the fabric inside out later.
Step 5: Fill and Enjoy

Turn the bean bag right-side out, fill it with foam beans, and zip it up. Your cozy DIY bean bag chair is ready to use—enjoy!