DIY Insect Taxidermy for a Happy and Creepy Halloween

It’s fall, which means it’s time to start thinking about Halloween. Want to freshen up your Halloween holiday décor but finding spare hours hard to come by? This is the perfect DIY project – it’s fast, easy, and inexpensive. This DIY décor is actually pretty versatile; I’m thinking of using it year-round, not just for Halloween. Because who doesn’t love taxidermy, and who doesn’t love unexpectedly oversized, golden insects? (Hey, one out of two isn’t bad…)


Let’s get started.
DIY Level: Beginner

Materials Needed:
- Large plastic insects
- Unfinished wooden plaque(s)
- Black sticky mounting dots, hot glue gun, and/or super glue
- Gold spray paint
- Flat (matte) black spray paint
- 3M hanging strips

Lay out the insects with their bellies facing upward.

Shake your gold spray paint to prepare for painting. (Tip: Use a paint + primer for best adhesion and coverage.)

With light, sweeping motions, spray paint the undersides of the bugs.

You’ll apply several coats, so don’t worry so much about getting an even coat of paint right off the bat. Focus on light coats.

Reposition yourself and spray paint the bugs from different angles. These things are leggy, so you’ll want to hit the bugs from every angle to make sure they turn completely gold.

While the bugs are drying, shake your matte black spray paint to prepare it for spraying the mounting boards.
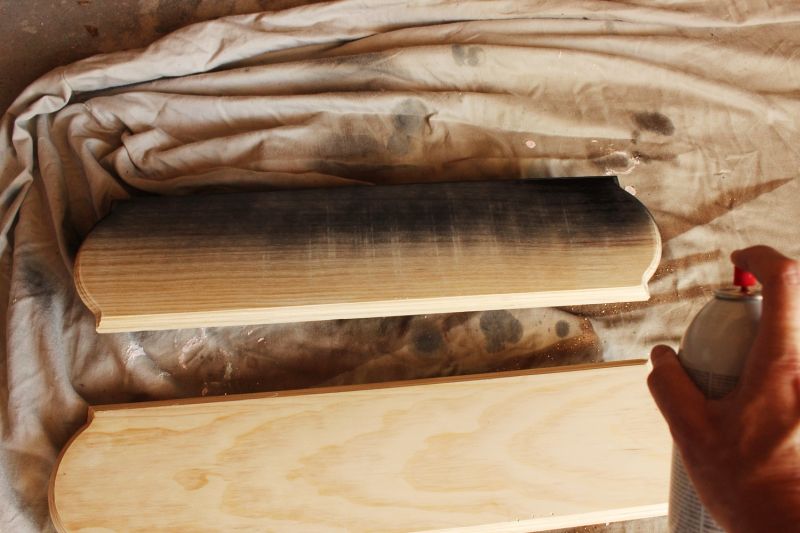
(You can choose smaller plaques and mount the bugs individually if you want.) Paint, once again, in light, sweeping motions across the length of your plaques. For best results, follow the wood grain.
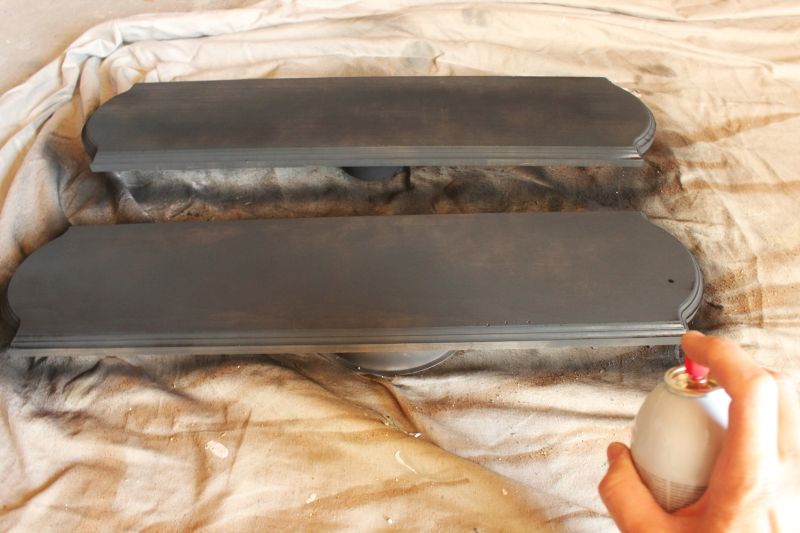
As always while spray painting, don’t worry about full coverage with the first, or even second, coats. They will look weak and blotchy at first; that’s perfectly normal and fine. You’ll even everything out as you let each coat dry for a few minutes and hit it again with the next coat. Alternate spraying your wooden plaques and your golden bugs (flip these over so you can spray the tops), waiting 5-10 minutes between coats but no more than an hour between coats. Allow them to dry completely after the last coat.

Arrange your now-golden bugs on the plaques in the order and placement that you like best.
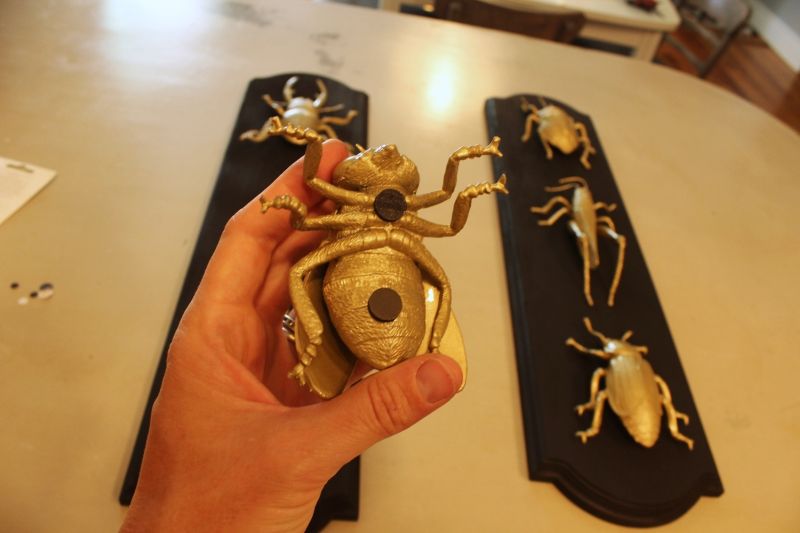
Place black sticky mounting dots (or hot glue or super glue, if that’s what you’ve chosen to use) on the parts of your bugs’ bodies that make contact with the mounting board. Also attach any legs or antennae that you want, for added support and also repositioning, in the case that your bugs came squashed and slightly askew.

After the bugs are attached, you’re just about done!

Don’t you love these? They’re the perfect Halloween décor – creepy and fun, but still somewhat sophisticated. Somewhat.

Use 3M commandpicture hanging strips to hang your insect taxidermy boards on the wall, whether just for Halloween or for year-round enjoyment.

Hang up your boards with pride.

The gold-on-black looks glamorous, but the content is perfectly whimsical. I just love the contrast of those two elements.

Use them flanking a mirror or artwork above a mantel, on a front entry table, or anywhere for a visual pick-me-up.

These insects are 4”-6” long, which adds to the fun visual aspect of this DIY project.

They’re big enough, in fact, that there is a distinct 3-D element. Just like any taxidermy project should have, really.

Happy Halloween! (Or whenever you want to highlight some bugs in your décor.)