DIY Coat Rack


A DIY coat rack is a simple and affordable project that adds functionality to your home. With just a 4×4 piece of wood, hooks, and basic tools, you can complete this project in less than an hour.

Materials :
- One, 4×4 (at least 51 inches long, roughly four and a half feet.)
- One, 2×4
- 1 inch wide wood board. At least 16×16 inch size.
- One, 1 inch board, at least 7×7 inch size.
- Four coat hooks
- Wood glue
Step 1: Determine Height
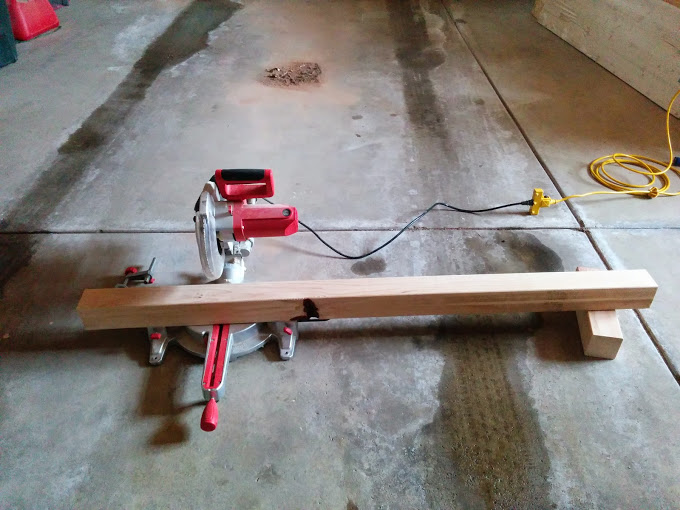
Decide how tall you want your coat rack. I chose 4 feet 6 inches—easy for kids to reach while keeping adult coats off the floor. Mark the 4×4 and cut it to size with a miter saw.
Step 2: Make the Base

Cut a sturdy base for the 4×4 to sit on. You can use an X-shaped base, but I opted for a layered square design for added style and stability. I made a 16×16-inch base to prevent tipping, then cut a smaller 7×7-inch square to layer on top. To keep it upright, I used leftover 4×4 wood to cut four 1-inch-tall legs for extra support.
Step 3: Cutting Angles

Next came the somewhat tricky part. Making the cuts needed for the 2×4 to create an angled look to the bottom of the coat rack. Helping in keeping it up right, secure. And giving a different visual effect to the wood coat rack.
I achieved this by cutting the 2×4 down to slightly larger then the ideal size. Setting it up to the coat rack that was sitting together but not connected. Then marking where the 2×4 hits when angled into the coat rack.
Step 4: Secure the Base

Once the angled cuts were correct and fit properly against the 4×4, it was time to assemble. I marked the center points of the base and 4×4 to ensure proper alignment. Then, I applied wood glue to each piece, carefully placing them together to create a strong and stable structure.
Step 5: Secure

Press down firmly on the glued pieces to ensure a strong bond. Wood clamps can help, but due to the angled 2x4s, I found it best to simply glue them in place and let them sit undisturbed for a few hours. This method worked perfectly—no nails needed!
Step 6: Stain and Add Hooks


Once the structure was solid, I applied a dark wood stain for a polished look. Using a cloth and gloved hand, I wiped the stain evenly with the wood grain, ensuring full coverage in every crevice. After drying, I installed the hooks—placing two higher and two lower to stagger coats. With that, the DIY coat rack was complete! A simple project with lots of cuts but straightforward steps.