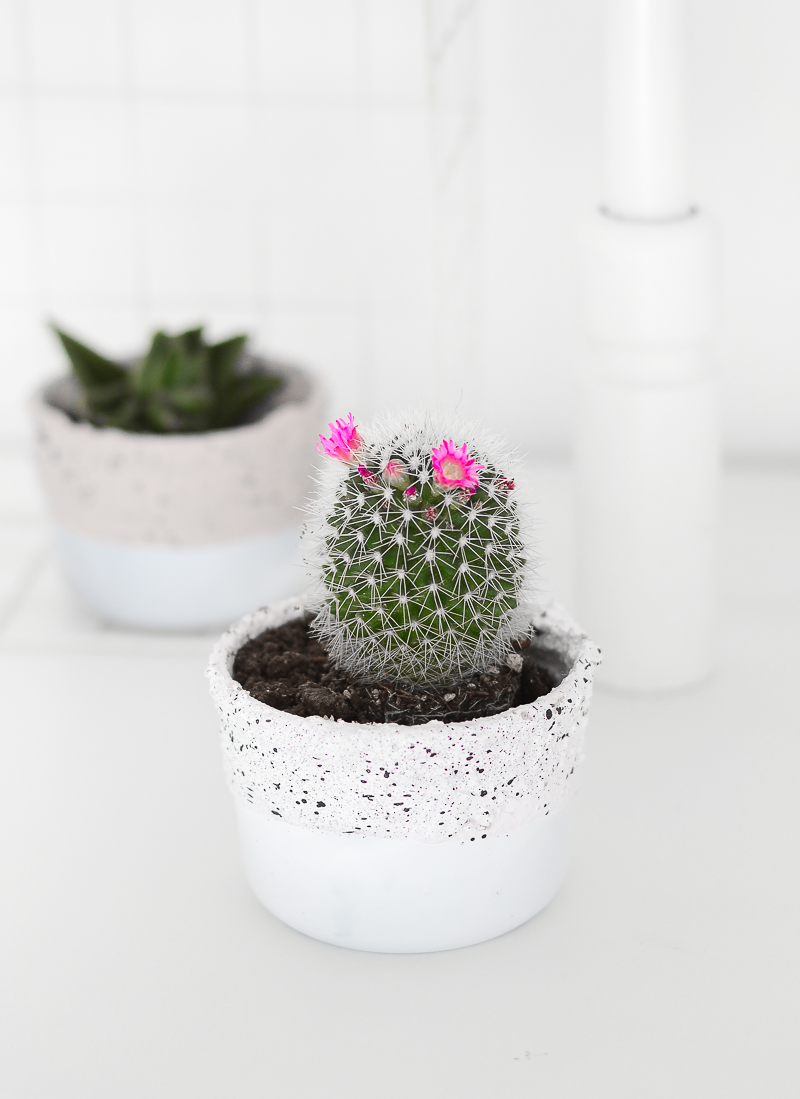
I think we might already assume that Spring is here, looking at the blooming trees and warm temperatures. That means, it’s time to think of our green friends, more than any other time of the year. Whether you have a garden, balcony or love the urban jungle trend filling our homes with botanicals – now is a perfect time to plant, replant and get some cool, new pots. Well at least, that’s my excuse to bring, a few (like 12!) new, little cacti at home!
New plants, means new post and since I love coming up with new ideas to dress them up, here is a great project for you to try. I will show you how you can turn simple Ikea glass bowls into these DIY Concrete dipped, set of adorable planters. Hope you like them as much as I do!
Here’s what you will need:
concrete powder
3 small glass containers/bowls (I used Ikea)
spray paints – white and black
normal paint – pink
Instructions:
1. First, prepare your glass bowls by washing them well.Then spray paint them using white paint.
2. Prepare your concrete mix by following the instructions on the packaging.I have mixed up concrete powder with water in a plastic container, using wooden stick.Make sure that the mixture is dense before you go to the next step.
3. Dip dye half of the glass bowl in the concrete mix and move it around a little to get a good amount of concrete on the glass surface. Then take it out, place on a piece of paper and repeat with the remaining two bowls. In order to change the color of concrete from gray to dusky pink, add into the mixture pink paint, then stir well.
4. Leave the bowls to dry over the night to ensure that the concrete thickens and dries well.
5. Once concrete is dry and thick, paint planters in your preferred colors (I have spray painted them again using white paint)
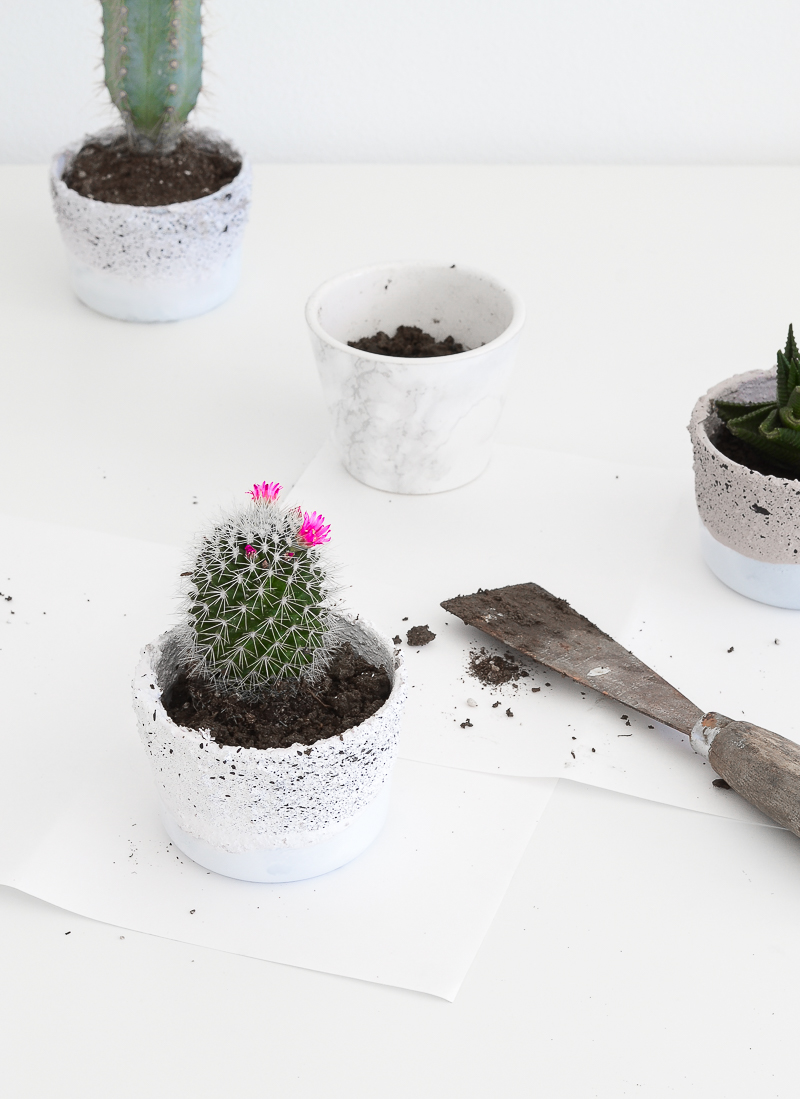
6. The last step involves making the splatter black dots on top of the concrete texture.Cover the base of the planters with a piece of paper, then gently press the black spray paint over the planters – this will cover the planter with a Picasso splatter as you can see in the picture below.
Ta daa!! That’s it! When your new pots are ready, place some plants inside them!