DIY Resin Wood Coasters


Craft resin creates a hard finish suitable for many DIY projects, including these easy-to-make wood and resin coasters. We’ll walk you through this resin craft for beginners, but feel free to customize the colors to suit your style.
Materials:
- 2 wood slices
- 2 part resin mixture
- green and blue acrylic paints
- wood popsicle stick
- 2 plastic cups
- silver glitter

Instructions:
Step 1: Mix the resin and the hardener in a cup
This DIY calls for a classic 2-part resin mixture. Start by pouring one part resin into one of your plastic cups followed by an equal amount of hardender.


Use a popsicle stick to scrape the resin in the cup. Then do the same for the hardener. Measure precisely so that your mixture achieves the correct consistency.


After adding the resin and hardener to your cup, use the popsicle stick to mix until the substances combine.

Step 2: Divide the mixture between two cups
Divide the mixture in two by pouring half of the mixed resin into a new plastic cup.


Step 3: Add green paint to one of the cups
Add a small amount of green acrylic paint to one of the cups and mix with your popsicle stick until combined.


Step 4: Add light blue paint to the other cup
Repeat the same process, adding a little bit of blue acrylic paint to the other cup. Mix it until the color is evenly distributed.


Step 5: Add glitter to the blue mixture
Pour silver glitter into the light blue resin cup and mix with the popsicle stick until it’s distributed through the resin.


Step 6: Pour the colored resin onto the wood slices
Place your wood slices face up on a flat surface, preferably on top of a newspaper or a paper plate, so you don’t make a mess. Pour some of the green resin mixture onto one of the wood slices, then pour some of the light blue mixture on top. Repeat on the other wood slice.


Step 7: Stir the colors together with a popsicle stick
Use a popsicle stick to swirl the two colors together until you achieve your desired design. We went with something simple and abstract.


Step 8: Add a bit more green
If your coaster is looking too blue, add a bit more green to the top and use your popsicle to swirl the color or make a design.


Step 9: Let the resin harden
When you’re happy with your design, set the wood slices aside and allow the resin to harden. Most craft resin takes at least 24 hours to dry but may take longer to cure. Refer to the manufacturer’s instructions on the product you used for specific drying times.


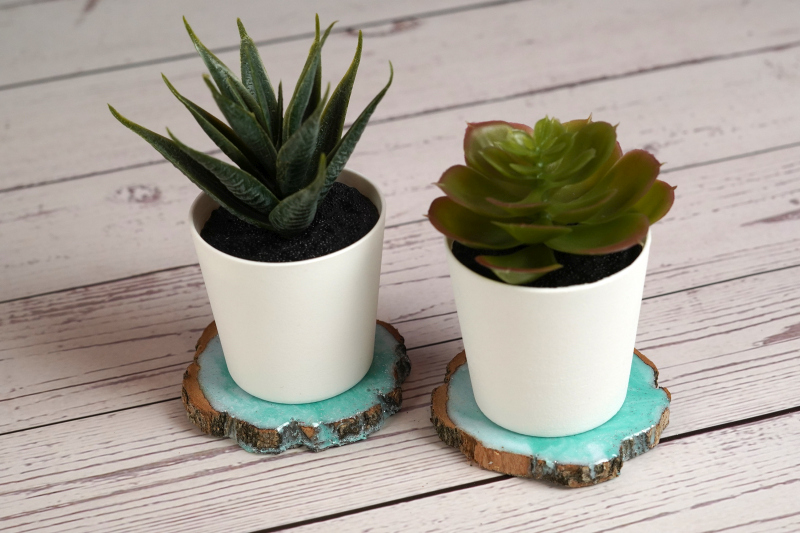
Once the resin is dry, you can use these wood slices as coasters for drinks or plants.