DIY Wood Mirror Frame – Simple And Creative Project

Create a mixed material piece for your wall with this wood mirror frame can be designed to fit any space with the right dimensions. Natural unfinished wood and mirror accented with colorful tape creates a fun relaxed piece for a gallery wall or as wall art in any room.

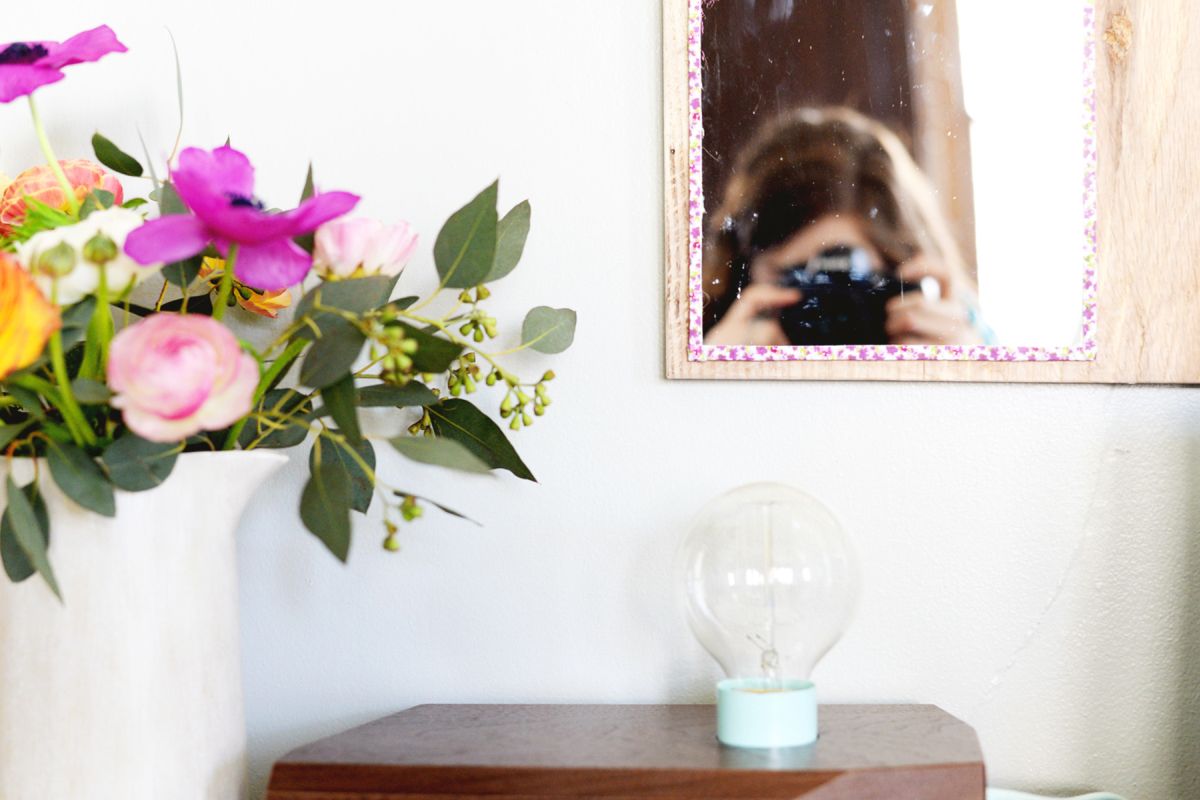
Create a slender off-centered artful look with this skinny mirror and wood combination as seen here or go for a more traditional vanity mirror with a standard 8×10″ or 11×14″ mirror centered on wood. Read on for the full tutorial!

Supplies you’ll need for a rustic-modern mirror frame:
- Mirror (cut to size at your hardware store)
- Wood (cut to size at your hardware store)
- Sanding block or paper
- Decorative Tape (washi or fabric tape)
- Tube of mirror adhesive
- Caulking gun
- Backet with nails
- Hammer
- Tape measure
- Window cleaner and cloth
Instructions step by step to build a mirror wall frame:

Step 1: Measure and Cut
You will start out by measuring out your space and planning your project. Based on your desired dimensions you will have your local hardware store cut you a piece of mirror and a piece of plywood to size. Sand the edges of the plywood if needed to soften the edges (we left this version unfinished, you can optionally finish your wood after it’s cut if desired).
To protect the edges of the mirror (and your fingers!) use decorative tape around the edges of the mirror (use half on the front and then wrap around the back). Edge the entire mirror with tape.
Step 2. Apply adhesive on the back
Flip the mirror over and apply mirror adhesive with your caulking gun. Once the mirror adhesive is applied place your mirror in where you want it on your piece of wood.
Step 3: Press firmly
Hold the mirror against the wood firmly and use a few books stacked evenly over the mirror to keep it in place while it is drying (use a few heavy books on the center and ends of the mirror). Allow it to dry over night.
Step 4: Add brackets
Lastly, to hang your mirror you will need to place a bracket on the back. Use a tape measure to measure and mark the center near the top of the mirror. Place the bracket at the center and hammer the nails in place.
Step 5: Cleaning mirror
Once your mirror is finished, use a cloth and window cleaner to clean up any smudges and smears from fingerprints or the tape adhesive. Place a screw in the wall and hang up your new mirror!