How To Make A Modern Beads Coaster

Some people make long shopping wishlists, the others like to focus on projects to DIY at home, adding new ideas. I do both, plus there is a list of new things I want to try in my life, posts I want to share on my blog, recipes including: cooking, baking and fancy cocktails, places I want to visit and so on. Yep, you really don’t want to be me sometimes, as it seems like my brain has constantly too many tabs open! But thanks to that, I have another wooden project to show you today and if you are like me, I have a feeling you are going to love it.

This old-world craftsmen inspired coaster was on my DIY list for quite some time, so while everyone was enjoying the end of Summer, I’ve been DIY-ing it for you. Wooden beads have been appreciated by the design enthusiasts for a long time now, thanks to it’s eco-friendly, natural beauty and delicate shade which enhances the sense of warmth in the interiors. The beads be used in many different ways, creating unique home accents which are not only pretty but also functional. Have a look how to make this modern coaster for your coffee mug, in a few easy steps:
You will need:
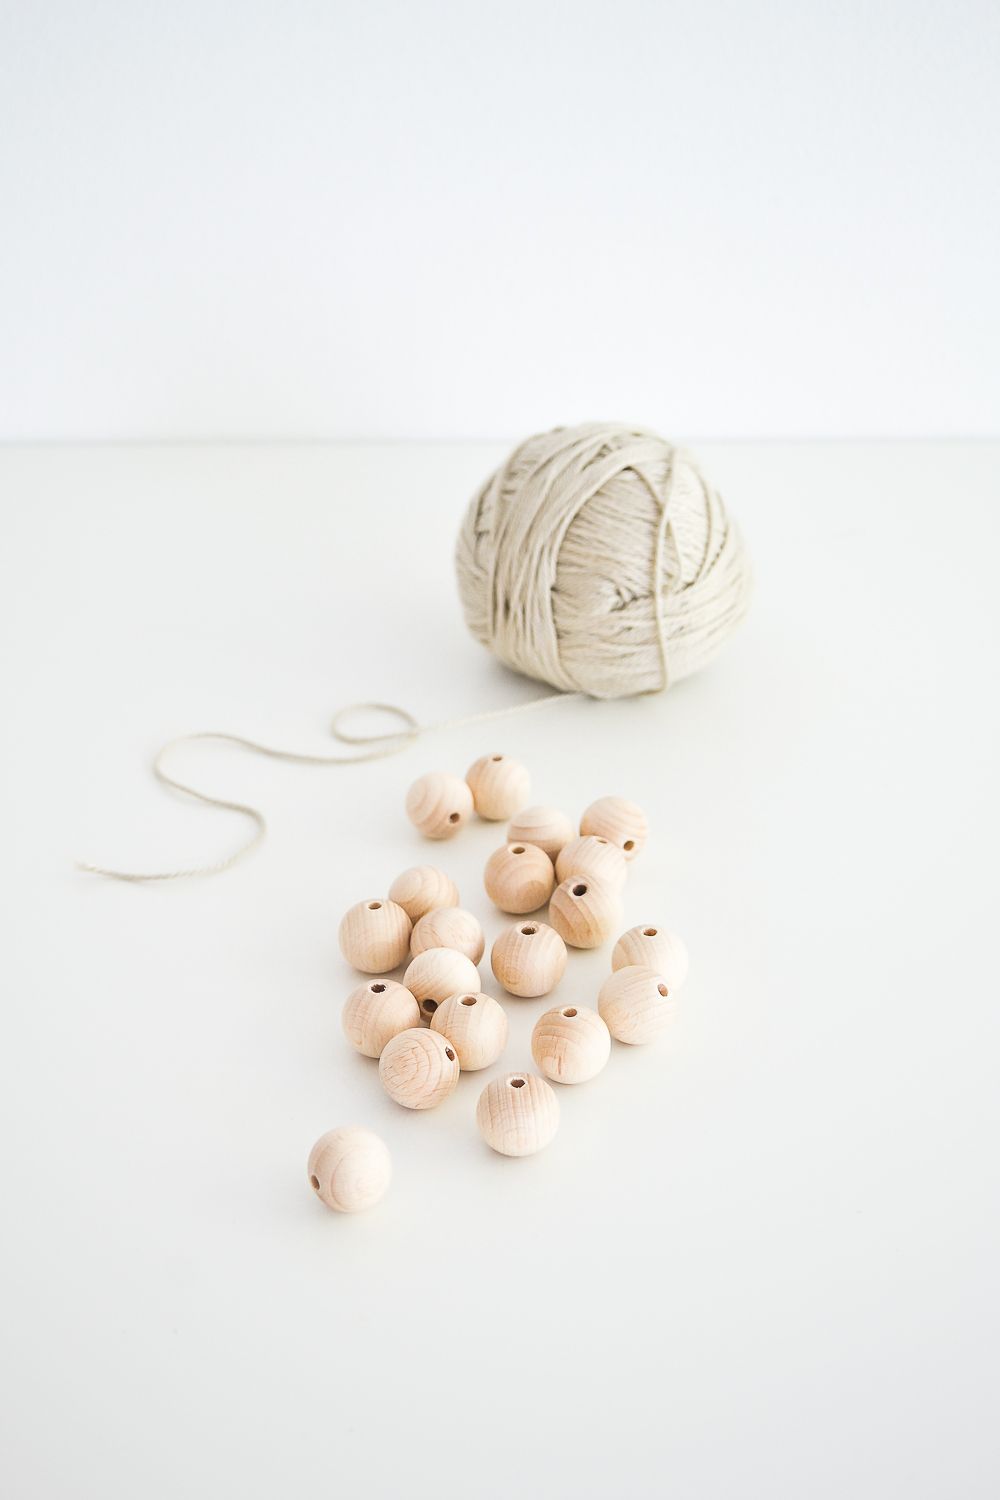
- large wooden beads (enough to make the desired size of the coaster)
- wool matching the color of the beads
- scissors
Instructions:
1. Arrange the beads in the desired size of the coaster to see how many you will need. I used total number of 19.
(12 beads on the outside, then 6 and 1 in the centre)

2. Start stringing the beads by passing the string through them.


3. Once you have 12 beads on the string, form a circle out of them and make a knot at the end to keep them in place.


4. Repeat the same procedure with the next 6 beads, pass the string through the string and form a circle.

5. Place the smaller bead circle inside the bigger one.


6. Tie knots, using the excess string from the circles to keep both circles in place.

7. Cut two more strings to tie two more knots.

8.Tie knots on the opposite sides of the coaster. Now two circles should be secured in 4 places.

9. Using scissors, cut out the ecess string at the end of the knots. Try to cut as close to the knot as possible.

10. String the remaining bead and place it in the middle of your coaster.


11. Secure it by making knots with the remaining part.


How do you like it? This little coaster is adding a lot of happiness to my desk already! A bigger version could be also used as a trivet for your table.

If you prefer more colorful designs, you can paint your beads coaster any color you wish. I think it looks great raw, but the personalization possibilities are endless.