How to Mount Modern House Numbers on a Rock Face

Modern house numbers make a big impression on how a house looks. Even a dated exterior can look more contemporary just with a modern style of house numbers near the front door. If the house has wood siding or similar, installing house numbers is easy. But if the entry has rock, brick, or concrete walls, it seems challenging. These materials aren’t easy to deal with. This guide will show how to install house numbers onto a rock façade entry.


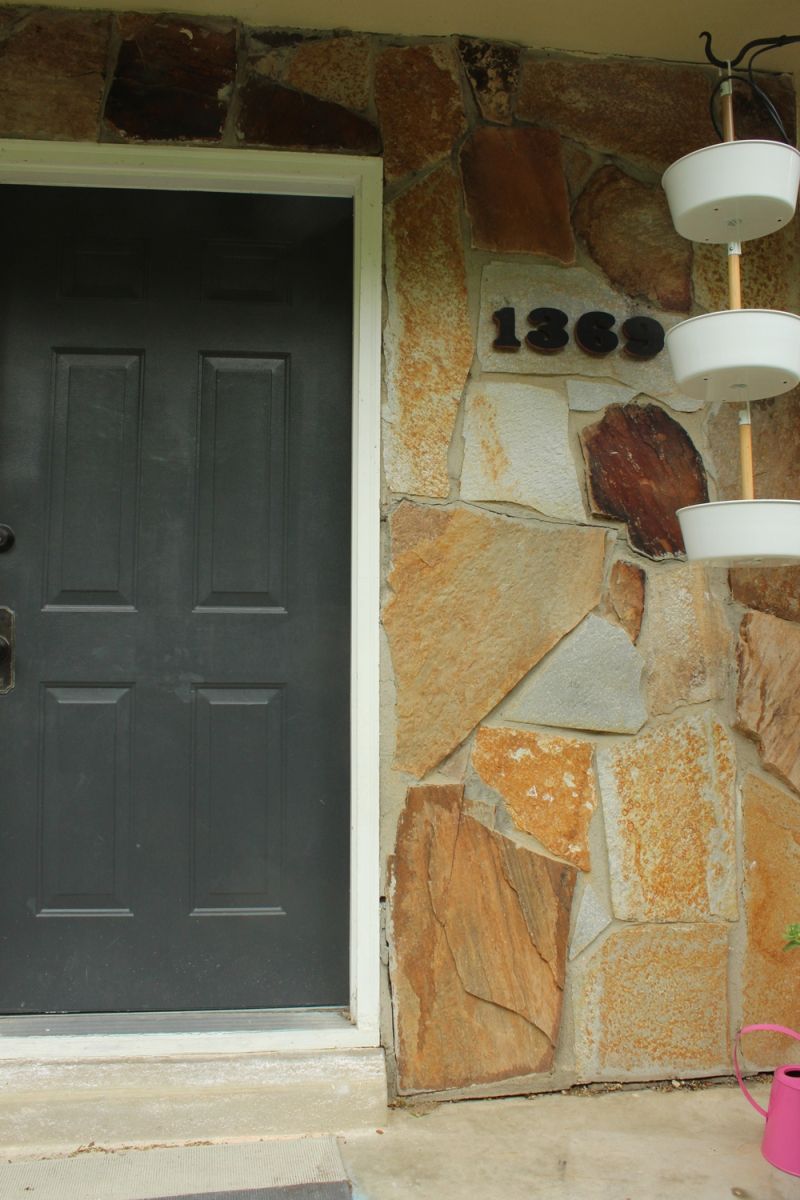
Here is an example of dated house numbers. The numbers are isolated on the side of the front door. They are also obscured by a tiered hanging basket and have nothing illuminating them during dark hours.

The style of the house numbers themselves – tole painted wooden craft blocks in a folksy font – is not to the homeowners’ taste, either. Read on to learn how to replace them with something more updated.

Step One: Remove old numbers
First, remove the old house numbers. In this case, a hammer and screwdriver (used like a chisel) removed the wooden numbers glued to the rock wall.

The residue left on the rock was easily removed with a heavy duty adhesive remover and a file. (These removers are available at your local hardware store.)
Step Two: Prep new numbers
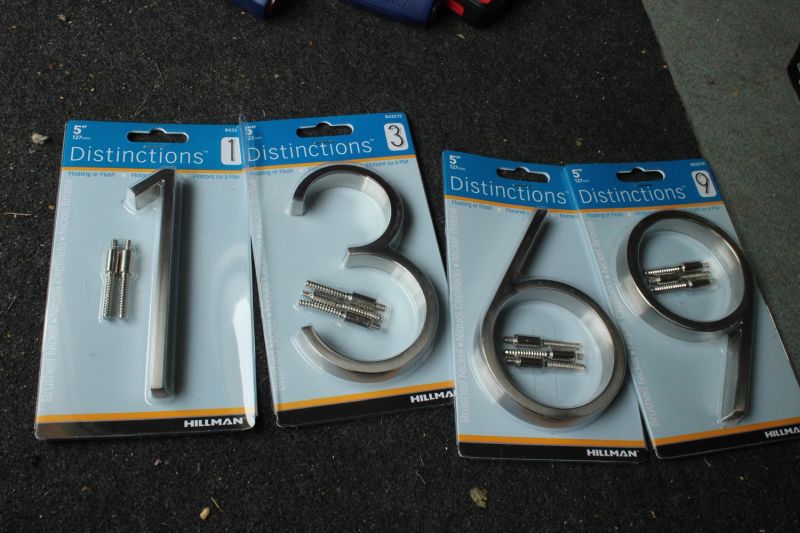
With the old numbers gone, it’s time to prepare the new numbers. These stainless numbers are designed to be installed flush or floating. This tutorial shows a floating installation because they will be on an uneven rock face. House numbers should only be installed as a flush mount if the surface itself is smooth.

Begin by cutting or ripping out the template numbers contained in each number’s packaging.

Tape these together so that the templates are perfectly aligned in a straight line on both the top and bottom edges.

Roughly position the numbers on the exterior wall; stick them up with a small piece of tape.

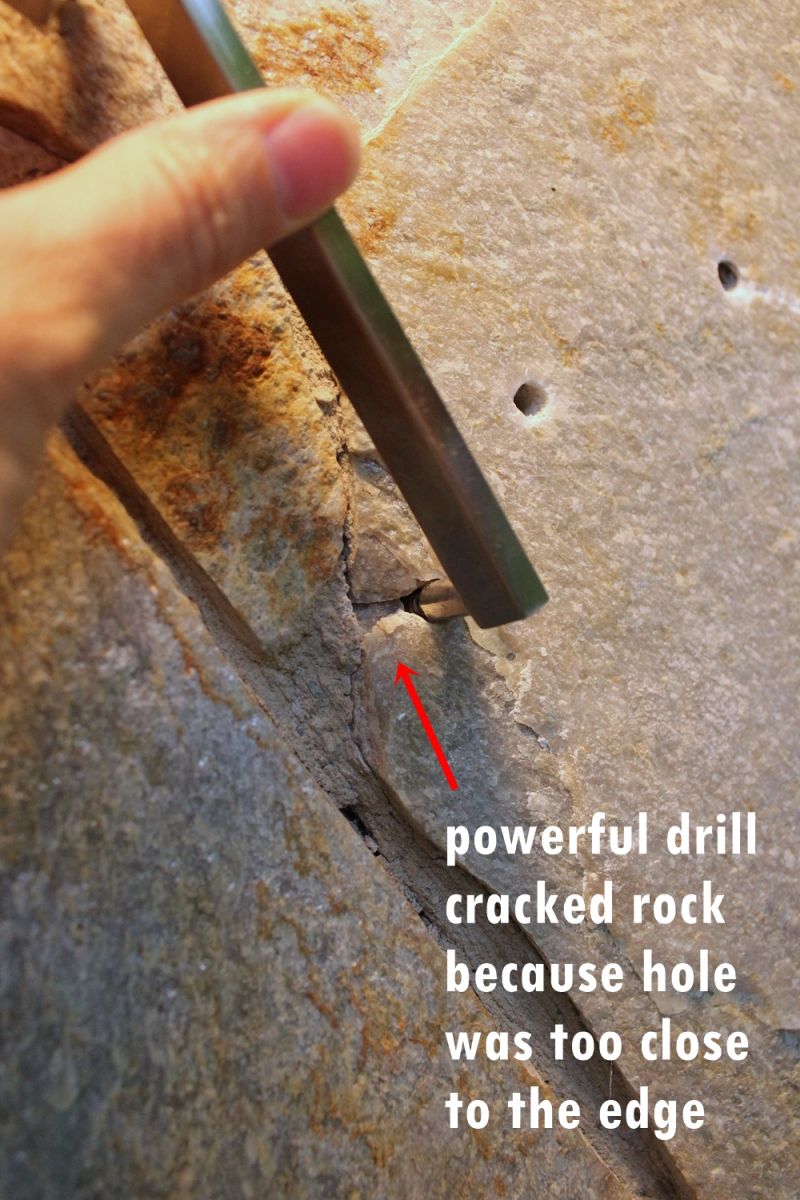
With a rock or brick wall, check each number’s position to make sure all drill holes avoid hitting the edge of a rock/brick. Also try to avoid the grout because of the potential for cracking or crumbling.

In this instance, the main large rock didn’t fit all the numbers, so the number “1” had to be mounted smaller adjacent rocks. The four-digit number was positioned so the drill hole hit away from the edges of the nearby rocks.

Check numbers for level with a level; make any adjustments needed.

Add tape all around the perimeter of the taped house numbers. Make sure all drill hole marks are still visible.

Step Three: Making holes
One critical part of successfully installing house numbers onto a rock face is the drill bit. A carbide-tipped drill bit is required to be able to penetrate the rock.

The other critical component for a successful rock face drilling experience is the drill itself. A regular power drill with a hammer function might work, depending on the hardness of the rock/brick/concrete.

But a thicker rock face requires an actual hammer drill, also with specially designed drill bits to penetrate rock.

Following the drill bit sizes contained in the house numbers instructions, drill the holes exactly center on the template. This example shows drilling the pilot holes with a 1/8” drill bit, then drilling the actual mount holes into the pilot holes with a 1/4” drill bit. Hold the drill steady and press it in slowly but with force; this will be a loud process.

Step Four: Mount the new numbers
After all the holes are drilled, it is time to mount the numbers. Examine the mounting screws for each number. In this case, because there is a floating or flush mount option, the mounting screws contain both a longer side and shorter side.

To make the house numbers appear to be floating, the shorter side of the mounting screws should attach to the numbers, leaving the longer side exposed.

Put mounting screws onto each number.
Dry-fit each number into its designated holes immediately before installing to ensure the holes are deep enough and accurately placed. If rock debris has fallen into the back of a drilled hole, re-drill to clear that out. It is vital for an even floating mount.
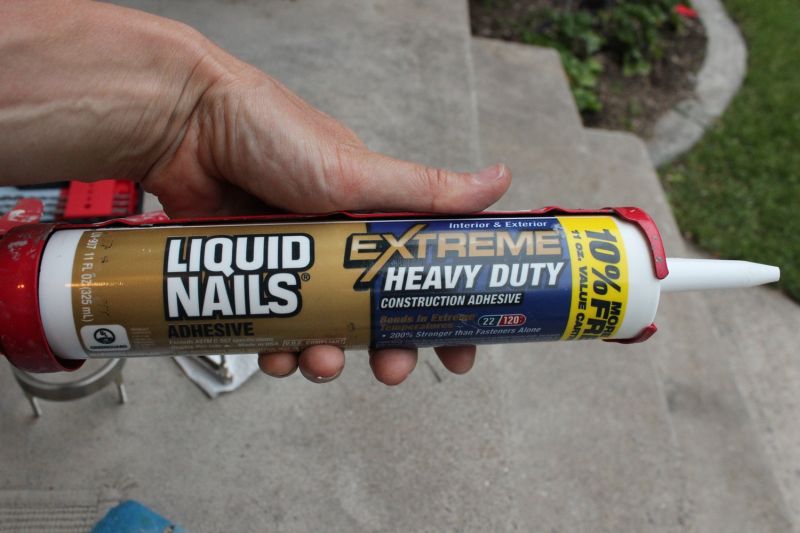
Use clear silicone or exterior construction adhesive to mount the numbers.

Choose one number, do a quick dry-fit one more time, then fill the drill holes for that number with adhesive or silicone.

Fill the holes full, but not to overflowing.

Press the house number’s mounting screws into the adhesive-filled holes. Push the number in all the way so it lies flat. Wipe away any excess adhesive, if necessary.

Step Five: Secure numbers
Use masking or painter’s tape to secure the numbers in place for several hours while they dry, so there is no slippage. This example let the adhesive rest overnight.

When the construction adhesive (or silicone) has had time to dry thoroughly, carefully remove the tape.

Here is a before-and-after photo. It is much more contemporary now.
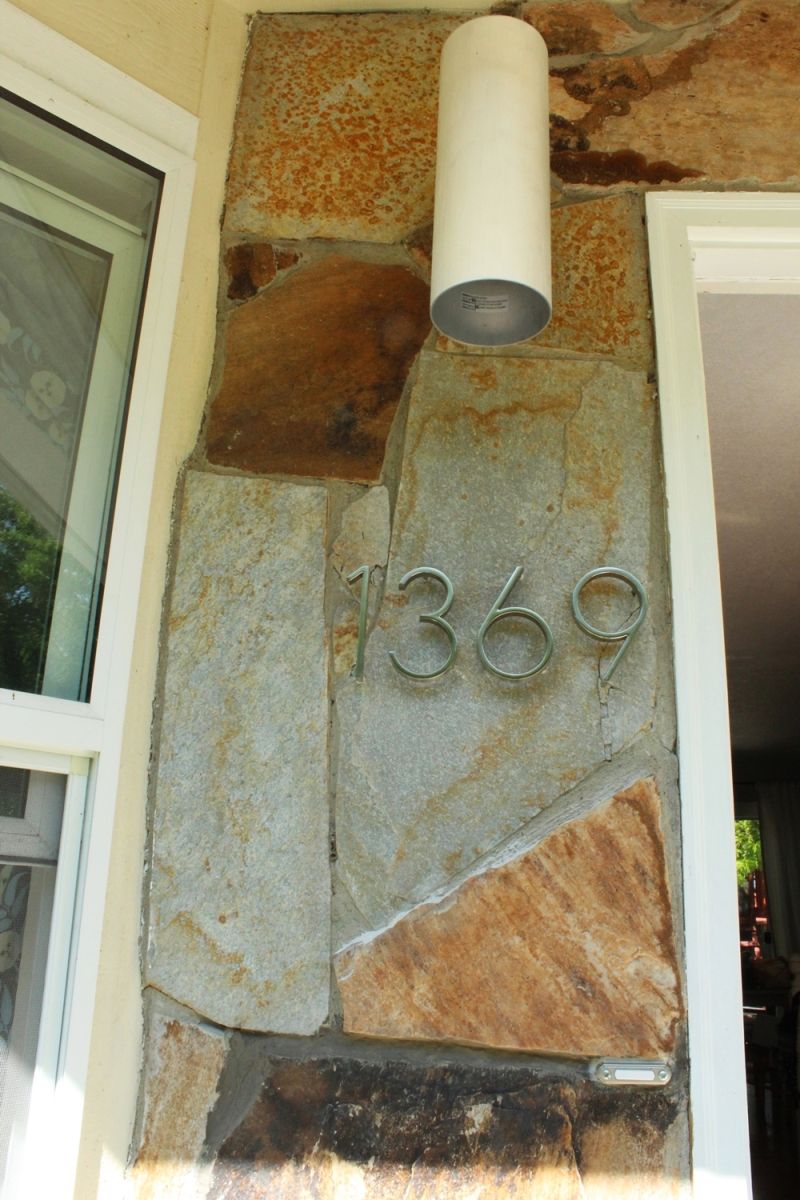
The floating stainless steel sans serif font numbers are, to put it plainly, much much better.
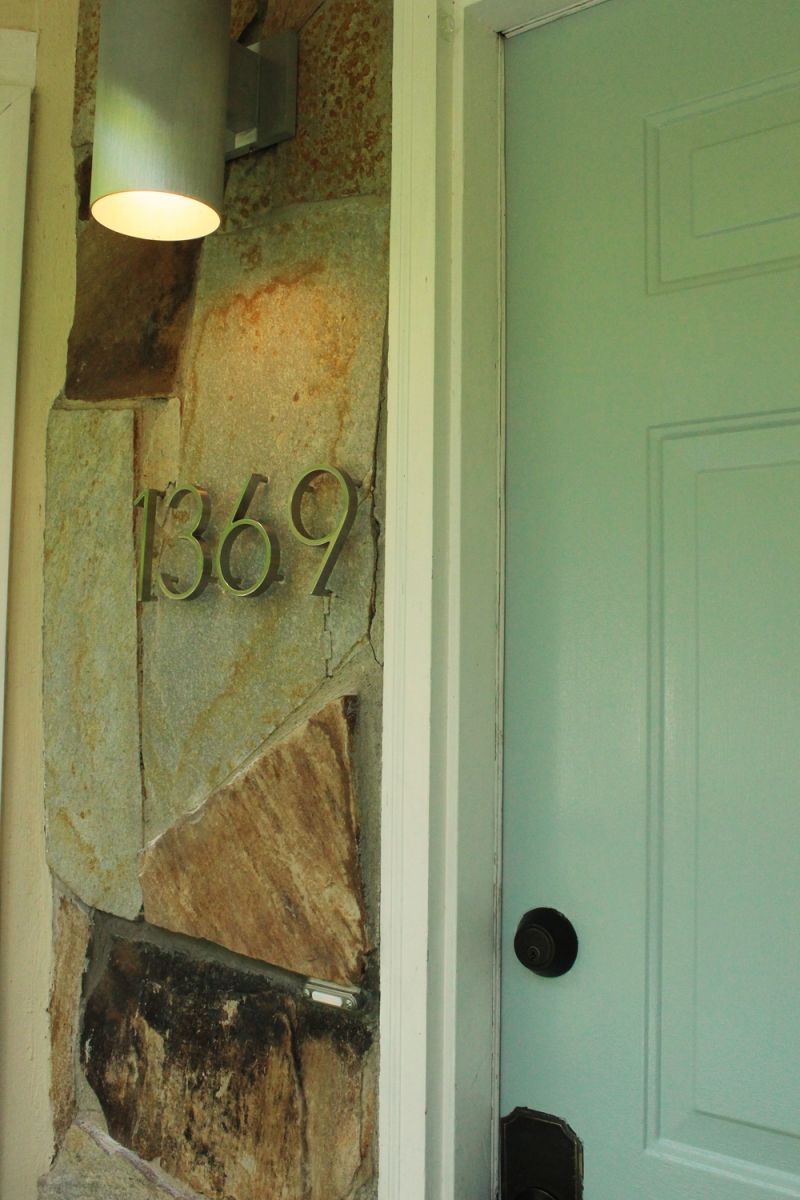
The homeowners are pleased that the new house numbers are installed to be lit up by the front porch light. Form AND function is an excellent design strategy.