DIY Hairpin Leg Desk


A hairpin leg desk is a simple DIY project you can build using ready-made project panels and sturdy hairpin legs. With minimal tools and effort, you can create a modern, functional workspace that fits your style.

Step 1: Prepare the Project Panels

Project panels are pre-fabricated wood sheets, smooth and ready to use. Choose two 3/4” thick 2’x4’ panels for this build. Inspect both sides and decide which will be the top of your desk. Place the top side face-down on a clean drop cloth.
Step 2: Glue the Panels Together

Apply wood glue evenly on the back of one panel, keeping a slight gap from the edges to prevent excess squeeze-out. Place the second panel on top, aligning all edges precisely.
Use clamps on all four corners to hold the panels together. Check alignment before tightening. Let the glue dry for at least 24 hours for a strong bond.
Step 3: Reinforce with Screws

Mark drill points at all four corners, 6” in from each side, and at the center. Predrill holes no deeper than 1-1/4” to avoid drilling through the top. Secure the panels with wood screws, then let dry for another 24 hours.
Step 4: Sand the Surface

Once dry, sand the desktop using 120-grit sandpaper, smoothing all edges and the seam where the panels join. Follow up with 220-grit sandpaper for a finer finish. Wipe the surface clean with a damp cloth and let it dry completely.
Step 5: Apply the Finish

Stir your water-based polycrylic and apply a thin, even coat with a high-quality paintbrush, working with the grain. Let it dry, then lightly sand with 220-grit sandpaper. Repeat this process for three coats, allowing proper drying time between each.
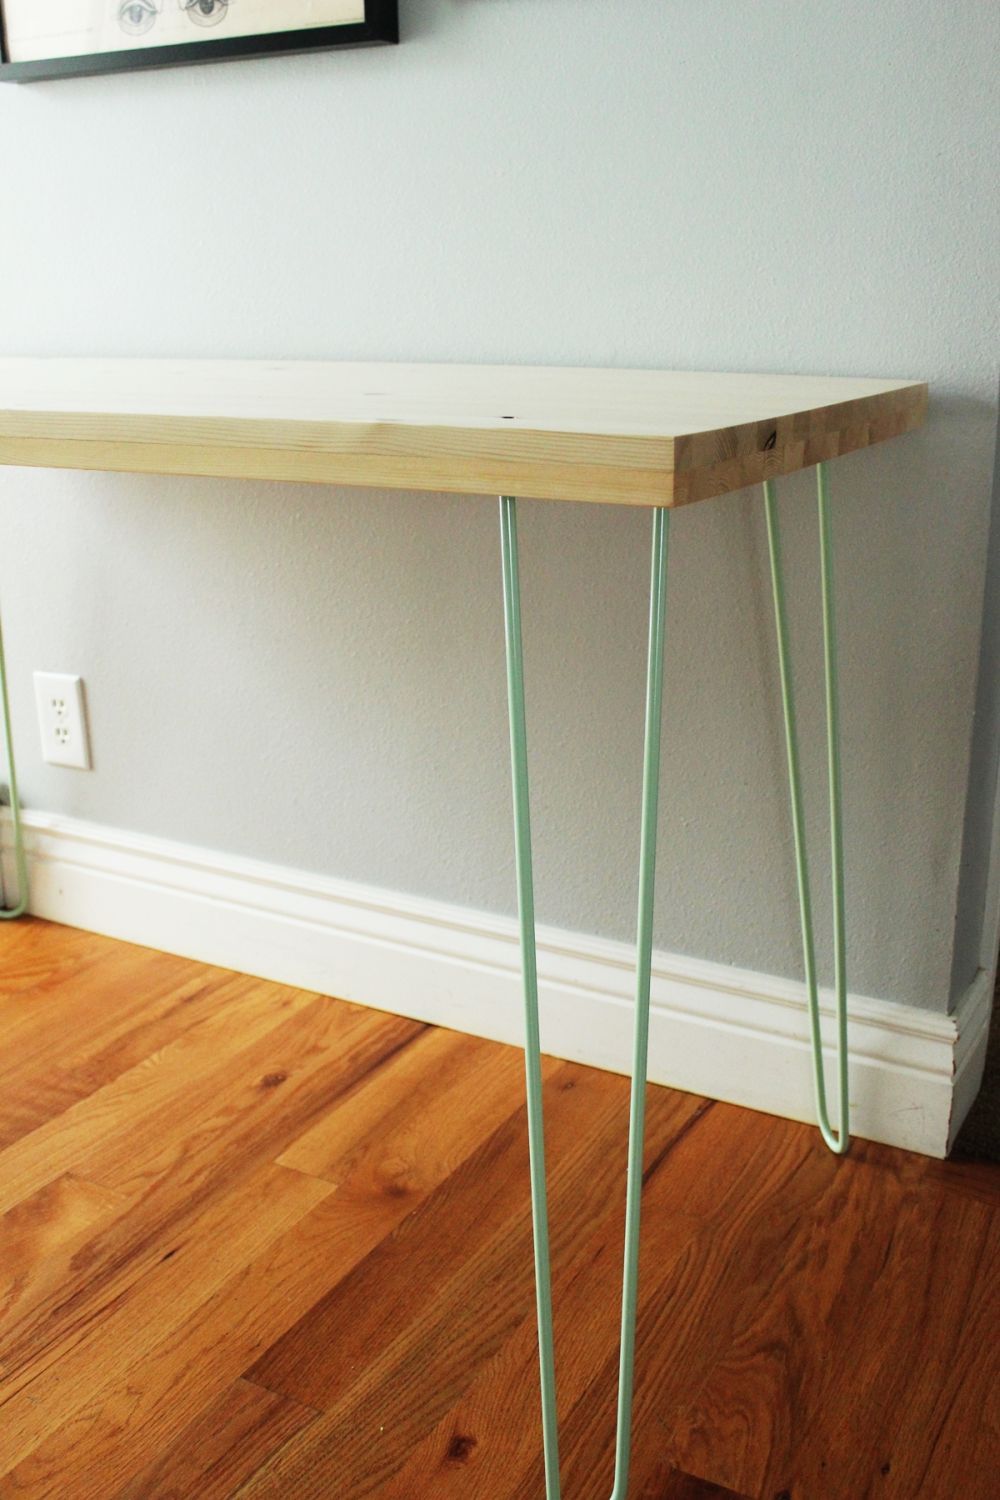
Step 6: Attach the Hairpin Legs

Measure and mark 1-1/2” from each edge at all four corners to guide leg placement. Align each hairpin leg with the marks and secure it using four 1-1/4” screws per leg. Double-check measurements for accuracy before tightening all screws.
Step 7: Final Check

Flip the desk upright and check for stability. If needed, adjust any legs to ensure even support. Wipe off any dust or residue, and let the desk sit for final curing.
Your sleek, modern hairpin leg desk is ready! Place it in your workspace and enjoy your stylish, functional hairpin leg desk.