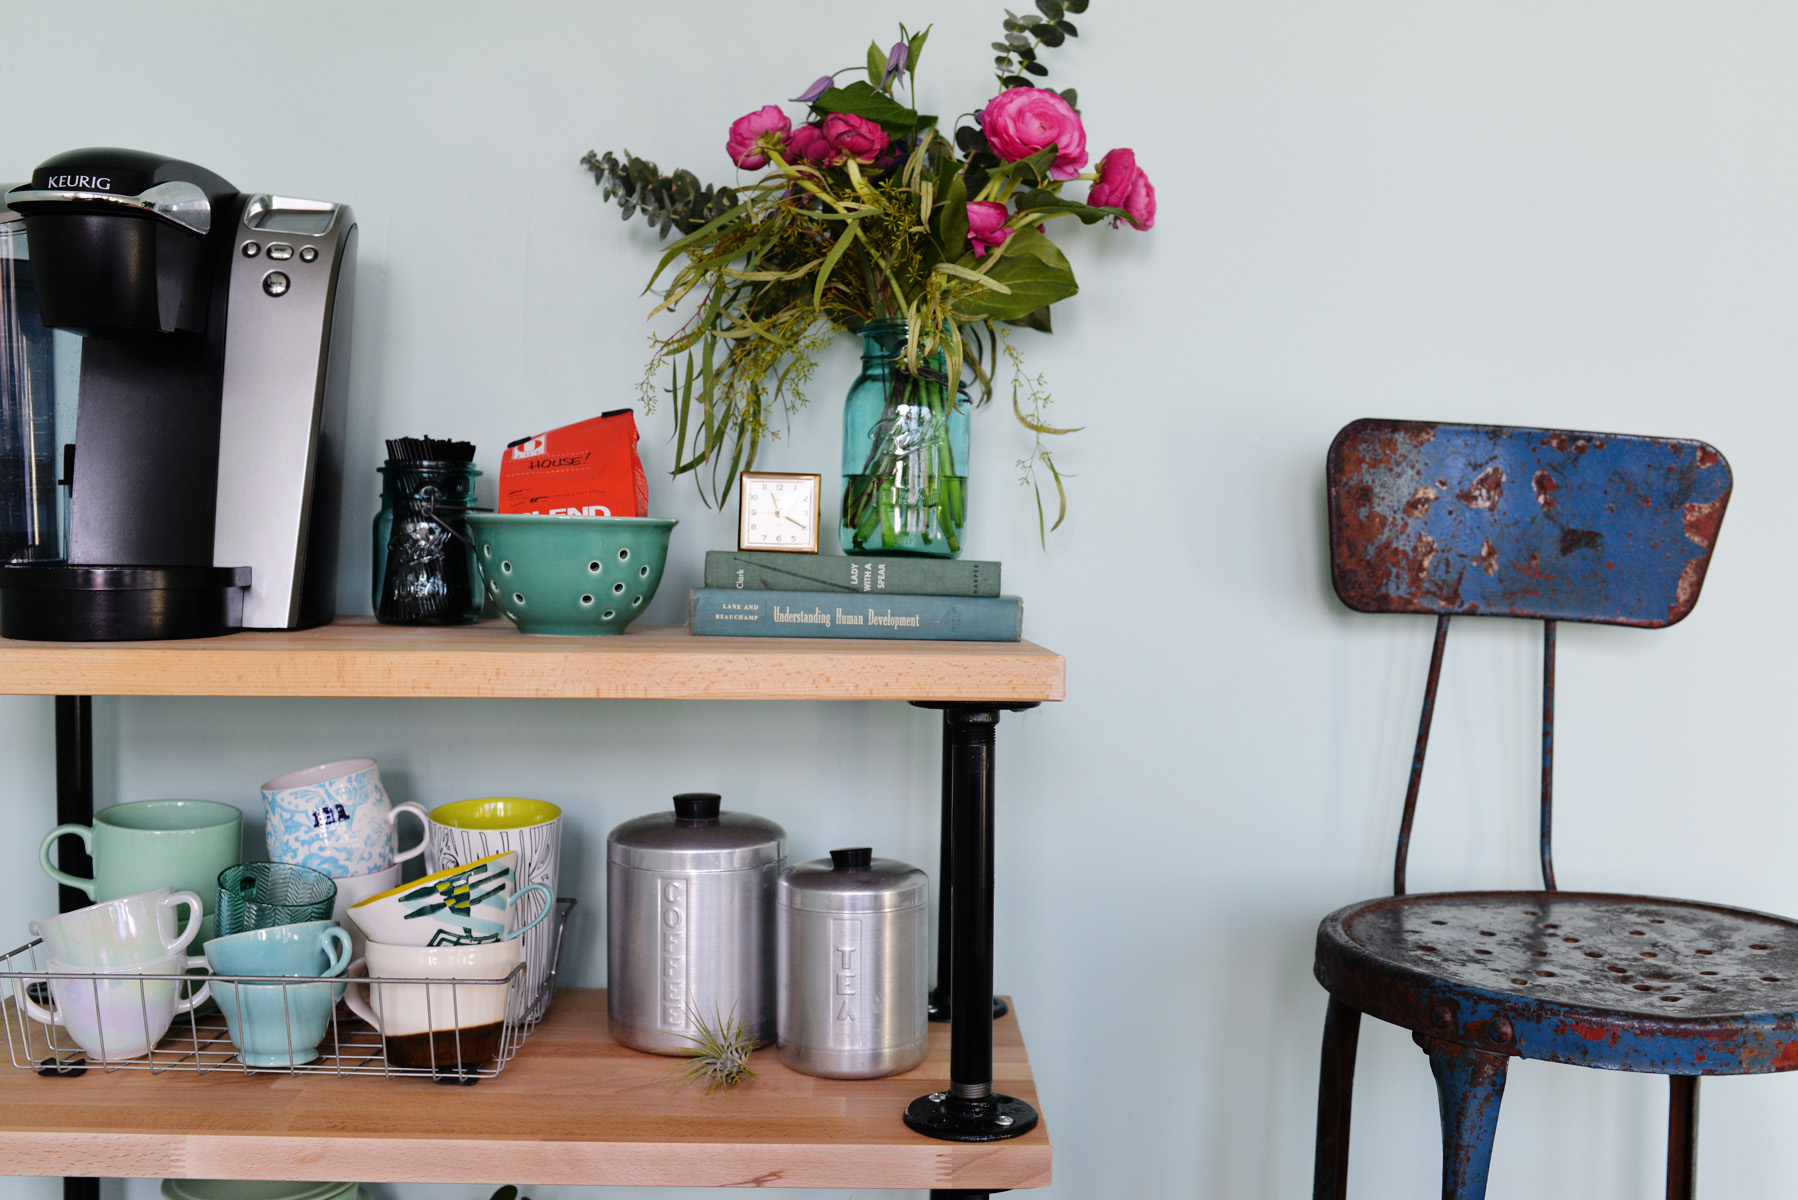
DIY Pipe Coffee Bar Cart
Build your own industrial-style coffee bar cart using metal pipes and wood shelves. This easy DIY project combines function and style, giving you the perfect rolling station for your coffee essentials.

Supplies:
- drill with phillips head bit and small regular bit for pre-drilling
- black spray paint (optional)
- 3 pieces of wood all cut to the same size (your local hardware store should be able to cut this for you if you don’t have a table saw)
- 4 swivel casters (2 with locks)
- 16 flanges (3/4 inch used here)
- 4 12 inch pipes (3/4 inch used here)
- 4 10 inch pipes (3/4 inch used here)
- box of short screws- at least 32
- pencil
Step-by-Step Guide: Build a Coffee Bar Cart With Pipes

Step 1: Spray Paint (Optional)
Paint all pipes black for a uniform look. Let dry completely.
Step 2: Prepare the Pipes
Screw a flange onto each end of the 8 pipes (4 long, 4 short). Set them aside.
Step 3: Mark Flange Holes on First Shelf
Place one wooden board flat – this is your top shelf. Position the 4 short pipes upright in each corner. Mark 2 flange holes per pipe with a pencil (opposite sides of the circle).
Step 4: Pre-Drill Holes
Pre-drill the marked holes for easier screwing.
Step 5: Attach Pipes
Screw each flange into the top board using the pre-drilled holes.
Step 6: Add the Second Shelf
Place your second board flat. Flip the first board (with pipes) onto it, aligning the top flanges with the corners. Mark holes, pre-drill, and screw the flanges into the second board.
Step 7: Build Final Tier
Repeat the same process using the 4 longer pipes. Add the third board on top, mark, pre-drill, and screw flanges into place.
Step 8: Install Casters
Flip the entire unit upside down. Attach 4 casters to the bottom board—use the 2 locking casters on opposite corners for stability.


