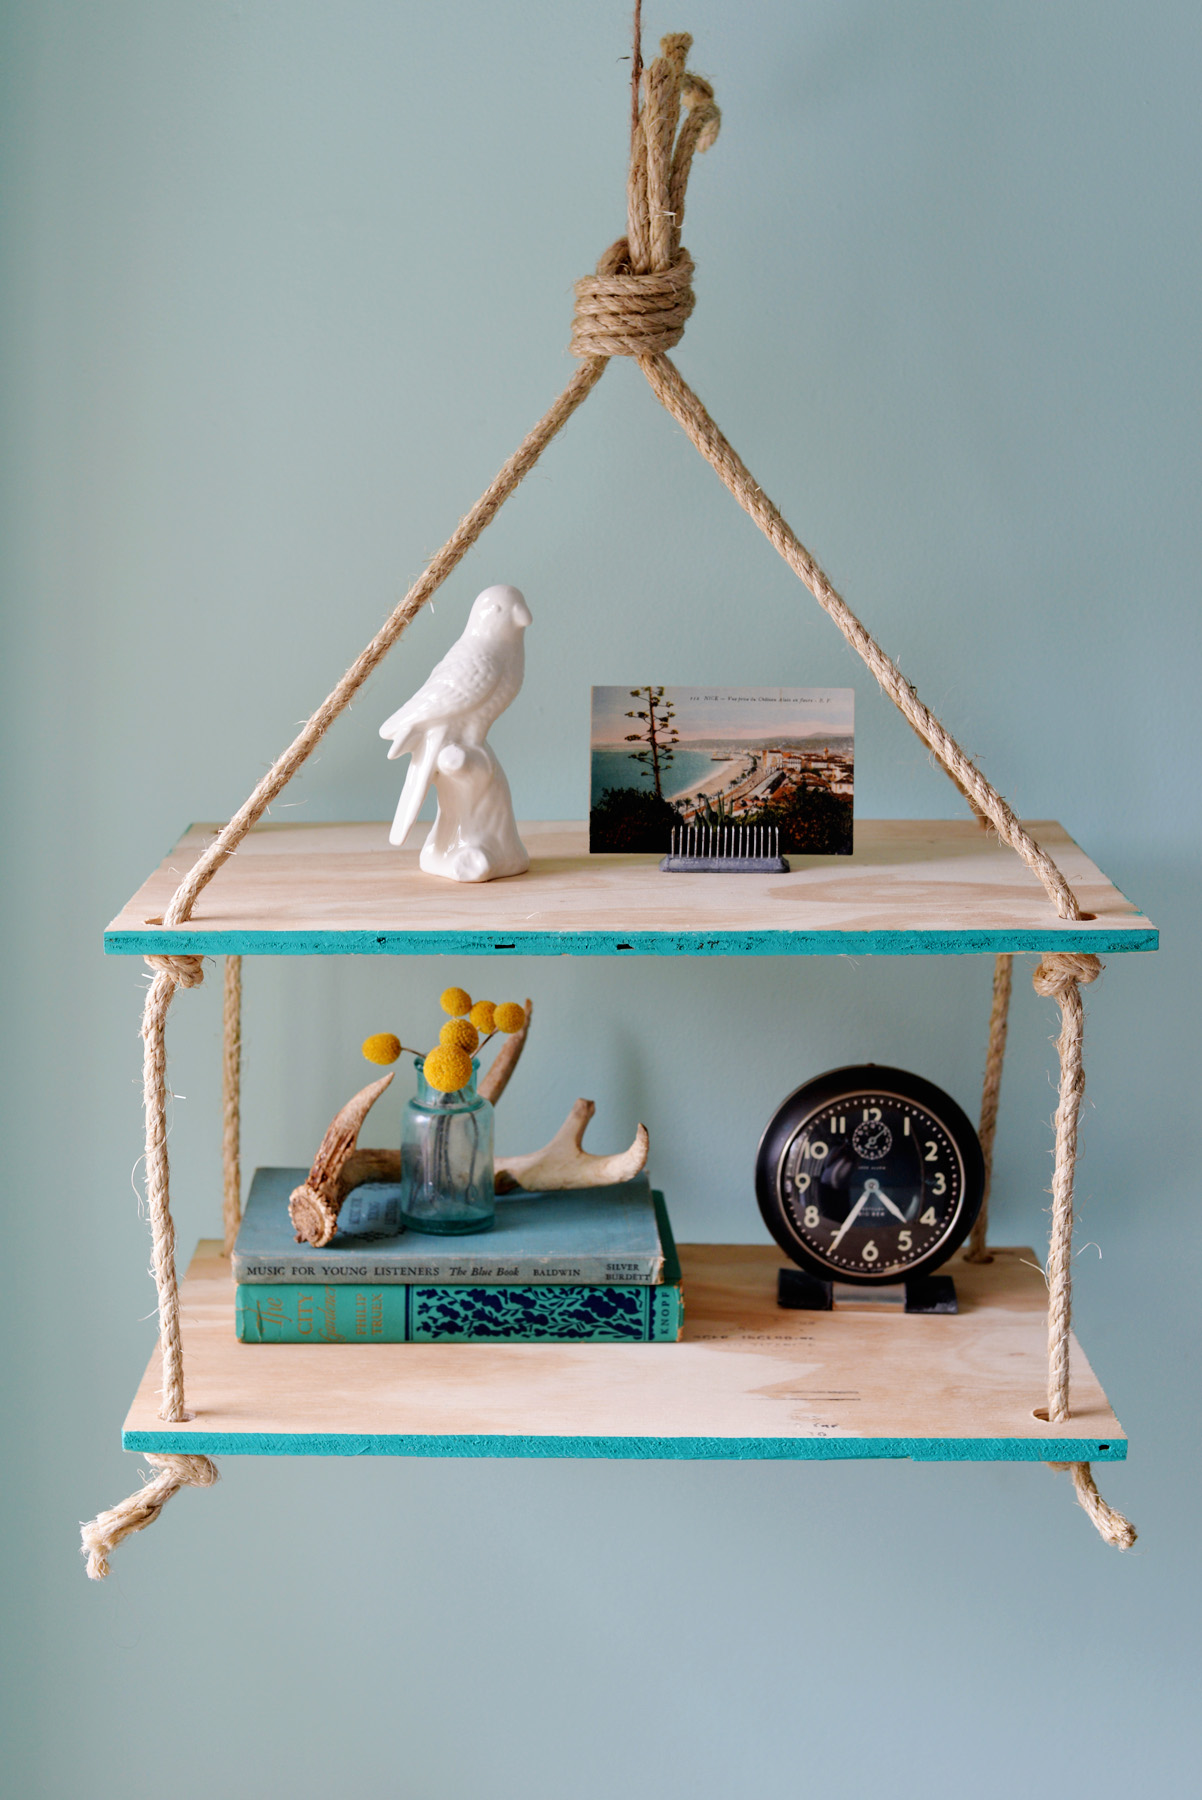
DIY Hanging Shelf


This DIY hanging rope shelf is an easy and affordable project that you can create using simple materials from the dollar store. This shelf adds extra storage, saves space, and enhances your decor without breaking the bank, making it a budget-friendly upgrade for any home.

Materials:
- drill or drill press
- 5/8 inch drill bit
- thick rope
- heavy duty scissors
- clamps
- paint
- paintbrush
- 2 rectangular pieces of plywood cut to desired measurements
Step 1: Preparing the shelf

Cut two equal-sized plywood pieces using a table saw or have them cut at the hardware or dollar store. Sand the edges if needed, then stack and clamp them together for stability.
Step 2: Make holes
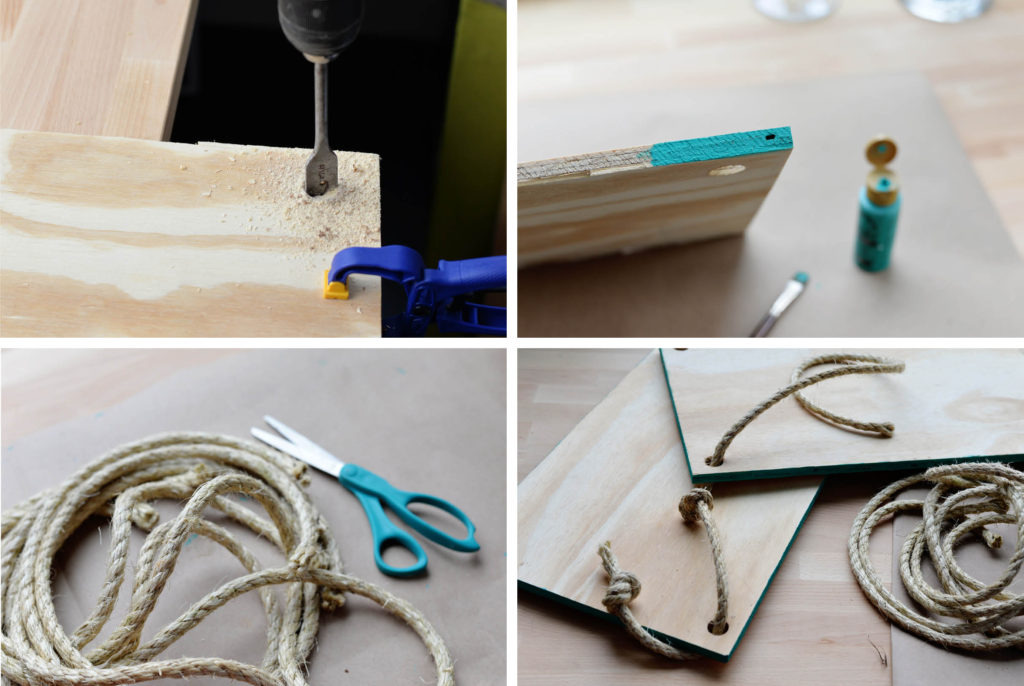
Once the wood is clamped in place, use a drill bit slightly larger than your rope’s thickness to make a hole in each corner. For example, with a 3/8-inch rope, a 5/8-inch drill bit works well.
If drilling through both pieces at once is difficult, measure and mark the hole positions on each board and drill them separately. Ensure the holes align properly so the shelf hangs straight.
Step 3: Cut and knot the rope
Cut four equal-length pieces of rope, about 4-5 feet each, allowing extra slack for knots and hanging. Adjust based on ceiling height and shelf spacing.
Tie an overhand knot at the end of each rope, thread through the bottom shelf, then tie another knot at the desired height for the top shelf. Repeat for all four ropes, ensuring even spacing for a level shelf.

Hang your shelf close to the wall to prevent it from spinning, ideally from a ceiling hook. If using a long hook, you can also mount it on the wall.