How To Do A Complete Deck Restore To Revitalize Your Deck


Deck restore jobs can completely transform your deck. While having a deck is a blessing, one way that you can really make the most of your deck is to restore it whenever it starts to age to the point of not looking as good as it once did.

You can do this in a variety of ways. We will go over the steps you can take to restore it in any way that you like, which is nearly fully customizable! Find what works for you and stick with it to create an amazing updated deck.
What Is A Deck Restore?
A deck restore is an alternative to replacing an old deck. Deck restores can be done by painting, staining, or refinishing a deck. This can be done by a contractor or on your own with one of our DIY methods.
If you hire a contractor, expect to pay at least a few hundred dollars, probably more. If you do it yourself, you only have to pay for materials, which should be more than a hundred unless your deck is ginormous.
How To Restore A Deck

There are a few different ways to restore a deck. You can pair multiple methods together or you can choose one method to go with. Here are the options to choose from, unless you have a custom option you’re sticking with.
Trimming
Trimming is the process of adding trim around the porch, posts, and anything else that is part of the deck. While round posts are difficult to trim, you can easily trim square posts to create an upgraded look.
This works well for decks that only have imperfections around the edge of things. Learn how to trim out a redwood deck, which is similar to trimming any other type of deck. The difference is amazing!
Filling Imperfections
Sometimes, all you need to do is fill imperfections. This means any unwanted gaps, knots, or holes that have been made. You can even fill scratches of any kind. The only concern is finding the right color match.
You can get textures wood fillers to fill the imperfections in your deck. Sometimes, it’s all you need. If that is all you need to restore your deck then you’re lucky. If not, then you will need to do some brushing.
Staining And Resealing
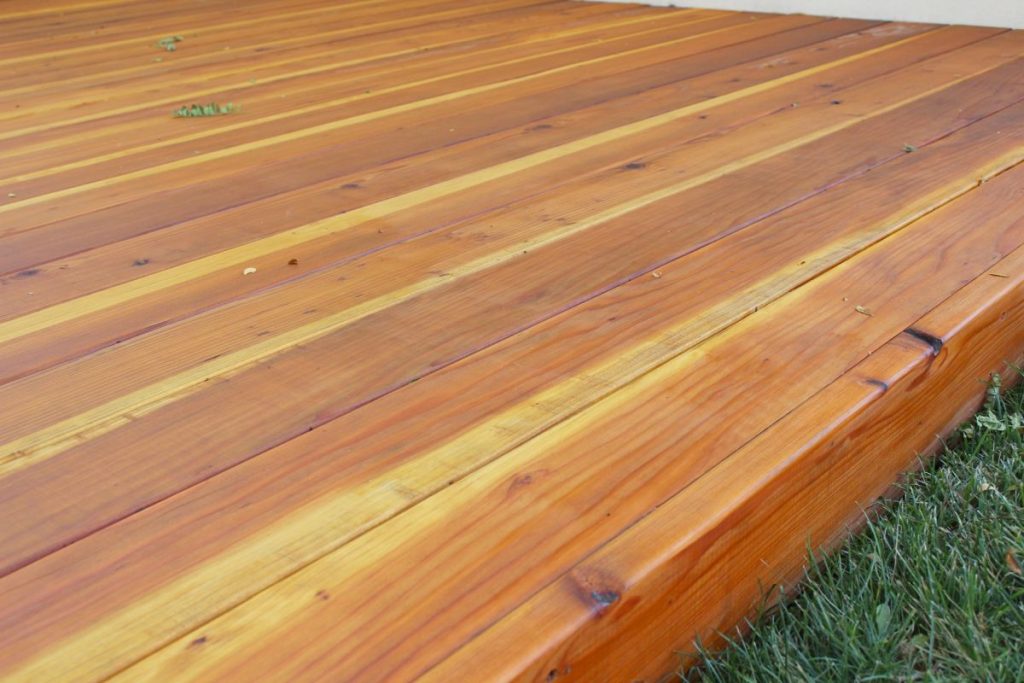
Staining and resealing is one of the most beautiful ways to restore a deck. You can follow a guide on just staining and resealing a redwood deck which again, works just like restoring most types of decks.
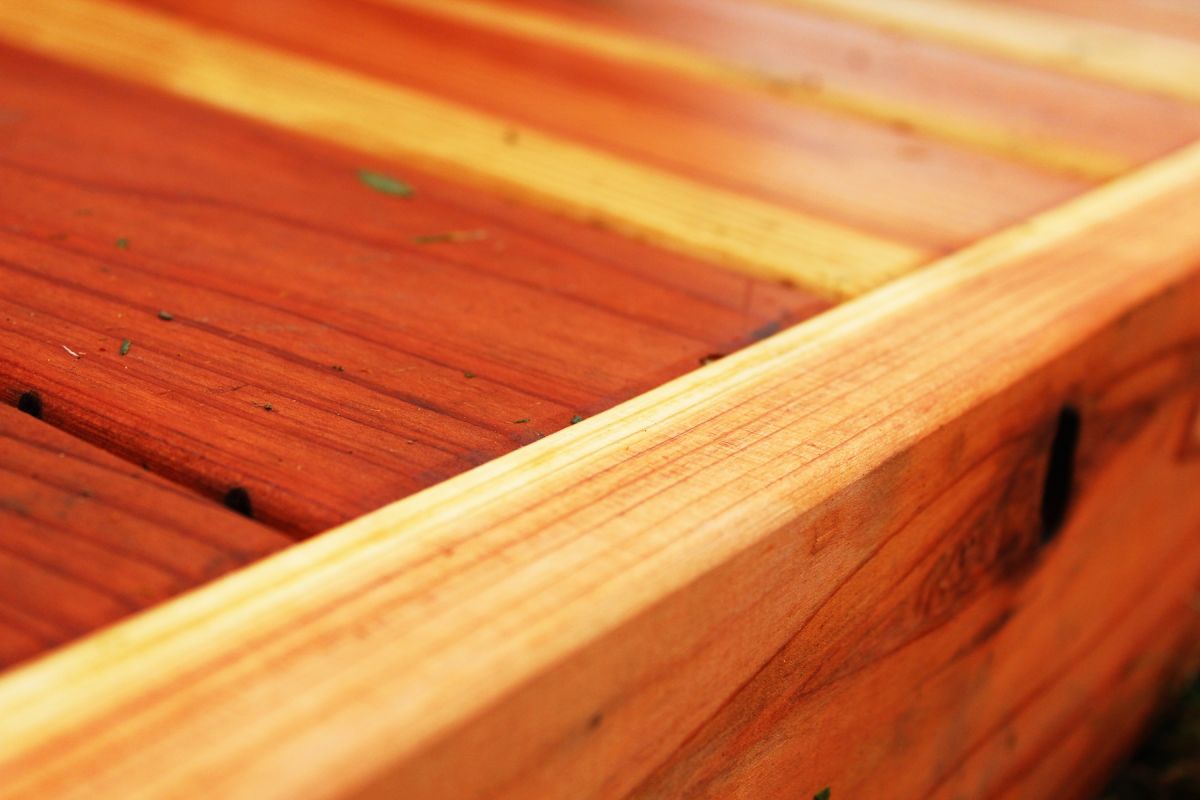
Stain is beautiful because it allows the natural texture and character of the wood to shine. So if you prefer a rustic or more natural look, a stain is your best option. Choose a stain that speaks to you and use it.
Painting
Painting is another option that works a lot like staining. Only with paint, you can cover more imperfections. The catch is that you won’t be able to see the beauty of the wood as well because the paint is thicker than the stain.
However, if you want a more modern look or if you want a specific color, then painting is better. Painting is also fun for creating designs, especially when replacing boards that are rotting, which we will go over later.
Steps To Do A Complete Deck Restore

Now, whether or not you choose to paint or stain, you will still need to take similar steps for the best results. Here are a few steps you can take to restore a deck no matter what shape it is in nor what finish you use.
Step 1: Clean Off Deck
The first step will always be cleaning off the deck. Remove any furniture or rugs that are on the deck and sweep it down well. It’s also a good idea to get rid of cobwebs and any dust on railings and underneath roofs.
If there isn’t a roof over the deck then you can simply sweep the deck off and get to work. But if there is one, then if you neglect to clean it off as well then the dirt will fall while you are painting and could stick permanently to the deck.
Step 2: Sand
Sand the deck well. Even if the deck seems smooth, you want to sand it to rough it up slightly and give the stain or paint something to stick to. So sand it well with a hand sander or a sanding machine if you have one.
You may need to sweep again after you sand but it’s still important to do it beforehand as well. You don’t want the dirt messing with the sanding process and stuff getting stuck under the sander while you’re working.
Step 3: Fill Gaps
After you sand down the deck and sweep it off, you want to fill any gaps. This can be done before you sand, but for better control, you can do it after. Let the wood filler dry before you sand it and begin the next step.
When using wood filler, there are many options available. Epoxy wood filler is always a great and versatile option that can last a lifetime. Learn how to use wood filler for everyday projects and see the difference it can make.
Step 4: Remove Rotten Areas
This is a very important step for the safety of your family. Check for any rotten areas before you begin painting or sealing the deck boards. If there are any areas that have discolored or don’t feel stable, then they need to be pulled up.
So start off by cutting the boards where you believe the rot ends. After you get a few boards up you can see the extent of the damage. Take out every rotten board and check for damage in the support boards.
Step 5: Reinforce And Apply New Deck Boards
Now it’s time to out in new boards. After you cut off any affected support boards, reinforce the area by adding new support boards. These will most likely be 2x6s but they may be 2x8s if the other boards match that.
Then, get a piece of plywood or more deck boards and install them in the empty spot. This is a good time to paint a piece of plywood to act as an accent board. You can do any type of design that you want!
Step 6: Choose And Apply Finish
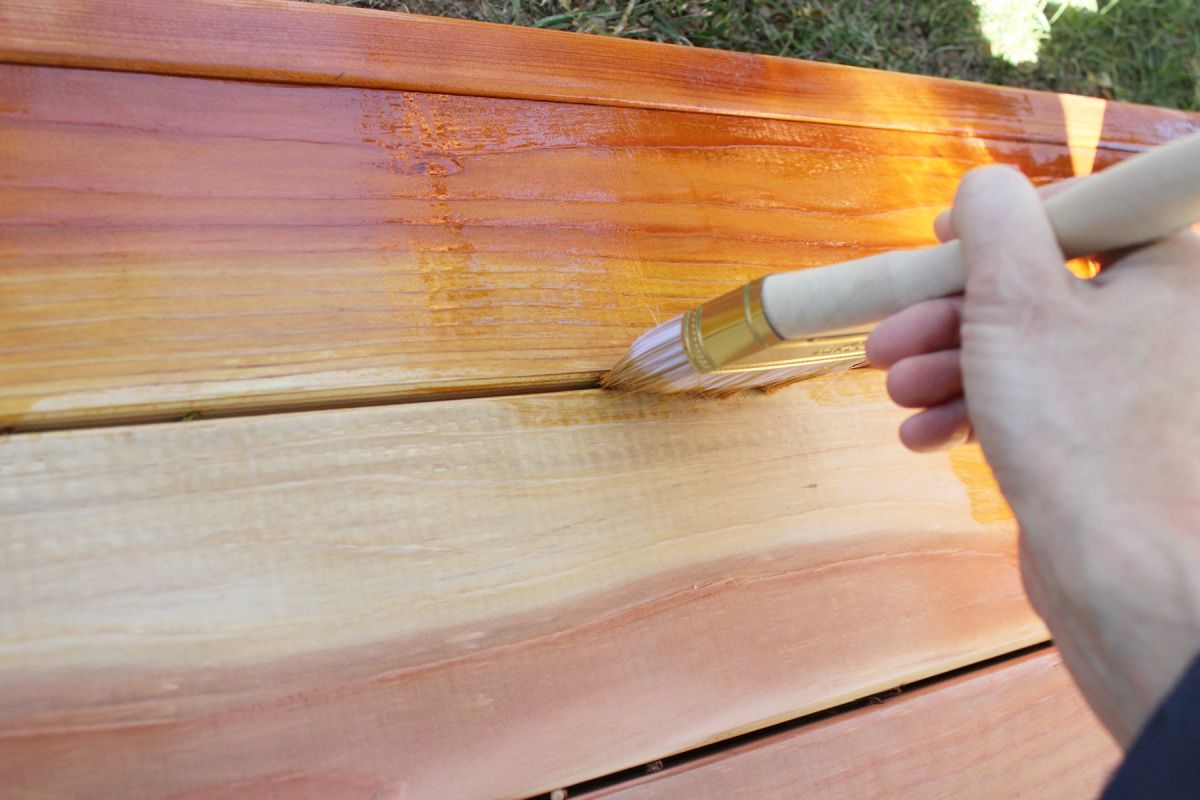
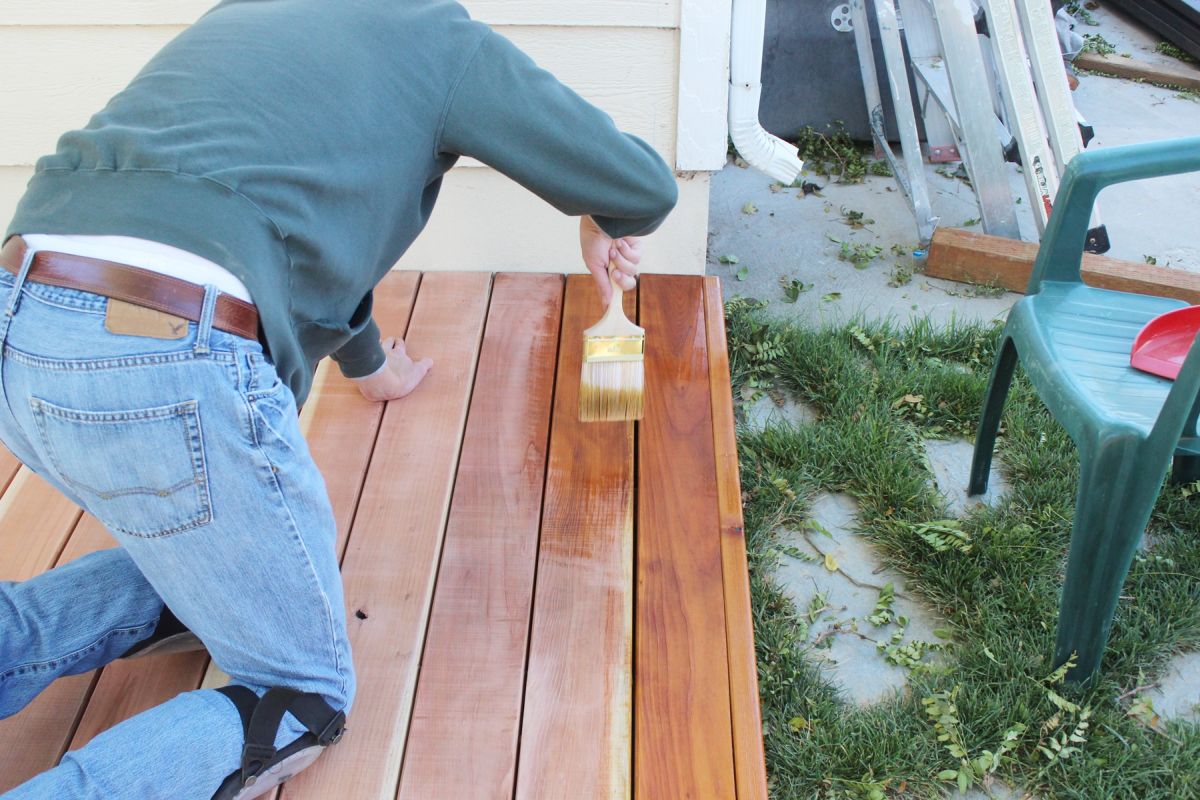
After the new boards are placed down, you can get to work on your paint or stain. Choose which one that you want and start applying it with a roller. You may need to use a small brush for the edges.
But most of it can be applied with a roller and broomstick. This way you can stand up while applying it. This is much easier on your back and will make the process go by quickly. Let it dry before applying sealer.
Step 7: Seal
After you have done the right amount of coats of paint or stain, you can apply sealer. Make sure the deck is completely dry before you apply sealer. Then, roll it on just like you applied the paint or stain.
You may need to apply a couple of coats, but not likely more than two. In fact, applying too many coats will make the sealer peel up like plastic and it won’t protect your deck the way that it should. So follow the instructions carefully.
What Is Deck Restore Coating?

Deck coating is simply any substance that you roll onto your deck to protect it and keep it looking nice. There are three primary types of deck coatings you can use, each of them having a slightly different purpose.
Deck Restore Paint
Deck restore paint is a type of deck coating that covers the top of the wood with a thick-textures substance. This substance is usually dyed a solid color and as it is applied, it just touches the top of the wood.
All paints have four main ingredients, pigments, binders, solvents, and additives. The pigments provide color, binders “bind” the pigment together, and solvents are the liquid that makes the paint easy to apply.
Deck Restore Stain
Deck stain is similar to deck restore paint but instead of just coating the top of the wood, it penetrates the wood so that the wood becomes the new color rather than hiding underneath it. It literally stains the wood.
Deck restore stains are made from different materials than deck restore paints. Though the ingredients are similar, and either can be oil or water-based, stains are usually made with stronger ingredients, like alcohol.

Just Sealer
Although the sealer is recommended as a top layer no matter what, it can be applied after sanding the deck. A sealer is used for two primary reasons. To protect the deck from stains and scratches, as well as to add a shiny layer.
Sealers don’t usually have any pigment and also usually have a polyurethane aspect. This will give the top coat a very strong enamel-like layer. This is similar to the way a clear coat works on fingernails.
All Done With Your Deck Restore
Whether you decide to do it yourself or hire a professional, you can really make the most of your deck by enjoying it. It is better to have a low-end deck that you enjoy every day than a high-end one that you never use.
That’s the way it works in most areas of your life and your home. So enjoy each and every aspect of it. Get some rocking chairs, a porch swing, and a place to picnic because a deck is a true gift to any homeowner.