How To Remove Silicone Caulk: Easy DIY Solutions For Your Bathroom Surfaces


Silicone caulk seals gaps, holes, and cracks, protecting fixtures like bathtubs and windows from filling with moisture and developing mold or rot. Over time caulk can peel, develop mildew, or discolor, calling for a replacement.

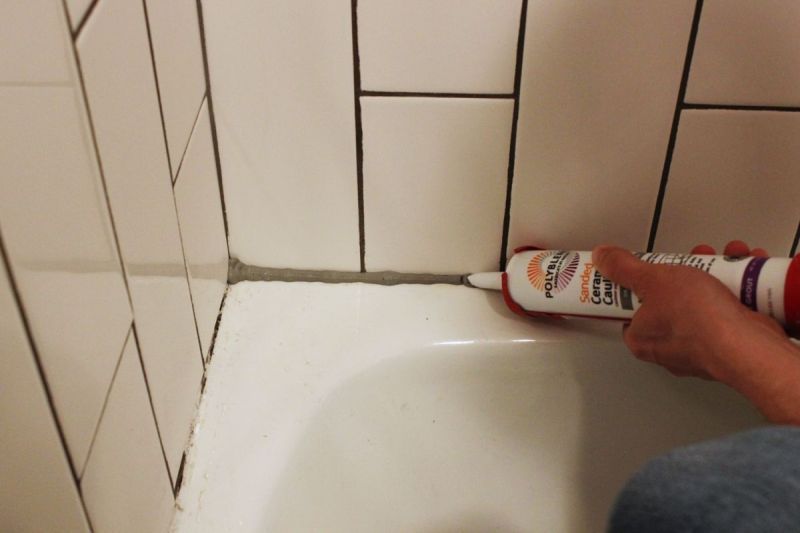
For a new bead of silicone caulk to properly adhere, the surface needs to be clean, dry, and free from the old caulk.
Signs It’s Time to Replace Old Caulking
If your caulk is curled up or you can peel it off with your fingers, it’s time to replace it. Caulking that’s in good shape can only be removed with a razor blade – not by your hands. Other indicators that it’s time to replace your old caulk are when you notice bubbles after water hits it or when it’s developed mold that you cannot remove.
Tools to Remove Silicone Caulk
- Putty or utility knife
- Needle-nose Pliers
- Vinegar or Rubbing Alcohol
- Hair Dryer or portable heater
Best Way To Remove Silicone Caulk

Here are the steps to remove silicone caulk:
Step 1: Soften Old Caulk with Heat
With a portable heater or hair dryer, apply heat to the existing caulk. The heat will soften it, making it easier to remove. Use the lowest heat setting available to prevent melting.
Apply heat to the old caulk for 30 to 40 seconds and direct the hot air in a back-and-forth motion for best results.
Step 2: Scrape the Caulk
To remove caulk, you will need a sharp blade, putty knife, or utility knife. Wear thick gloves to keep your hands protected.
Use a knife to scrape the width of the caulk. Hold the knife at an angle to make removal easier. Avoid scratching the material on either side, as it could nick the tub enclosure. Once the caulking has been removed on both sides, gently pry one corner with needle nose pliers. The loose caulking should peel from the surface.
If you can’t remove the caulking with ease, repeat the first step and reapply the heat.
Step 3: Remove Caulk Residue
To prep for new caulking, use a cleaning solution to remove residue. Some of the best home remedies for removing caulk residue include soaking the problem area in vinegar or rubbing alcohol for a few minutes before scraping or wiping it away. If that doesn’t work, try a commercial product like Goo Gone Caulk Remover.
Step 4: Dry the Surface
Allow the surface to dry before adding new caulking.
Why Silicone Caulking?
When removing silicone caulk from your skin or other surfaces, use rubbing alcohol and warm water. Denatured alcohol also works fine. As long as you remove it from your skin quickly, you won’t have to worry about it causing damage.