DIY Cork Notice Strip

Having a place to store your notes, bills and little pieces of inspiration is one way of keeping yourself organised and motivated. A full sized pin board is a great way of keeping these things safe and easy to access but can be a little overwhelming in a small space. A cork strip is a smaller, less intrusive version of the whole board. You can still pin all those important (and not so important) keepsakes and reminders to the strip but without them taking over your life!

The cork strip is easy and quick to make, and you can put it up anywhere you want to! Make longer strips to cover your work desk or smaller lengths to fit onto the back of a door. If fact you can make any length for any spare space you have.

Supplies:
- Self adhesive cork strip
- Wood strip (slightly wider than the cork strip)
- Paint
- Paint brush
- Sticky foam pads
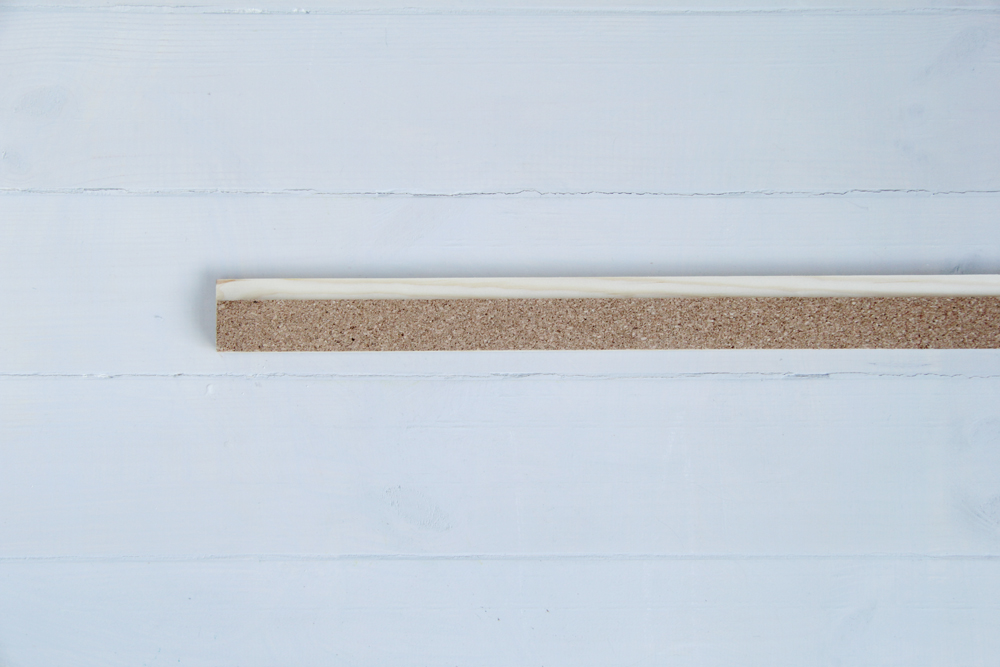
1. Peel back the adhesive strip from the cork and slowly press it along the edge of one side of the wooden strip.

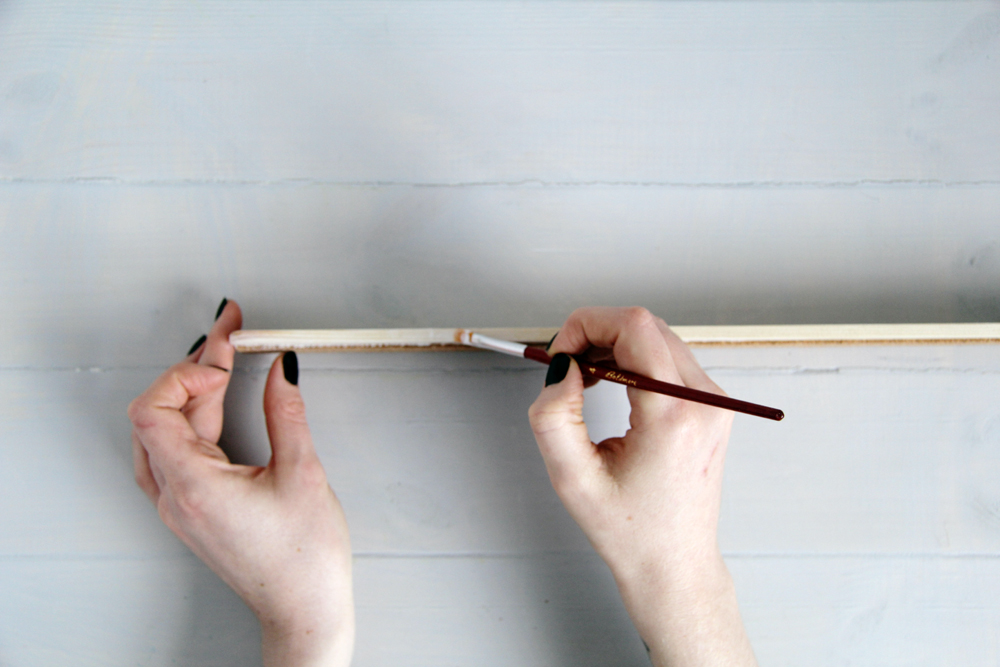
2. Paint the overlapping section of wood with a layer of white paint as a primer. Make sure to cover all the edges in an even layer of paint.


3. Once the first layer of paint is dry then coat with another layer in your chosen colour. Choose a bright splash or a more subtle hue to fit with your decor theme.
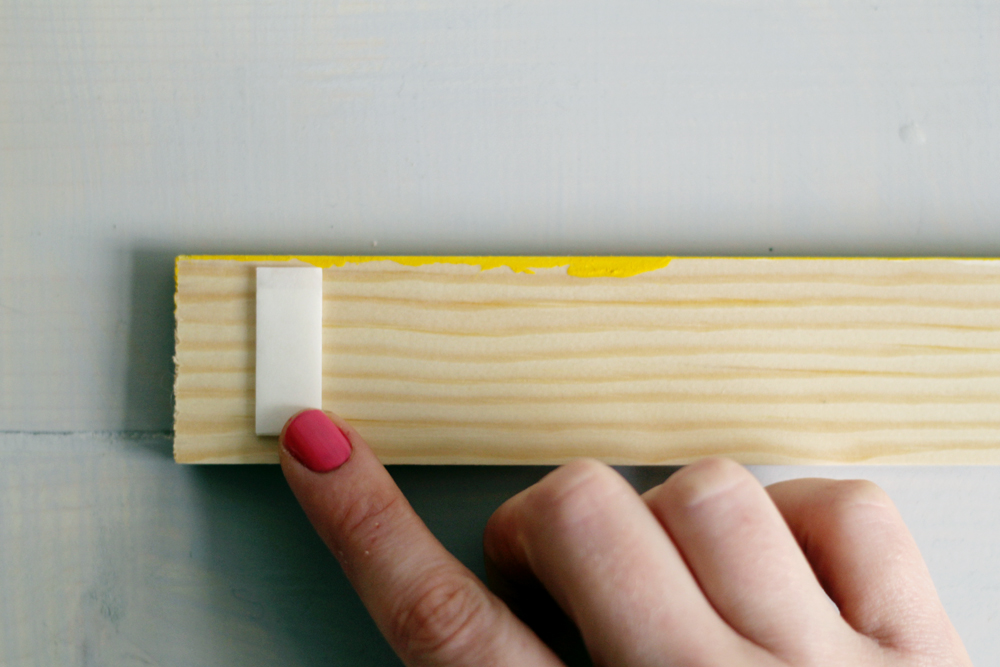
5. Firmly press the double sided foam sticky tabs to the back of the strip of wood at each end. Peel off the paper and press onto the wall. If your strip is longer then add additional sticky tabs for support.

Use safety pins to secure your calendar, postcards and other inspiring pieces to the strip. You’ll never forget to pay that bill again!


