She Turned 396 Wine Corks Into a Bar Backsplash That Looks Like Basket-Weave Tile

Wine corks tend to collect in bowls, jars, and drawers with no clear purpose beyond keeping them as souvenirs. Gather enough, though, and their mix of printed labels, stains, and warm cork tones can become a finish of its own.
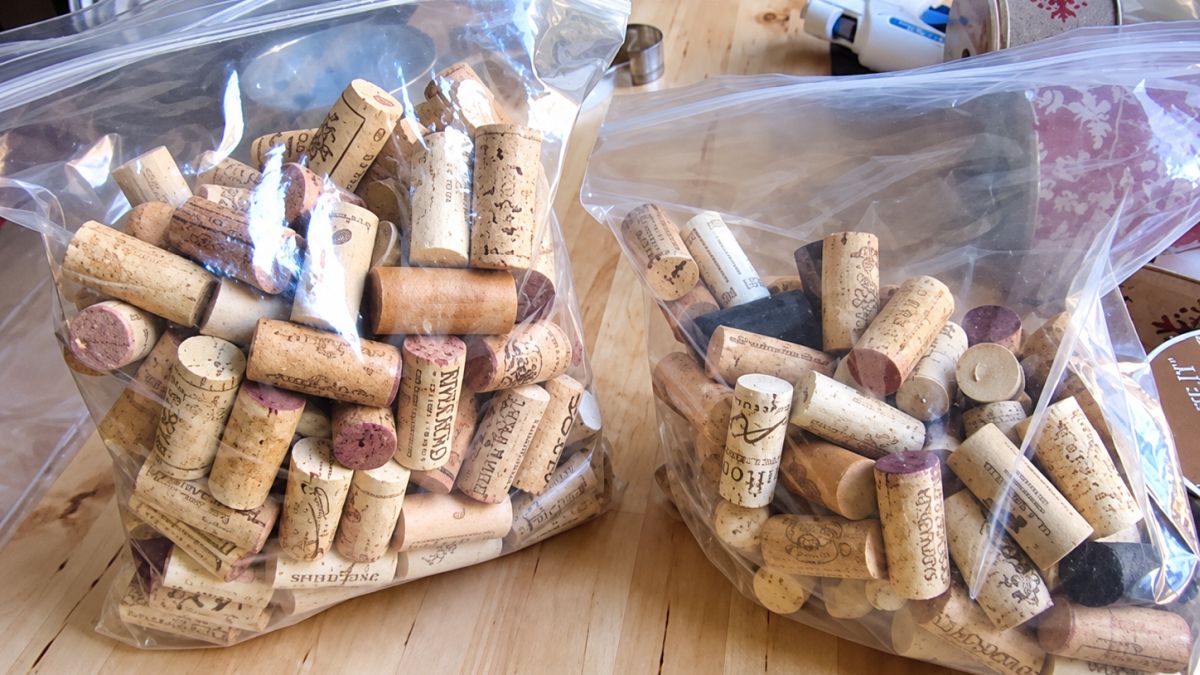
Karen from Sew Many Ways used 396 corks to cover the back of a black bar cabinet, arranging them across a thin hardboard panel rather than attaching them to the furniture itself. Her 40-by-16-inch panel required 44 corks across and nine paired rows.
What makes the backsplash stand out is the layout. Corks switch direction in pairs to form a woven pattern, giving the surface more movement than rows running in one direction. Against black cabinetry, their tan, brown, burgundy, and wine-stained marks become part of the design.
Start with a thin hardboard panel
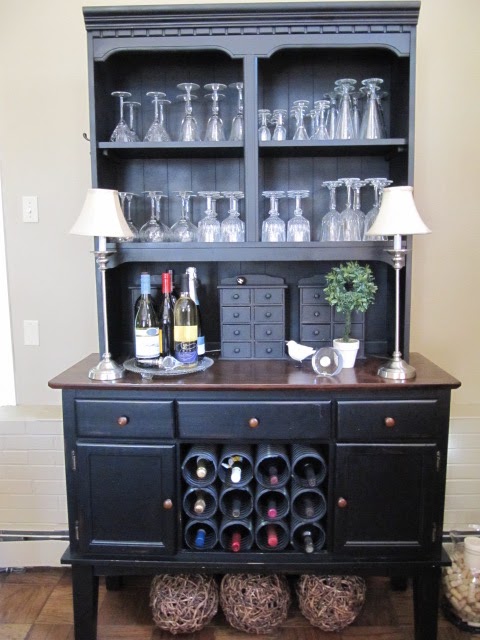
Mounting the corks to a separate panel keeps the project contained and creates a backsplash that fits inside the cabinet opening. Hardboard works well here because it is thin enough to sit behind the bottles without consuming much shelf depth.
For this project, the backing was cut to fit the space before any corks went on. The original panel came from a 2-by-4-foot sheet of 1/8-inch hardboard.
Cut around cords and cabinet obstacles
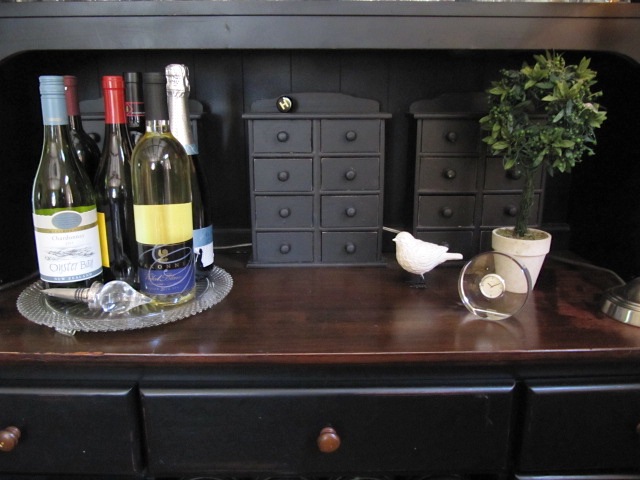
Existing wiring does not need to stop the backsplash at a straight edge. Small sections can be removed from the hardboard before the corks are attached.
Here, a notch creates space around a light cord. Similar cuts can accommodate outlets, brackets, or other fixed parts inside a cabinet.
Test the backing before adding hundreds of corks
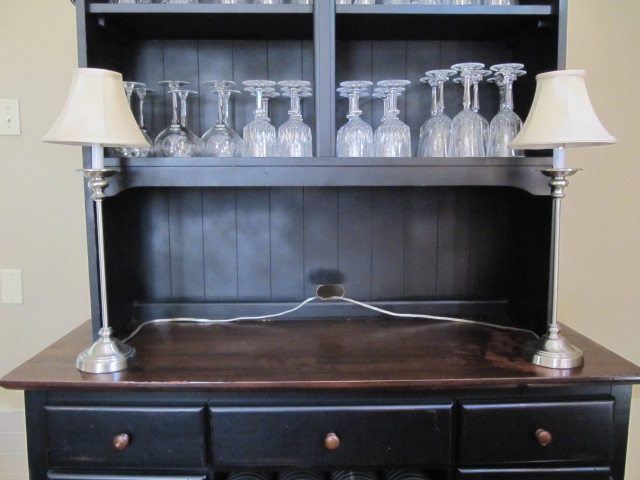
Fit the cut panel inside the cabinet before moving to the cork layout. Edges should sit behind the cabinet frame, while any openings need to line up with cords or hardware.
That test matters once hundreds of individual pieces cover the board. Correcting the shape becomes harder after the corks are glued in place.
Arrange pairs in alternating directions

Rather than setting every cork in horizontal rows, place two side by side, then rotate the next pair 90 degrees. Repeating the change in direction creates blocks that resemble a basket-weave pattern.
Tapered corks need some attention during this stage. Alternating their wider ends helps maintain square blocks and reduces gaps between neighboring pieces.
Use the labels as part of the pattern
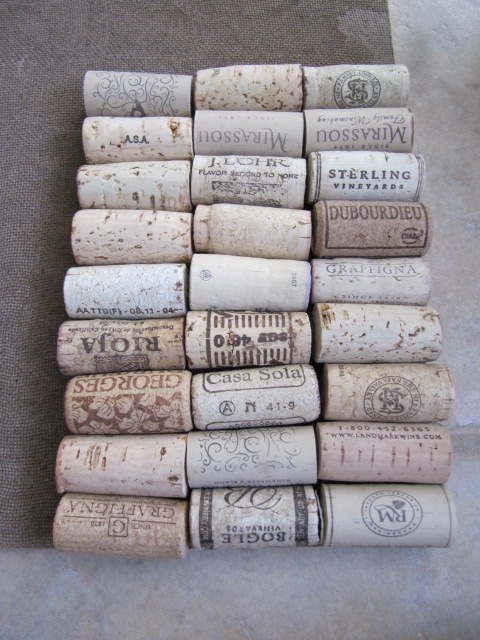
Wine corks bring more variation than uniform tile. Winery names, grapes, logos, numbers, stains, and different shades break up the tan surface.
Spread marked corks across the board instead of clustering them in one section. Blank pieces between printed ones keep the lettering from dominating the pattern.
Build the backsplash across the board
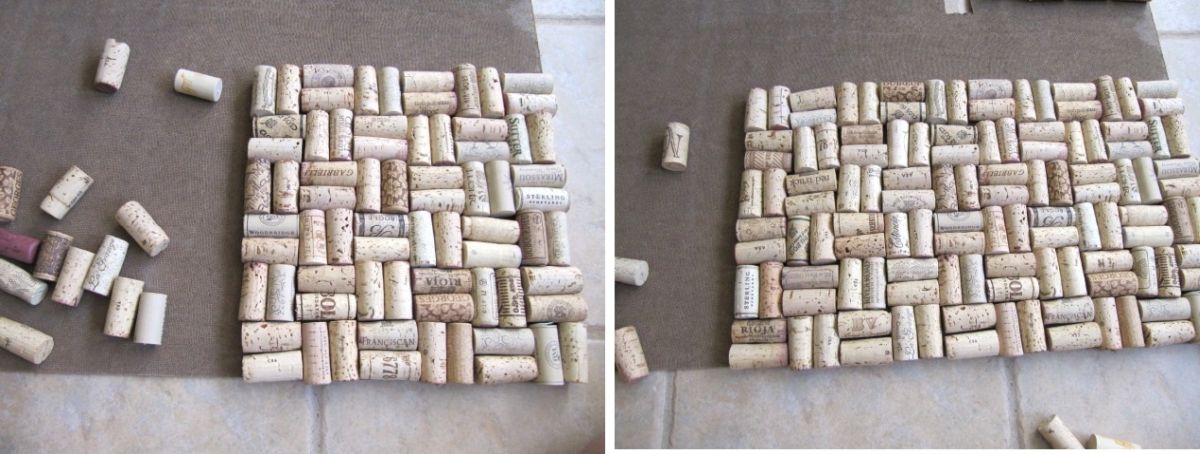
A line of hot glue on each cork secures it to the hardboard. Work outward while keeping each pair aligned with the previous block.
The pattern becomes more apparent as the surface grows. Horizontal pairs meet vertical pairs at right angles, turning hundreds of cylindrical corks into one connected field.
Use real cork rather than synthetic versions
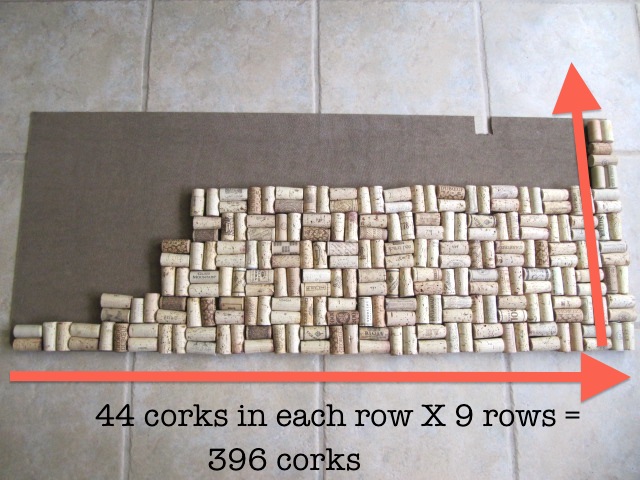
Natural cork gives the backsplash its varied surface. Different pores, marks, printed graphics, and wine stains prevent the finished panel from looking uniform.
The project used secondhand corks, including batches purchased online after the original collection ran short. Karen notes that buyers should check for natural cork because synthetic wine stoppers have a rubber-like feel.
Let the cork contrast with dark cabinetry
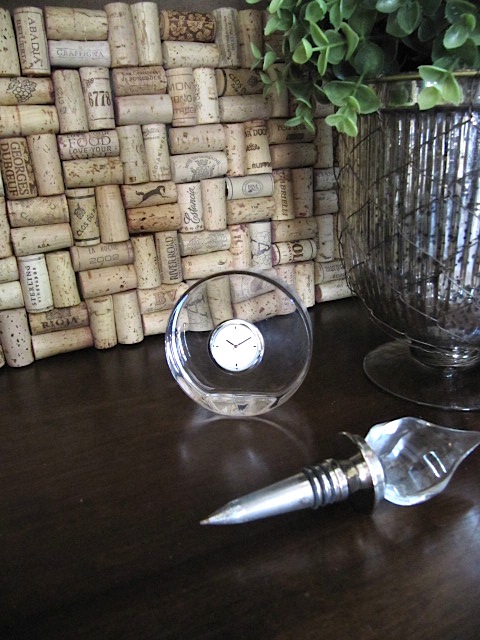
Black surrounding the backsplash makes the cork pattern easy to read. Light cork faces brighten the recessed area, while darker marks connect it with the cabinet finish.
Bottles and glasses can sit in front without hiding the effect. Open spaces between objects still expose enough of the alternating pattern to give the cabinet texture.
Turn the entire back into part of the bar
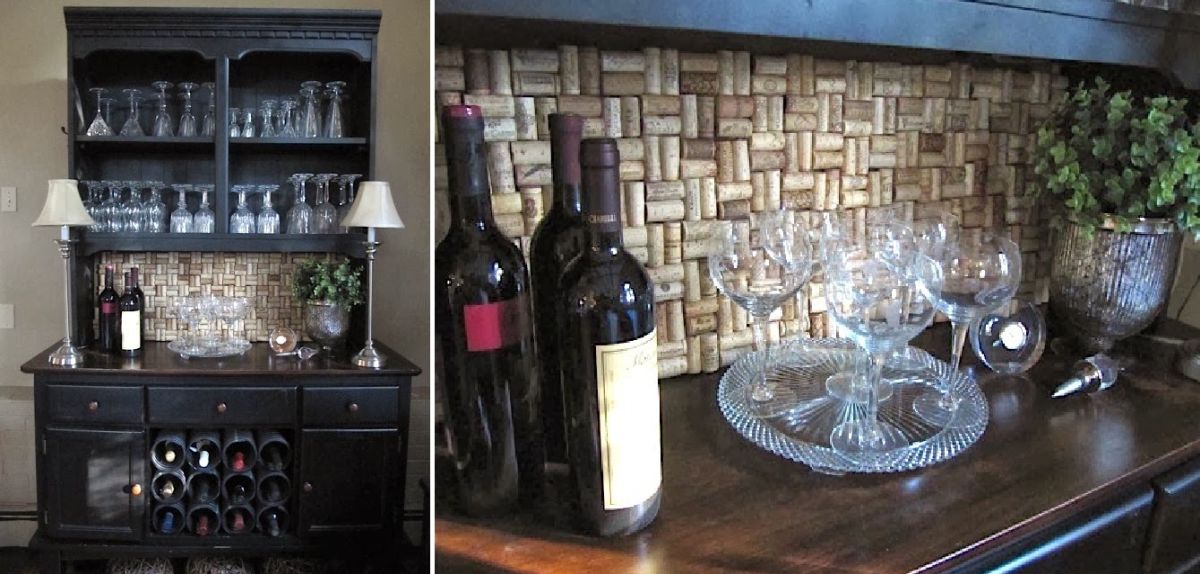
Once installed, the panel reads less like a collection of saved bottle stoppers and more like a textured wall treatment. Repeated corks create the scale of tile, while their labels keep every section different.
It also gives saved corks a use that suits the space where they came from. Instead of filling another jar, 396 of them become the backdrop for the bottles, glasses, and serving pieces in the bar cabinet.
Image credits go to @Sew Many Ways.