She painted this 1950s pie safe Aviary, and her husband claimed it for his Legos


It was sitting in an antique store, and it didn’t look like much. Anna Price found “a cute little pie safe” that, in her words, “wasn’t particularly old.” Her guess: “My guess, it was made in the 1950s.” Up close, it was worse. “It was dirty and painted a yucky yellow color,” she writes. She calls the hook-and-eye clasp on the doors “terrible,” and the door frames were covered in oily fingerprints.
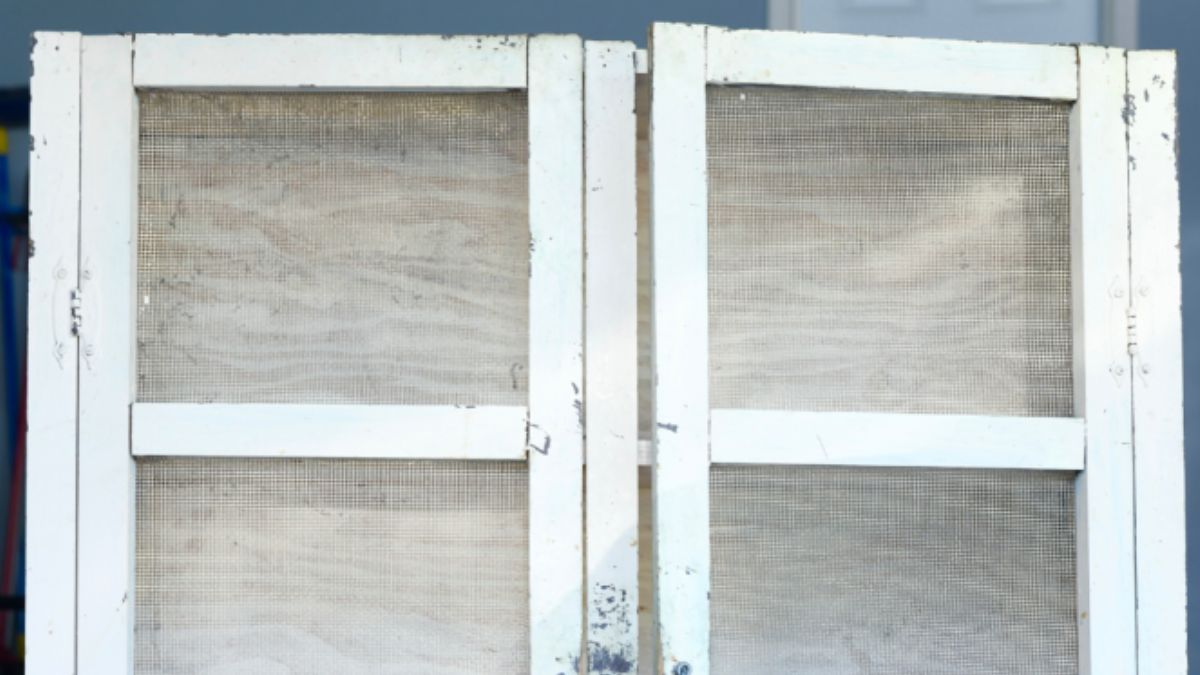
Still, nothing was broken, and the piece needed no repairs. The pie safe wasn’t the problem. The grime and the yellow paint were.
Why the scrubbing mattered as much as the color
Voir cette publication sur Instagram
Paint sticks to clean, dull surfaces. It doesn’t stick well to oily fingerprints and grime, which is exactly what covered those door frames. So before any color went on, Anna spent real time on cleaning and sanding.
She chose milk paint, which comes as a powder you mix with water. “It takes a bit of mixing before the consistency is right,” she notes. She used Miss Mustard Seed’s Milk Paint in two colors: Ironstone on the inside and Aviary on the outside.
Eight hours from yellow to Aviary
Here is how she did it:
- Remove the hook-and-eye clasps and the wire mesh screens from the doors.
- Scrub the inside, outside and underside with hot water, an all-purpose cleaner and a scrub brush. She set it in the sun to dry for an hour, and scrubbed the screens separately in the bathtub.
- Wearing a mask, sand the whole piece with 150-grit paper on a random orbital sander, including the shelves, plywood back and underside. Hand-sand the spots the sander can’t reach, then wipe it down with a damp rag.
- Paint the interior Ironstone first, then cover it with craft paper and tape.
- Apply two coats of Aviary to the outside, waiting until the paint is dry before each next step.
- Lightly sand with 220-grit, wipe with a damp rag and seal with Milk Coat.
- Staple the wire mesh back onto the doors. She also ordered new clasps.
“It took me about 8 hours from start to finish to give this little piece a new life,” she writes. She notes that light colors on cabinet interiors often need more than one coat, so plan for extra time there. The inside made the biggest difference. “Now that the interior has been painted the color of Ironstone, it looks so much brighter and cleaner,” Anna says.
A two-color plan works on bigger pieces too. On one brown oak hutch with glass doors, a custom mint with a hint of aqua went on the outside while the interior became a pale antique mocha, so the shelves behind the glass read light instead of dark.
Then came the surprise. “Turns out Mr. SLH likes the piece as much as I do,” she writes. “He said we can use it to hold his Lego collection of cars, lighthouses, and space crafts.”
The test to run before sanding a pie safe this old
Anna’s post doesn’t mention lead, but a piece she dates to the 1950s is worth checking. Lead paint was available in the U.S. until 1978, and Salt Lake County’s lead poisoning prevention program warns that vintage furniture and thrift store finds can carry unsafe levels of lead. Its advice: buy a lead paint test kit at a hardware store, use water to control dust, and do not scrape or sand anything that tests positive.
The yellow paint is the layer to test, since it is the one you will be sanding. If it comes back positive, talk to a certified lead professional before going further.
“She’s all dressed up and ready for Legos! Or old quilts,” Anna writes. That’s the trick.