DIY Pressed Flower Coasters

Pressing flowers is a timeless way to preserve memories, whether from a wedding bouquet, a baby shower, or a meaningful moment on a trip. A beautiful and functional way to showcase pressed blooms is by turning them into handmade coasters.

These DIY pressed flower coasters are perfect for gifting, displaying at a wedding table, or using as personalized favors for guests.

Materials Needed:
- Wood slices
- Pressed flowers
- Creme acrylic paint (or any light color)
- Decoupage glue
- Paintbrush

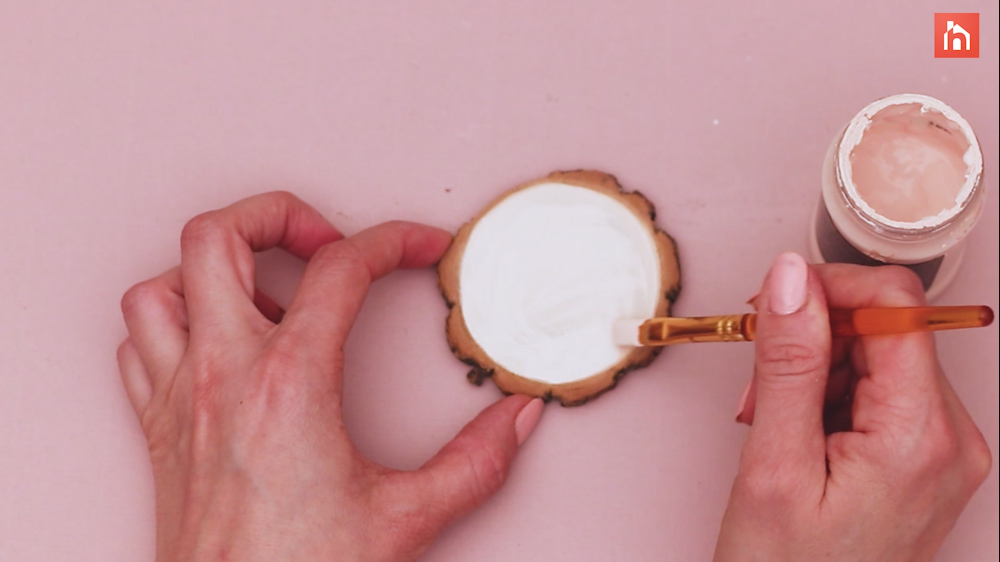
Step 1: Paint the Wood Slice
Paint the center of each wood slice using light-colored acrylic paint, leaving the bark edge natural. Neutral tones help the flowers stand out. Let the paint dry fully.
Step 2: Prep with Glue
Apply a layer of decoupage glue over the painted area. This helps the flowers adhere and stay flat.


Step 3: Add a Center Flower
Choose a pressed flower and place it in the center of the coaster. Gently brush glue over it to secure.
Step 4: Surround with Smaller Flowers
Add four smaller pressed flowers around the center bloom. Use contrasting or complementary colors for a balanced look. Brush glue over each one to seal them in place.

Step 5: Final Seal
Once all flowers are arranged, apply a final coat of decoupage glue over the full surface. Let it cure completely before using.