Floral Wall Hanging DIY Decor

Bring the beautiful colors of spring into your home with the floral wall art piece. This easy to make project is a great way to brighten any room in your house!


Supplies Used to make Floral Wall Art:
- Silk Flower Bunches (30 flowers total)
- White Tulle
- White Decorative Branch

Step one: Remove the flowers from the stems. Test one first to make sure the flower will not come apart once removed from the stem. Most of my flowers could be pulled off easily, but some required wire cutters to snip them off the stems.
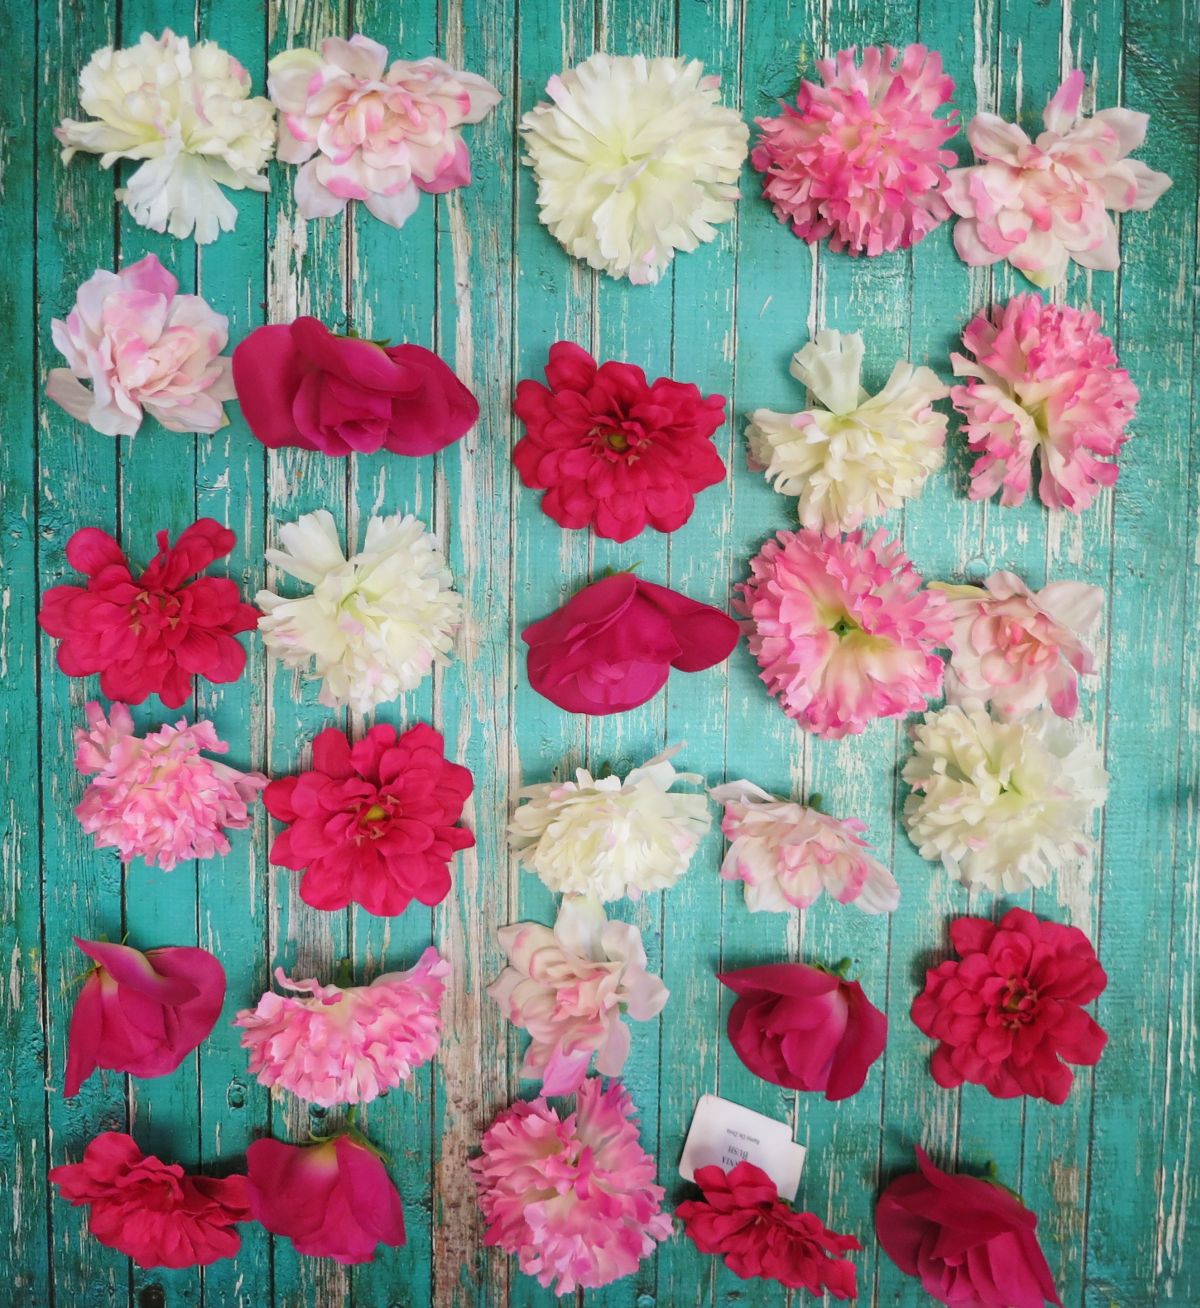
Step two: Arrange the flowers in a way that is pleasing to you. I made 5 rows with 6 flowers in them, and I created an ombre inspired effect by placing the lighter colored flowers near the top of the arrangement and the darker colored flowers near the bottom.
Step three: Cut a piece of tulle that is twice as long as your row of flowers. Mine was approximately one yard long.


Step four: Twist the tulle into a knot, but before you pull it tight slide the end of the flower stem into the knot. Pull the knot tight to hold the flower. Repeat this with the other flowers.

Step five: Tie the rows of tulle flowers onto a decorative branch. Trim off excess tulle ends as needed.
Step six: Use nails or hooks to hang the branch on a wall. Once it is hanging you may need to untie and rearrange some of the flowers so they all face forward. Placing the rows of tulle so that they are touching each other will help to position the flowers so they are all facing out.

This pretty piece of wall decor would make a great party backdrop, too. It coordinated perfectly with the garden party centerpiece I showed you how to make recently. Have fun crafting and creating with flowers!