DIY: How to Build an Industrial Hanging Shelf

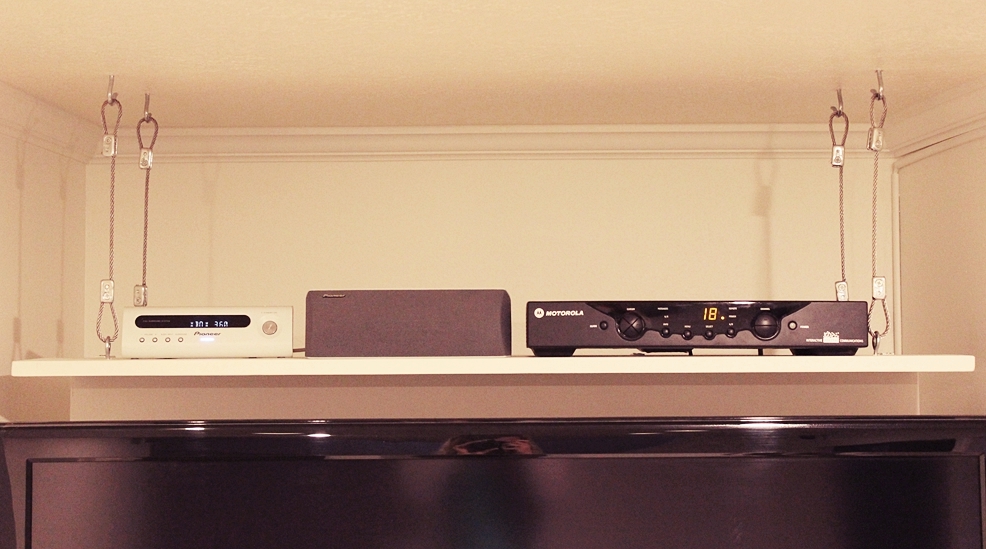
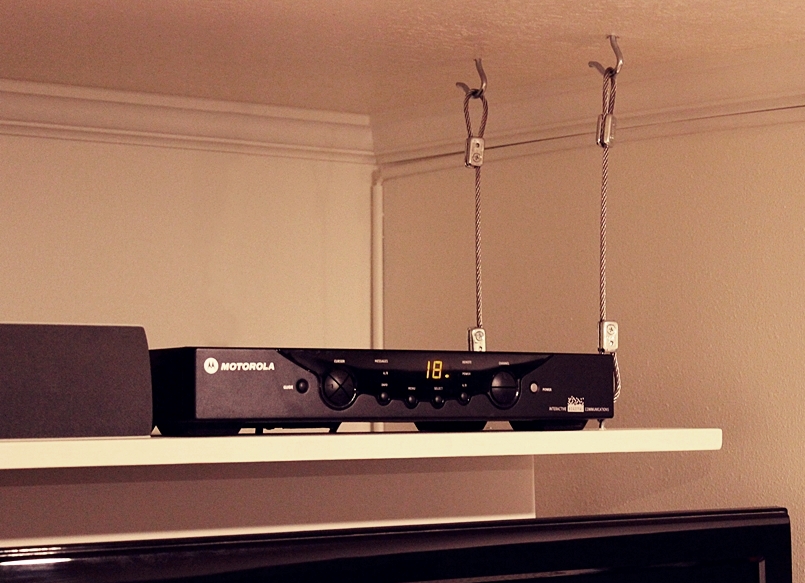
If you like the look of clean lines and contemporary shelving but have an oddly sized space, you can use this tutorial to create your own custom shelf with a modern-industrial aesthetic. This particular example was used for an electronics shelf hung above the television; however, you could use this tutorial for anywhere in your home.
DIY Level: Beginner-Intermediate (The hardest part is not actually building the shelf but installing it.)
Materials Needed:
- 1 – 1×12 board, cut to desired length (example is 48”)*
- 4 – 1-1/2” #6 screw eyes (to screw into shelf)
- 4 – 3-3/4” #6 screw hooks (to screw into ceiling)
- 4 – 3/16” cable/wire rope cut to desired length (hanging height plus about 5” for looping)
- 8 – 3/16” wire rope clamps
- *Optional: 1 more 1×12 board, cut to desired length, plus four L brackets, for concealing hanging cords

Note: Shown in the photo above are four long screw eyes for attaching the shelf to the ceiling; however, it is recommended to replace these with screw hooks.

Step 1:
Prepare your boards. Sand, paint/stain, or seal.

Step 2:
Find studs on ceiling.While your paint/stain is drying on your shelf boards, use a stud finder to locate the studs on your ceiling. Measure and mark where you will insert the four screw hooks. (In this example with a 48” shelf width, the screw hooks were spaced 39” apart.)

Step 3:
Drill holes in ceiling. Use a 5/32 drill bit to drill holes at your four markings.

Step 4:
Screw four screw hooks into ceiling.Tip: Use a screwdriver through the hook eye as leverage to help you screw the hook in toward the end, when it gets tight.

Step 5:
Attach four screw eyes to shelf.Measure and mark where you want your screw eyes on your shelf board. (If possible, these should hang directly below the screw hooks in the ceiling.) Predrill ¾ of the way through the board, then screw on the screw eyes. Tip: Don’t let the screw go through the bottom of the board; a protruding screw tip will likely be visible when your hanging shelf is mounted.

Step 6:
If attaching a wire-concealing board, do so now. If not, continue to Step 7. Use four L brackets, and a few more screws if you like the added security, to attach the wire-concealing board to your hanging shelf board.

Step 7:
Attach a wire clamp to one end of each cable/wire rope. Follow instructions on your clamps to create a loop on one end of each of your cables.
Tip: Measure first; save enough cable length for looping the other end in an equally sized loop.

Step 8:
Attach the non-looped side of your four cables to the shelf’s screw eyes. Measure and mark where your second loop should be clamped.Precision is critical here to create a level hanging shelf.

Tip: This step is tricky to do alone; have someone help you so your loops are measured and accurate.

Step 9:
Hang your shelf. Check for plumb. If you need to adjust levelness, screw/unscrew the hook eyes in the ceiling as needed.


Enjoy your new, custom hanging shelf! It has a decidedly industrial, contemporary vibe…and keeps things organized to boot.