DIY Floating Picture Ledge


With just a few wood boards and basic tools, you can build floating picture ledges and shelves to showcase family memories in style. This budget-friendly DIY project features a rustic farmhouse look and can even be made using scrap wood for an affordable, personalized touch.

Materials:
- 4 boards that are 2” wide
- 2 boards that are 1” wide
- sandpaper
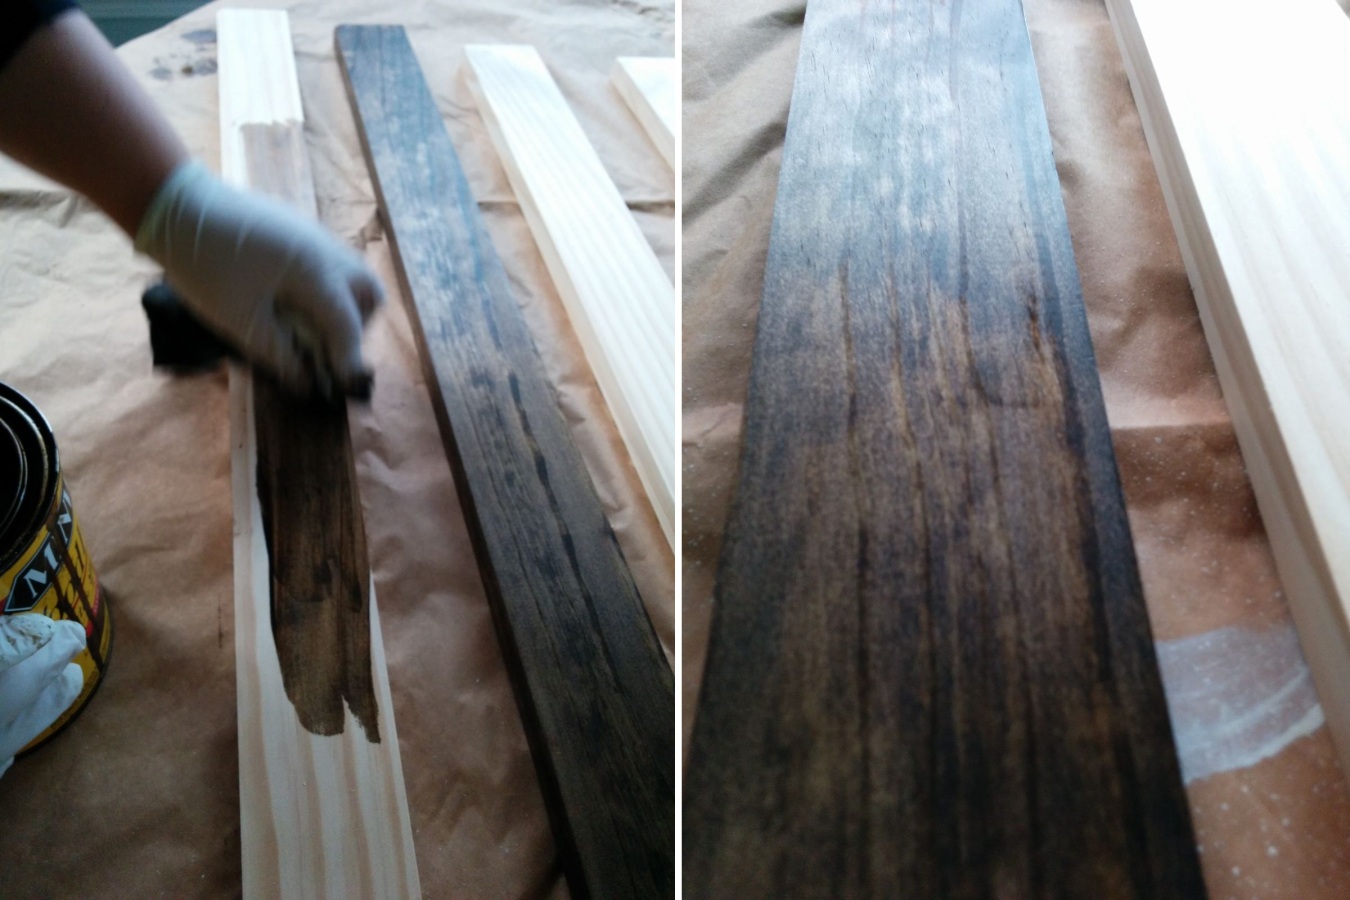
- dark walnut stain
- drill
- screws
Step 1: Prepare the Wood
For the best results, picture ledges work well in pairs and are most impactful when spanning the width of a wall.
Gather your materials:
- Four 3-ft boards (2 inches wide) for the back and bottom
- Two 3-ft boards (1 inch wide) for the front ledge
Choose unfinished pine for a natural look. If your boards have a finish, sand them thoroughly before staining to ensure even absorption.
Step 3: Drill Holes for Assembly

After the stain has dried, position the back and bottom boards in an L-shape. Drill three evenly spaced pilot holes along the backboard where the two boards meet. These holes will prevent the wood from splitting and make assembly easier.
Step 4: Attach and Mount the Picture Ledge

Once the pilot holes are ready, drive screws into the holes to securely connect the back and bottom boards. Attach the smaller front ledge using wood glue or screws, depending on preference. To mount the ledge, fasten it to the wall using two screws through the backboard. For heavier displays, use drywall anchors or secure it to a wall stud for extra stability.
Step 5: Placement & Finishing Touches

Once installed, ensure the ledge is level and secure before adding pictures or décor. For high-traffic areas, keep the depth minimal to prevent accidental bumps.