Instead of painting over the laminate top, she spent hours chipping it off this dresser


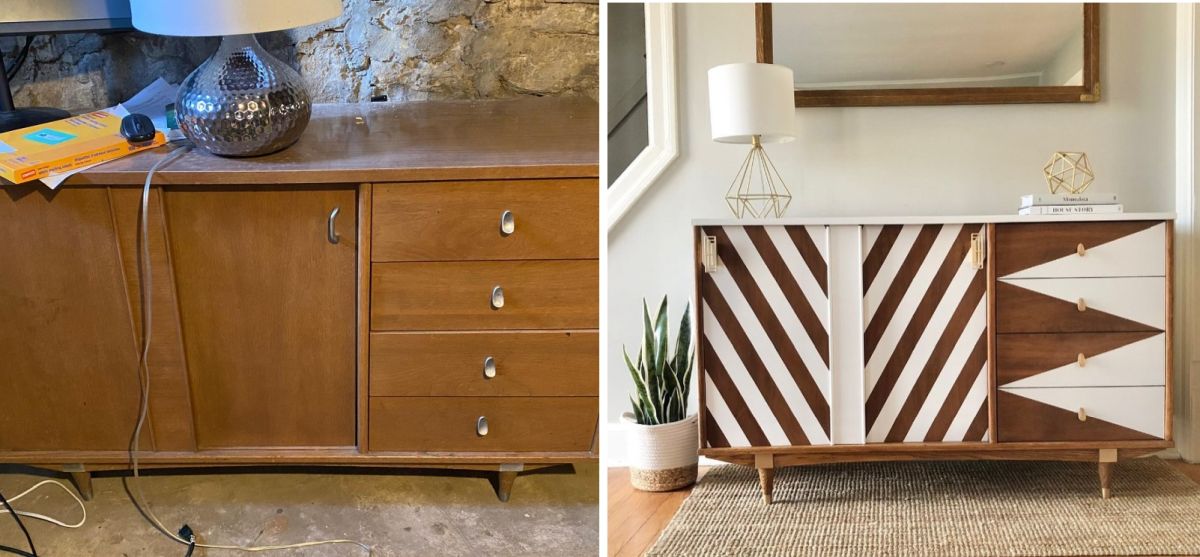
A mid-century dresser with good lines, a laminate top, chunks missing along the sides and a finish damaged in several spots. The fast option is obvious: prime the laminate, paint the whole thing and call it done.
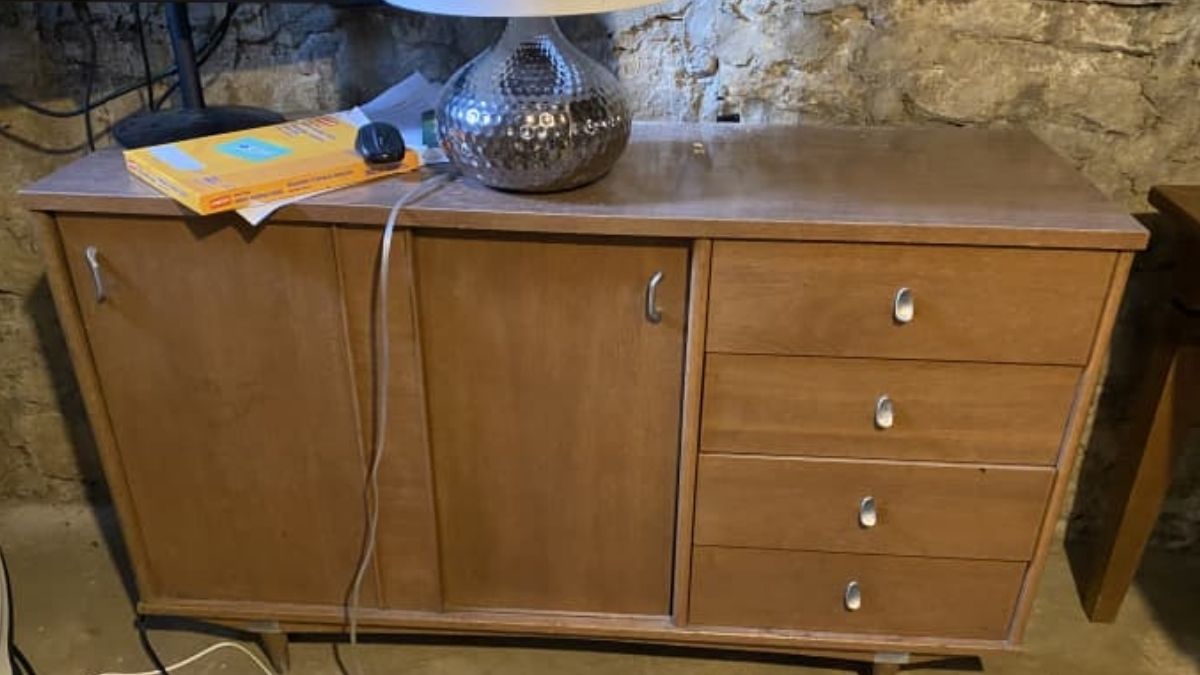
The dresser wasn’t the problem, the top was. Furniture flipper Michelle McRae, who posts as @shellychicboutique, took one like that from a friend who was getting rid of it. She wanted the piece to be solid wood, so the laminate had to go. “I spent HOURS in below-freezing temps chipping away at the laminate,” she says.
Why paint alone wouldn’t have saved it
Painting over the laminate would have kept a surface she didn’t want, and the wood around it still needed real repairs. “There’s a major push against painting MCM furniture, but this one needed too many repairs to simply strip and refinish it,” Michelle says. So she did both: real wood on top, paint where the damage was.

Splitting a dresser between paint and wood is a reliable way to keep its character: a deep blue body under a stained wood top can make a worn vintage piece look intentional.
How the laminate came off and the wood came back
- Soften the glue. “I first left a damp towel on top for a few hours while we went out for family time,” she says. “Upon return, I started ironing the towel to try to remove the laminate glue.”
- Chip it off. Her husband, Branson, and daughter, Zena, helped her chip away the rest of the top.
- Rebuild the surface. “It needed a ton of wood glue and sanding, then more wood glue and more sanding,” Michelle says.
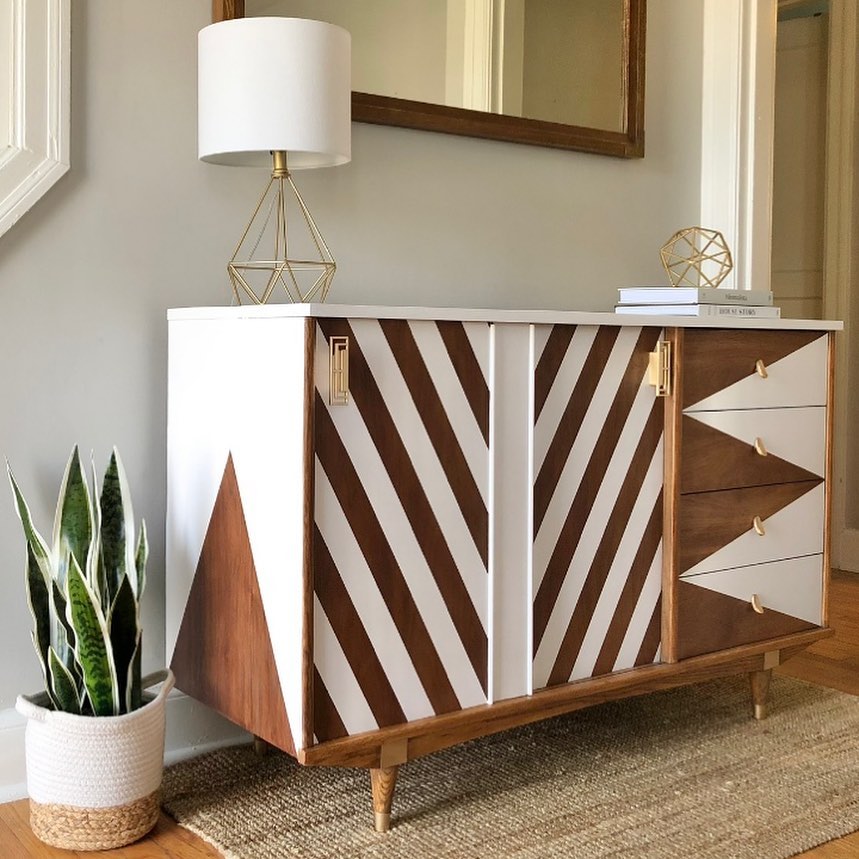
- Test before committing. Her first color tests didn’t work, so she started over. She sketched several patterns, posted them for a vote and combined two into a geometric design.
- Paint, stain and seal. She used Behr Nano White and a walnut stain, sealed everything with satin polyurethane and added $14 gold-toned handles. The whole project came to about $40.
“I absolutely love the contrast between the white and wood stain,” she says.
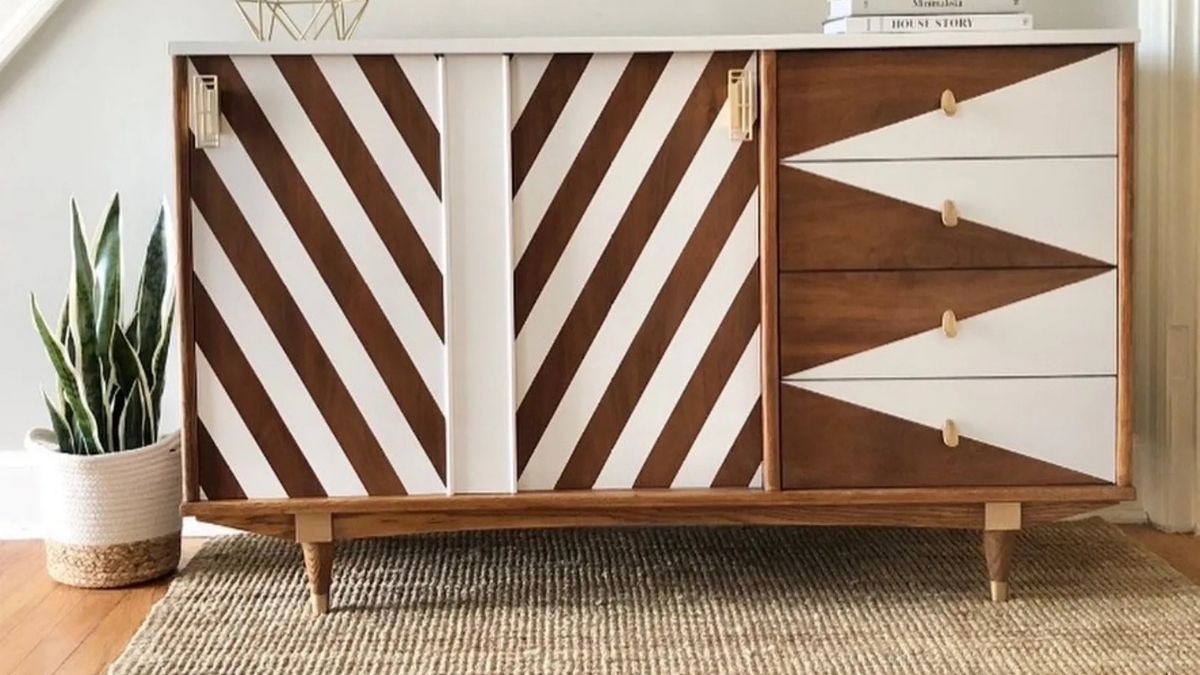
Plan B, if the glue refuses to let go: stop before you gouge the wood underneath. Michelle’s top needed round after round of repairs, and she says, “I don’t plan to remove another laminate top any time soon.”
What chipping off laminate really costs
Time is the big one. This isn’t a quick afternoon project, and every gouge you make has to be filled and sanded later.
The iron needs care, too. Keep it moving over the damp towel, never leave it sitting on the furniture, and unplug it as soon as you’re done.
Then there’s the sanding dust. OSHA notes that breathing wood dust particles may cause allergic respiratory symptoms, other respiratory problems and cancer. Michelle’s daughter helped sand one section “with safety equipment on, of course,” and anyone sanding should do the same.
Take off what’s fake, repair what’s real, and let paint and stain share the work. That’s the trick.